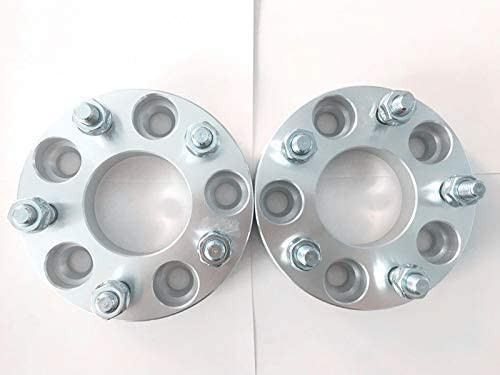
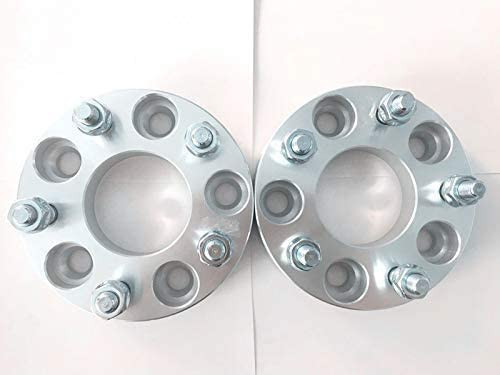
OEM wheel and tire fitment specs for the 2000 Buick LeSabre, including bolt pattern (PCD), center bore diameter, thread size, rim diameter, rim width, wheel offset, and backspacing.
2000 Buick LeSabre Fitment Specs
Baseline mounting dimensions used for interchange decisions.
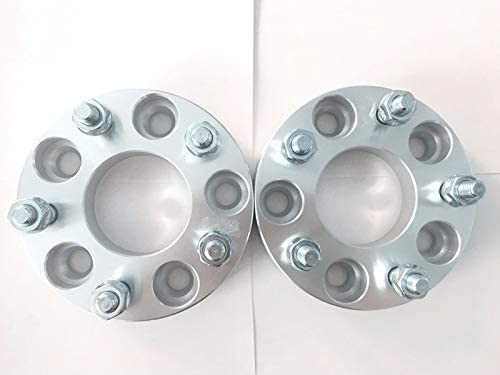
A normal wheel spacer does not change bolt pattern. Hub rings cannot enlarge a wheel bore that is smaller than the hub. Brake clearance and tire package fitment still require vehicle-specific checks when not confirmed in the dataset.
The values below are confirmed from available data for at least one factory wheel and tire package on the 2000 Buick LeSabre. This model year was offered with multiple OEM packages by trim and option, so your placard or manual may list a different wheel or tire size. Use the calculator on this page and verify against your driver door-jamb tire placard and OEM documentation.
Bolt pattern (studs x PCD)
5x115
Center bore
70.3 mm
Thread size
M12 x 1.5
Known OEM wheel diameter
16 in
Known OEM wheel width
6.5 in
Known OEM wheel offset (ET)
43 mm
Known OEM backspacing
4.94 in
Known OEM tire section width
215 mm
Known OEM tire aspect ratio
70
Known OEM tire rim diameter
15 in
Note: The wheel and tire diameters listed reflect different factory packages. That is common for this model year. If your vehicle shows a different OEM size, follow the door placard and use the calculator to compare any changes.
How To Use The Wheel Interchange Calculator
The calculator compares “Wheels from (donor vehicle)” to “Installed on (your vehicle).” You can also try a Custom wheel size and Custom tire size to preview changes.
Start with your vehicle: Enter the OEM size from your door placard. If your placard shows a 15 inch tire size, enter that. If it shows a 16 inch size, use that instead.
Add a donor or aftermarket idea: Choose a donor vehicle or enter a Custom wheel size with the rim diameter, width, and offset you are considering.
Match overall tire diameter: If you change rim diameter, adjust the Custom tire size’s section width and aspect ratio so overall diameter stays close. Aim to keep overall tire diameter within about 3 percent of stock to help maintain speedometer and ABS behavior.
Review clearances: The calculator will show inner clearance to struts and outer “poke” toward the fender. Keep inner clearance from decreasing to the point of contact, and keep outer poke within the fender line to prevent rubbing.
Offset and width: Use the OEM offset of 43 mm as your reference. Small offset changes affect inner and outer clearance. Wider wheels push both directions relative to the mounting face, depending on offset.
Finalize with a test fit: The calculator is a planning tool. Always test fit one wheel on the car, spin it by hand, turn lock-to-lock, and compress suspension to confirm no contact.
Fitment Checklist Before You Buy
Bolt pattern: Must be 5x115. Do not force-fit 5x114.3. Use the exact pattern.
Center bore: OEM is 70.3 mm. Aftermarket wheels with a larger bore should use quality hub-centric rings sized to 70.3 mm.
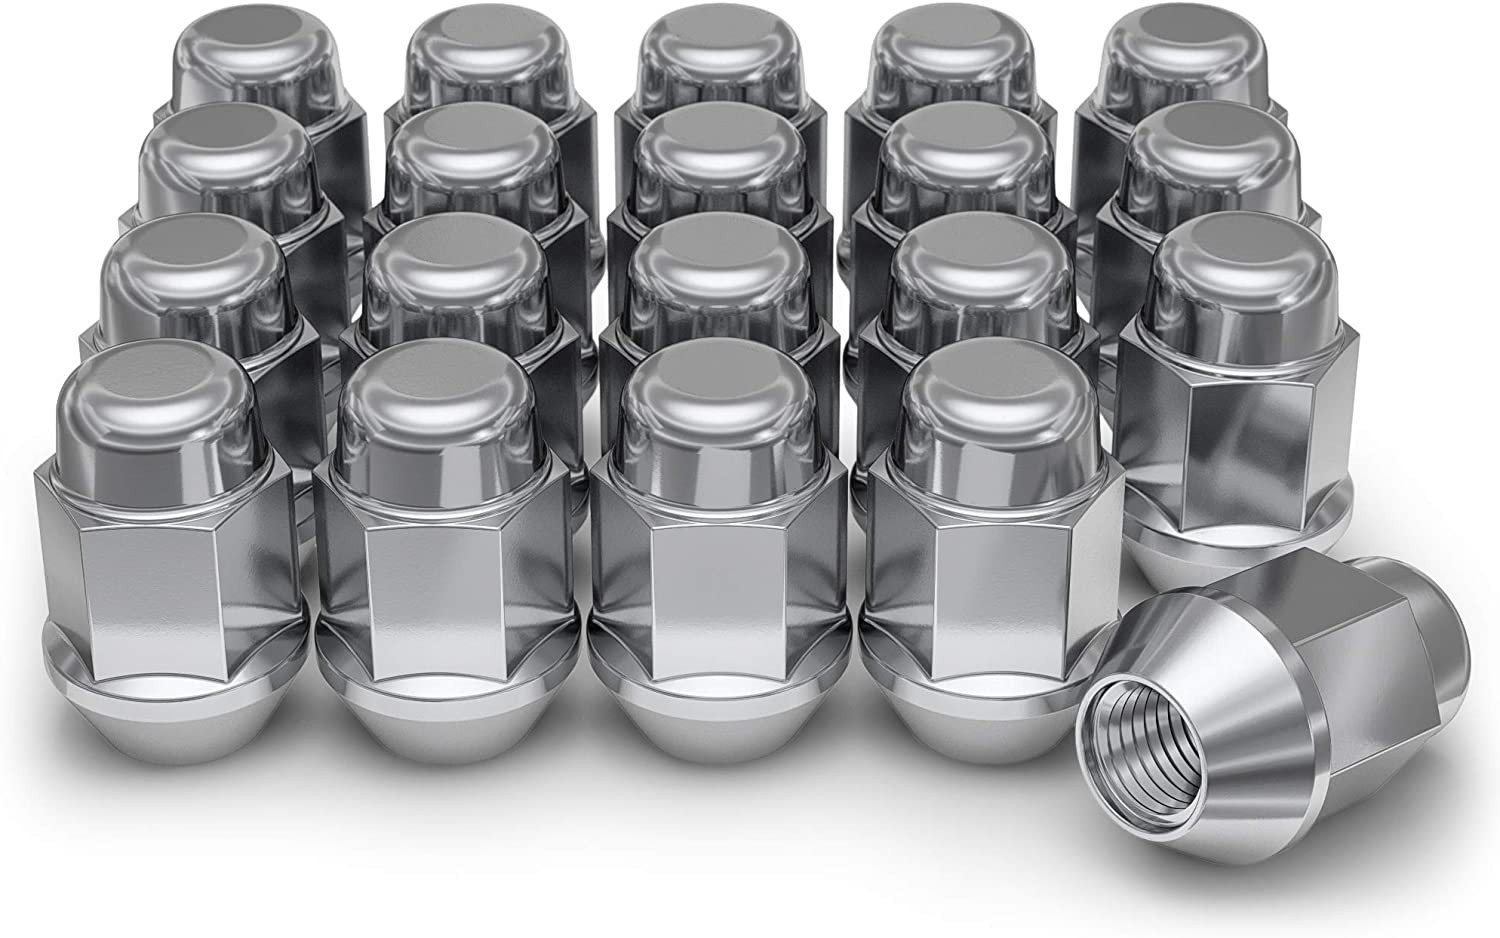
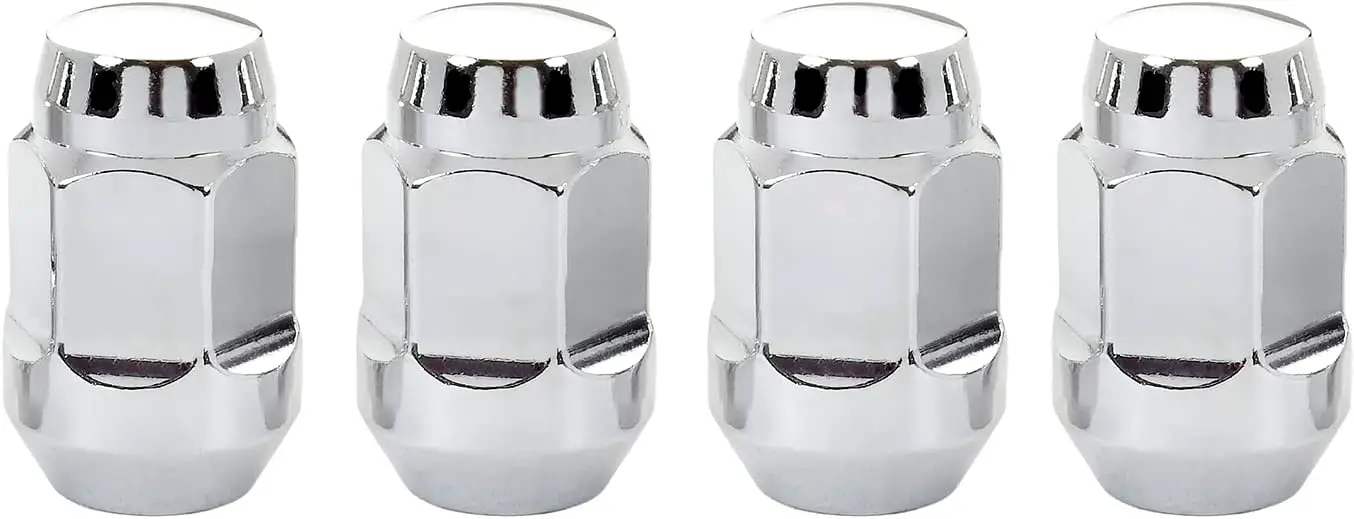
Thread size and seat: Studs are M12 x 1.5. Verify the lug nut seat type required by the wheels you plan to use. Do not mix conical, ball, or mag seats.
Offset: Use 43 mm as the baseline OEM offset. Deviations change inner and outer clearances. Confirm with the calculator and a physical test fit.
Brake clearance: Verify barrel and spoke clearance over calipers and along the strut. Some packages used different wheel diameters. Physically test if changing diameter.
Tire load and speed rating: Choose tires with load index and speed rating equal to or higher than OEM.
Wheel load rating: Ensure each wheel’s load rating meets or exceeds vehicle axle loads.
Overall diameter: Keep tire overall diameter close to stock to protect ride height, gearing, and speedometer accuracy.
Backspacing: Reference 4.94 in from the known OEM package. Use the calculator to confirm any change inboard.
TPMS: If equipped on your trim or retrofit system, choose compatible sensors and plan for programming or relearn.
Stud engagement: With any new wheel or spacer, confirm at least the OEM amount of thread engagement on each lug nut. Replace worn or stretched studs.
Inspect mounting faces: Clean rust and debris from the hub and wheel mounting pad to ensure true seating.
Plus Sizing And Common Upgrades
This model year had multiple factory wheel and tire packages. If you plan to plus-size, use these guidelines and verify with the calculator and OEM references:
Plus 1 concept: Increase rim diameter by 1 inch and lower tire aspect ratio to keep overall diameter similar. Enter your OEM tire in the calculator, then try a 1 inch larger rim and adjust section width/aspect ratio until overall diameter matches within about 3 percent.
Wheel width: A modest width increase can improve steering response. Verify inner strut clearance and outer fender clearance in the calculator. Test fit before mounting tires.
Offset discipline: Keep offset close to OEM so scrub radius and bearing loads remain reasonable. Larger deviations require careful measurement.
Ride and comfort: Lower-profile tires sharpen handling but transmit more impact. Check local road conditions before committing to a shorter sidewall.
Spare tire considerations: If you change overall diameter, confirm your spare’s compatibility and jack/clearance requirements.
Installation Tips
Safety first: Park on level ground, chock the wheels, and support the vehicle with jack stands placed at approved jacking points.
Prep the hub: Wire-brush the hub face and lightly remove rust scale. Ensure the wheel seats fully and squarely.
Dry hardware: Unless your OEM procedure specifies otherwise, install lug nuts clean and dry. Do not lubricate stud threads or seats.
Hand start every lug nut to avoid cross-threading. Snug in a star pattern, then torque to the factory specification from your owner’s manual or service manual.
Hub-centric rings: If using rings to adapt larger-bore aftermarket wheels to 70.3 mm, seat the rings fully in the wheel before mounting.
Spin and sweep: With the car still lifted, spin the wheel and turn the steering lock-to-lock to check for contact with struts, liners, or calipers.
Road test and re-torque: After 50 to 100 miles, recheck torque on all lug nuts and inspect for any rubbing or fastener loosening.
What is the bolt pattern for the 2000 Buick LeSabre?
5x115. Use wheels with the exact pattern. Avoid 5x114.3 adapters or “wobble” hardware for safety and longevity.
What offset should I choose?
The known OEM offset is 43 mm. Staying near that value is generally safest. Use the calculator to see how any offset change affects inner and outer clearance, then test fit.
Do I need hub-centric rings?
Only if your aftermarket wheels have a larger center bore than the OEM 70.3 mm. Rings help the wheel center on the hub during installation. The clamping load is provided by properly torqued lug nuts.
Can I run 15 inch or 16 inch wheels?
This year had multiple factory packages, and our data includes a 15 inch tire size and a 16 inch wheel size from different trims. Check your door placard and confirm brake clearance with a test fit if changing diameter.
What is the correct lug nut torque?
Consult the owner’s manual or factory service manual for the exact torque for your VIN and trim. Do not guess. Re-torque after 50 to 100 miles.
Can I reuse my factory lug nuts on aftermarket wheels?
Only if the seat type and shank profile match the new wheels. Verify seat type (conical, ball, or mag) and ensure proper thread engagement on the M12 x 1.5 studs.
How close should the new tire diameter be to stock?
As a general guideline, keep overall diameter within about 3 percent of the OEM size to help maintain speedometer accuracy and clearance. Always verify with the calculator and a physical test fit.
Will spacers help if my wheels sit too far inboard?
Spacers change effective offset and can restore clearance, but they reduce stud engagement and add complexity. If used, choose hub-centric spacers sized to 70.3 mm and confirm you have safe thread engagement. Follow all local regulations.