OEM wheel and tire fitment specs for the 2000 Chevrolet Camaro, including bolt pattern (PCD), center bore diameter, thread size, rim diameter, rim width, wheel offset, and backspacing.
2000 Chevrolet Camaro Fitment Specs
Baseline mounting dimensions used for interchange decisions.
Multiple OEM configurations exist for this vehicle. Fitment can vary by trim, brakes, and factory wheel package – confirm your exact setup before buying.
Wheels That Interchange With a 2000 Chevrolet Camaro
Results are evaluated from bolt pattern, center bore direction, OEM width/offset envelope, and lug hardware – not bolt pattern alone.
Use lug nuts compatible with your vehicle's studs. Geometry within known OEM envelope (approx. outer change -0.67 mm, inner change -5.68 mm vs mid OEM).
Use lug nuts compatible with your vehicle's studs. Geometry within known OEM envelope (approx. outer change -0.67 mm, inner change -5.68 mm vs mid OEM).
Use lug nuts compatible with your vehicle's studs. Geometry within known OEM envelope (approx. outer change -0.67 mm, inner change -5.68 mm vs mid OEM).
Use lug nuts compatible with your vehicle's studs. Geometry within known OEM envelope (approx. outer change -0.67 mm, inner change -5.68 mm vs mid OEM).
A normal wheel spacer does not change bolt pattern. Hub rings cannot enlarge a wheel bore that is smaller than the hub. Brake clearance and tire package fitment still require vehicle-specific checks when not confirmed in the dataset.
2000 Chevrolet Camaro Wheel Fitment, Bolt Pattern, Offset, Tire Size
Known OEM Fitment For 2000 Chevrolet Camaro
The values below are the known factory specifications provided for the 2000 Chevrolet Camaro. Some trims and option packages may differ. If your car’s sticker, RPO codes, or owner’s manual show different specs, use those. When in doubt, confirm using the on-page calculator and OEM sources.
Bolt pattern (studs x PCD)
5x120.70 mm (approx. 5x4.75 in)
Center bore
70.3 mm
Thread size
M12 x 1.5
Rim diameter
16 in
Rim width
7.5 in
Wheel offset (ET)
55 mm
Backspacing
5.92 in
Tire size
215/60R16
Note on backspacing math: using the calculator’s nominal-width method, backspacing in = (rim width/2) + (offset mm / 25.4). For 7.5 in and ET55: (7.5/2) + (55/25.4) = 3.75 + 2.17 ≈ 5.92 in, matching the value above.
How To Use The Wheel Interchange Calculator
The calculator lets you compare a donor setup against your 2000 Camaro so you can predict inner/outer clearance changes and tire diameter differences before buying.
Step 1: In “Installed on (your vehicle),” select or enter 2000 Chevrolet Camaro with its OEM specs. If any value on your car differs (for example a factory performance package), edit those fields to match your verified OEM data.
Step 2: In “Wheels from (donor vehicle),” either pick a donor vehicle or manually type the wheel and tire measurements you plan to test.
Step 3: Use “Custom wheel size” to try different rim diameter, width, and offset. The tool will instantly show how the inner clearance to strut/suspension and the outer poke vs fender will change compared to your OEM setup.
Step 4: Use “Custom tire size” to set section width and aspect ratio. Changing rim diameter updates tire diameter in the comparison so you can keep overall diameter near stock.
Step 5: Review the results. Aim to avoid:
Inner rub (too little clearance to struts, spring perches, or liners)
Outer rub (fender/bumper/liner contact on compression or steering)
Large tire diameter changes that affect gearing and speedometer
Step 6: If a setup looks close, test fit a wheel when possible and rotate the hub lock-to-lock under load. Final confirmation always happens on the vehicle.
Fitment Checklist Before You Buy
Bolt pattern: Must be 5x120.70 mm. Do not attempt to fit 5x120 or other close patterns.
Center bore: OEM is 70.3 mm. Aftermarket wheels usually have a larger bore; use hub-centric rings with 70.3 mm inner diameter and the correct outer diameter for your wheel to prevent vibration.
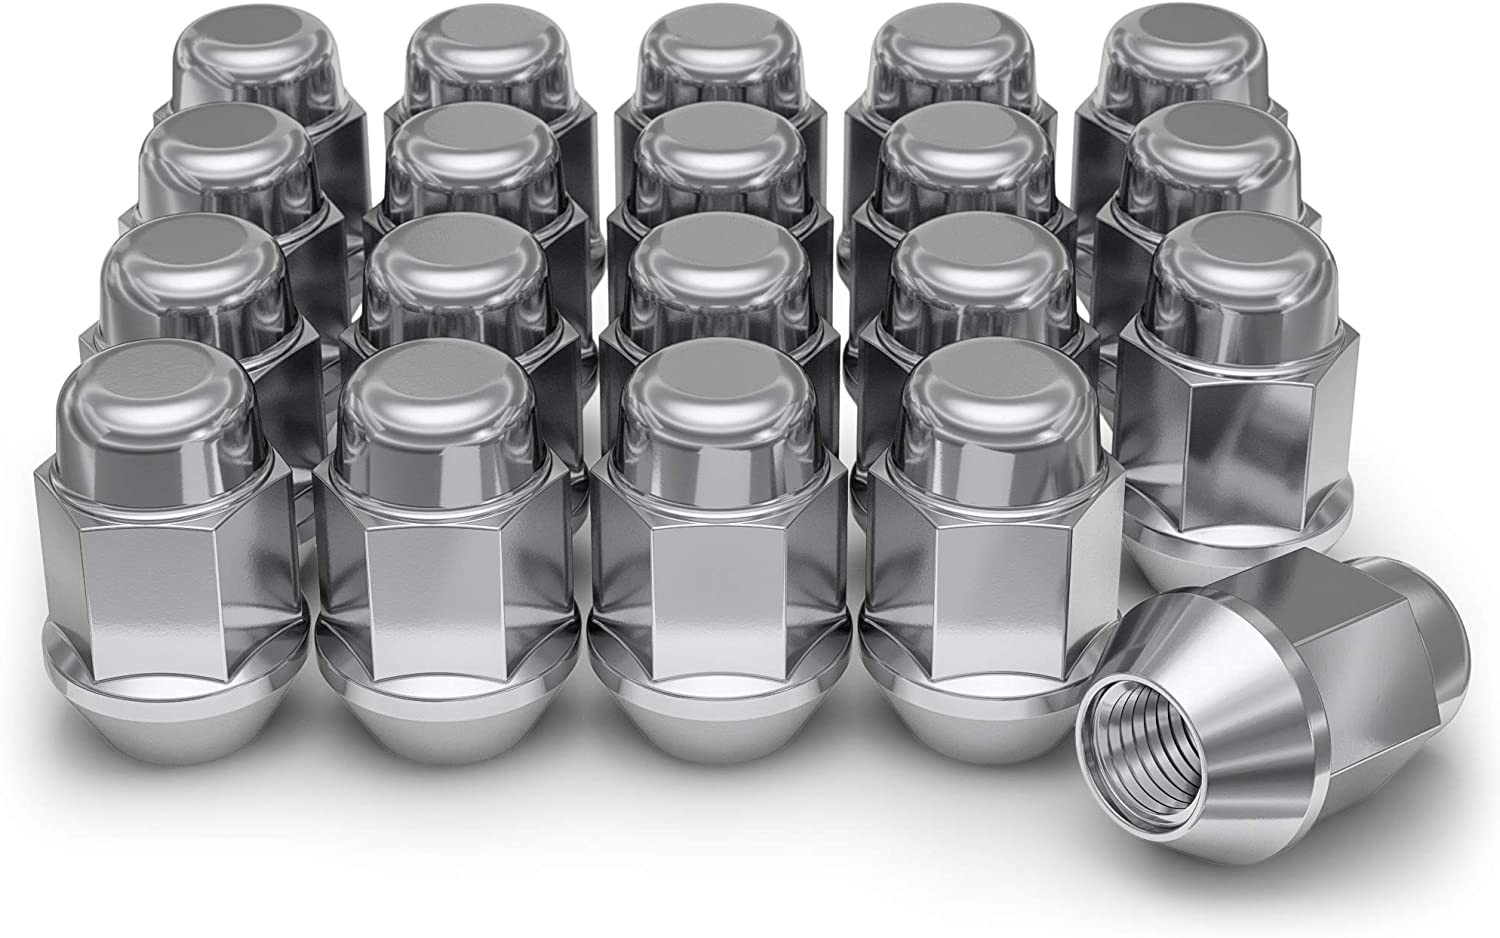
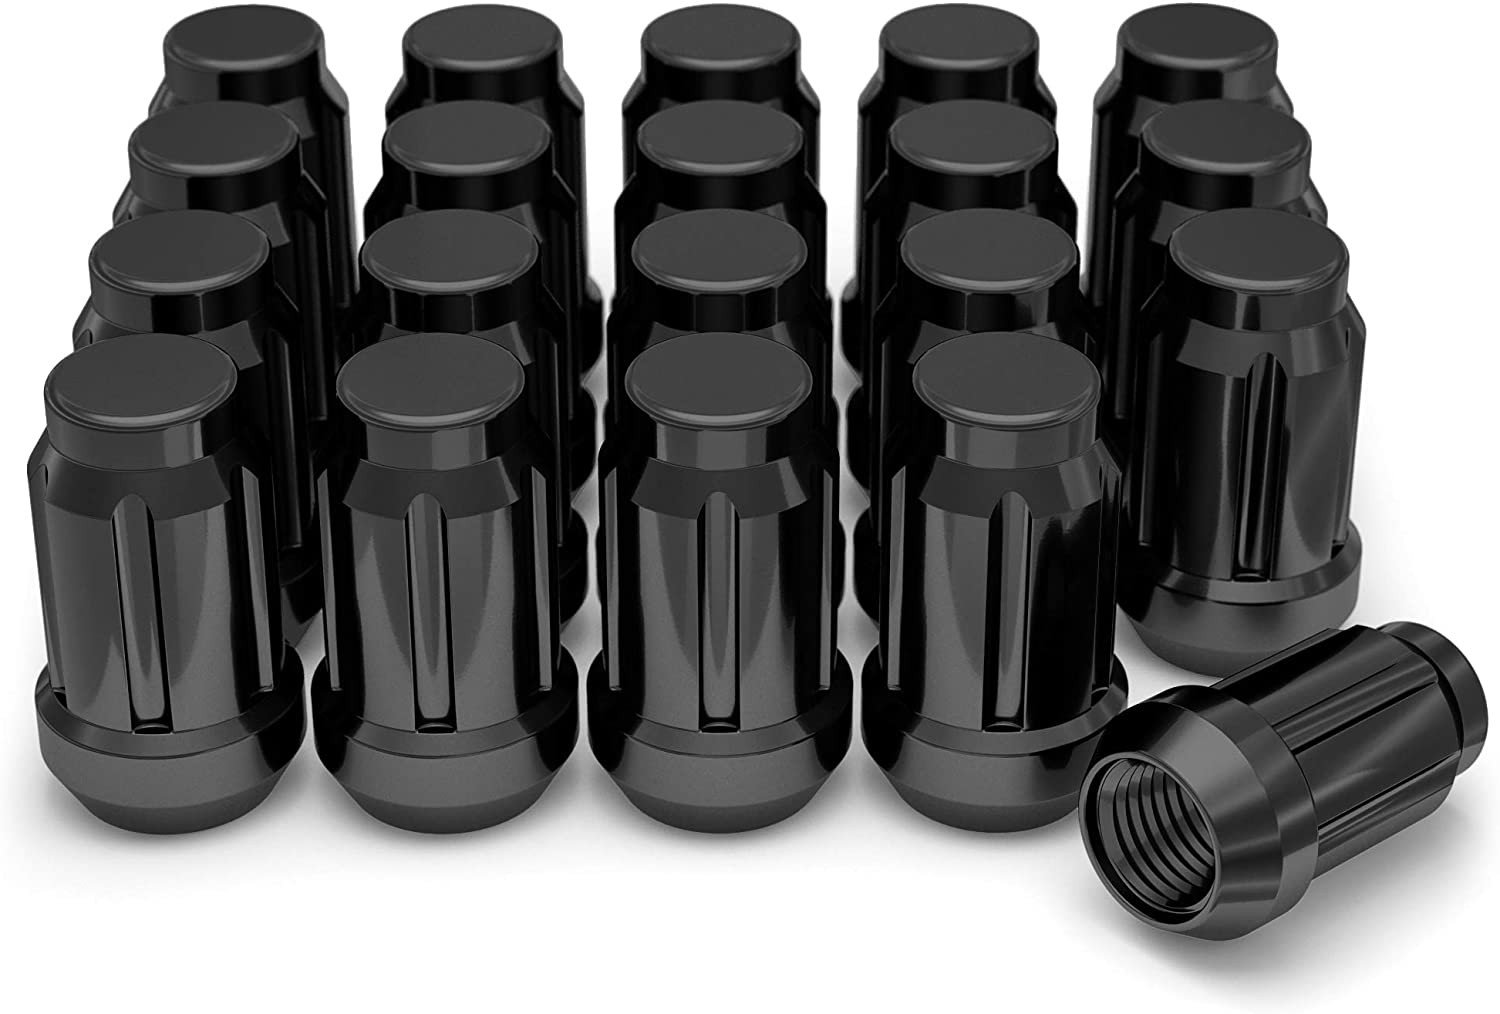
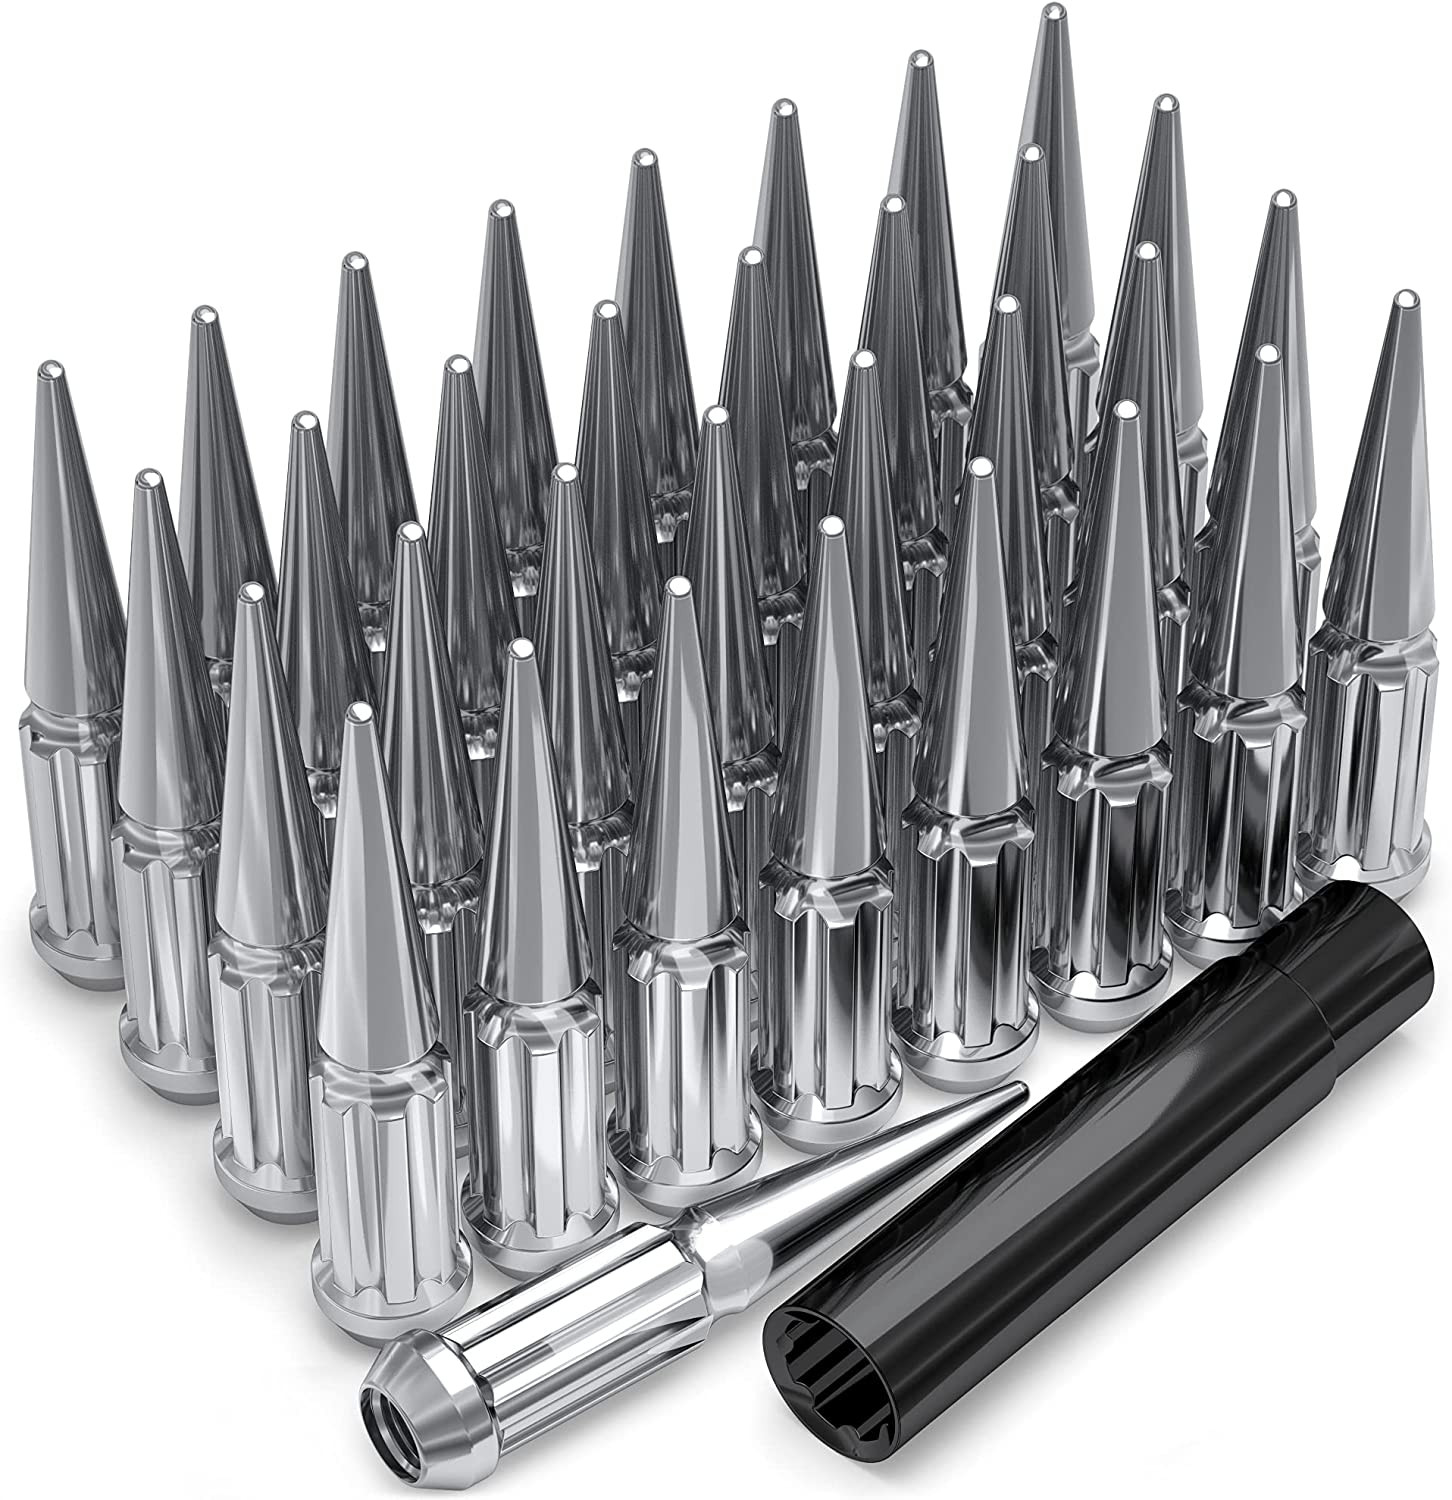
Thread size: M12 x 1.5. Verify lug nut seat type for your wheels (conical, mag, or ball). Use lugs that match both thread and seat style.
Offset and backspacing: Use the calculator to keep inner clearance safe and avoid excessive outer poke. Small changes in ET can make large clearance differences.
Brake and spoke clearance: Ensure the wheel’s barrel and spoke profile clear calipers and weights. Barrel diameter and spoke design matter, not just rim size.
Tire load and speed ratings: Meet or exceed the OEM ratings shown on the driver’s door label.
Overall diameter: Keep new tire diameter close to stock to maintain speedometer accuracy and ABS behavior. A common guideline is within about 3 percent of OEM.
Suspension and ride height: Lowered cars have tighter margins. Re-run the calculator if springs, shocks, or control arms are changed.
Stud engagement: With spacers or thick wheel pads, ensure full thread engagement per OEM guidance. If unsure, consult a qualified technician.
Plus Sizing And Common Upgrades
Use the calculator to model plus sizing. The goal is to increase rim diameter and adjust tire aspect ratio so the overall tire diameter stays close to the OEM 215/60R16 (about 664 mm or 26.2 in) while keeping proper clearances.
Illustrative tire size examples that keep diameter close to stock. These are examples for math only, not guaranteed fitments. Always verify with the calculator and a physical test:
225/55R16 ≈ 653.9 mm (about 1.6 percent smaller than stock)
235/50R17 ≈ 666.8 mm (about 0.4 percent larger than stock)
245/45R17 ≈ 652.3 mm (about 1.8 percent smaller than stock)
Wheel width and offset changes can make or break a setup even if tire diameter matches. Always check inner and outer clearance in the calculator.
If using aftermarket wheels with a larger center bore, add hub-centric rings with 70.3 mm inner diameter to keep the assembly centered.
Installation Tips
Test fit first: Mount one wheel, spin by hand, turn lock-to-lock, and compress the suspension if possible to check clearances.
Clean mounting surfaces: Remove rust and debris from the hub face and wheel mounting pad to ensure the wheel sits flush.
Hub-centric first: If the wheel bore is larger than 70.3 mm, install proper hub-centric rings before tightening lugs.
Lug hardware: Use correct M12x1.5 nuts with the proper seat for your wheel. Do not mix seat styles.
Tightening: Hand-start lug nuts, snug in a star pattern, then torque to the value in the Chevrolet service manual for your trim. Re-torque after 50–100 miles.
No lubricants unless specified by OEM: Do not oil or anti-seize lug threads unless the manufacturer calls for it.
TPMS note: If your vehicle is equipped with TPMS, follow sensor handling and relearn procedures per the service manual.
What is the bolt pattern on the 2000 Chevrolet Camaro?
It is 5x120.70 mm (approximately 5x4.75 in). Use this exact pattern for safe fitment.
Is 5x120 the same as 5x120.7?
No. 5x120.0 is not the same as 5x120.70. Do not force-fit mismatched patterns; it can cause vibration, stud stress, and failure.
What offset should I use for aftermarket wheels?
The known OEM offset is 55 mm for the listed 16x7.5 wheel. For other wheels, compare in the calculator to maintain safe inner clearance and avoid outer fender poke. Final confirmation requires a physical test.
Will 18-inch wheels fit my 2000 Camaro?
They might, but it depends on wheel width, offset, tire size, and brake/suspension clearance. Use the calculator to keep overall tire diameter close to stock and verify inner/outer clearance, then test fit.
What center bore do I need?
70.3 mm on the hub. If your wheels have a larger bore, use hub-centric rings with 70.3 mm inner diameter and the correct outer diameter for the wheel.
What lug nuts does it use?
Thread size is M12 x 1.5. Match the seat style to your wheels (for example, conical/tapered). Do not mix seat types.
How close should my new tire diameter be to stock?
A common guideline is within about 3 percent of OEM to keep speedometer and ABS behavior reasonable. Tighter is better when possible.
Do I need spacers?
Only if required to correct clearance or hub engagement issues. If used, choose hub-centric spacers with proper studs/bolts and confirm full thread engagement. Re-check torque after driving.