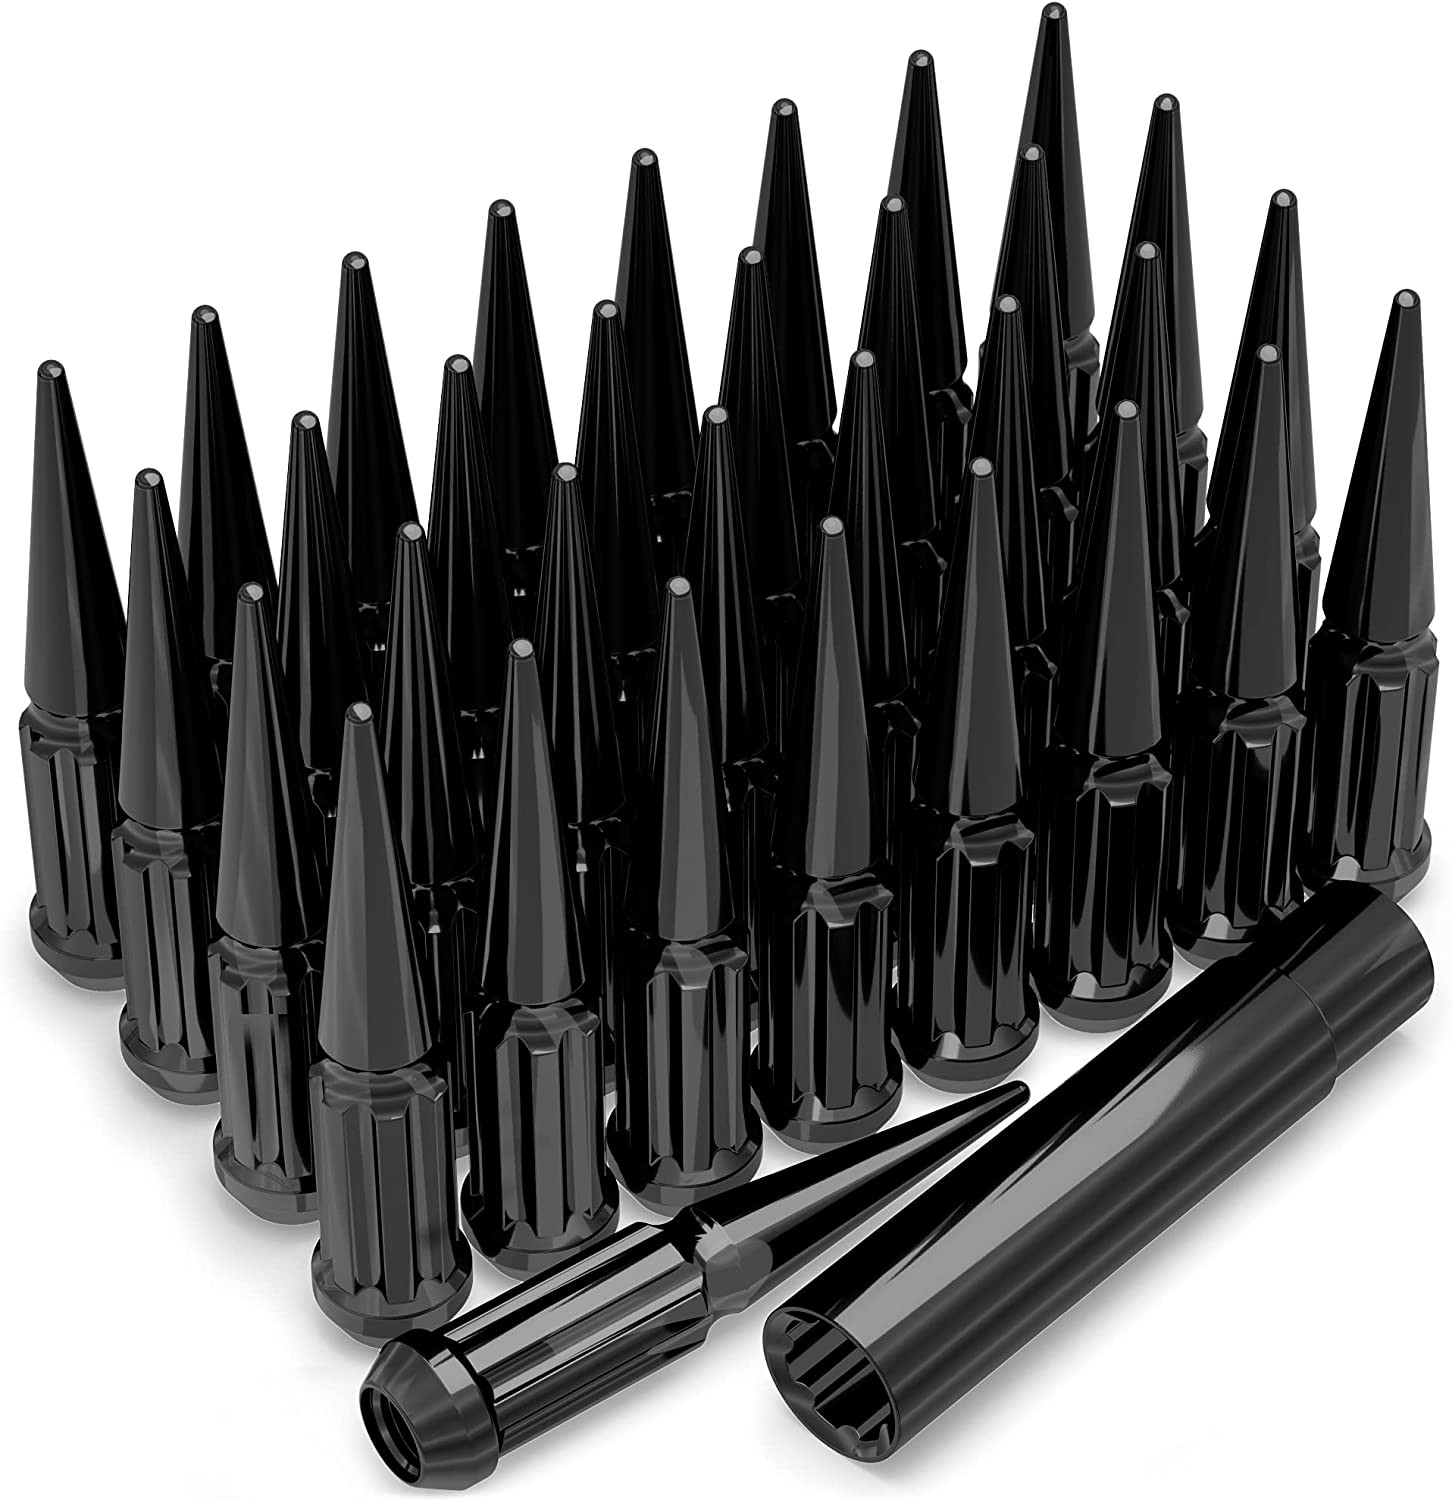
OEM wheel and tire fitment specs for the 2002 Cadillac Escalade, including bolt pattern (PCD), center bore diameter, thread size, rim diameter, rim width, wheel offset, and backspacing.
Recorded OEM specifications for the 2002 Cadillac Escalade, donor years with overlapping ranges, and a calculator to compare a selected wheel. Range overlap is not a guaranteed fit.
Multiple OEM configurations exist for this vehicle. Fitment can vary by trim, brakes, and factory wheel package – confirm your exact setup before buying.
Thread-only product links are shopping examples, not verified fits. Seat style is not confirmed here. As an Amazon Associate we earn from qualifying purchases.
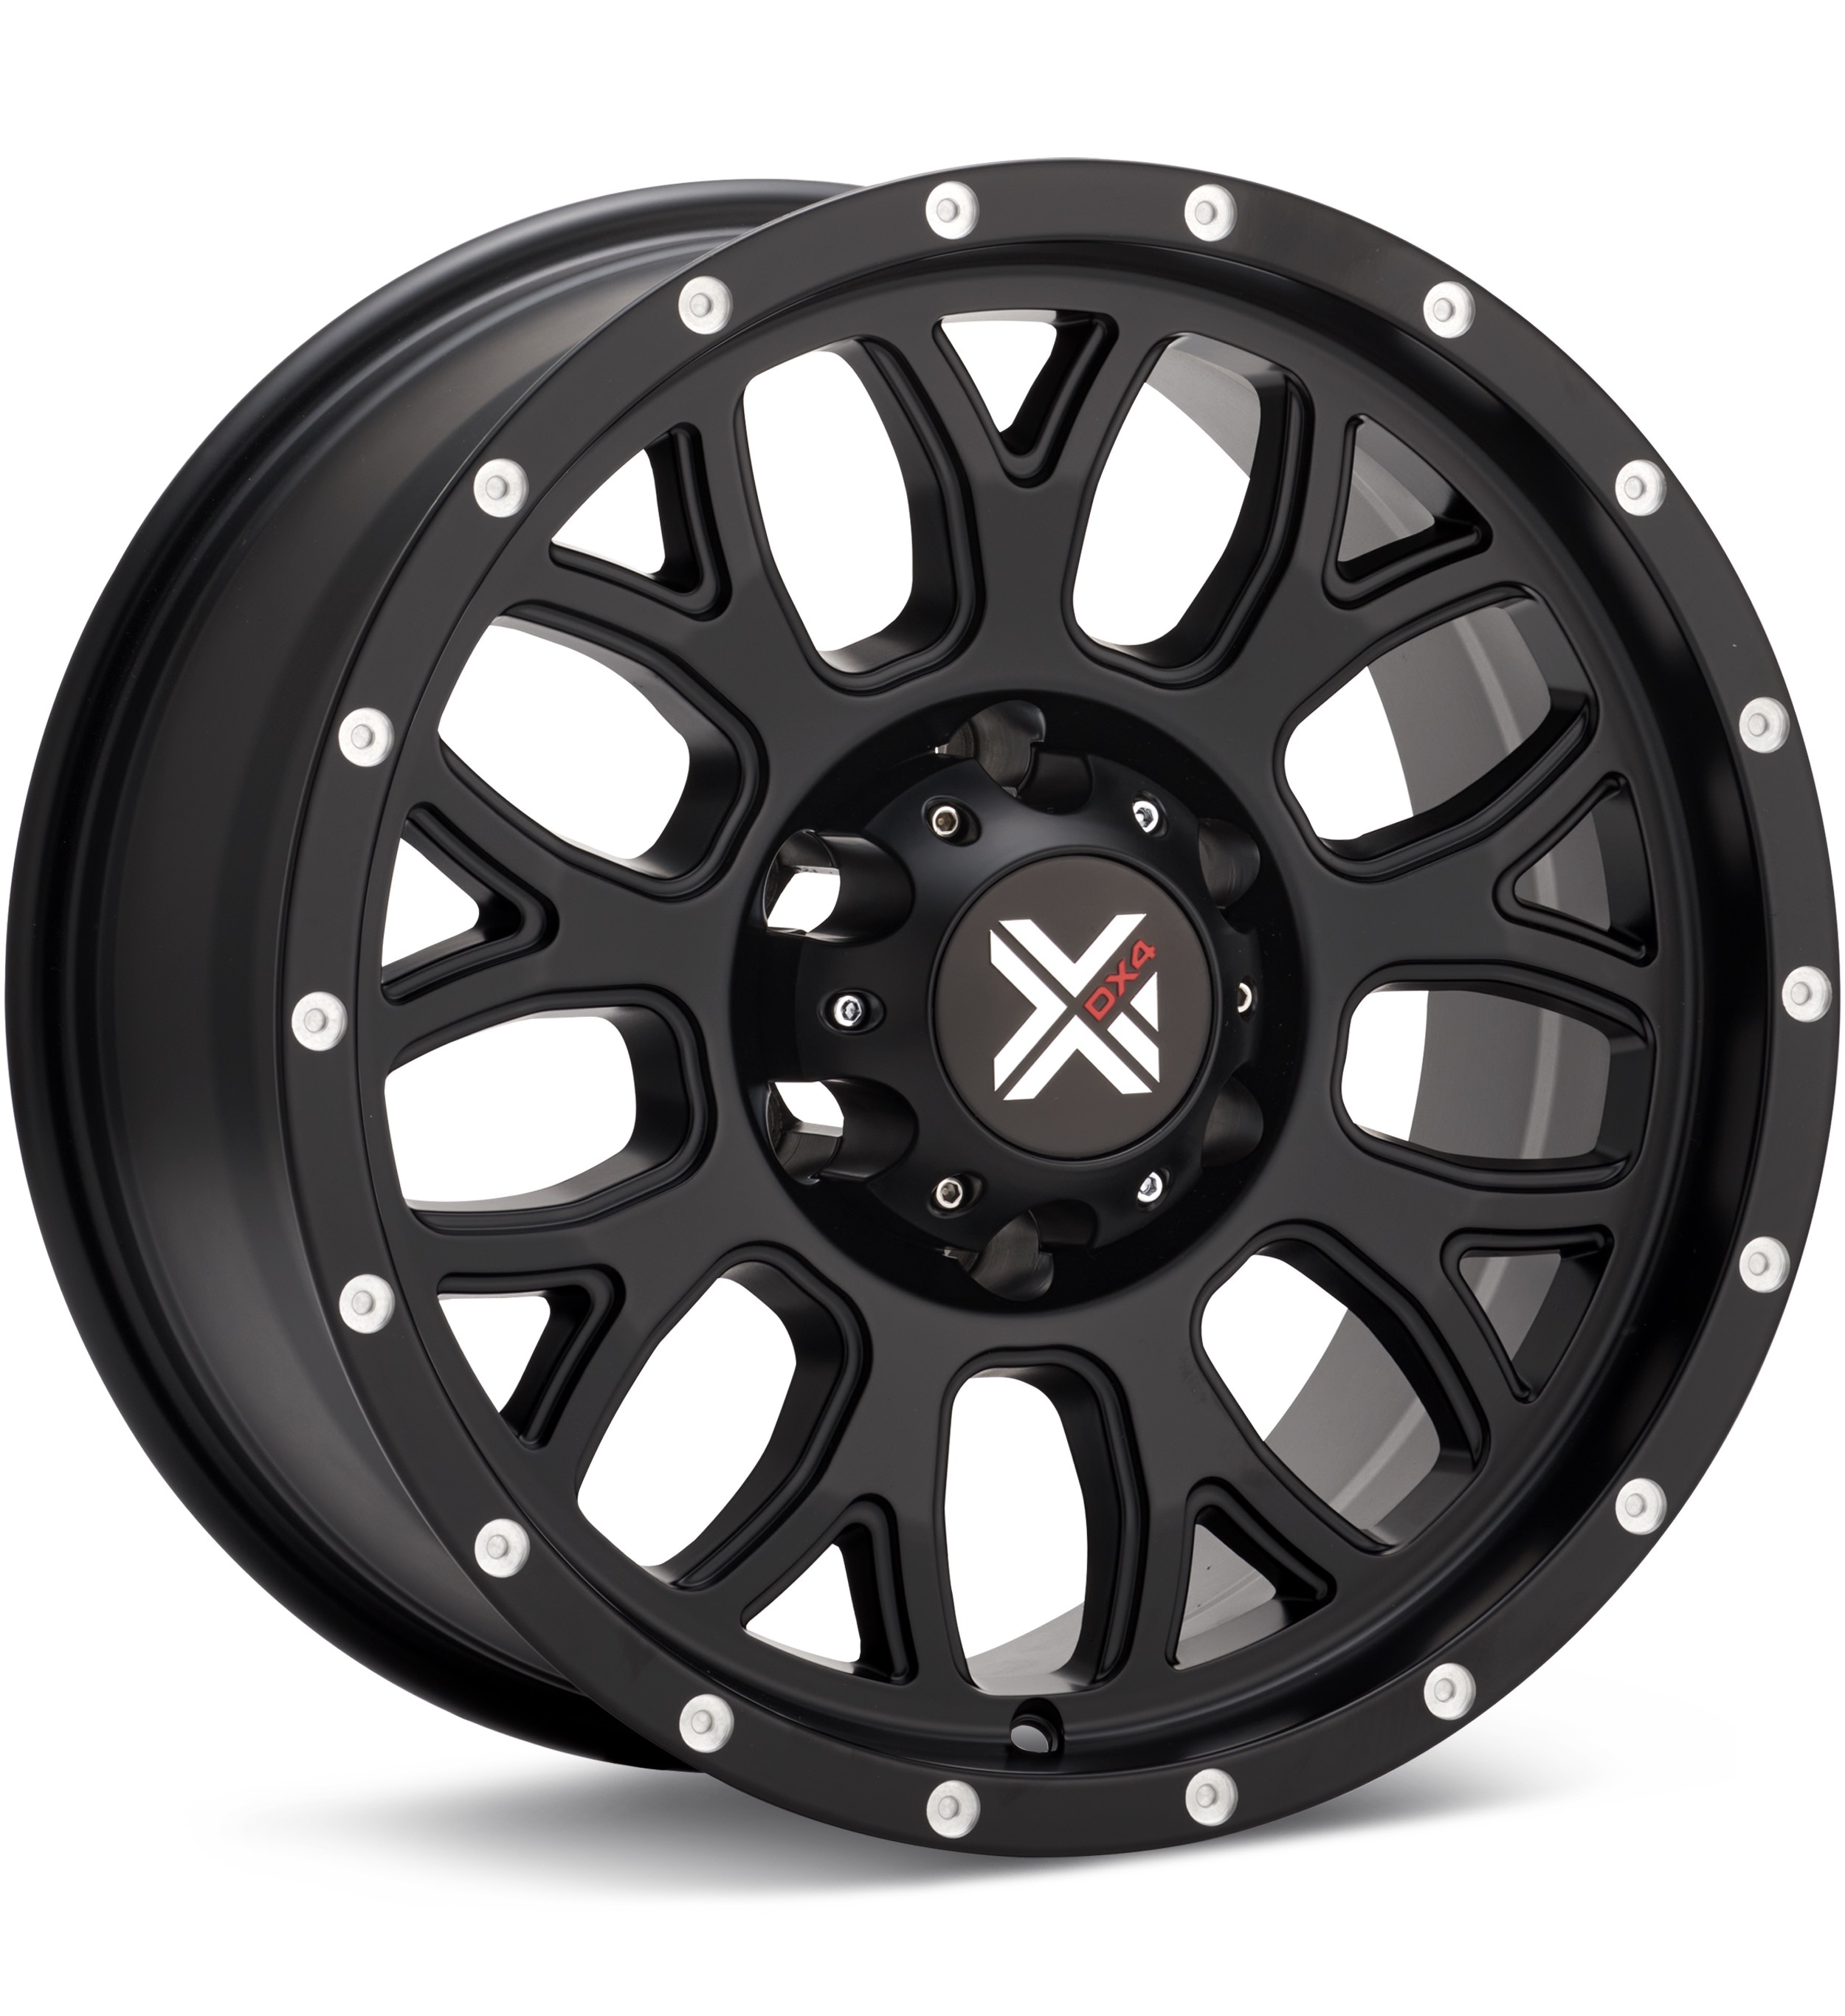
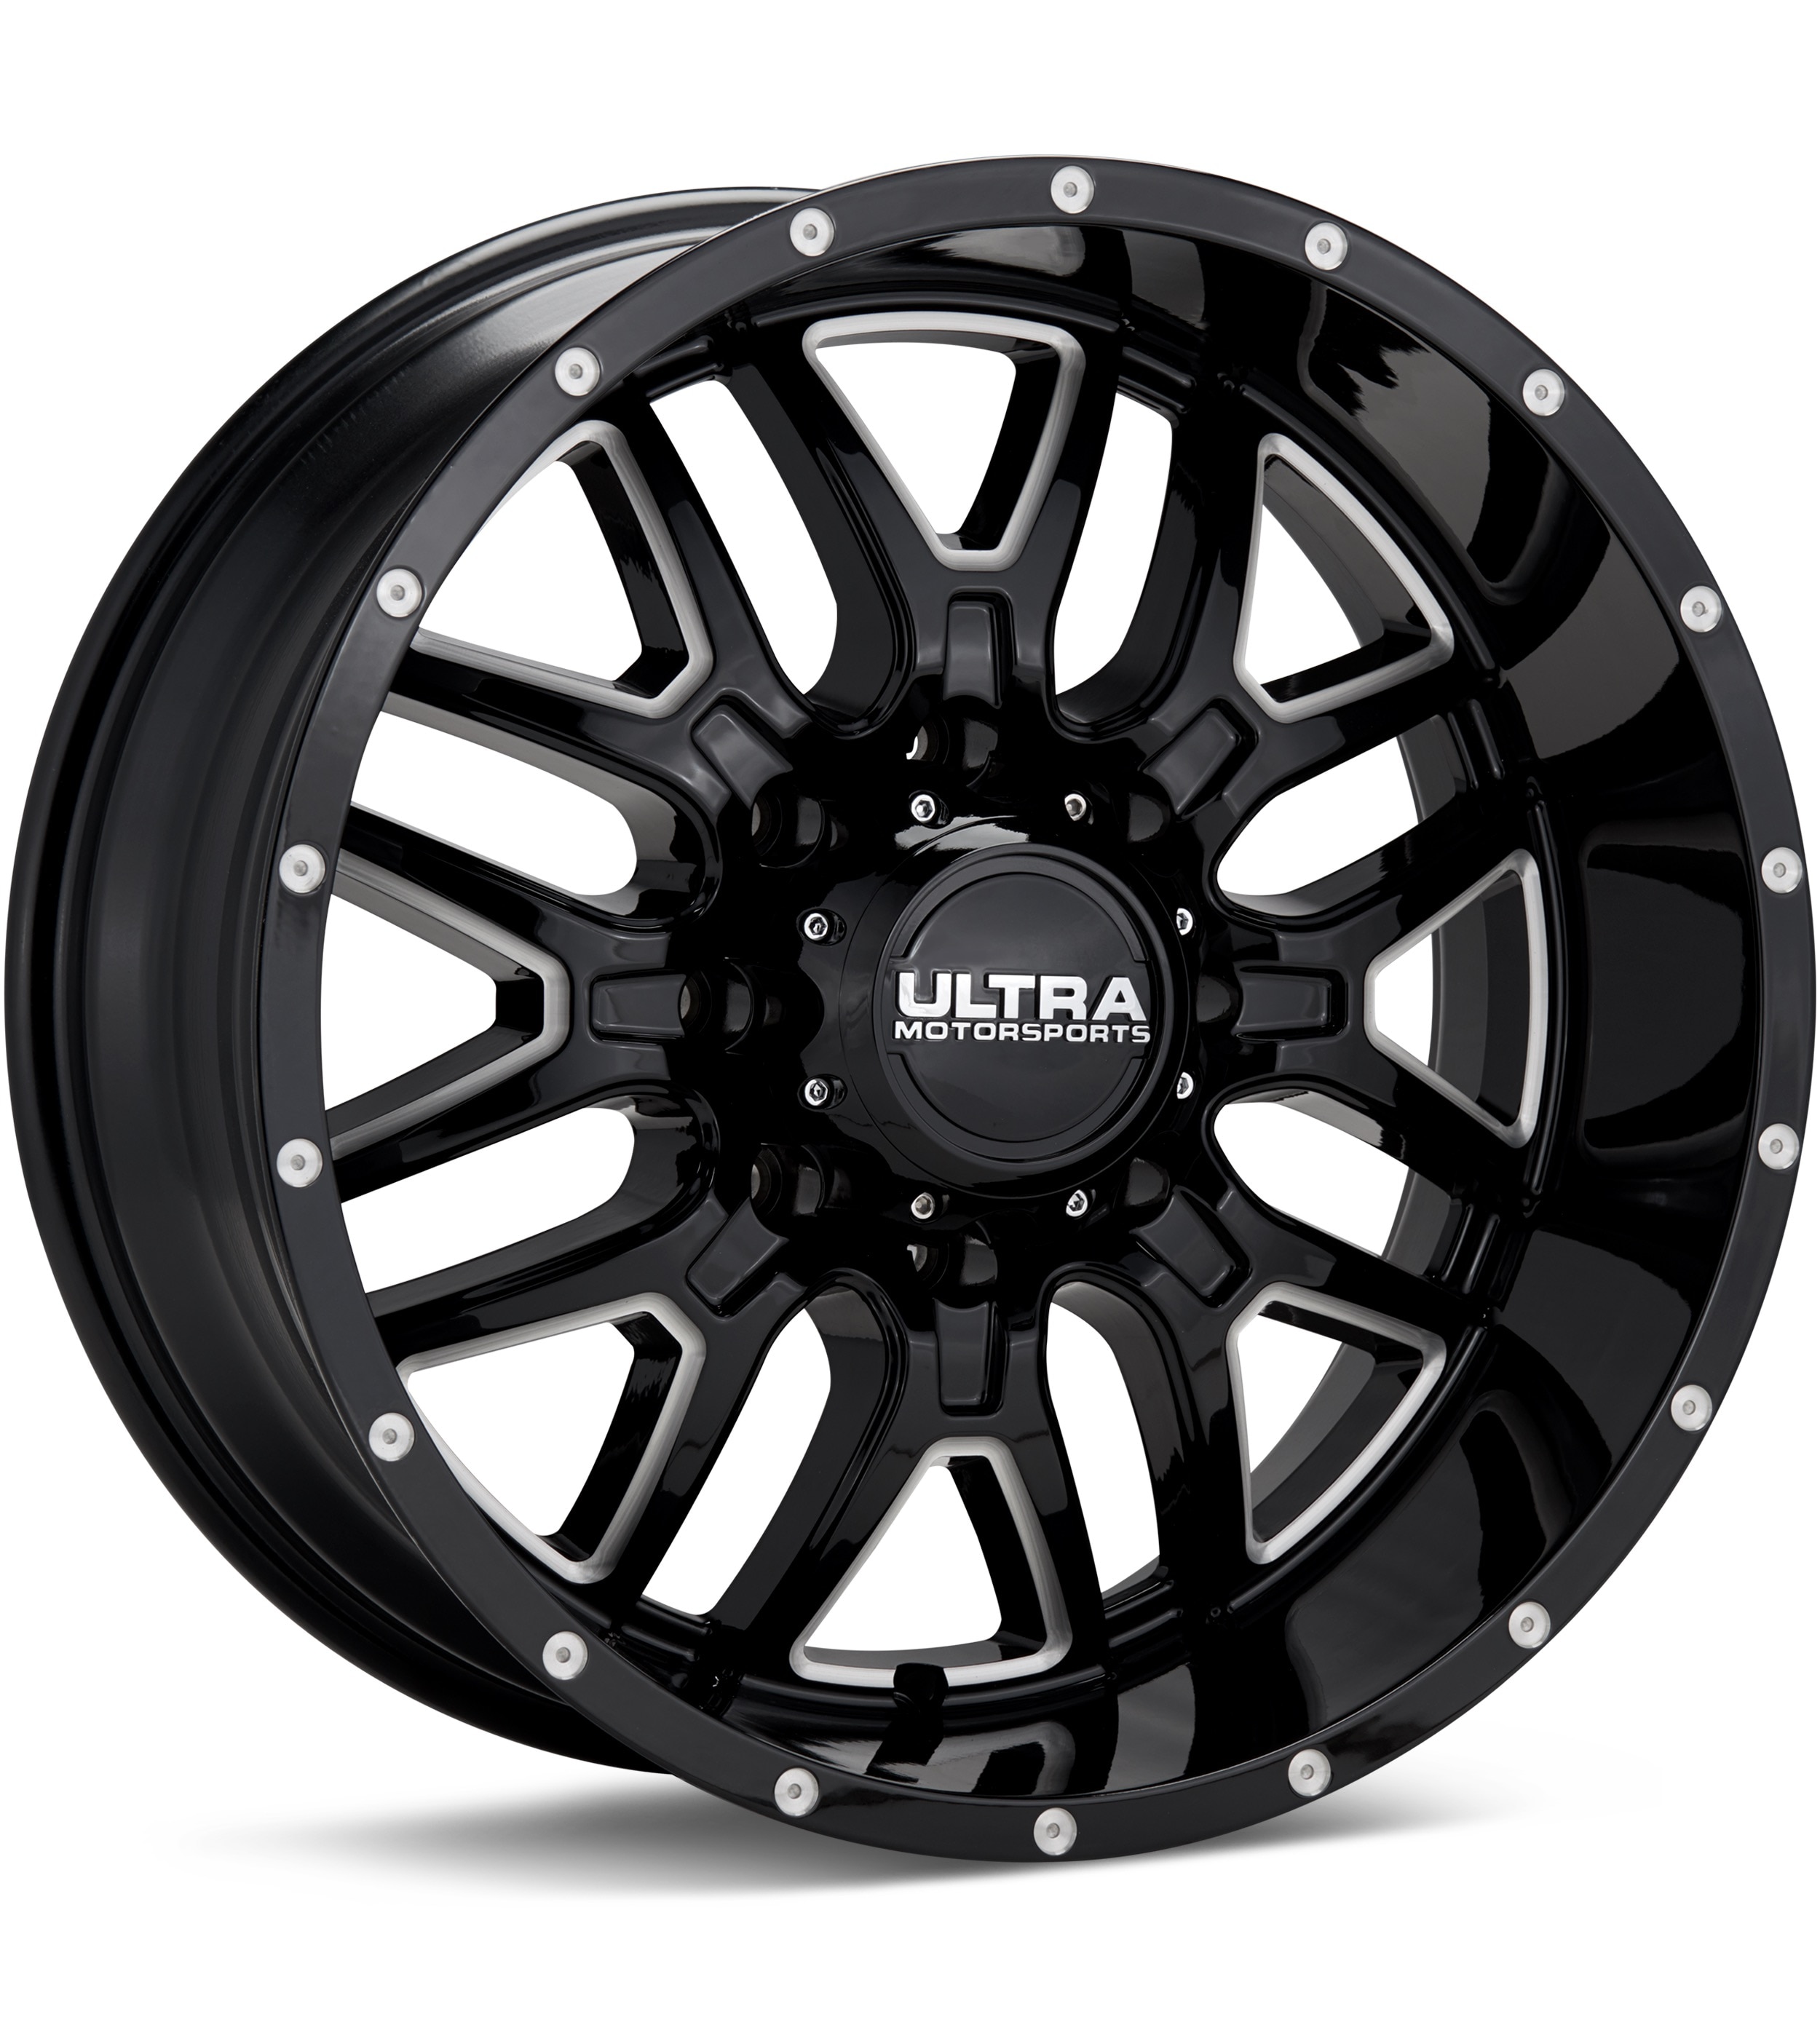
Explore wheels at Tire Rack
Selected size: 17 × 7.5″ · ET +31
Showing matching bolt patterns and offsets up to 20 mm lower. Confirm center bore, load rating, and clearance at Tire Rack.
We may earn a commission when you buy through these links. Prices and availability may change.
Donor vehicles with overlapping OEM specs
These are vehicle-year records whose recorded OEM ranges overlap this 2002 Cadillac Escalade. Overlap is not a guarantee that a specific wheel will install. Selected-wheel comparison is in the calculator below.
Evaluated 23 donor years. Listed 15 eligible overlaps (not all evaluated years are compatible). Showing all listed.
Wheel geometryOEM width/offset ranges overlap (not a specific wheel)
Approximate position vs the mid OEM package: outer change -3.18 mm, inner change -3.18 mm. This uses aggregated width/offset ranges, not a specific wheel.
Compare a donor vehicle or custom wheel against this 2002 Cadillac Escalade. Use Compare in calculator on a donor row above to fill the donor side of this same calculator.
Compare
Compare wheel compatibility between two vehicles
Wheels from (donor vehicle)
Selected Car:
Custom wheel size (optional)
Tip: change values here to simulate custom wheels and immediately see the impact in the comparison below.
Custom tire size (optional)
Installed on (your vehicle)
Selected Car:
2002 Cadillac Escalade
Compare Rims
Specification
Wheels from
Installed on
Result (Click it)
Bolt Pattern
The total number of bolt holes and the diameter of the circle they form.
-
6x139.7
Center Bore
The hole in the center of the wheel that fits over the vehicle’s hub.
-
78.1 mm
Thread Size
The size and spacing of the threads on the bolts or nuts that hold the wheel in place.
-
M14 x 1.5
Rim Diameter
The wheel diameter in inches that determines which tire sizes will fit.
-
17"
Rim Width
The distance between the inner edges of the wheel is measured in inches.
-
7.5"
Wheel Offset
How far the wheel sits inward or outward relative to the hub mounting surface.
-
31 mm
Backspacing
Shows how much space the wheel takes up toward the inside of the vehicle.
-
-
Wheel Fasteners
The type of hardware used to secure the wheel to the vehicle.
-
-
Compare Tires
Specification
Wheels from
Installed on
Result (Click it)
Section Width
The width of the tire from sidewall to sidewall, measured in millimeters.
-
-
Aspect Ratio
The height of the tire’s sidewall expressed as a percentage of its width.
-
-
Diameter
The wheel diameter for which the tire is designed to fit.
-
-
Tire Pressure
The recommended air pressure for safe and efficient driving.
-
-
Overall Diameter
The total height of the tire and wheel combined affects clearance and speedometer accuracy.
-
-
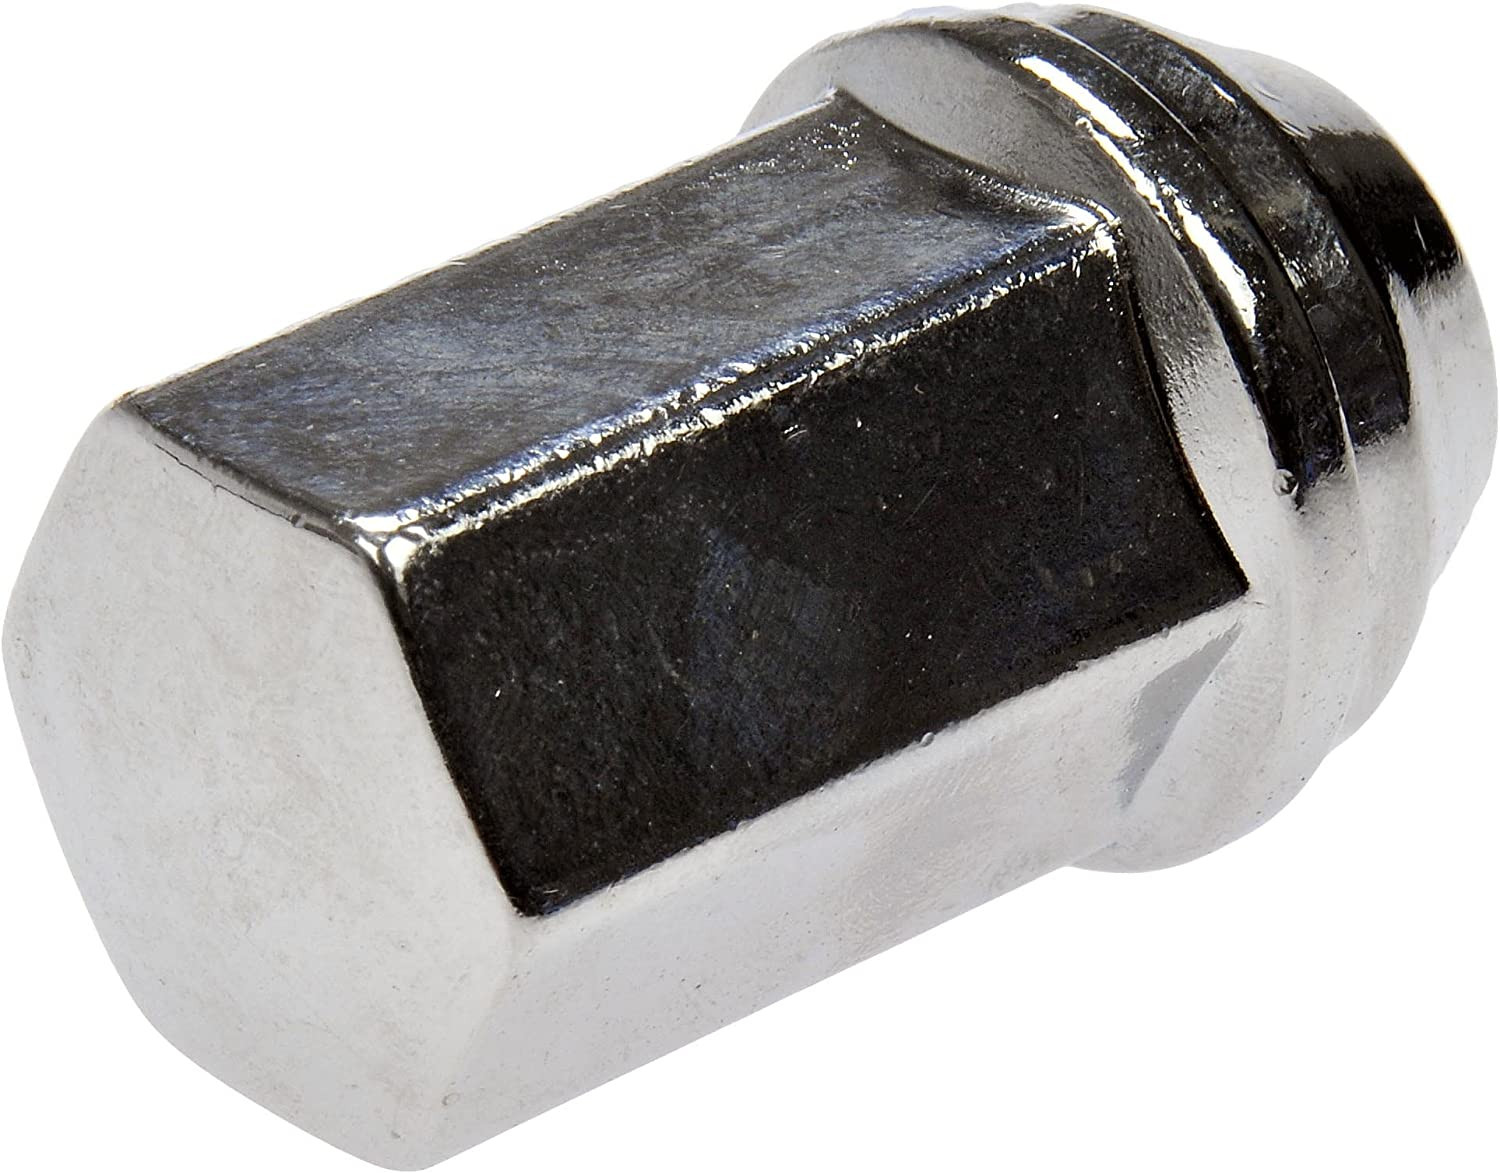
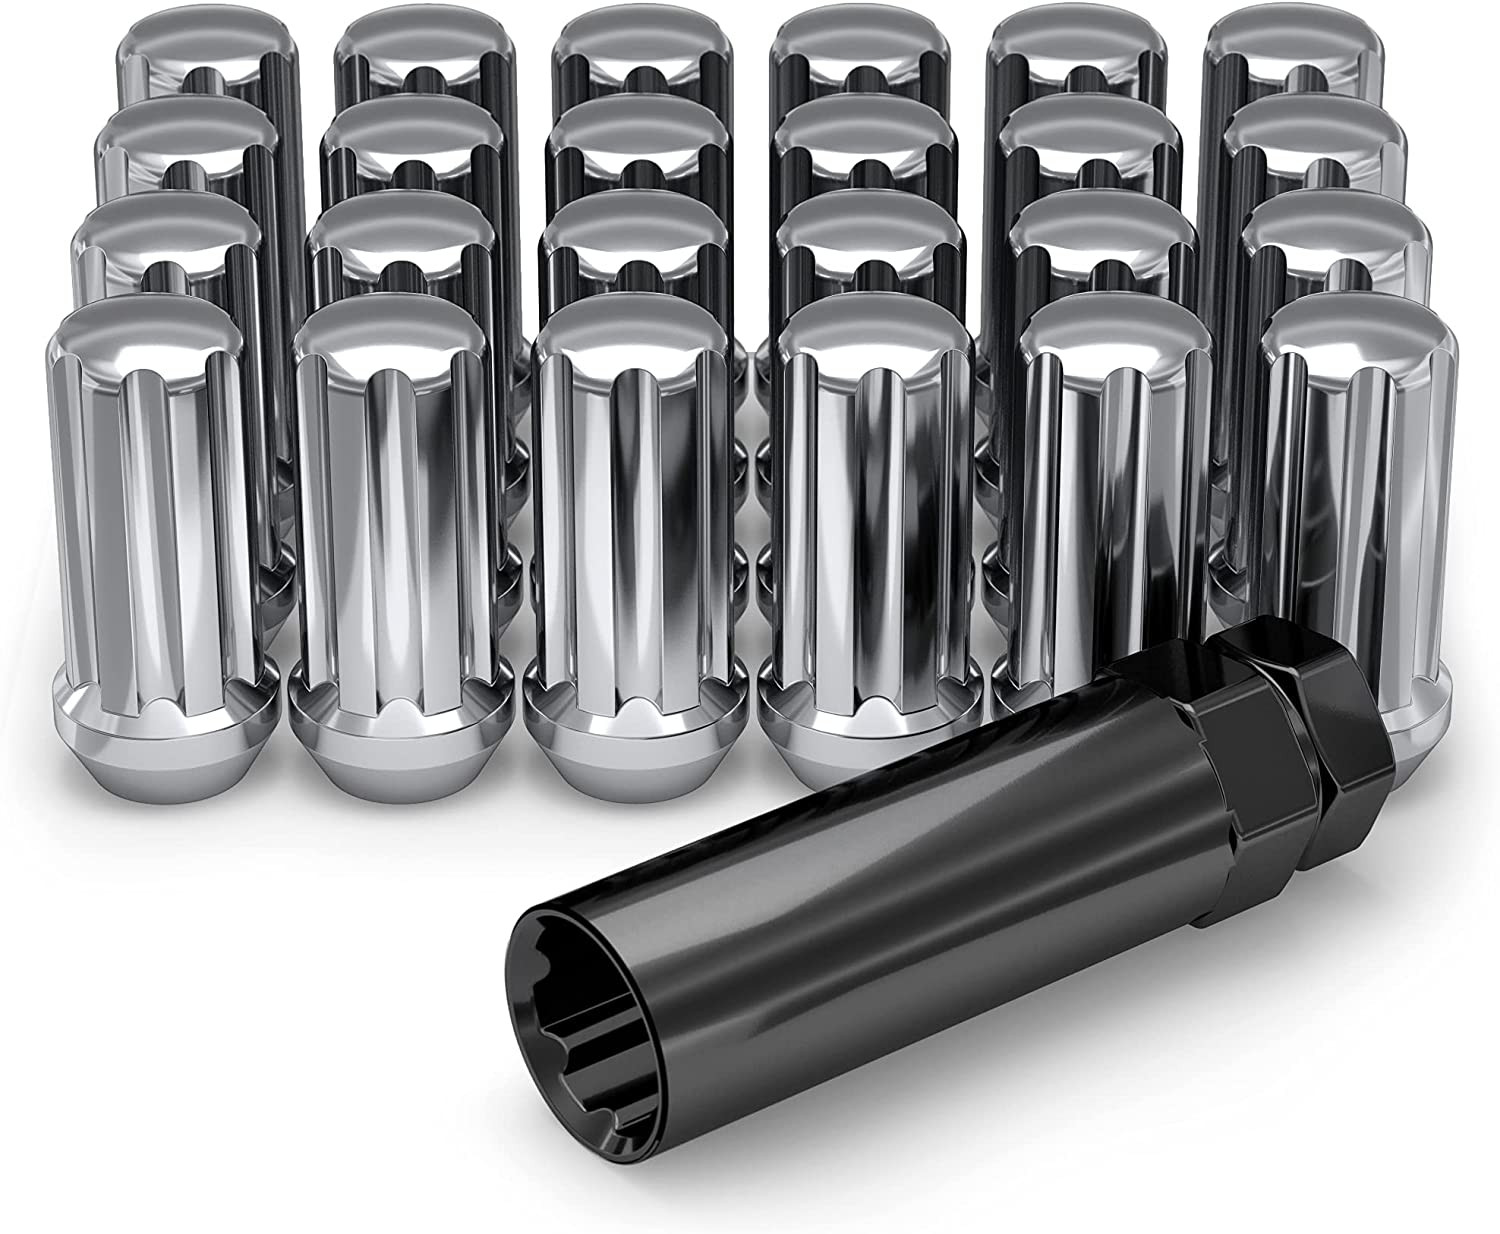
Wheel Fitment Parts for the 2002 Cadillac Escalade
Example products matched to recorded thread, hub, or spacer dimensions. They are not verified fits. Confirm seat style, thickness, and clearance before ordering.
As an Amazon Associate we earn from qualifying purchases. Product availability and pricing may change.
2002 Cadillac Escalade Wheel Fitment and Interchange Guide | wheelinterchange.com
Known OEM Fitment For 2002 Cadillac Escalade
The following factory specifications are provided for this vehicle. Some trims and option packages may differ. Use the Wheel Interchange Calculator and confirm against your tire placard, owner’s manual, and OEM service information before ordering parts.
Bolt pattern
6x139.7
Center bore
78.1 mm
Wheel fastener thread
M14 x 1.5
Known OEM rim diameter
20 in
Known OEM rim width
8.5 in
Known OEM wheel offset
ET 31 mm
Known OEM backspacing
5.47 in
Known OEM tire size
265/70R17
Notes:
Both 20x8.5 ET31 wheels and 265/70R17 tires appear in the available data for this model year. This indicates multiple factory configurations may have been offered. Verify what your specific Escalade was equipped with from the tire placard on the driver door jamb or your build sheet.
If any value on your vehicle differs from the table, prioritize your vehicle’s placard and OEM literature.
How To Use The Wheel Interchange Calculator
The calculator lets you compare a donor wheel and tire setup to your 2002 Escalade, and also test custom sizes. It updates overall tire diameter when rim diameter changes so you can quickly check clearance and speedometer impact.
Select your vehicle as “Installed on” and confirm the baseline wheel and tire from your placard or the table above.
Choose a “Wheels from (donor vehicle)” if you are considering a swap. If you do not know the donor specs, enter them manually using “Custom wheel size” and “Custom tire size.”
Adjust rim width and offset to see inner clearance to the suspension and outer poke to the fender. A higher offset moves the wheel inward. A lower offset moves it outward.
Adjust tire section width and aspect ratio to maintain similar overall diameter. Aim to keep overall diameter change small to help preserve speedometer accuracy and ABS behavior.
Review the calculator’s clearance notes, then physically measure your vehicle for brake caliper and fender clearance before purchasing.
Fitment Checklist Before You Buy
Bolt pattern must be 6x139.7. Do not force-fit other patterns or use wobble hardware.
Center bore: the Escalade hub is 78.1 mm. If aftermarket wheels have a larger bore, plan on hub-centric rings sized to 78.1 mm. Wheels with a smaller bore will not fit.
Thread size: M14 x 1.5. Use lug nuts that match both thread and the seating style specified by the wheel manufacturer. Do not mix seating styles.
Offset and width: compare to your baseline with the calculator. Ensure adequate inner clearance to the knuckle, control arms, sway bar, and shock, and check outer poke relative to the fender and bumper trim.
Brake clearance: confirm spoke and barrel clearance over calipers. Test-fit one front wheel if possible.
Tire diameter: keep overall diameter close to stock to maintain speedometer and driveline performance. Use the calculator to quantify the change.
Load rating: wheels and tires must meet or exceed the Escalade’s axle and GVWR requirements. Check wheel and tire load indexes.
Stud engagement: ensure full nut engagement on the M14 studs. Open-ended nuts are helpful for checking thread engagement during test-fit.
TPMS: if your vehicle is equipped, verify sensor compatibility and plan for relearn procedures.
Spacers: only if necessary and of high quality. Spacers change effective offset. Ensure sufficient stud length or use hub-centric, bolt-on adapters installed per best practices.
Plus Sizing And Common Upgrades
Plus sizing increases rim diameter while adjusting tire aspect ratio to keep the overall tire diameter similar. This helps preserve speedometer accuracy, gearing feel, and clearance. Use these guidelines with the calculator:
Start with your actual OEM size from the tire placard or your current tire sidewall. Enter it as the baseline.
Change “Custom wheel size” rim diameter to what you want to run, then tune tire section width and aspect ratio until the calculator shows a small change in overall diameter.
If you increase wheel width, consider adjusting offset to keep inner clearance similar. Moving the wheel outward slightly can help with suspension clearance but may increase fender poke. Verify with the calculator and measurements.
The provided data lists a 20x8.5 ET31 wheel as a known configuration for this model year. If your vehicle was not originally equipped the same way, confirm clearance, load rating, and speedometer change before upgrading.
Check full steering lock-to-lock and full suspension compression for rub after installation.
Installation Tips
Work on a flat surface. Chock the opposite wheels. Use a properly rated floor jack and jack stands at approved lift points.
Break lug nuts loose while the vehicle is on the ground. Do not remove them yet.
Lift and support the vehicle. Remove lug nuts and wheels. Clean hub faces and the wheel mounting pads until bare metal is visible. A thin film of corrosion inhibitor on the hub face only can help prevent future sticking. Do not lubricate wheel studs unless specified by OEM procedures.
Test-fit one front wheel for caliper and hub fit. Verify the wheel seats flush against the hub. If the wheel bore is larger than 78.1 mm, install the correct hub-centric ring and recheck.
Install wheels by hand. Thread lug nuts by hand to avoid cross-threading the M14 x 1.5 studs.
Snug in a star pattern, lower the vehicle, then torque in a star pattern to the factory specification from your owner’s manual or service manual.
Re-torque after 50 to 100 miles and again after the first heat cycles with towing or heavy loads.
Perform a road test. Turn lock-to-lock in a safe area and drive over gentle bumps to listen for rubbing. Reinspect all clearances.
Anti-seize for hub center only if desired, per OEM guidance
Medium-strength thread locker only if specified by the manufacturer for adapter hardware
FAQs
What is the bolt pattern on the 2002 Cadillac Escalade?
6x139.7. The wheel must match this pattern for safe installation.
What is the hub bore size I need to match?
78.1 mm at the vehicle hub. If your wheel’s center bore is larger, use hub-centric rings to reduce to 78.1 mm. If it is smaller, the wheel will not fit.
Which lug nuts do I need?
The thread is M14 x 1.5. The seat type must match the wheel design, which varies by brand. Confirm with the wheel manufacturer. Do not mix seat styles.
What offset should I run?
ET 31 mm is listed for a known 20x8.5 OEM wheel. If you change width or design, use the calculator to compare inner and outer clearance against your baseline, then verify physically before buying.
Will 20 inch wheels fit my 2002 Escalade?
A 20x8.5 ET31 wheel appears in the provided data for this model year. If your specific vehicle was not equipped that way, confirm brake, suspension, and fender clearance using the calculator and a test-fit, and select a tire size that keeps overall diameter close to your OEM tire.
Do I need spacers?
Only if required to clear brakes or suspension after checking with the calculator and test-fitting. Spacers change effective offset and require careful attention to hub-centric fit and stud engagement.
What torque should I use on the lug nuts?
Always torque to the factory specification in your owner’s manual or service manual. If you do not have it, consult an OEM source. Re-torque after 50 to 100 miles.
Can I reuse my existing TPMS sensors?
If your vehicle is equipped with TPMS and the new wheels accept the same sensor style, you can often transfer them. Replace seals as needed and perform the relearn procedure per OEM instructions.
Methodology and sources
Wheel interchange depends on more than bolt pattern. Where data is available, this site compares recorded OEM values:
Bolt pattern / PCD
Center bore direction (donor wheel bore must not be smaller than the hub)
Wheel diameter, width, and offset against known OEM ranges
A normal wheel spacer does not change bolt pattern. Hub rings cannot enlarge a wheel bore that is smaller than the hub. Brake clearance and tire package fitment still require vehicle-specific checks when not confirmed in the dataset.