2006 Cadillac XLR Wheel Fitment Guide
Known OEM Fitment For 2006 Cadillac XLR
The following factory specifications are provided for the 2006 Cadillac XLR. If your vehicle has a special package or trim, some details may differ. Always confirm against the tire and loading information label on your driver’s door jamb and verify with the on-page calculator and OEM documentation before purchasing wheels or tires.
| Bolt pattern (studs x PCD) |
5x120.70 |
| Center bore (hub bore) |
70.1 mm |
| Thread size |
M12 x 1.5 |
| OEM rim diameter |
19 in |
| OEM rim width |
8.0 in |
| OEM wheel offset (ET) |
61 mm |
| Backspacing |
6.4 in |
| OEM tire size |
235/45R19 |
Notes:
- Load index, speed rating, and torque values are not provided here and can vary. Use the owner’s manual, service information, and your door placard to confirm.
- If your XLR has non-standard equipment or appearance/performance packages, verify wheel widths and offsets carefully with the calculator before ordering.
How To Use The Wheel Interchange Calculator
Use the calculator on this page to compare donor wheels and tires to your 2006 Cadillac XLR. It helps visualize changes in inner and outer clearance, ride height, and speedometer variance.
- Step 1: In “Installed on (your vehicle)”, select 2006 Cadillac XLR. The OEM specs above can be set as your baseline.
- Step 2: In “Wheels from (donor vehicle)”, pick another vehicle to compare or enter a custom wheel size.
- Step 3: Adjust “Custom wheel size” fields (rim diameter, width, offset). The tool shows inner (suspension/brake) and outer (fender) position changes.
- Step 4: Adjust “Custom tire size” (section width and aspect ratio). When you change rim diameter, the calculator updates overall tire diameter in the comparison so you can maintain an acceptable variance.
- Step 5: Keep overall diameter change small to reduce speedometer error. Confirm brake-caliper clearance and fender clearance with a physical test-fit whenever possible.
Fitment Checklist Before You Buy
- Bolt pattern: Wheel must be 5x120.70. Do not force 5x120 onto 5x120.70 studs.
- Center bore: Vehicle hub is 70.1 mm. If your wheel has a larger bore, use hub-centric rings that reduce to 70.1 mm.
- Offset and backspacing: OEM is ET 61 mm and about 6.4 in backspacing on an 8.0 in wheel. Any offset change moves the wheel in or out; verify with the calculator and measure on-car clearances.
- Width: Wider wheels can contact suspension or fenders. Check inner/outer clearance on the calculator and with a test-fit.
- Brakes: Confirm spoke and barrel clearance over calipers and rotors. Paper templates or trial fitting are recommended.
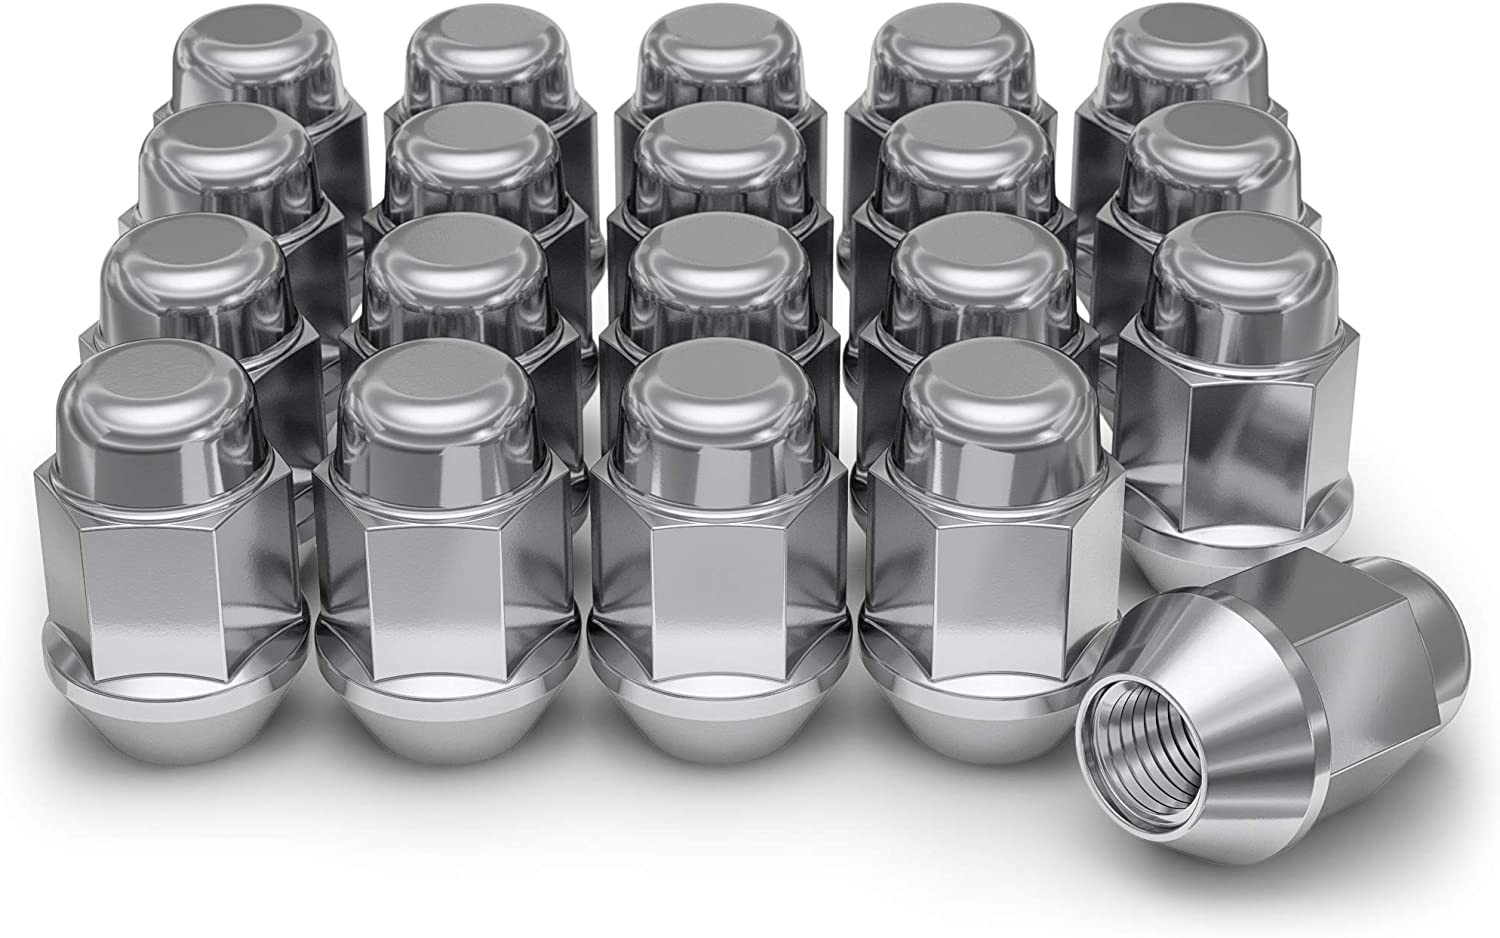
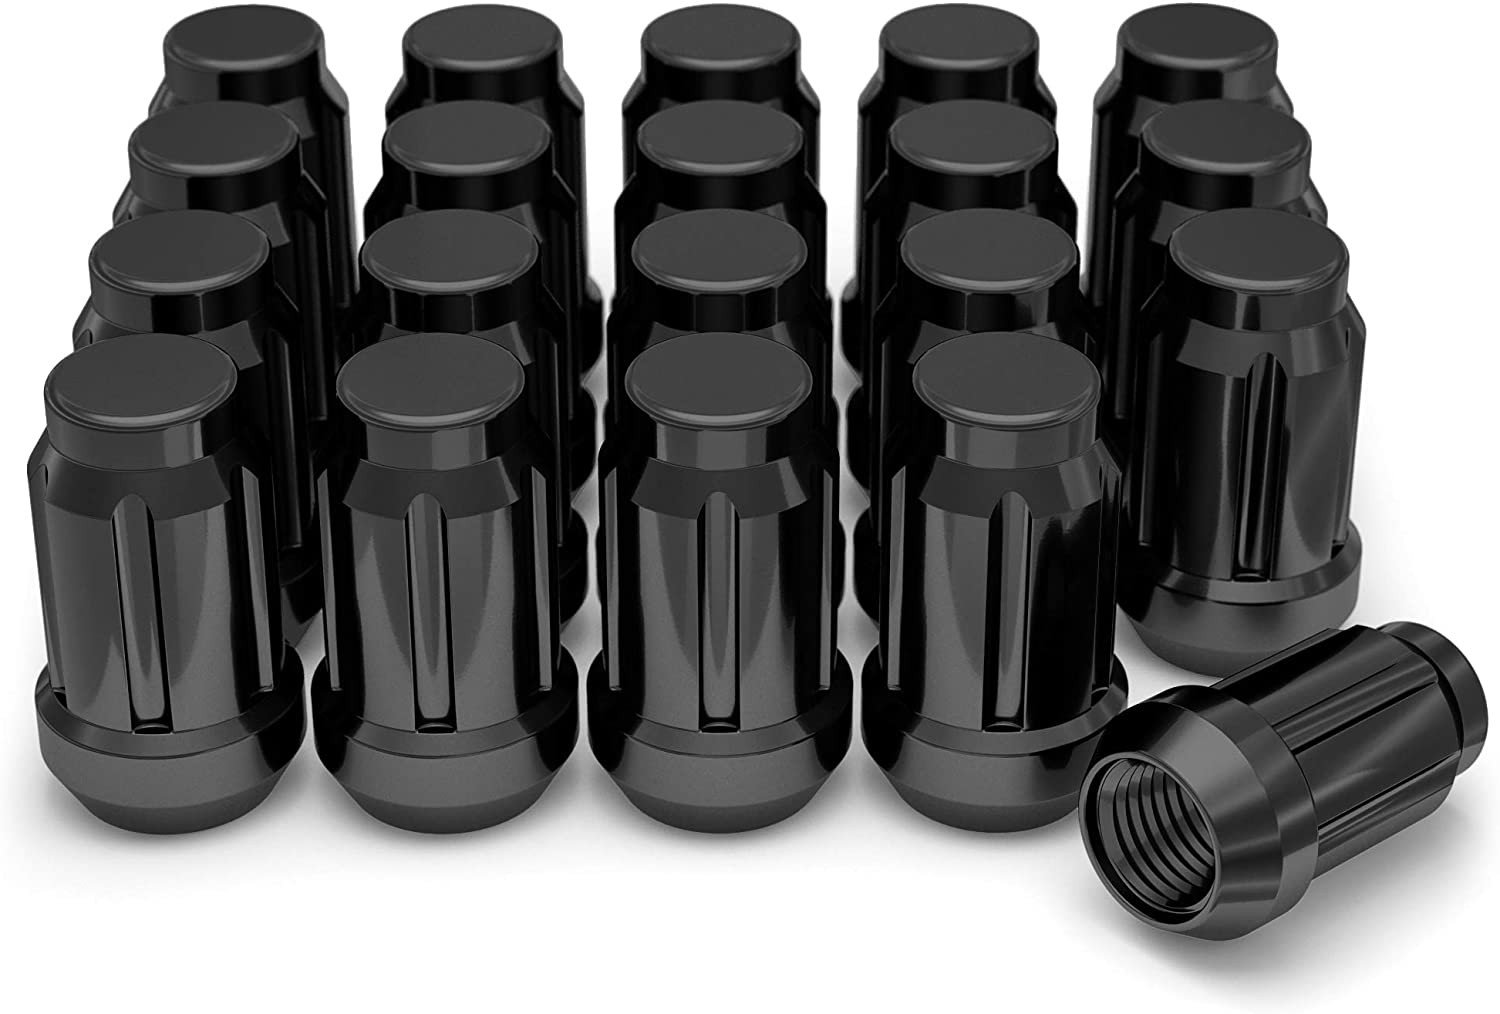
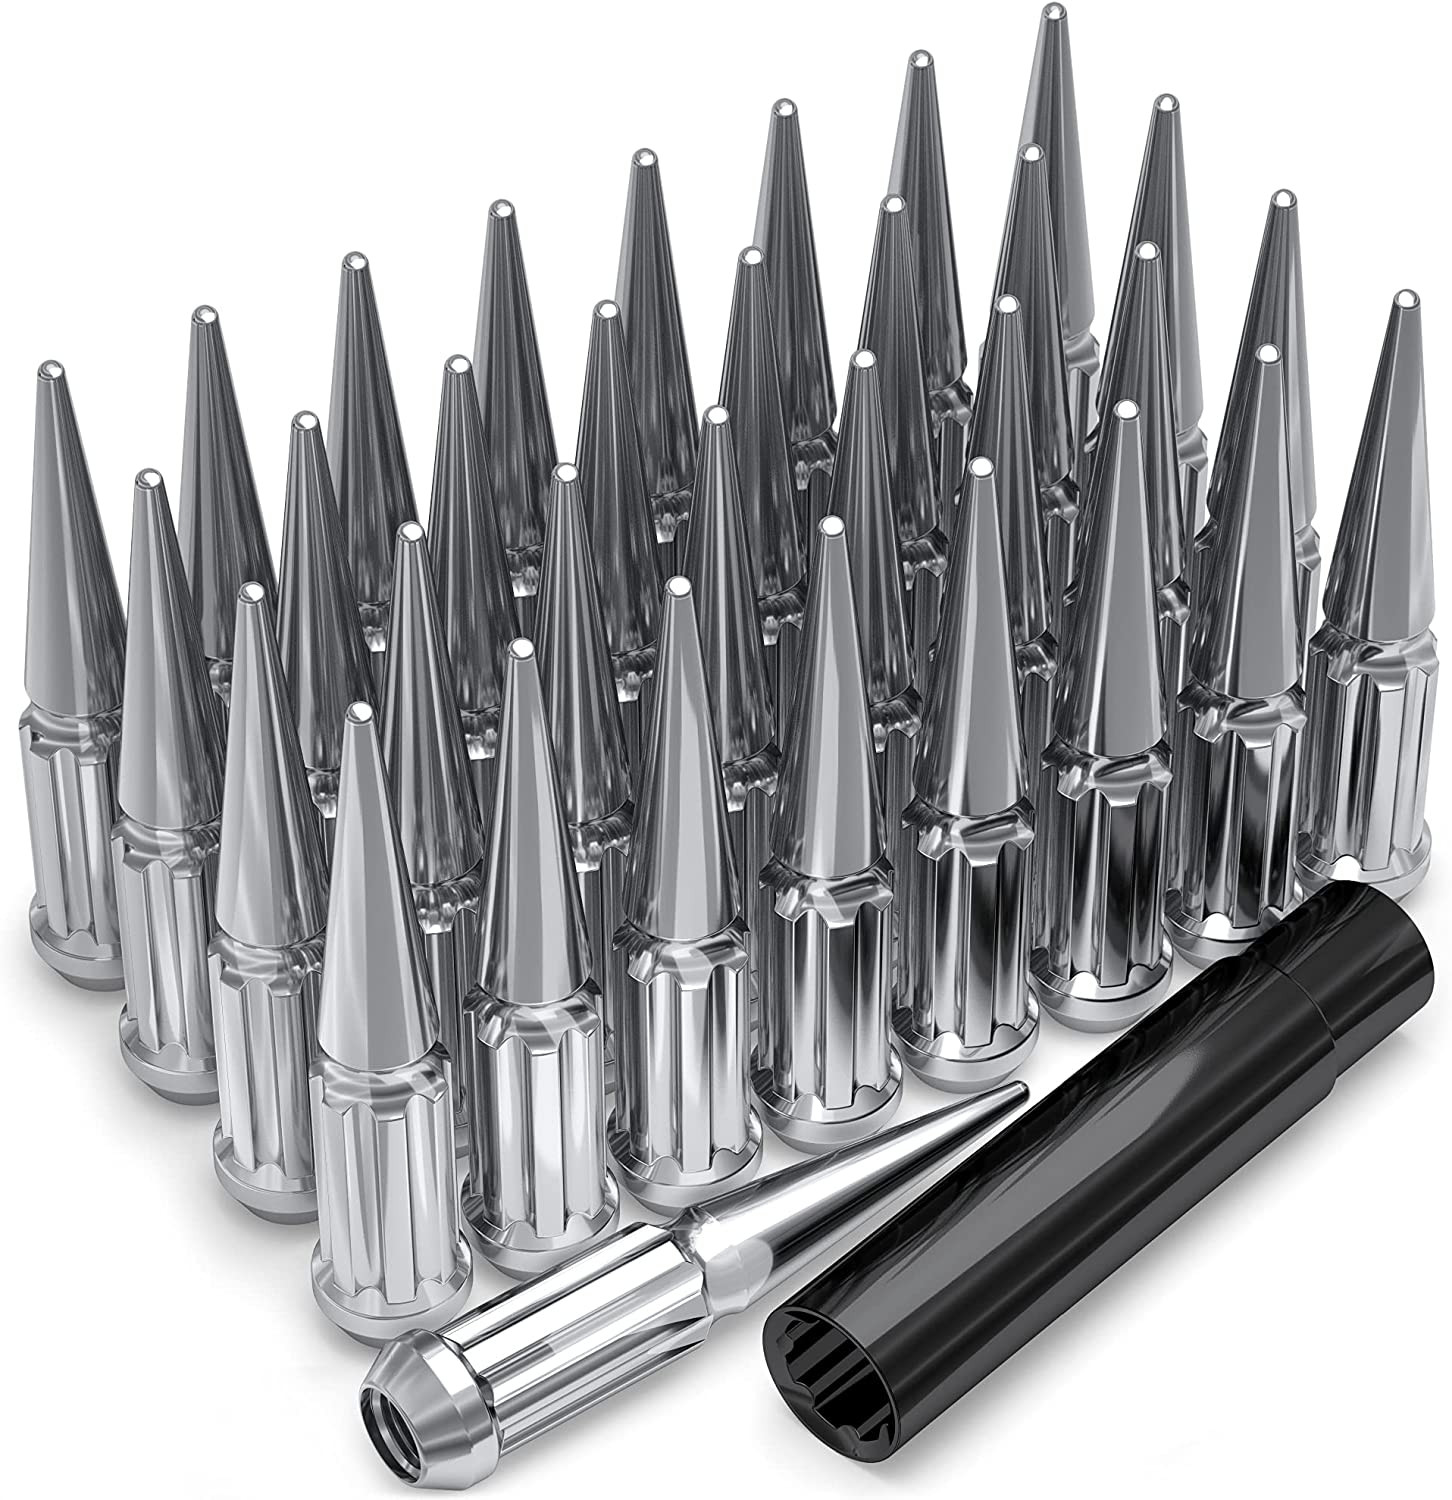
- Lug hardware: Studs are M12x1.5. Match lug nut seat style to the wheel (verify cone, ball, or mag seat with the wheel manufacturer).
- Tires: Match or exceed the OEM load index and speed rating shown on your door placard. Use the calculator to keep overall diameter close to stock.
- TPMS: Relearn or reprogram sensors as required for your vehicle after installation.
Plus Sizing And Common Upgrades
The stock tire is 235/45R19 on an 8.0 in wheel with ET 61 mm. You can explore alternative sizes in the calculator, but confirm clearance and OEM requirements before purchasing. The examples below are for comparison only, not guaranteed fitments.
- Same-diameter alternatives to fine-tune grip and stance: Try 245/40R19 or 255/40R19 in the calculator with appropriate wheel widths. Check inner and outer clearances and load rating.
- Minus sizing for ride comfort and winter setups: Explore 18 in options in the calculator that keep overall diameter close to stock. Verify brake clearance first.
- Plus sizing for appearance/performance: Explore 20 in options in the calculator. Keep diameter variance small and verify offset, width, and brake/fender clearance.
- Staggered setups: If considering wider rears, use the calculator to compare both front and rear positions. Maintain proper load index and ensure no interference at full steering lock or suspension compression.
Always finalize with a physical test-fit and follow OEM alignment, tire pressure, and torque procedures after installation.
Installation Tips
- Test-fit one corner first: Spin the wheel by hand to check caliper, knuckle, and fender clearance through full suspension travel and steering lock.
- Clean the hub face: Remove rust and debris so the wheel seats flush. Any debris can cause vibration.
- Use hub-centric rings when needed: If the wheel’s center bore is larger than 70.1 mm, install proper rings to avoid vibration.
- Hand start lug nuts on M12x1.5 studs and tighten in a star pattern. Use a torque wrench to the OEM specification from the owner’s manual or service information. Re-torque after 50–100 miles.
- Check stud engagement: Ensure full thread engagement with the chosen lug nuts. Do not use damaged or mismatched hardware.
- TPMS care: Transfer or program sensors as needed and set pressures to the placard value. Perform any required relearn.
- Avoid rubbing: After installation, drive slowly over bumps and through full steering range to confirm no contact.
Tools And Helpful Supplies
- Floor jack and jack stands rated for your vehicle
- Wire brush and brake cleaner for hub and rotor face
- Tire pressure gauge and inflator
- Plastic safe pry tool for center caps
- Anti-seize is generally not recommended on wheel studs unless specified by OEM; follow OEM torque procedures
FAQs
What is the bolt pattern on the 2006 Cadillac XLR?
It is 5x120.70. Wheels with 5x120 are not a direct match. Use only the correct PCD or professionally engineered adapters.
What is the center bore size?
The vehicle hub bore is 70.1 mm. If your wheel’s bore is larger, use hub-centric rings that reduce to 70.1 mm. If it is smaller, the wheel will not seat on the hub.
What offset should I use?
OEM offset is 61 mm on the listed 19x8.0 wheel. If you change offset, verify inner and outer clearances with the on-page calculator and a physical test-fit. Do not assume a universal “safe range.”
Can I fit 5x120 wheels on a 5x120.70 car?
No. The 0.70 mm difference in PCD is significant. Forcing mismatched wheels can damage studs and compromise safety. If you must, consult a professional about hub-centric PCD adapters engineered for the vehicle’s loads, and confirm thread engagement and fender/suspension clearance.
Do I need new lug nuts?
You need M12x1.5 hardware that matches your wheel’s seat style (cone, ball, or mag). If changing wheels, verify the required seat style with the wheel manufacturer and replace hardware as needed.
What tire sizes will keep my speedometer accurate?
Use the calculator to keep overall diameter as close to stock as practical. Many installers target a small variance to limit speedometer error. Always confirm load index and clearance.
Can I run a staggered setup?
It depends on widths, offsets, and tire sizes. Use the calculator to compare front and rear positions independently and verify on-car clearance. Check your owner’s manual and ensure tires meet or exceed OEM load and speed ratings.
What torque should I use on the lug nuts?
The correct lug nut torque is not listed here. Refer to the owner’s manual or a trusted OEM service source for the 2006 Cadillac XLR, then torque in a star pattern and re-check after 50–100 miles.