OEM wheel and tire fitment specs for the 2009 Cadillac XLR, including bolt pattern (PCD), center bore diameter, thread size, rim diameter, rim width, wheel offset, and backspacing.
Recorded OEM specifications for the 2009 Cadillac XLR, donor years with overlapping ranges, and a calculator to compare a selected wheel. Range overlap is not a guaranteed fit.
Multiple OEM configurations exist for this vehicle. Fitment can vary by trim, brakes, and factory wheel package – confirm your exact setup before buying.
Center-bore records disagree: year-level hub 70.1 mm vs trim range 70.3–70.3 mm. Interchange below does not treat this as an unqualified match.
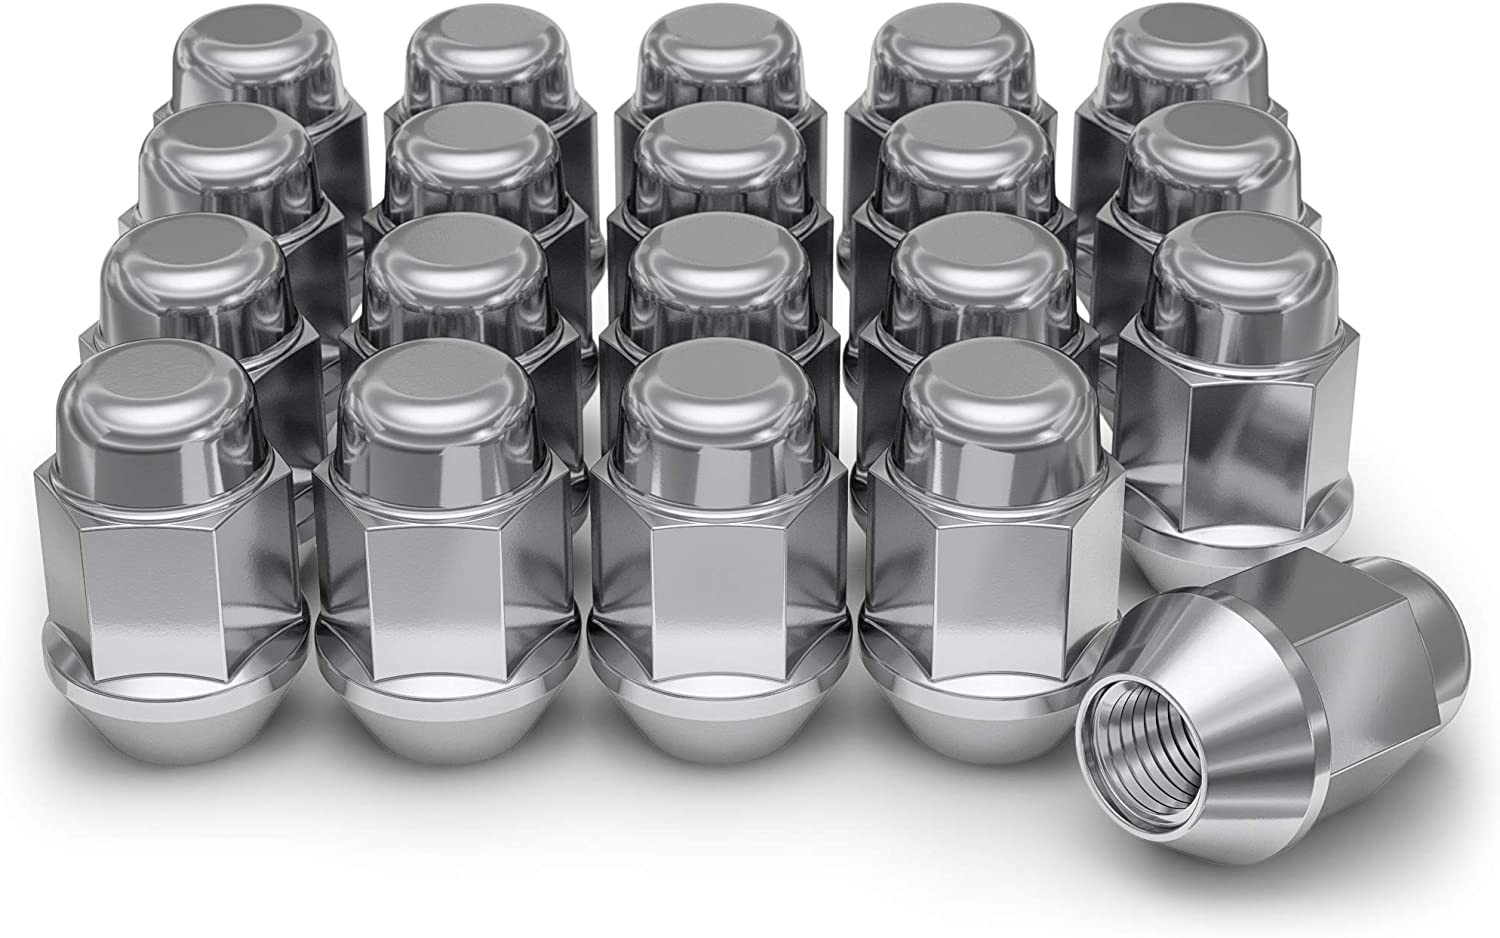
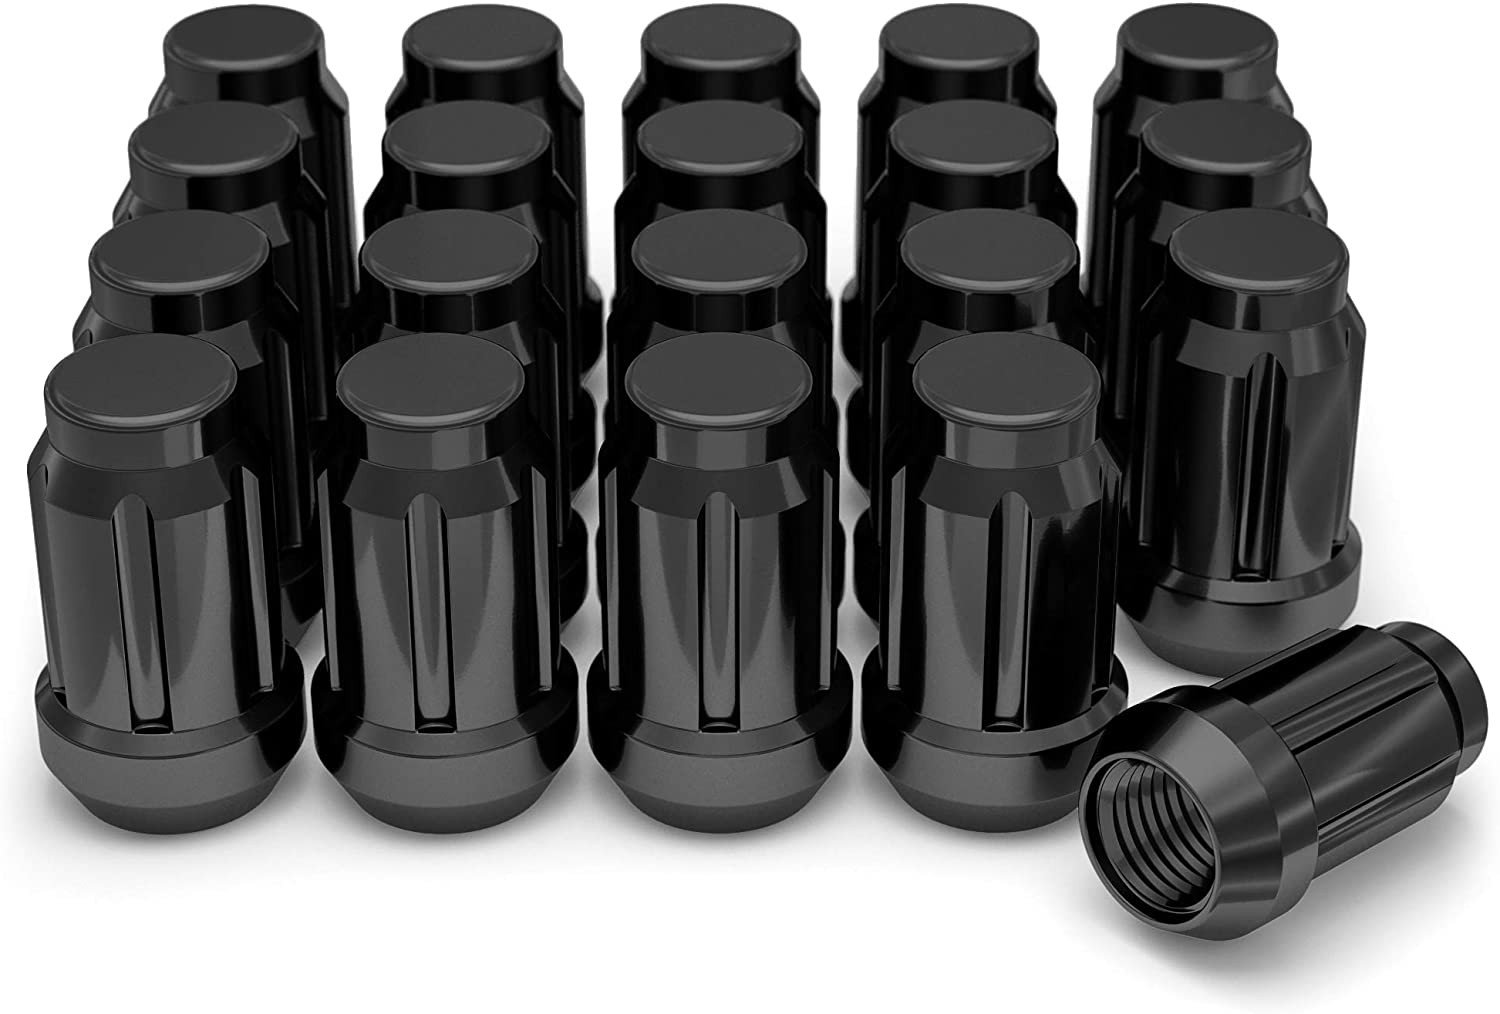
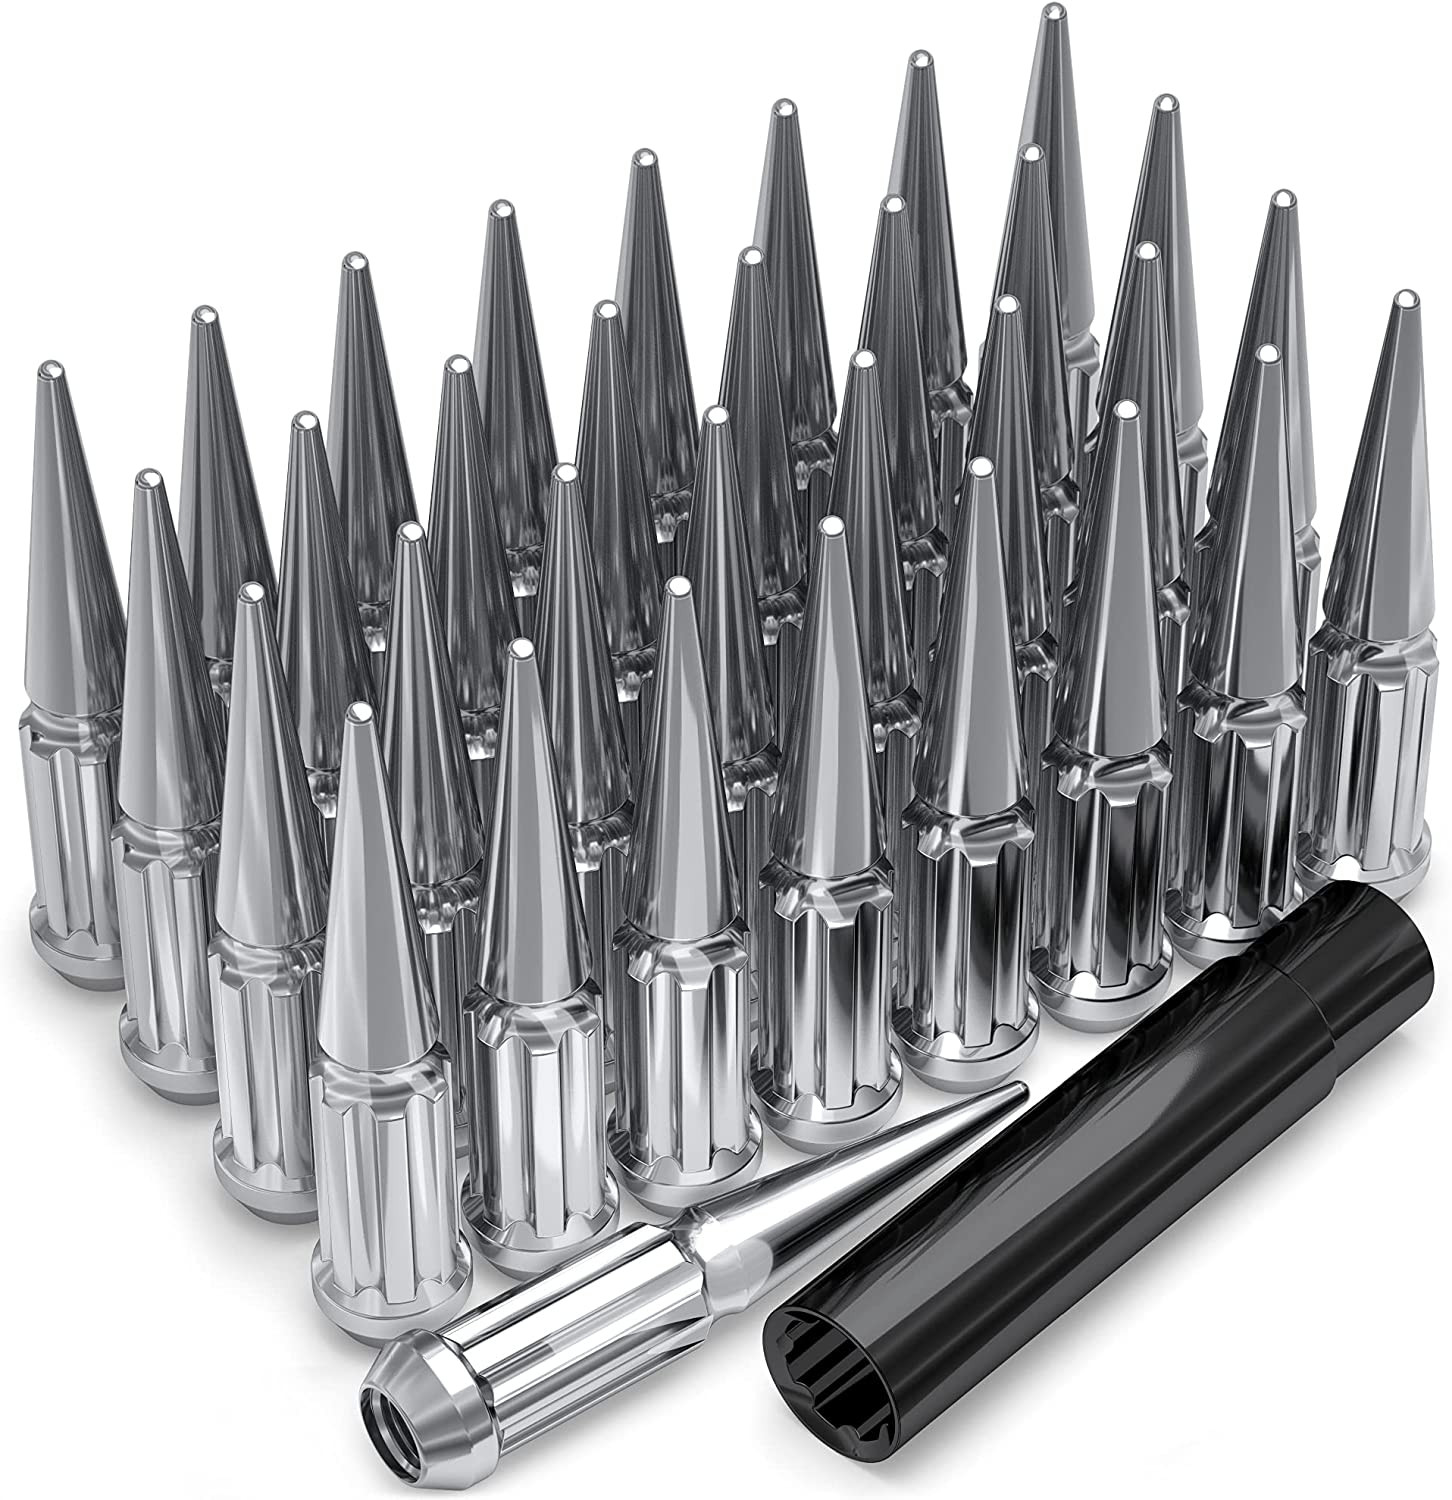
Thread-only product links are shopping examples, not verified fits. Seat style is not confirmed here. As an Amazon Associate we earn from qualifying purchases.
Donor vehicles with overlapping OEM specs
These are vehicle-year records whose recorded OEM ranges overlap this 2009 Cadillac XLR. Overlap is not a guarantee that a specific wheel will install. Selected-wheel comparison is in the calculator below.
Evaluated 9 donor years. Listed 9 eligible overlaps (not all evaluated years are compatible). Showing all listed.
Wheel geometryOEM width/offset ranges overlap (not a specific wheel)
Center-bore records disagree (target year-level hub 70.1 mm vs trim range 70.3–70.3 mm; donor year-level hub 70.1 mm vs trim range 70.3–70.3 mm). Unqualified overlap is not claimed until the conflict is resolved. Approximate position vs the mid OEM package: outer change 1.83 mm, inner change -8.18 mm. This uses aggregated width/offset ranges, not a specific wheel.
Wheel geometryOEM width/offset ranges overlap (not a specific wheel)
Center-bore records disagree (target year-level hub 70.1 mm vs trim range 70.3–70.3 mm; donor year-level hub 70.1 mm vs trim range 70.3–70.3 mm). Unqualified overlap is not claimed until the conflict is resolved. Approximate position vs the mid OEM package: outer change -2.18 mm, inner change -4.18 mm. This uses aggregated width/offset ranges, not a specific wheel.
Cadillac XLR Years With Compatible Wheels
Only years with evidence-based interchange relationships are listed. Adjacent years are not assumed compatible.
Compare a donor vehicle or custom wheel against this 2009 Cadillac XLR. Use Compare in calculator on a donor row above to fill the donor side of this same calculator.
Compare
Compare wheel compatibility between two vehicles
Wheels from (donor vehicle)
Selected Car:
Custom wheel size (optional)
Tip: change values here to simulate custom wheels and immediately see the impact in the comparison below.
Custom tire size (optional)
Installed on (your vehicle)
Selected Car:
2009 Cadillac XLR
Compare Rims
Specification
Wheels from
Installed on
Result (Click it)
Bolt Pattern
The total number of bolt holes and the diameter of the circle they form.
-
5x120.65
Center Bore
The hole in the center of the wheel that fits over the vehicle’s hub.
-
70.3 mm
Thread Size
The size and spacing of the threads on the bolts or nuts that hold the wheel in place.
-
M12 x 1.5
Rim Diameter
The wheel diameter in inches that determines which tire sizes will fit.
-
19"
Rim Width
The distance between the inner edges of the wheel is measured in inches.
-
8.0"
Wheel Offset
How far the wheel sits inward or outward relative to the hub mounting surface.
-
61 mm
Backspacing
Shows how much space the wheel takes up toward the inside of the vehicle.
-
-
Wheel Fasteners
The type of hardware used to secure the wheel to the vehicle.
-
-
Compare Tires
Specification
Wheels from
Installed on
Result (Click it)
Section Width
The width of the tire from sidewall to sidewall, measured in millimeters.
-
-
Aspect Ratio
The height of the tire’s sidewall expressed as a percentage of its width.
-
-
Diameter
The wheel diameter for which the tire is designed to fit.
-
-
Tire Pressure
The recommended air pressure for safe and efficient driving.
-
-
Overall Diameter
The total height of the tire and wheel combined affects clearance and speedometer accuracy.
-
-
Wheel Fitment Parts for the 2009 Cadillac XLR
Example products matched to recorded thread, hub, or spacer dimensions. They are not verified fits. Confirm seat style, thickness, and clearance before ordering.
As an Amazon Associate we earn from qualifying purchases. Product availability and pricing may change.
Goal
You want to install aftermarket or donor wheels on a 2009 Cadillac XLR without fitment surprises. This guide walks you step by step through checking physical constraints, using the on-page calculator, and validating the final fitment.
Prerequisites
Gather basic tools and information before you change wheels. You will need a jack, jack stands, torque wrench, calipers or a ruler, and access to the on-page wheel/tire calculator. Also have the vehicle owner’s manual or dealer contact ready to confirm torque and TPMS details.
Known OEM fitment for this vehicle (do not assume other values):
Bolt pattern (studs x PCD)
5x120.70
Center bore (mm)
70.1
Thread size
M12 x 1.5
Rim diameter (in)
19
Rim width (in)
8.0
Wheel offset (ET, mm)
61
Backspacing (in)
6.4
Tire (section width)
235 mm
Tire (aspect ratio)
45 %
Tire rim diameter
19 R
If any value varies by trim or option, the calculator and OEM sources will allow you to confirm. Do not assume alternate figures without validation.
Step by step
1. Identify the immediate problem
Wheels from a donor car or custom wheels may not clear brakes, fenders, or hub features. The main fitment constraints are bolt pattern, center bore, thread type, offset/backspacing, rim width, and overall tire diameter. Address each one in order.
2. Match the fastener pattern and threads
Confirm the donor wheel has 5x120.70 lug holes. Verify the hub studs or wheel bolts on your XLR use M12 x 1.5 threads. If threads do not match, do not attempt to install without proper adapters. This is a safety constraint, not a styling choice.
3. Check center bore and hub-centric fit
Measure the wheel center bore and compare to 70.1 mm. If the wheel bore is larger, plan to use hub-centric rings sized to your wheel and the XLR hub. If it is smaller, the wheel will not fit. The on-page calculator flags hub-centric mismatches visually in most cases.
4. Compare offset, backspacing, and rim width
Enter OEM dimensions into the calculator as the Installed wheel. Enter donor wheel dimensions or your custom wheel size as the Wheels from donor vehicle. Focus on offset and rim width differences. The trade-off is between desired stance and clearance for brakes and fenders.
5. Evaluate overall tire diameter
Use the calculator to compare overall tire diameters. Keep changes small to avoid false speedometer readings and ABS calibration issues. A recommended assumption is to stay within roughly 3 percent of the OEM overall diameter, but confirm with the calculator and OEM references for exact limits.
Quick diameter check method: compute sidewall height as section_width × aspect_ratio ÷ 100, convert to inches by dividing by 25.4, then add twice that to rim diameter.
6. Check brake and steering clearance
Visually compare wheel inner lip and spoke clearance to the brake caliper and suspension components. Smaller offsets move wheels inward. Larger negative offsets or spacers can increase stress on studs and bearings. The calculator’s clearance notes help, but a physical mock-up or test fit is recommended before road use.
7. Confirm TPMS and sensor compatibility
TPMS sensors and wheel valve placements vary. Confirm whether donor wheels have compatible sensors or whether you need to transfer or replace TPMS sensors. If unknown, consult the dealer or the TPMS manufacturer and use the calculator’s TPMS notes if present.
8. Fastener selection and installation
Use lug nuts or bolts that match M12 x 1.5 thread pitch and seat type for the wheel. If the wheel is hub-centric, use the correct length and seating style. Tighten with a calibrated torque wrench to the OEM torque specification. If you do not have the XLR torque number, obtain it from the owner’s manual or dealer.
9. Initial road test and re-torque
After installation, drive a short distance and re-torque the lug fasteners. Then re-check after 50 to 100 miles. Monitor for vibration, noises, or TPMS warnings. Alignment may be required if track width or offset changed significantly.
Tools and parts to consider (examples): torque wrench, hub-centric rings, correct lug nuts. Use verified vendors and part numbers where possible.
Validate fitment with both calculator outputs and a physical check. Use these checks in order.
Wheel seats fully on the hub face with no visible gap when installed by hand.
No rubbing at full lock, during compression, and under load with weight on the suspension.
Brake calipers clear the inner wheel spokes across steering angles.
TPMS status is normal and no ABS warning lights appear after driving.
Lug fasteners reach correct thread engagement and are torqued to OEM spec.
Wheel runout and vibration are acceptable at highway speeds.
For torque spec and other vehicle-specific tolerances, consult the 2009 Cadillac XLR owner’s manual, factory service manual, or dealer. This is the recommended validation step for safety-critical values.
Troubleshooting
Rubbing on fender or inner arch
Either reduce wheel width or increase offset towards positive to move the wheel inward. A spacer can move the wheel outward but introduces load trade-off and may require extended studs. If rubbing persists, revert to OEM-equivalent offset and tire dimensions.
Vibration or shimmy
Check wheel balance, hub-centric fit, and runout. A wheel that is not hub-centric can cause vibration. Use hub rings or have the wheel re-machined to match the 70.1 mm hub if necessary.
Lug thread mismatch or insufficient engagement
Do not force mismatched threads. Use wheels with compatible M12 x 1.5 holes or obtain proper adapters. Ensure at least the OEM-recommended number of full threads engage; confirm this value with OEM documentation.
TPMS or ABS warnings
Confirm sensor compatibility and tire diameter change. If warnings persist, get a diagnostic scan and verify sensor IDs or recalibrate the system per OEM procedures.
Brake clearance issues
Choose wheels with spoke shapes that clear calipers or select a wheel with greater backspacing. If modifications are considered, consult a qualified wheel fitter or brake specialist first.
Wrap up
Fitting non-OEM wheels to a 2009 Cadillac XLR is manageable when you address bolt pattern, center bore, threads, offset, rim width, and tire diameter in that order. Use the on-page calculator to compare donor and custom sizes, and confirm torque, TPMS, and any trim-specific values via OEM sources. If you face persistent uncertainty, seek a professional wheel fitter for a test fit and final validation.
This approach reduces surprises and keeps safety as the guiding priority. Proceed methodically and validate each assumption before final road use.
Methodology and sources
Wheel interchange depends on more than bolt pattern. Where data is available, this site compares recorded OEM values:
Bolt pattern / PCD
Center bore direction (donor wheel bore must not be smaller than the hub)
Wheel diameter, width, and offset against known OEM ranges
A normal wheel spacer does not change bolt pattern. Hub rings cannot enlarge a wheel bore that is smaller than the hub. Brake clearance and tire package fitment still require vehicle-specific checks when not confirmed in the dataset.