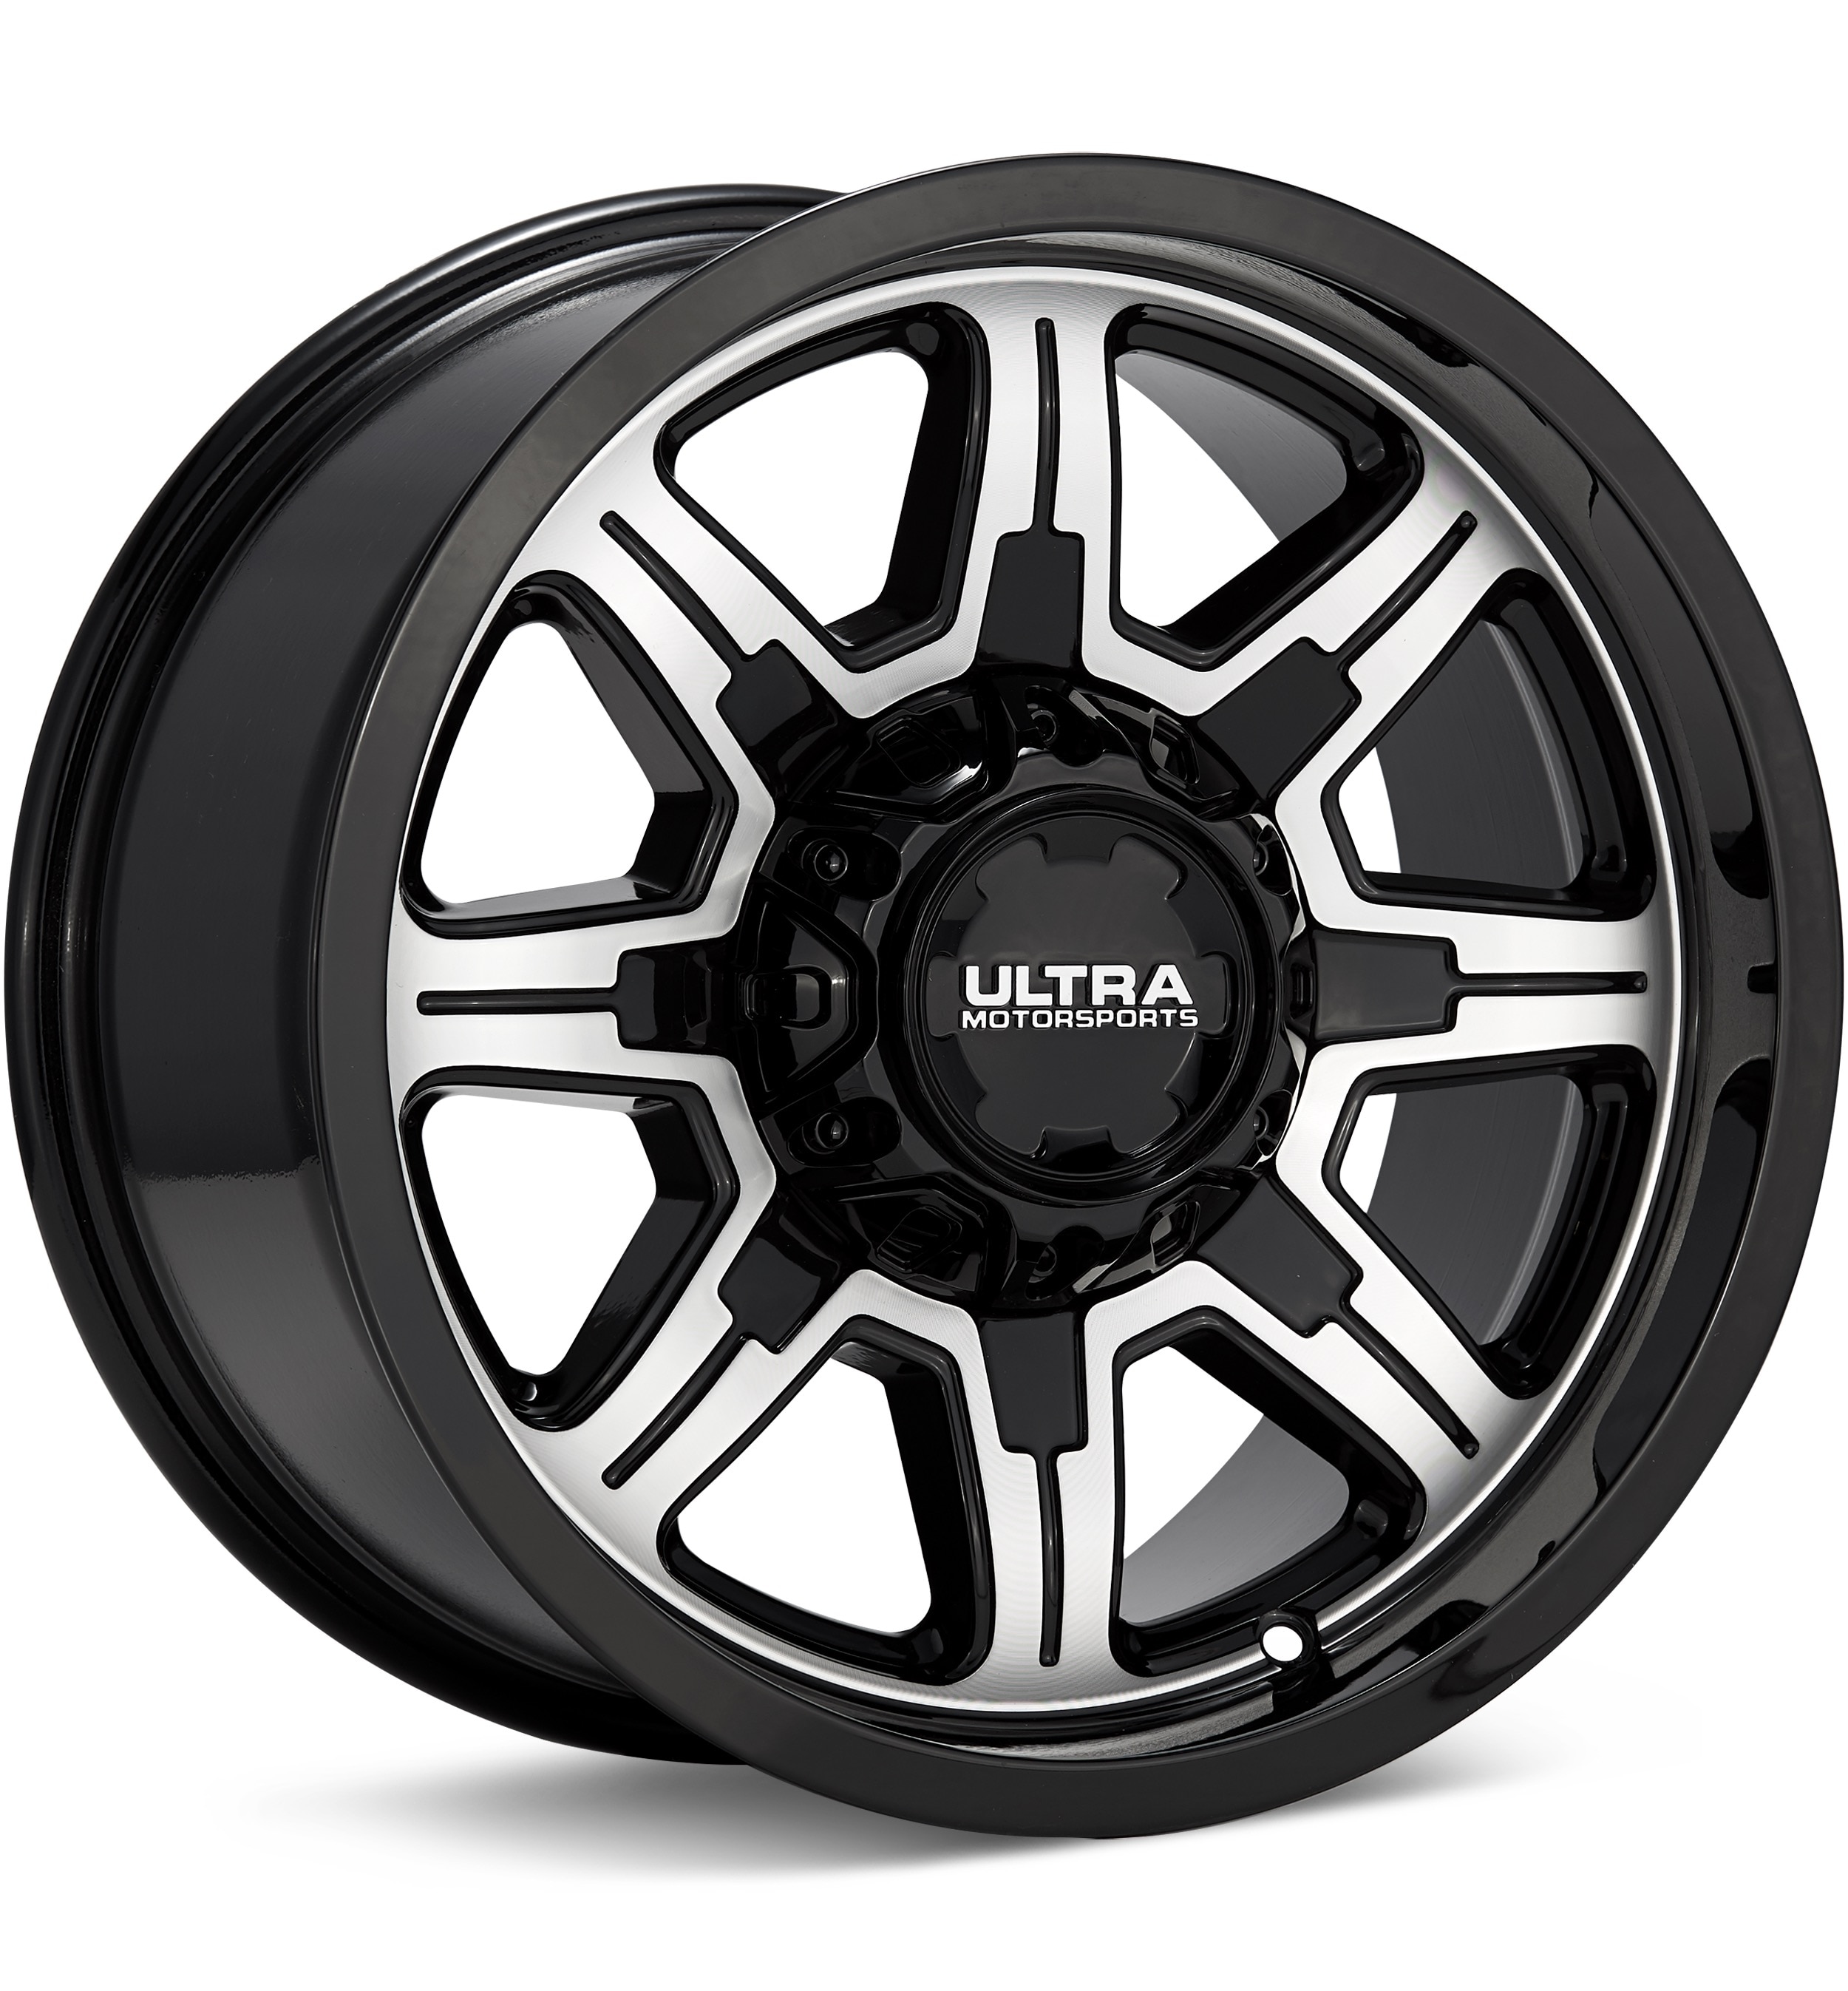
Ultra
Menace
Machined w/Black Accent
16 × 8″ · ET +10
$213.59
View at Tire Rack ↗Recorded OEM specifications for the 1999 Ford Expedition, donor years with overlapping ranges, and a calculator to compare a selected wheel. Range overlap is not a guaranteed fit.
Save these wheel specs to your Ownery garage
Baseline mounting dimensions used for interchange decisions.
Multiple OEM configurations exist for this vehicle. Fitment can vary by trim, brakes, and factory wheel package – confirm your exact setup before buying.
Center-bore records disagree: year-level hub 86.8 mm vs trim range 87.1–87.1 mm. Interchange below does not treat this as an unqualified match.
Thread-only product links are shopping examples, not verified fits. Seat style is not confirmed here. As an Amazon Associate we earn from qualifying purchases.
Selected size: 16 × 7″ · ET +14
Showing matching bolt patterns and offsets up to 20 mm lower. Confirm center bore, load rating, and clearance at Tire Rack.
Ultra
Machined w/Black Accent
16 × 8″ · ET +10
$213.59
View at Tire Rack ↗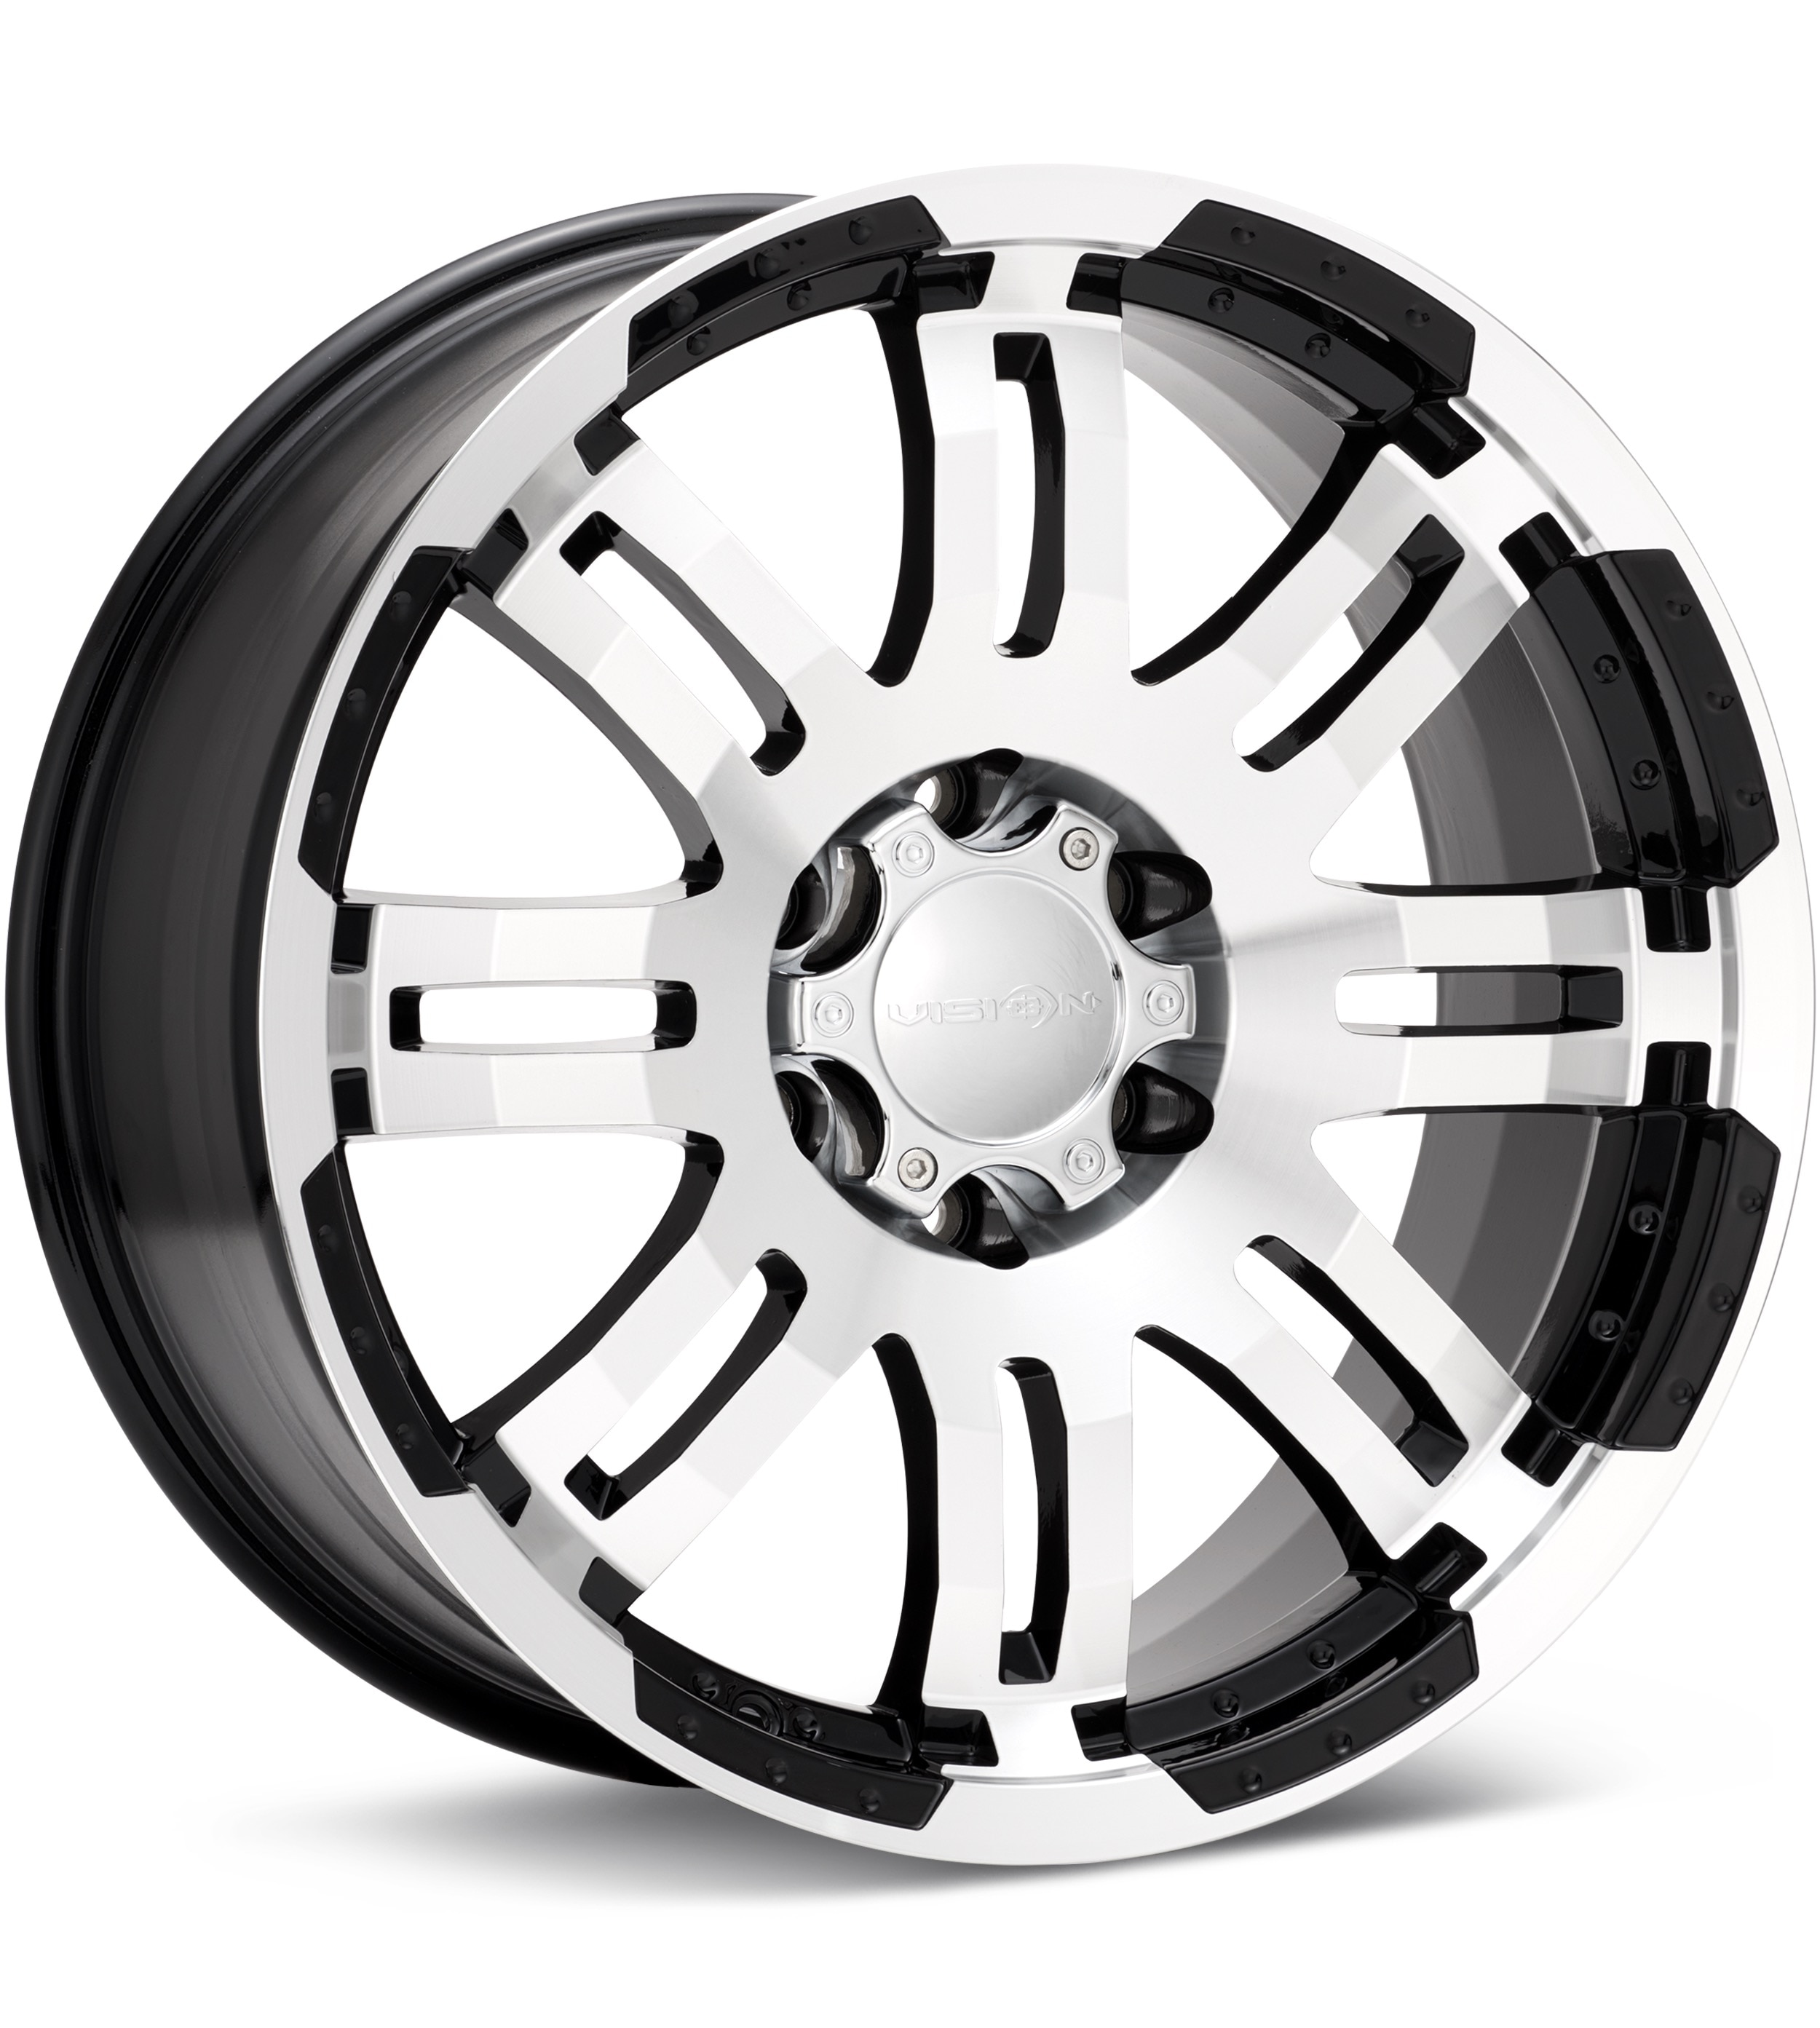
Vision Wheel
Machined w/Gloss Black Accent
16 × 8″ · ET 0
$183.00
View at Tire Rack ↗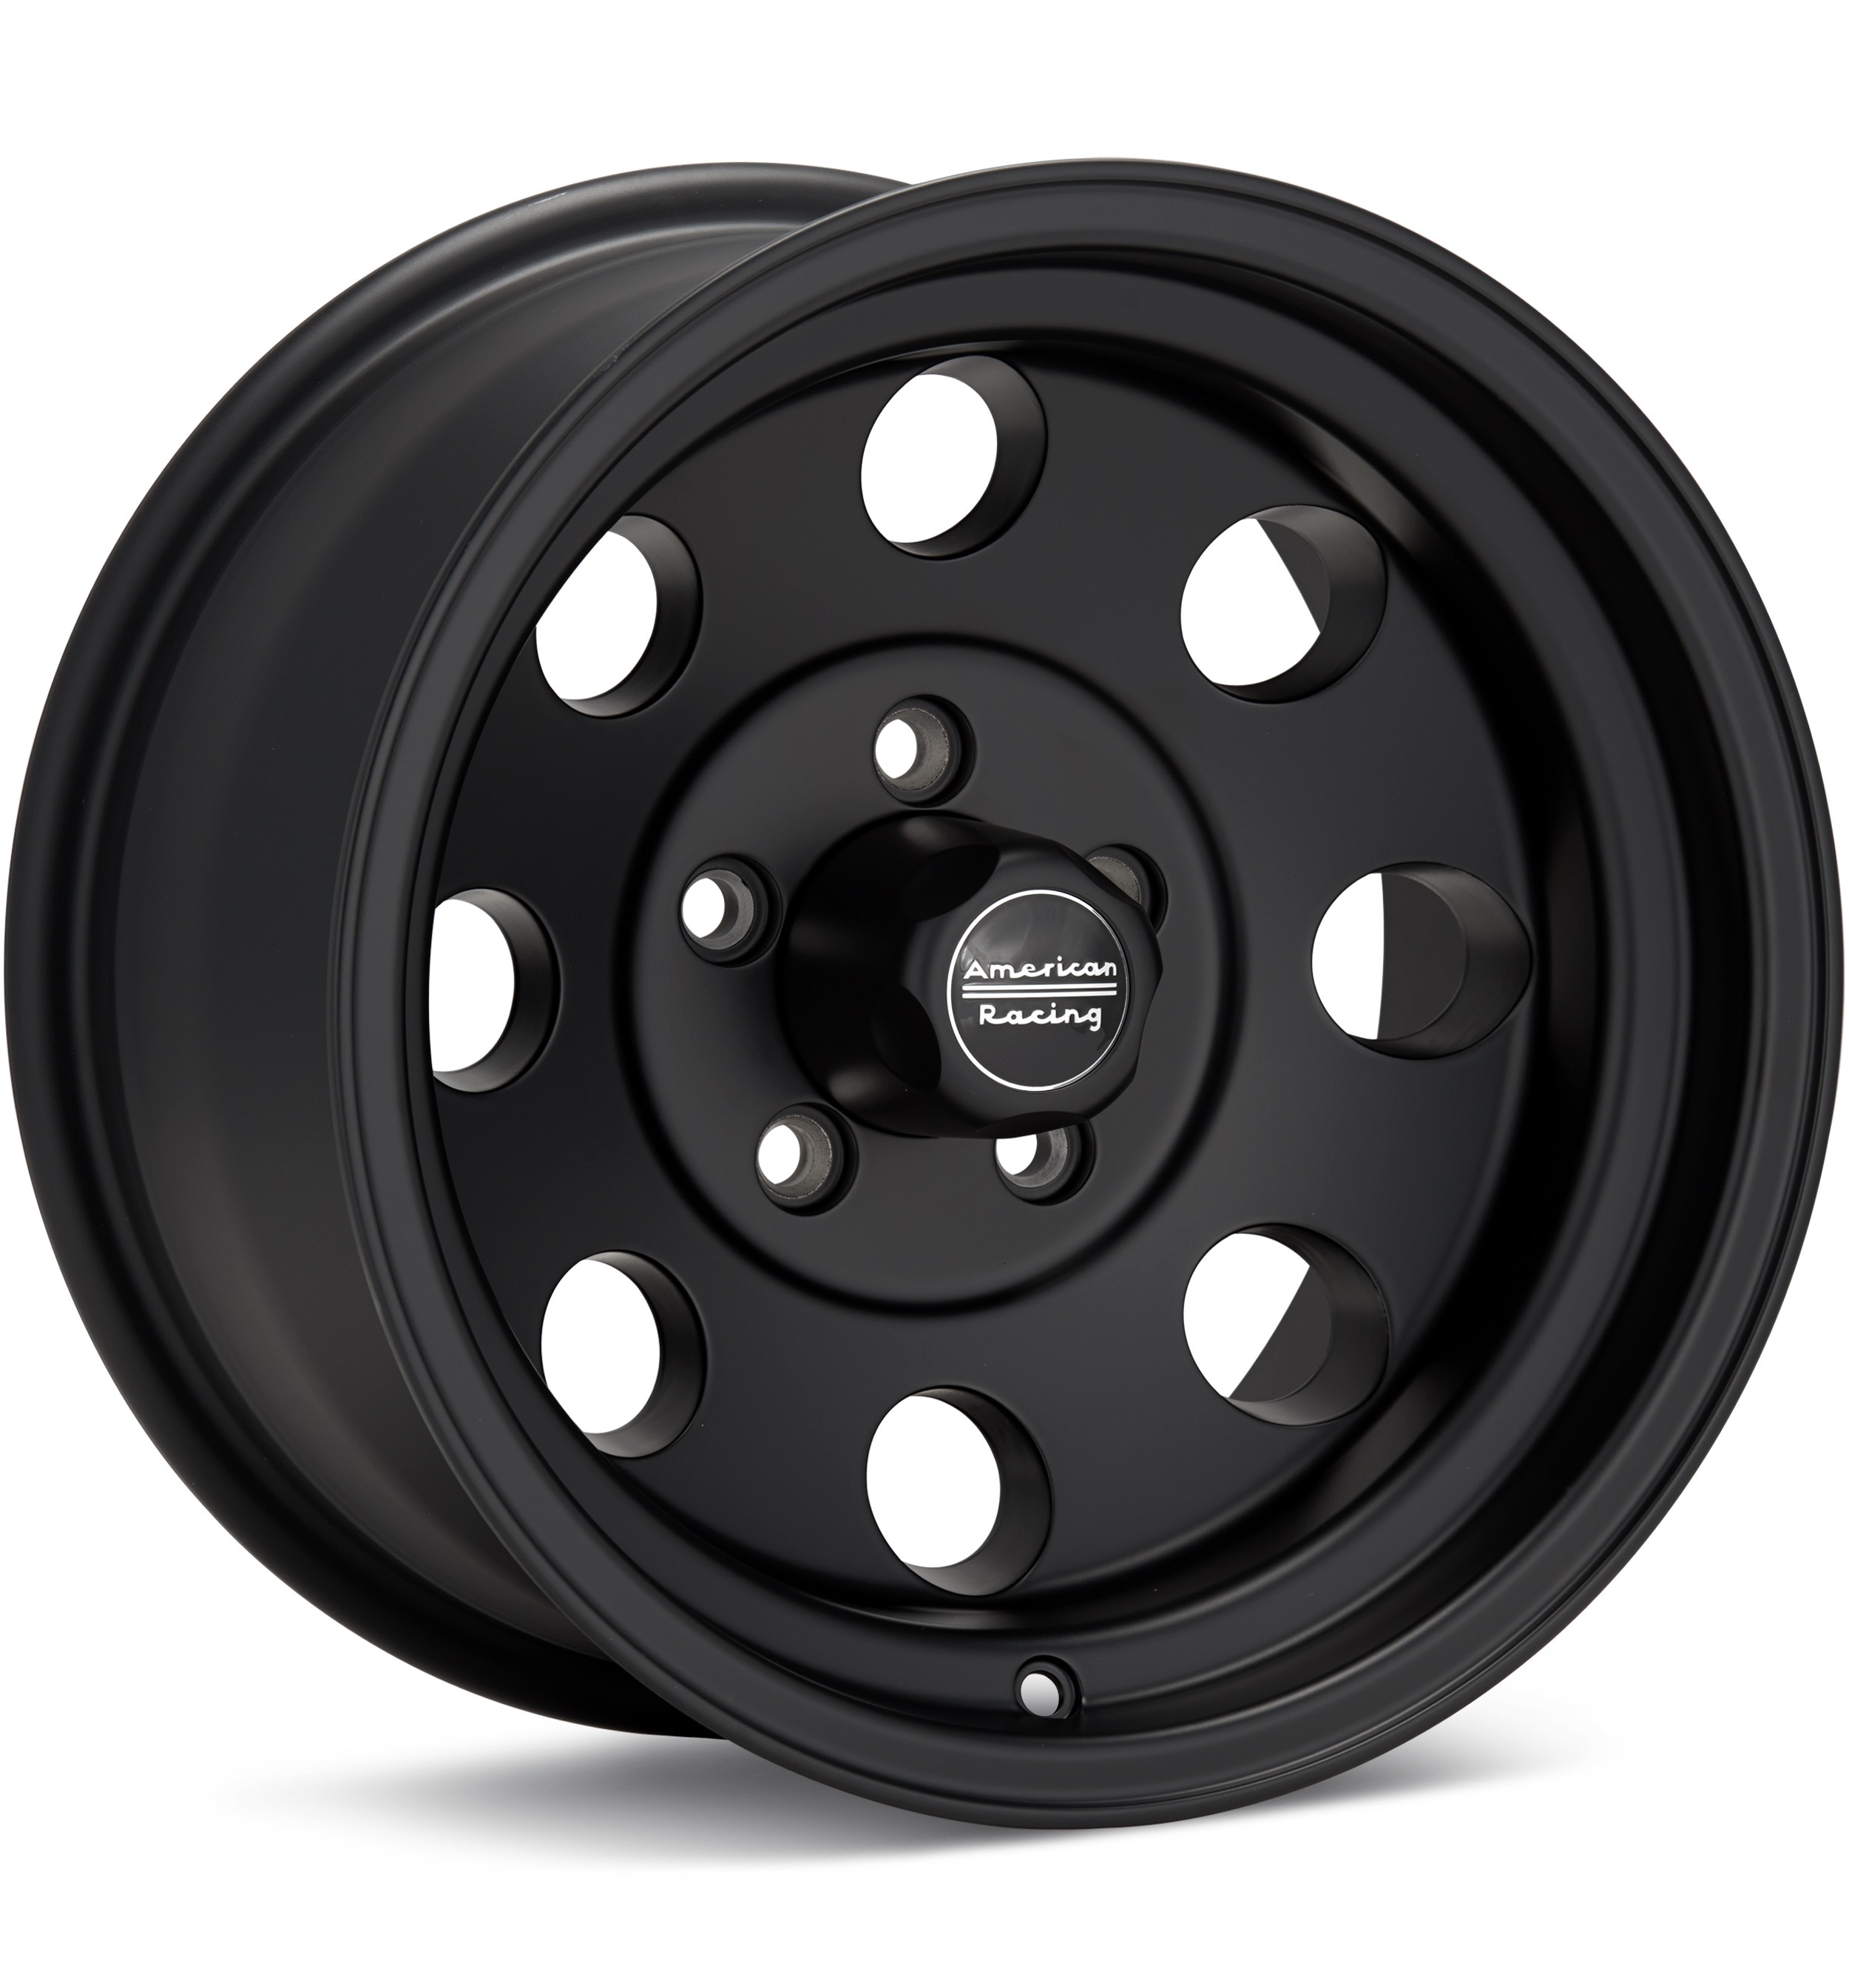
American Racing
Black
16 × 8″ · ET 0
$237.00
View at Tire Rack ↗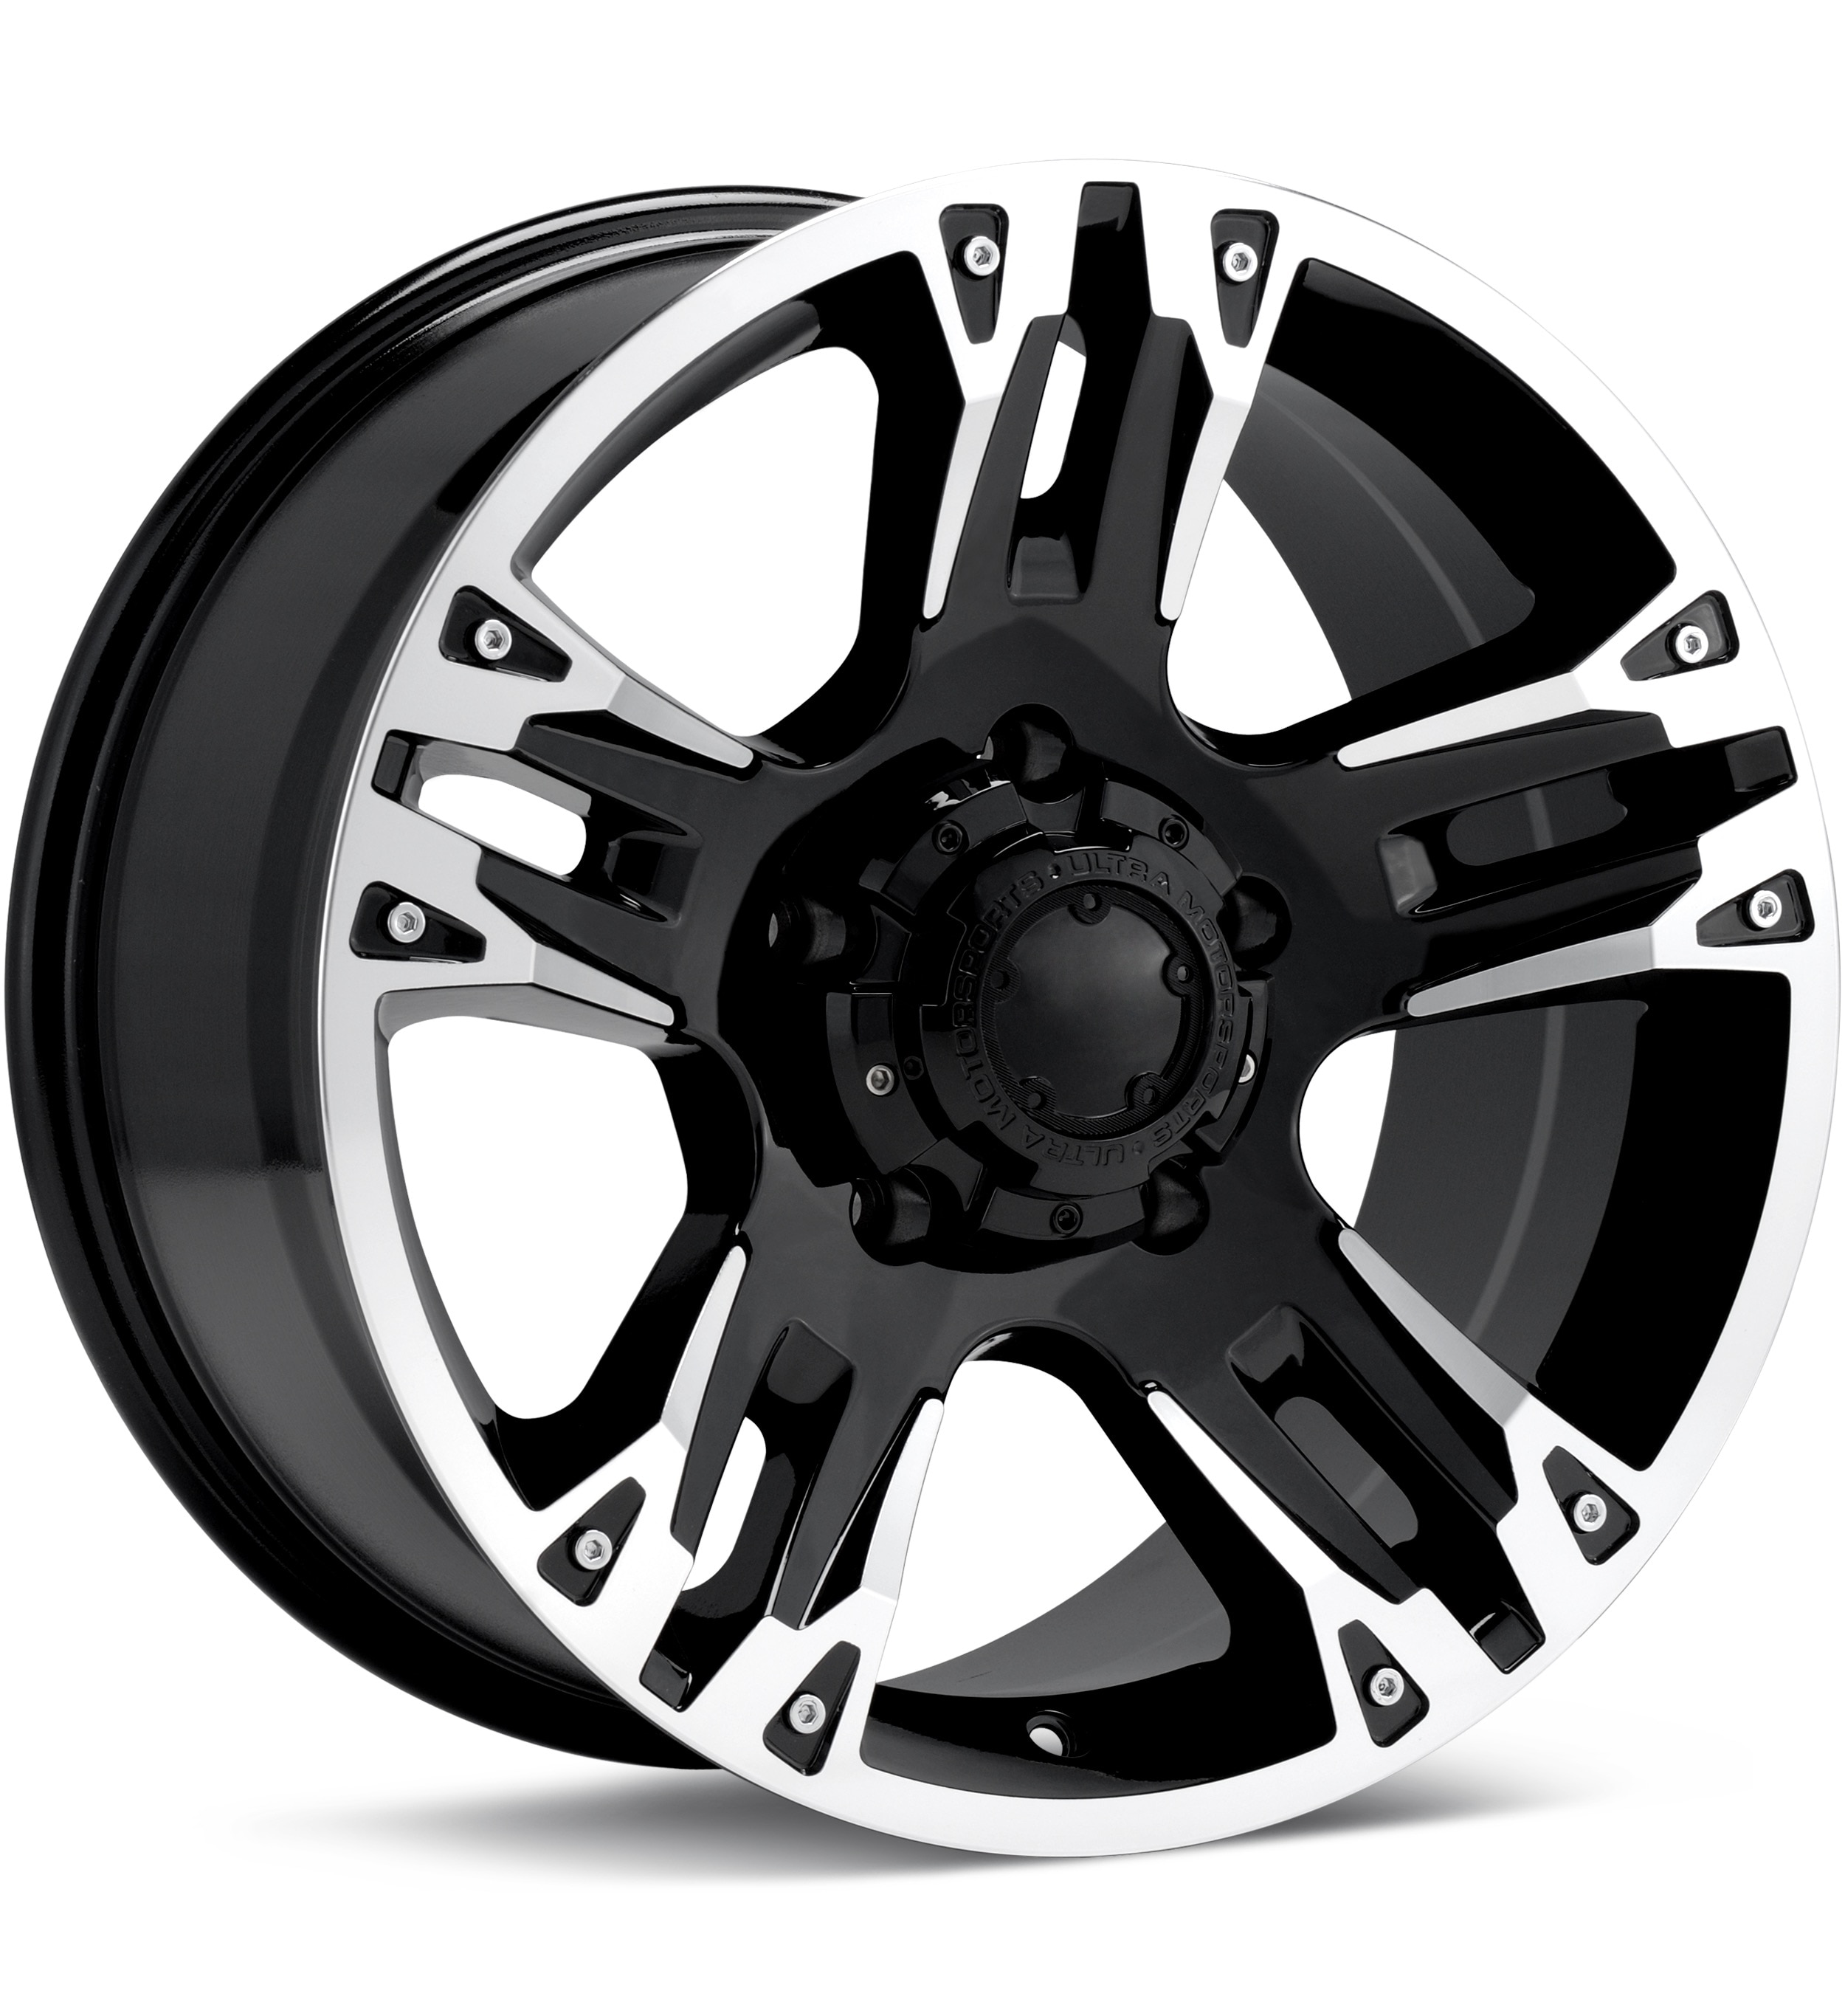
Ultra
Machined w/Black Accent
16 × 8″ · ET +10
$199.55
View at Tire Rack ↗We may earn a commission when you buy through these links. Prices and availability may change.
These are vehicle-year records whose recorded OEM ranges overlap this 1999 Ford Expedition. Overlap is not a guarantee that a specific wheel will install. Selected-wheel comparison is in the calculator below.
Evaluated 9 donor years. Listed 9 eligible overlaps (not all evaluated years are compatible). Showing all listed.
Years grouped because recorded compatibility evidence is equivalent. Each year keeps its own page.
Recorded vehicle-side thread for the 1999 Ford Expedition is M12x1.75. This donor year is recorded as M14x2.00. That is the vehicle stud/nut thread, not an intrinsic thread stamped on the wheel. Hardware must match this vehicle’s studs and the selected wheel’s seat and engagement. Existing hardware may be reusable if it already matches. Seat style is not in this dataset, so products are not a verified fit.
Center-bore records disagree (target year-level hub 86.8 mm vs trim range 87.1–87.1 mm; donor year-level hub 86.8 mm vs trim range 87.1–87.1 mm). Unqualified overlap is not claimed until the conflict is resolved. Recorded vehicle-side thread differs (M14x2.00 on the donor year vs M12x1.75 on the target vehicle). Hardware must match the target vehicle’s studs and the selected wheel’s seat. Existing hardware may be reusable if it already matches. Seat style is not confirmed in this dataset. Approximate position vs the mid OEM package: outer change -3.18 mm, inner change -3.18 mm. This uses aggregated width/offset ranges, not a specific wheel.
Lug thread is not fully recorded for this comparison. Hardware must match the 1999 Ford Expedition studs and the selected wheel’s seat. Unknown hardware is not a match.
Bolt pattern data is incomplete for a full interchange decision.
Center-bore records disagree (target year-level hub 86.8 mm vs trim range 87.1–87.1 mm; donor year-level hub 86.5 mm vs trim range 87.1–87.1 mm). Unqualified overlap is not claimed until the conflict is resolved. Approximate position vs the mid OEM package: outer change -3.18 mm, inner change -3.18 mm. This uses aggregated width/offset ranges, not a specific wheel.
Years grouped because recorded compatibility evidence is equivalent. Each year keeps its own page.
Recorded vehicle-side thread for the 1999 Ford Expedition is M12x1.75. This donor year is recorded as M14x2.00. That is the vehicle stud/nut thread, not an intrinsic thread stamped on the wheel. Hardware must match this vehicle’s studs and the selected wheel’s seat and engagement. Existing hardware may be reusable if it already matches. Seat style is not in this dataset, so products are not a verified fit.
Center-bore records disagree (target year-level hub 86.8 mm vs trim range 87.1–87.1 mm; donor year-level hub 86.5 mm vs trim range 87.1–87.1 mm). Unqualified overlap is not claimed until the conflict is resolved. Recorded vehicle-side thread differs (M14x2.00 on the donor year vs M12x1.75 on the target vehicle). Hardware must match the target vehicle’s studs and the selected wheel’s seat. Existing hardware may be reusable if it already matches. Seat style is not confirmed in this dataset. Approximate position vs the mid OEM package: outer change -3.18 mm, inner change -3.18 mm. This uses aggregated width/offset ranges, not a specific wheel.
Only years with evidence-based interchange relationships are listed. Adjacent years are not assumed compatible.
Compare a donor vehicle or custom wheel against this 1999 Ford Expedition. Use Compare in calculator on a donor row above to fill the donor side of this same calculator.
Compare wheel compatibility between two vehicles
1999 Ford Expedition





Example products matched to recorded thread, hub, or spacer dimensions. They are not verified fits. Confirm seat style, thickness, and clearance before ordering.
M12 x 1.75
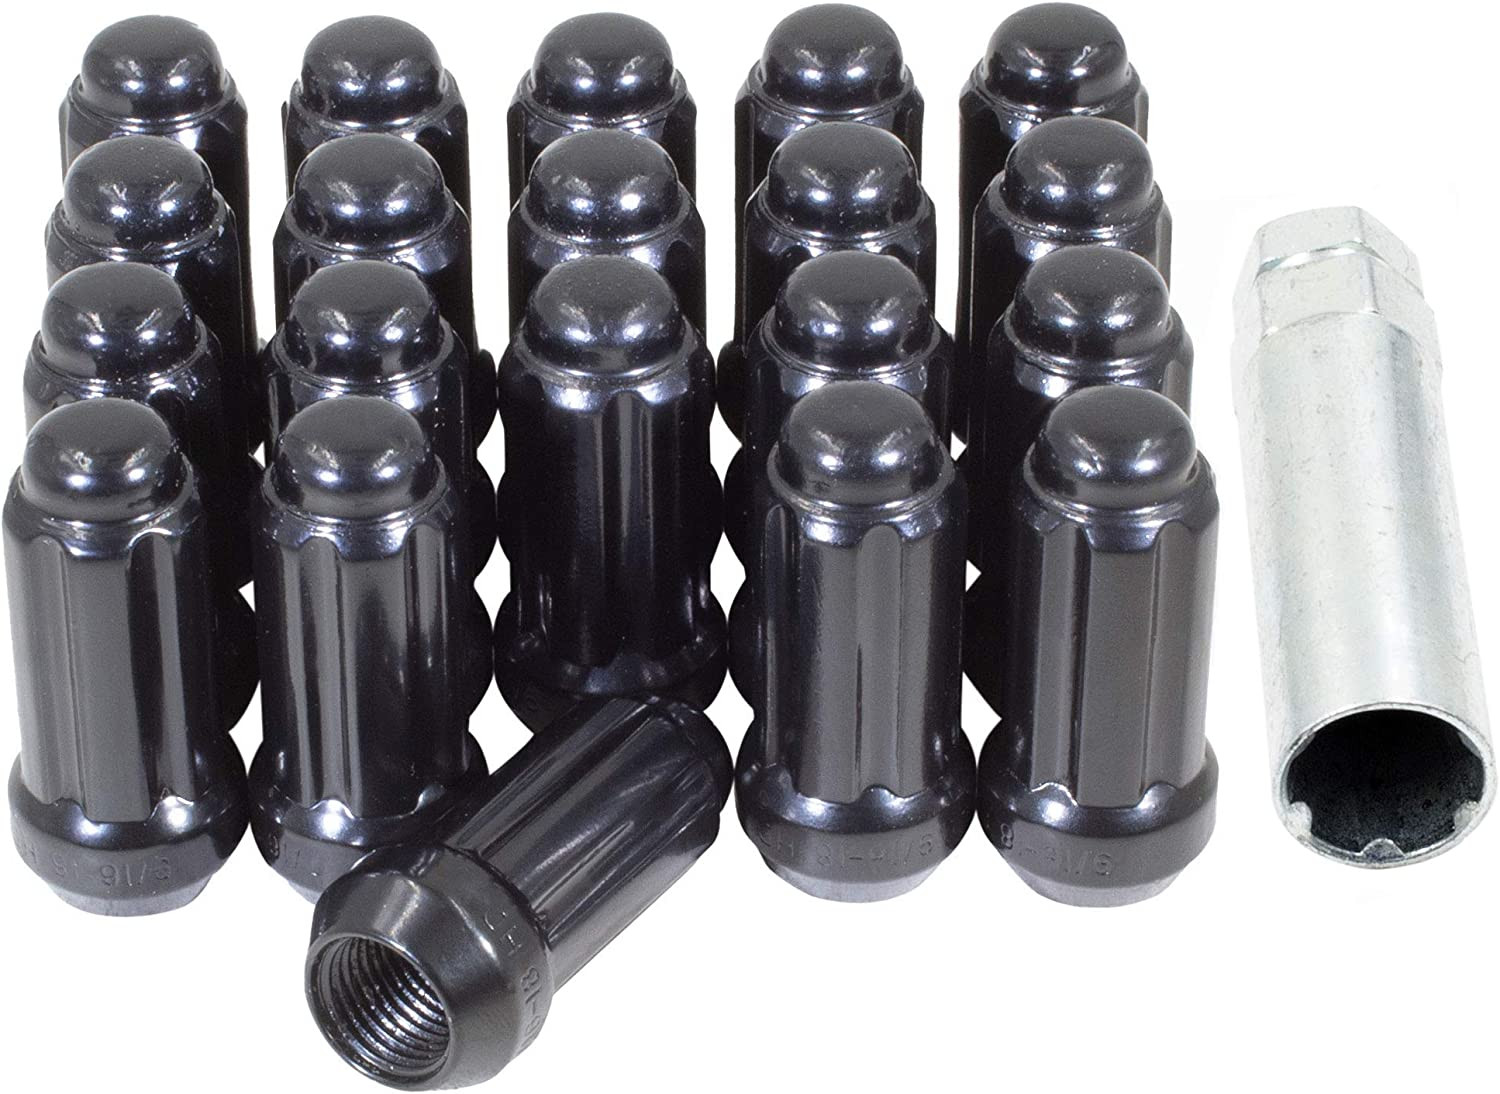
M12 x 1.75 · Thread match only; seat style is not verified
View on Amazon →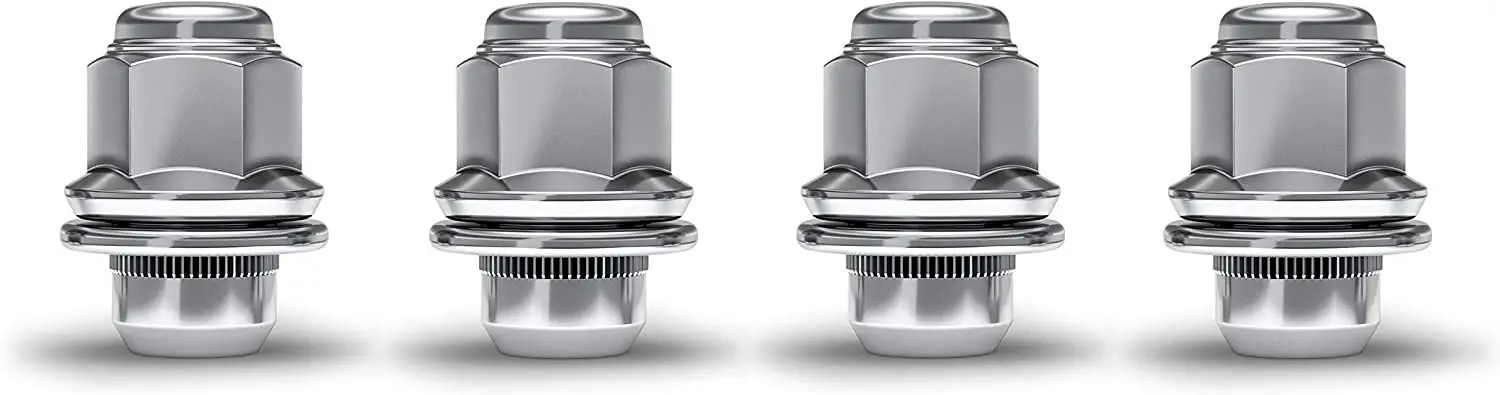
M12 x 1.75 · Thread match only; seat style is not verified
View on Amazon →As an Amazon Associate we earn from qualifying purchases. Product availability and pricing may change.
Factory equipment varied by trim and package. The values below are confirmed for the 1999 Expedition, but some items may differ on your specific vehicle. Always verify against the door-jamb tire and loading sticker and the owner’s manual.
| Bolt pattern | 5x135 |
| Center bore | 87.1 mm |
| Lug and thread | M12 x 1.75 |
| Known stock tire size | 255/70R16 (approx. 30.0 in overall diameter). Other trims may differ. |
| Known stock wheel option | 17 x 7.5 in, ET 14 mm, backspacing 4.3 in. Tire size for this package not provided here. |
Notes:
The on-page calculator lets you compare a donor wheel and tire to your Expedition, and it also supports custom sizes. Changing rim diameter will automatically update the tire diameter shown in the comparison so you can see overall effects.
Many owners move between 16 inch and 17 inch wheel packages on this generation Expedition. The safe approach is to maintain approximately the same overall tire diameter while adjusting aspect ratio to match the new rim diameter. Use the calculator’s Custom tire size to match overall diameter and check inner and outer clearances.
What is the bolt pattern on a 1999 Ford Expedition?
The bolt pattern is 5x135.
What is the center bore size?
87.1 mm. If your aftermarket wheel has a larger bore, use appropriate hub-centric rings. Do not use wheels with a smaller bore than the hub.
What lug nut thread size do I need?
M12 x 1.75. Verify the lug nut seat style required by your wheels and ensure proper thread engagement.
My stock tires are 255/70R16. Can I switch to a different wheel diameter?
Yes, if you keep the overall tire diameter close to stock and maintain safe clearances. Use the calculator’s Custom wheel size and Custom tire size to match overall diameter within about plus or minus 3 percent and confirm inner and outer clearances.
What offset should I use with aftermarket wheels?
Offset requirements vary with wheel width and brake package. Start by entering your current setup in the calculator, then adjust offset while watching inner clearance and outer poke. Aim to avoid contact with suspension on the inside and the fender on the outside.
Do I need spacers?
Only if required to achieve safe inner clearance. If used, select hub-centric spacers that match the 87.1 mm hub, ensure proper lug nut engagement with longer studs or appropriate hardware, and re-torque carefully. Spacers can introduce additional stress and should be used with caution.
What is the correct wheel torque?
Torque can vary by trim and wheel type. Refer to your owner’s manual, service information, or the wheel manufacturer’s guidance. Use a calibrated torque wrench and re-check after 50 to 100 miles.
Why do offset and backspacing numbers sometimes disagree?
Backspacing is often measured from the mounting pad to the wheel lip, while offset is calculated from the mounting pad to the wheel centerline using bead seat width. Differences in measurement reference can create small discrepancies. Use one method consistently when comparing.
Wheel interchange depends on more than bolt pattern. Where data is available, this site compares recorded OEM values:
A normal wheel spacer does not change bolt pattern. Hub rings cannot enlarge a wheel bore that is smaller than the hub. Brake clearance and tire package fitment still require vehicle-specific checks when not confirmed in the dataset.
