1999 Honda Passport Wheel Fitment Guide
Known OEM Fitment For 1999 Honda Passport
The following specifications are the known fitment data provided for the 1999 Honda Passport. Fitment can vary by trim, drivetrain, wheel package, market, and replacement-wheel design, so confirm the vehicle identification label, owner’s manual, and the original wheel before purchasing.
| Specification |
Known value |
| Bolt pattern |
6x139.7, six studs on a 139.7 mm pitch circle diameter |
| Center bore |
108.0 mm |
| Thread size |
M12 x 1.5 |
| Rim diameter |
16 inches |
| Rim width |
7.0 inches |
| Wheel offset |
ET38, or 38 mm positive offset |
| Backspacing |
5.0 inches |
| Provided tire size data |
215 section width, 75 aspect ratio, R15 rim diameter |
There is an apparent diameter inconsistency in the supplied information: the wheel specification lists a 16-inch rim, while the provided tire data lists an R15 rim. Do not assume that both values describe the same original wheel and tire package. Check the tire sidewall, wheel markings, door-jamb label, owner’s manual, or an OEM parts source before ordering tires. The calculator can compare custom wheel and tire dimensions, but it cannot replace vehicle-specific verification.
How To Use The Wheel Interchange Calculator
Use the calculator to compare a donor vehicle’s wheel with the wheel installed on your 1999 Honda Passport. Enter the donor vehicle under “Wheels from” and the Honda Passport under “Installed on.” Review bolt pattern, center bore, wheel width, diameter, offset, and tire dimensions together rather than relying on one matching number.
- Start with the known Honda Passport values listed above.
- Enter the donor wheel’s measured or verified diameter, width, offset, bolt pattern, and center bore.
- Use “Custom wheel size” when the donor wheel or proposed replacement does not match a listed vehicle.
- Use “Custom tire size” to compare section width and aspect ratio.
- When you change rim diameter, review the updated tire diameter in the comparison. A different wheel diameter normally requires a tire with a suitable matching rim diameter.
- Treat the calculator as a screening tool. Physically test-fit the wheel and confirm brake, suspension, hub, and body clearance before driving.
Fitment Checklist Before You Buy
- Confirm the six-lug 6x139.7 bolt pattern.
- Confirm that the wheel’s center bore is compatible with the 108.0 mm hub. A smaller bore will not fit over the hub. A larger bore may require correctly sized hub-centric rings if appropriate for the wheel.
- Verify the wheel offset and backspacing. Changes can affect inner suspension clearance, outer fender clearance, steering feel, and scrub geometry.
- Confirm the wheel diameter and width clear the brake components and suspension.
- Check the wheel’s load rating against the vehicle manufacturer’s requirements.
- Verify that the replacement wheel accepts the intended tire size and valve stem or tire-pressure monitoring hardware, if equipped.
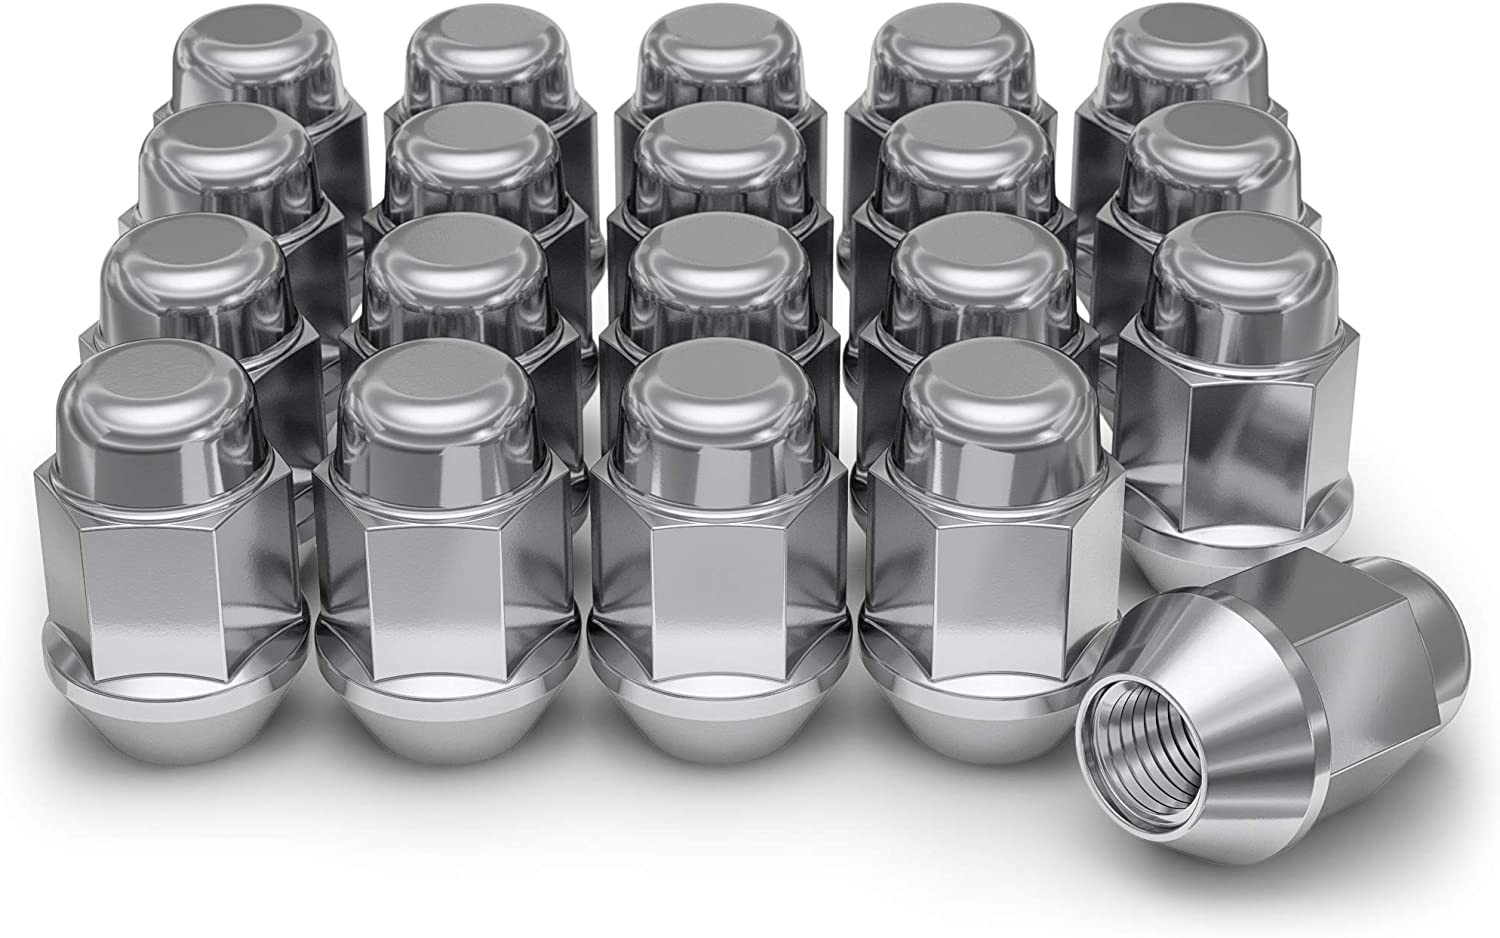
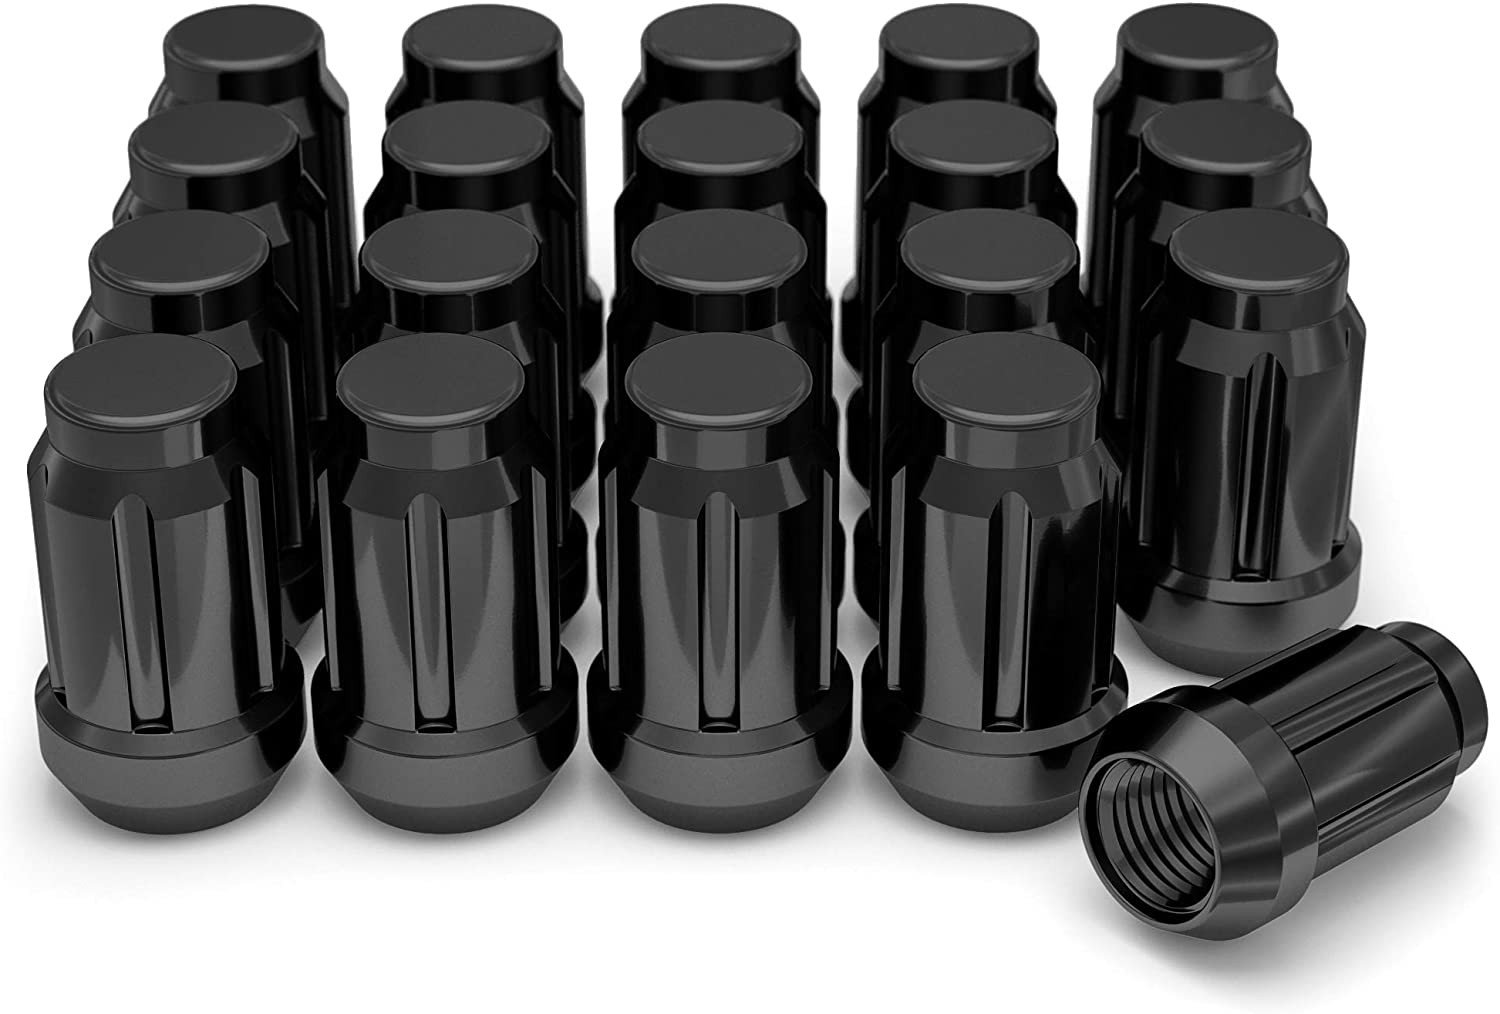
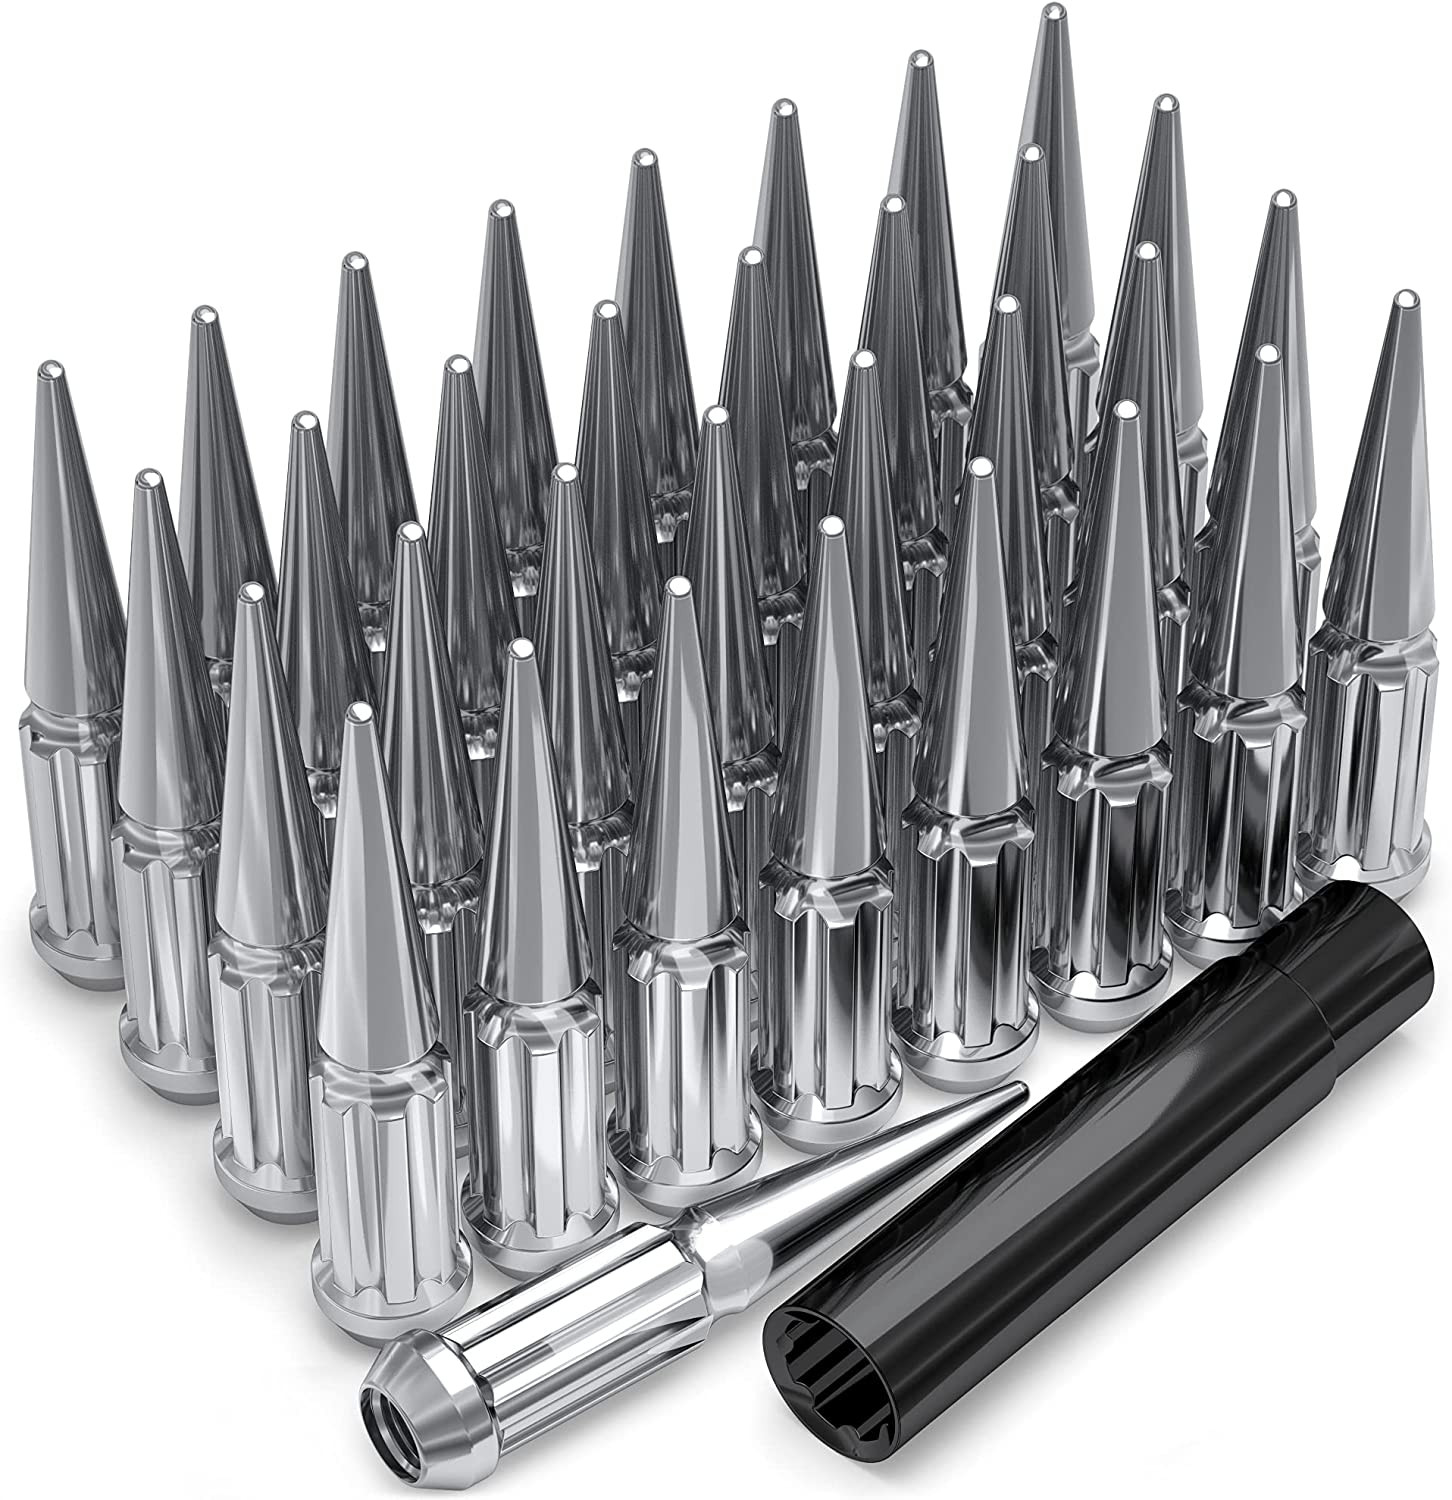
- Confirm the correct lug-nut seat type. Do not assume the original lug nuts fit an aftermarket wheel.
- Inspect used wheels for cracks, bends, corrosion around the bead seat, damaged threads, and previous repairs.
- Verify tire load index, speed rating, age, condition, and approved inflation pressure.
- After installation, check for clearance at full steering lock and through suspension travel. Clearance should be checked with the vehicle safely supported and again after a cautious road test.
Plus Sizing And Common Upgrades
Plus sizing changes the wheel diameter while using a lower-aspect-ratio tire to keep overall tire diameter reasonably close. The correct replacement depends on the verified original package, the available tire sizes, wheel width, load requirements, and actual clearance. Because the supplied data includes both a 16-inch rim value and an R15 tire value, confirm which package applies before comparing upgrades.
A wider tire or wheel may improve dry-road contact but can increase steering effort, road noise, tire rubbing, and susceptibility to damage. A different offset can move the wheel inward toward suspension components or outward toward the fender. Never select a size solely because its bolt pattern matches.
Use the calculator’s custom wheel and tire fields to compare section width, aspect ratio, wheel diameter, width, and offset. Review the calculated diameter change, then confirm the proposed combination with a tire manufacturer fitment guide and an OEM or vehicle-specific service source.
Installation Tips
- Clean the hub face and wheel mounting surface before installation. Remove rust and debris without removing metal that affects the mating surface.
- Install wheels with the vehicle supported safely. Do not work under a vehicle supported only by a jack.
- Hand-start every lug nut to avoid cross-threading.
- Tighten lug nuts in a star or crisscross pattern, then torque them to the vehicle or wheel manufacturer’s specified value using a calibrated torque wrench.
- Do not lubricate lug-nut threads unless the manufacturer specifically instructs you to do so, because lubrication changes the resulting clamping force.
- Spin each wheel by hand before lowering the vehicle and check for contact with calipers, struts, control arms, brake hoses, and inner fenders.
- Fully torque the wheels with the vehicle at the proper final position, following the applicable service instructions.
- Recheck lug torque after the first short drive and again according to the wheel manufacturer’s instructions.
- Set tire pressure using the vehicle placard or tire manufacturer guidance, not the maximum pressure molded into the tire sidewall.
Tools And Helpful Supplies
Useful equipment includes a correctly sized socket, breaker bar, calibrated torque wrench, jack stands, wheel chocks, a tread-depth gauge, and a tire-pressure gauge. A straightedge and ruler or a dedicated wheel-backspacing gauge can help verify a used wheel, but measurements should be compared with the wheel manufacturer’s specifications.
Shop automotive torque wrenches on Amazon
Shop digital tire-pressure gauges on Amazon
FAQs
What is the bolt pattern for the 1999 Honda Passport?
The provided OEM fitment is 6x139.7. This means six studs are arranged on a 139.7 mm pitch circle diameter. Verify the pattern on the vehicle and wheel before purchase.
What is the center bore for the 1999 Honda Passport?
The provided center bore is 108.0 mm. A replacement wheel with a smaller center bore will not seat over the hub. A larger bore may need an appropriate hub-centric solution, provided the wheel manufacturer permits it.
What wheel offset is listed for this Honda Passport?
The provided offset is ET38, or 38 mm positive offset, with a listed 5.0-inch backspacing. Offset and backspacing should be checked together because wheel width affects the actual inner and outer position.
Does the supplied information confirm a 15-inch or 16-inch original wheel?
No. The supplied wheel data lists a 16-inch rim, while the supplied tire data lists R15. This conflict must be resolved using the tire sidewall, wheel stamp, vehicle placard, owner’s manual, or an OEM source. Do not order a tire until the rim diameter is confirmed.
Can any wheel with a 6x139.7 bolt pattern fit?
No. Bolt pattern is only one requirement. Center bore, offset, width, diameter, load rating, lug-nut seat, brake clearance, suspension clearance, and fender clearance must also be compatible.
How do I compare a different wheel and tire size?
Enter the donor wheel under “Wheels from” and the Honda Passport under “Installed on,” or use the calculator’s custom wheel and tire fields. Compare diameter, width, offset, section width, aspect ratio, and clearance. A calculator result is not a substitute for a physical test-fit and manufacturer confirmation.
Should I use hub-centric rings?
Only when the wheel has a larger center bore and the wheel manufacturer or a qualified technician confirms that rings are suitable. Rings do not correct an incorrect bolt pattern, offset, load rating, or brake clearance problem.
What should I do after installing replacement wheels?
Check for interference, confirm tire pressure, torque the lug nuts to the applicable specification, and perform a cautious road test. Recheck lug torque after the initial drive and inspect for rubbing or vibration. Stop driving if the wheel contacts any component or if abnormal vibration occurs.