OEM wheel and tire fitment specs for the 2010 Acura RDX, including bolt pattern (PCD), center bore diameter, thread size, rim diameter, rim width, wheel offset, and backspacing.
2010 Acura RDX Fitment Specs
Baseline mounting dimensions used for interchange decisions.
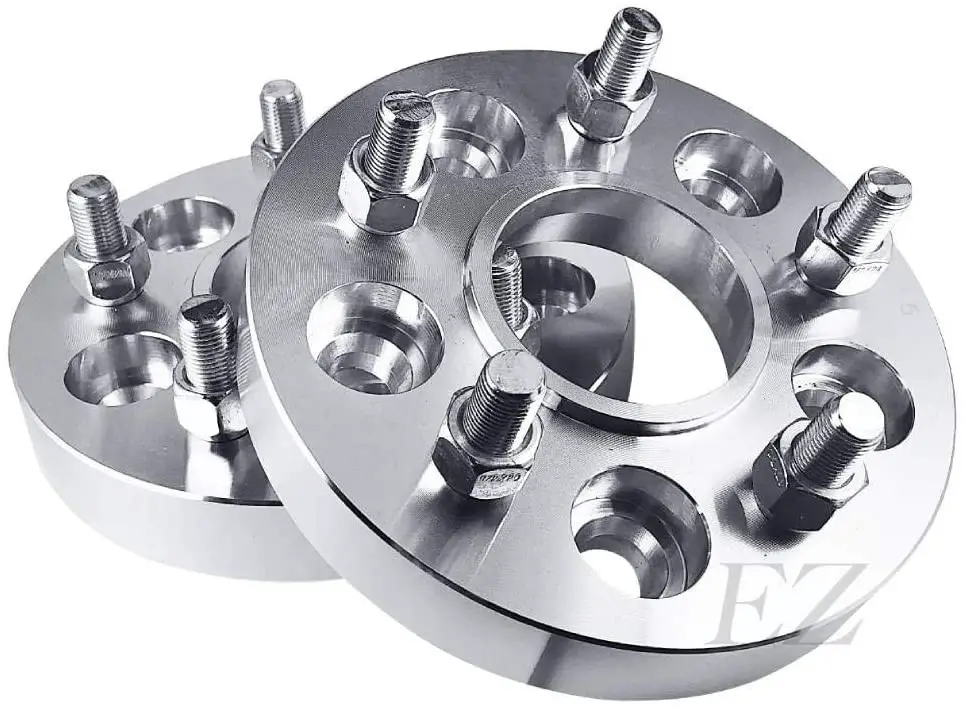
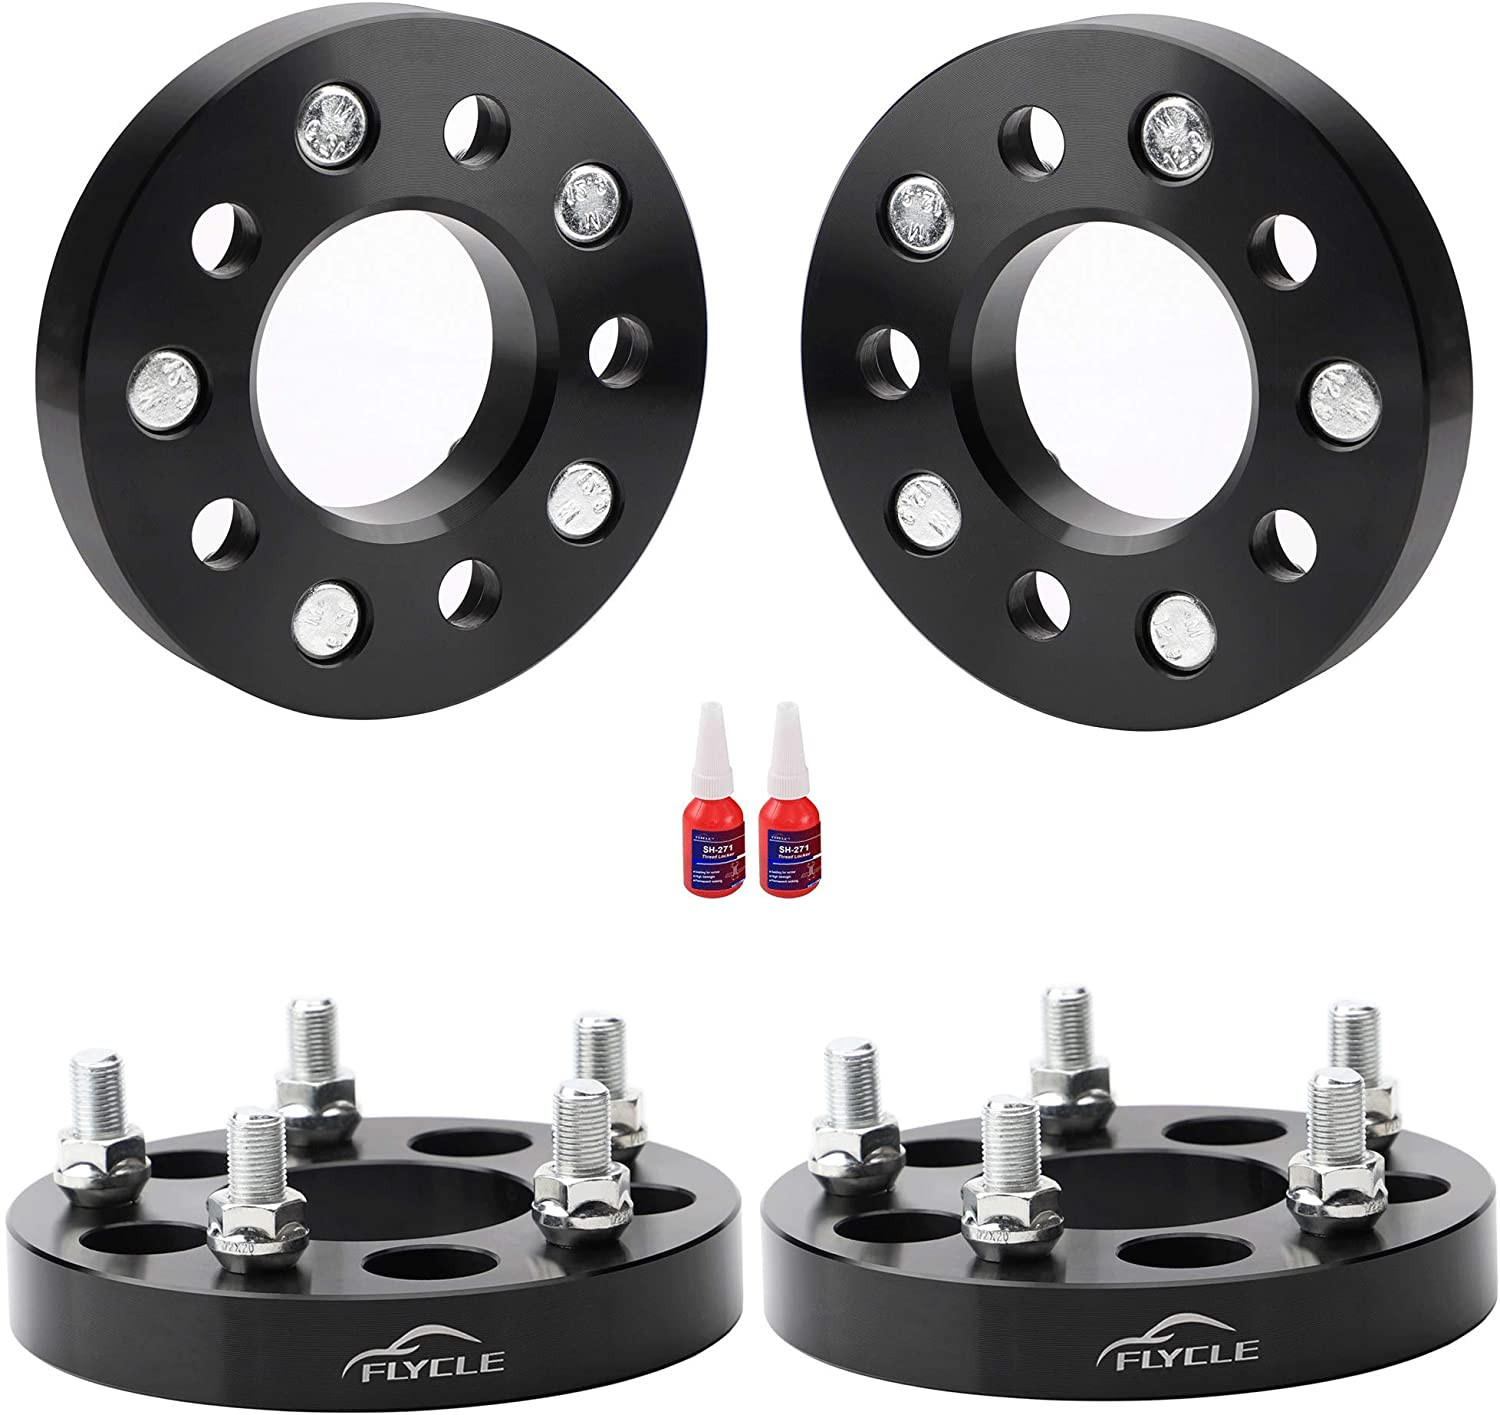
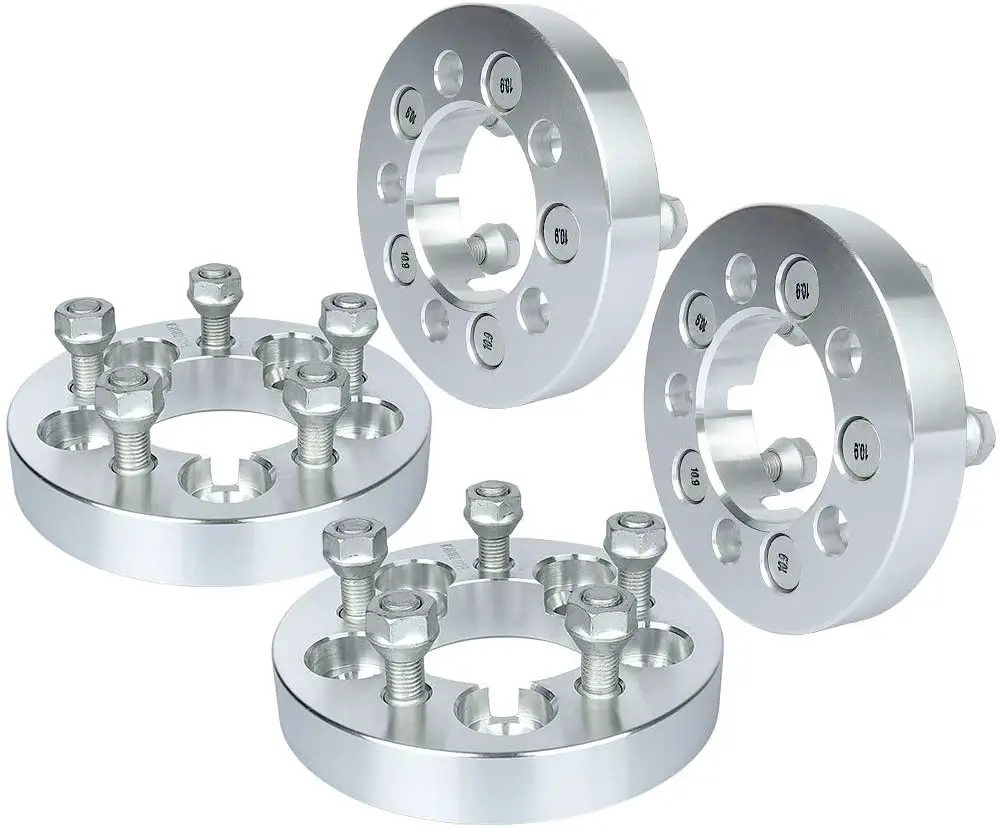
A normal wheel spacer does not change bolt pattern. Hub rings cannot enlarge a wheel bore that is smaller than the hub. Brake clearance and tire package fitment still require vehicle-specific checks when not confirmed in the dataset.
Goal
Problem first: you want to fit aftermarket or donor wheels to a 2010 Acura RDX without creating safety or clearance issues. Fitment questions often come down to bolt pattern, center bore, thread size, and offset. I will guide you through confirming fitment, using the on-page calculator, and resolving common mismatches.
This page gives a concise fitment summary, step-by-step calculator use, and practical troubleshooting from a shop-floor perspective. Follow the recommended checks and validation steps before driving on new wheels.
Quick fitment summary (TL;DR)
OEM bolt pattern: 5x114.3 (studs x PCD).
OEM center bore: 64.1 mm – hub-centric rings may be needed if larger donor wheels are used.
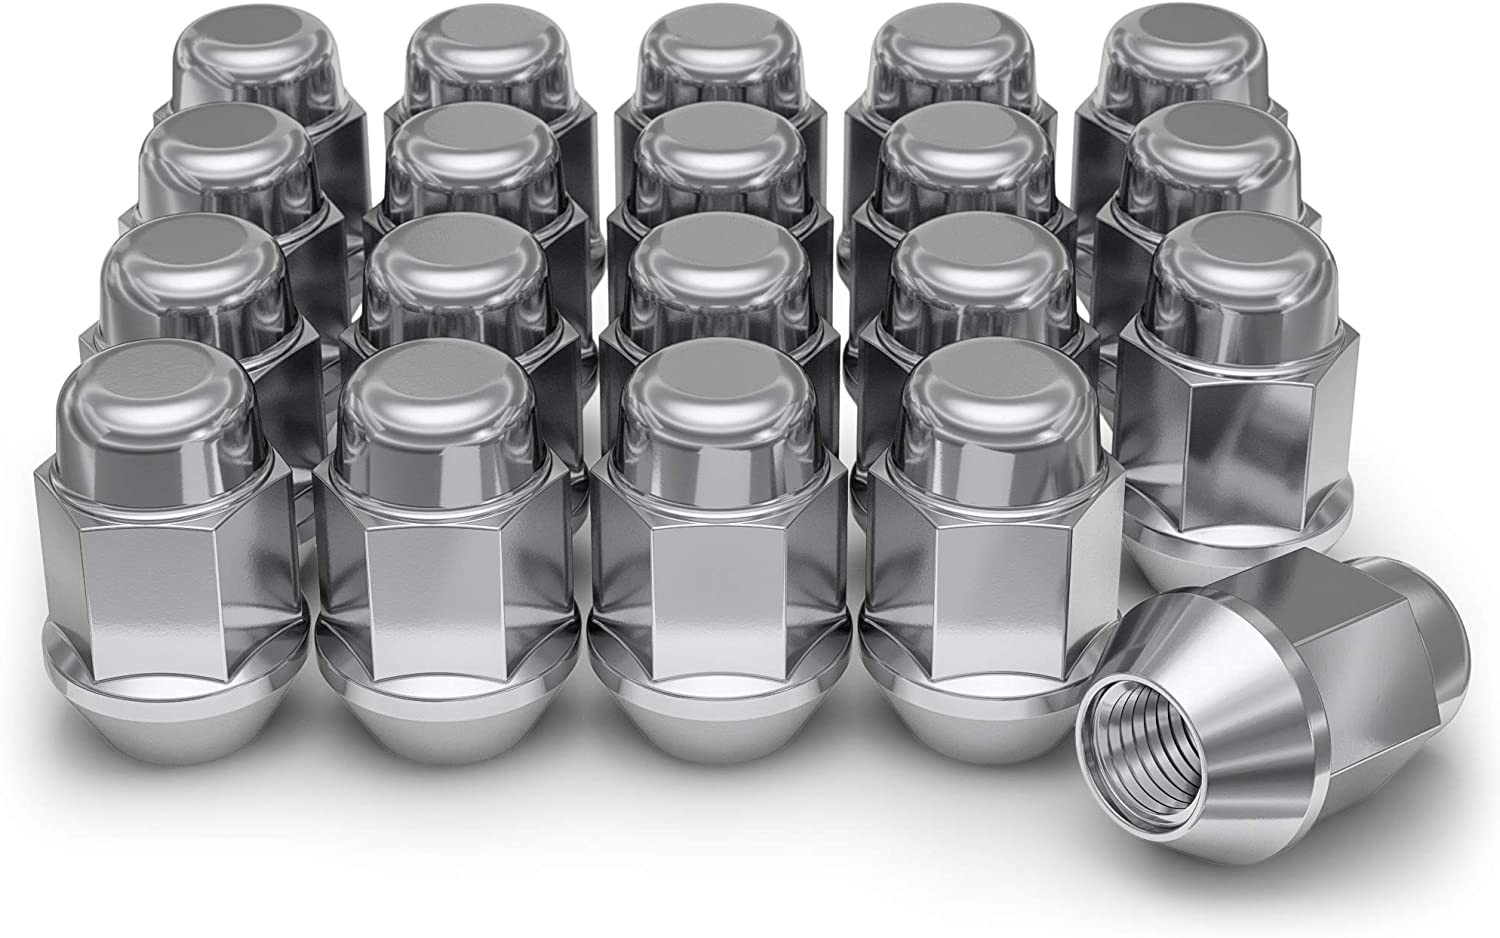
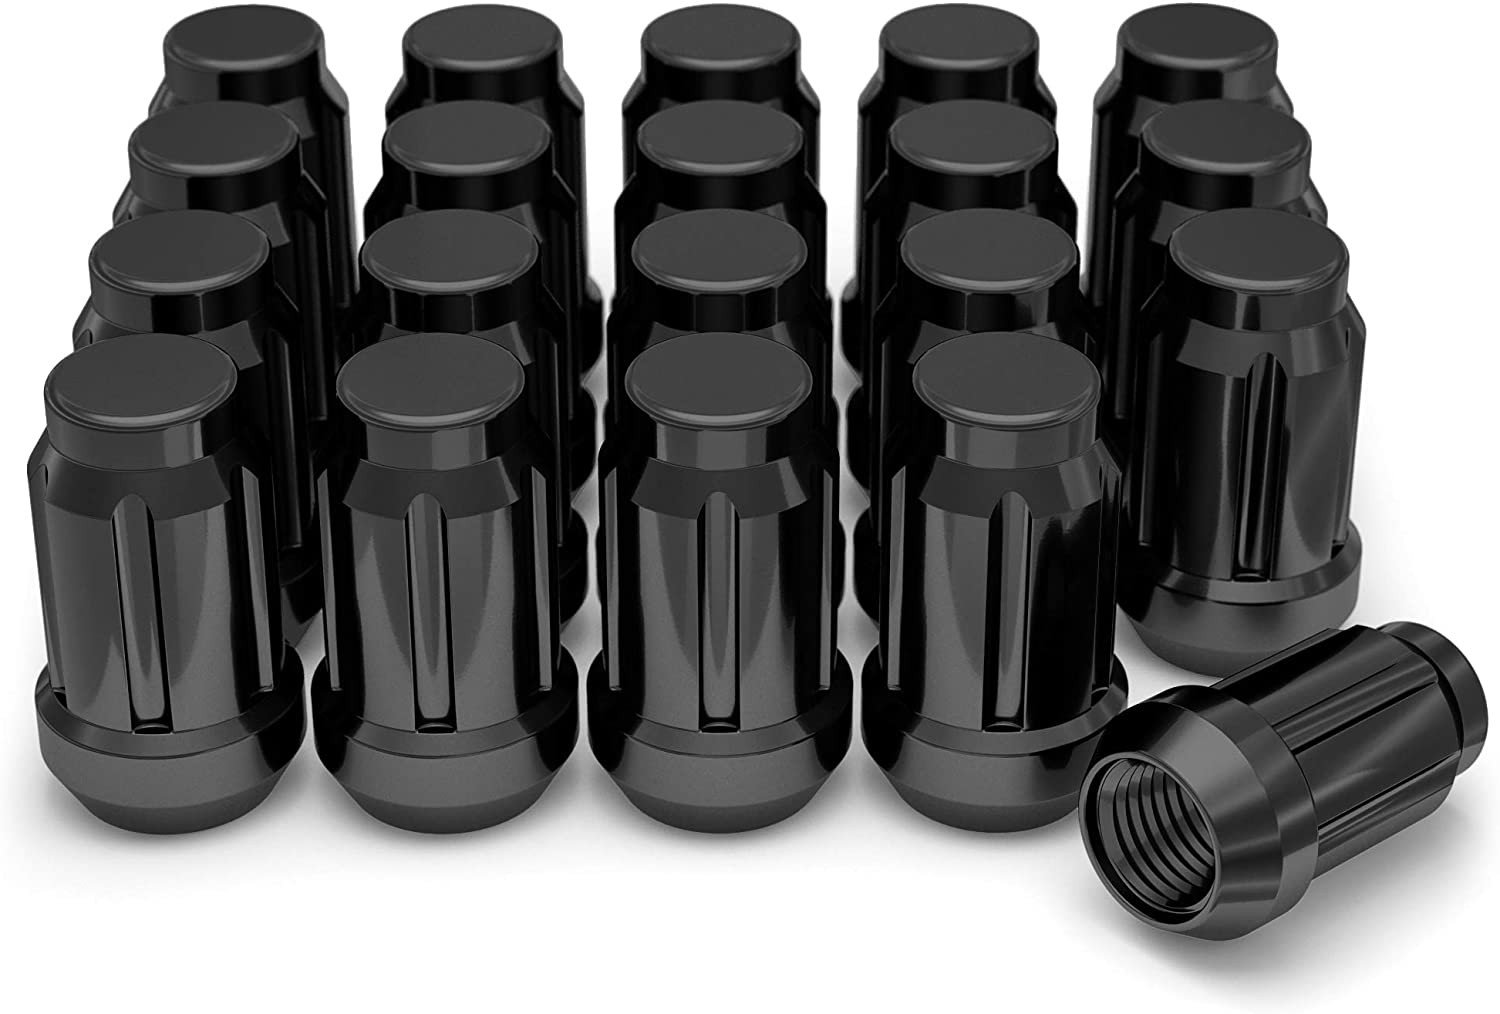
OEM thread size: M12 x 1.5 – use matching lug nuts or studs.
Factory rim size: 18 x 7.5 in, offset (ET): 45 mm, backspacing: 5.52 in.
Factory tire: 235/55R18 (section width 235 mm, aspect ratio 55, rim diameter 18 in).
Do not assume fitment by rim diameter alone; clearance and offset matter.
Use the on-page calculator to compare donor wheels and custom sizes first.
If any value varies by trim, confirm with the calculator or OEM manual before purchase.
Prerequisites
Assumption: you have basic tools and access to the on-page wheel/tire calculator. Recommended items include a torque wrench, correct lug nut socket, and hub-centric rings if needed.
Constraints: some specifications can vary by trim or aftermarket parts. If a value is unknown, use the calculator and check OEM sources to validate it.
What each specification means (concise)
Bolt pattern: number of studs x PCD. It controls whether the wheel will mount to the hub.
Center bore: hub hole diameter. If larger than the hub, use hub-centric rings for centering.
Thread size: stud diameter and pitch. Must match lug nuts or studs exactly.
Rim diameter/width: physical wheel size that dictates tire fitment and clearance.
Offset (ET): distance from wheel centerline to mounting face; affects clearance and track width.
Backspacing: distance from mounting face to wheel lip; useful for measuring brake/caliper clearance.
Tire section width/aspect ratio: determine overall tire diameter and rolling circumference.
OEM wheel & tire specs – 2010 Acura RDX
Bolt pattern
5x114.3
Center bore
64.1 mm
Thread size
M12 x 1.5
Rim diameter
18 in
Rim width
7.5 in
Offset (ET)
45 mm
Backspacing
5.52 in
Tire
235/55R18 (235 mm / 55% / 18 in)
Step by step
Follow this order. It reduces guesswork and prevents expensive mistakes.
How to use the on-page calculator (5–7 steps)
Step 1: Select "Installed on (your vehicle)" as 2010 Acura RDX from the dropdown.
Step 2: Enter donor wheel specs or choose a listed donor vehicle to populate bolt pattern and bore.
Step 3: Adjust "Custom wheel size" values – rim diameter, width, and offset – to test fitment trade-offs.
Step 4: Adjust "Custom tire size" – section width and aspect ratio – and note diameter changes.
Step 5: Review the comparison output for clearance, rolling diameter difference, and spindle/bearing load notes.
Step 6: If any spec is unknown, use the calculator to simulate ranges and then validate with OEM sources.
Step 7: Save or screenshot results before purchasing wheels or adapters.
Installation step-by-step (high level)
Raise vehicle safely, use wheel chocks, and support with jack stands on a level surface.
Remove original wheel and inspect hub, studs, and brake clearance.
If center bore is larger, fit an appropriate hub-centric ring before mounting the wheel.
Install wheel and hand-start all lug nuts. Torque in a star pattern to manufacturer torque spec.
Lower vehicle, re-torque to spec after 50-100 miles for final validation.
Validation reduces risk. Confirm fit with measurements, a test-fit, and dynamic checks.
Validation checklist
Confirm bolt pattern matches exactly: 5x114.3.
Measure center bore and use rings if donor bore is larger than 64.1 mm.
Confirm lug nut thread size is M12 x 1.5 or change to correct nuts/studs.
Check brake caliper and suspension clearance physically by trial mounting the wheel.
Compare tire rolling diameter in the calculator; stay within +/- 3% recommended range.
Torque wheels to spec and re-check torque after 50-100 miles driven.
Common mistakes
Assuming same rim diameter ensures fitment; offset and width also matter.
Neglecting center bore can cause vibration if wheel is not hub-centered.
Using incorrect thread lug nuts – creates stripped threads or loose wheels.
Ignoring load rating and tire speed/load codes when upsizing tires.
Relying on thin adapters without considering shear and warranty constraints.
Troubleshooting
When fitment fails, identify which variable causes the issue. Here are targeted fixes.
Bolt pattern mismatch
Problem: wheel studs pattern does not match the hub. Fixes and trade-offs:
Correct fix: use wheels with 5x114.3. This is the recommended, safest solution.
Alternative: bead-mounted adapters and custom studs. Trade-off: increased complexity, potential warranty and load issues.
Constraint: adapters must be hub-centric or shims must be used; avoid thin, low-quality adapters.
Center bore mismatch
Problem: wheel center hole larger than hub diameter. Practical steps:
Use hub-centric rings sized to fill the gap and center the wheel on the hub.
If wheel bore is smaller than the hub, the wheel will not seat – do not force it.
Validation: verify ring fit and wheel seating before torqueing.
Thread size mismatch
Problem: lug nuts do not fit studs, or pitch differs. Safety-first responses:
Never use mismatched nuts. Replace studs or nuts so thread size is M12 x 1.5 for this RDX.
If converting to aftermarket studs, ensure correct material strength and torque spec.
Validation: test-thread engagement and torque to spec; each lug should have full thread engagement.
Offset and clearance issues
Problem: rubbing, poor handling, or stress on suspension. Remedies and trade-offs:
If wheel sits too far out, use a lower-offset wheel or wheel spacer – check legal and safety constraints.
If wheel sits too far in, choose higher offset or narrower wheel to clear calipers and control arms.
Trade-off: spacers change hub load and can alter steering characteristics. Use hub-centric, properly torqued spacers only.
Roadside & emergency advice
Immediate actions if a wheel issue occurs on the road:
Safely pull off and stop; chock wheels; do not drive on a loose or wobbling wheel.
Visually check lug nuts for looseness. If possible, hand-tighten those accessible.
Use the spare only if its bolt pattern and fit match your hub and it is rated for the vehicle.
Call roadside assistance if you cannot secure the wheel safely. Re-torque properly at the next stop.
Wrap up
Confusion to clarity: start with the bolt pattern and center bore, then check offset and tire diameter. Use the on-page calculator to simulate changes before buying anything. That reduces rework and safety risks.
FAQ
Q: Can I fit wheels from another vehicle? A: Possibly, if bolt pattern, bore, thread, and offset fit. Use the calculator and confirm with OEM specs before purchase.
Q: How do I confirm thread size? A: Check owner's manual, measure with a thread gauge, or inspect an OEM lug nut. If unsure, validate via the on-page calculator and dealer parts info.
Q: Do I need hub-centric rings? A: If the wheel center bore is larger than 64.1 mm, rings are recommended to center the wheel and avoid vibration.
Q: Will changing tire size affect speedometer? A: Yes. Any change in rolling diameter alters speedometer and ABS calibration. The calculator shows diameter change; stay within safe percentages.
Q: Are adapters safe? A: Only use high-quality, hub-centric adapters that match load ratings. There is a trade-off between fitment flexibility and added mechanical complexity.
Safety disclaimer
Safety-first: this guidance does not replace official service manuals or OEM fitment confirmation. I have not invented specs beyond the provided data. If a spec varies by trim or is unknown, use the on-page calculator and confirm with OEM parts documentation or a dealer. Improper fitment can cause loss of vehicle control, component failure, or injury. When in doubt, consult a qualified technician.