2012 BMW X6
Direct Fit- Bolt pattern5x120 · Match
- Center bore74.1 mm · Match
- Wheel geometryCompatible with OEM envelope
Geometry within known OEM envelope (approx. outer change -2.35 mm, inner change -10.35 mm vs mid OEM).
Baseline mounting dimensions used for interchange decisions.
Multiple OEM configurations exist for this vehicle. Fitment can vary by trim, brakes, and factory wheel package – confirm your exact setup before buying.
Results are evaluated from bolt pattern, center bore direction, OEM width/offset envelope, and lug hardware – not bolt pattern alone.
Geometry within known OEM envelope (approx. outer change -2.35 mm, inner change -10.35 mm vs mid OEM).
Geometry within known OEM envelope (approx. outer change -2.35 mm, inner change -10.35 mm vs mid OEM).
Geometry within known OEM envelope (approx. outer change -2.35 mm, inner change -10.35 mm vs mid OEM).
Geometry within known OEM envelope (approx. outer change -2.35 mm, inner change -10.35 mm vs mid OEM).
Geometry within known OEM envelope (approx. outer change -2.35 mm, inner change -10.35 mm vs mid OEM).
Geometry within known OEM envelope (approx. outer change -2.35 mm, inner change -10.35 mm vs mid OEM).
Geometry within known OEM envelope (approx. outer change -2.35 mm, inner change -10.35 mm vs mid OEM).
Geometry within known OEM envelope (approx. outer change -2.35 mm, inner change -10.35 mm vs mid OEM).
Geometry within known OEM envelope (approx. outer change -2.35 mm, inner change -10.35 mm vs mid OEM).
Geometry within known OEM envelope (approx. outer change -2.35 mm, inner change -10.35 mm vs mid OEM).
Geometry within known OEM envelope (approx. outer change 4 mm, inner change -4 mm vs mid OEM).
Geometry within known OEM envelope (approx. outer change -2.35 mm, inner change -10.35 mm vs mid OEM).
Geometry within known OEM envelope (approx. outer change -2.35 mm, inner change -10.35 mm vs mid OEM).
Geometry within known OEM envelope (approx. outer change -2.35 mm, inner change -10.35 mm vs mid OEM).
Geometry within known OEM envelope (approx. outer change -2.35 mm, inner change -10.35 mm vs mid OEM).
Geometry within known OEM envelope (approx. outer change -2.35 mm, inner change -10.35 mm vs mid OEM).
Geometry within known OEM envelope (approx. outer change -2.35 mm, inner change -10.35 mm vs mid OEM).
Geometry within known OEM envelope (approx. outer change -2.35 mm, inner change -10.35 mm vs mid OEM).
Geometry within known OEM envelope (approx. outer change -2.35 mm, inner change -10.35 mm vs mid OEM).
Geometry within known OEM envelope (approx. outer change -2.35 mm, inner change -10.35 mm vs mid OEM).
Geometry within known OEM envelope (approx. outer change -2.35 mm, inner change -10.35 mm vs mid OEM).
Geometry within known OEM envelope (approx. outer change -2.35 mm, inner change -10.35 mm vs mid OEM).
Mounting dimensions align with known OEM fitment for this vehicle.
Geometry within known OEM envelope (approx. outer change -2.35 mm, inner change -10.35 mm vs mid OEM).
Showing 24 of 46 evaluated donors. Same-model years are prioritized.
Only years with evidence-based interchange relationships are listed. Adjacent years are not assumed compatible.
Compare a donor vehicle or custom wheel against this 2013 BMW X6.
Compare wheel compatibility between two vehicles
2013 BMW X6





Products below are matched to required fitment dimensions from our parts inventory. Confirm seat style, thickness, and clearance before ordering.
M14 x 1.25
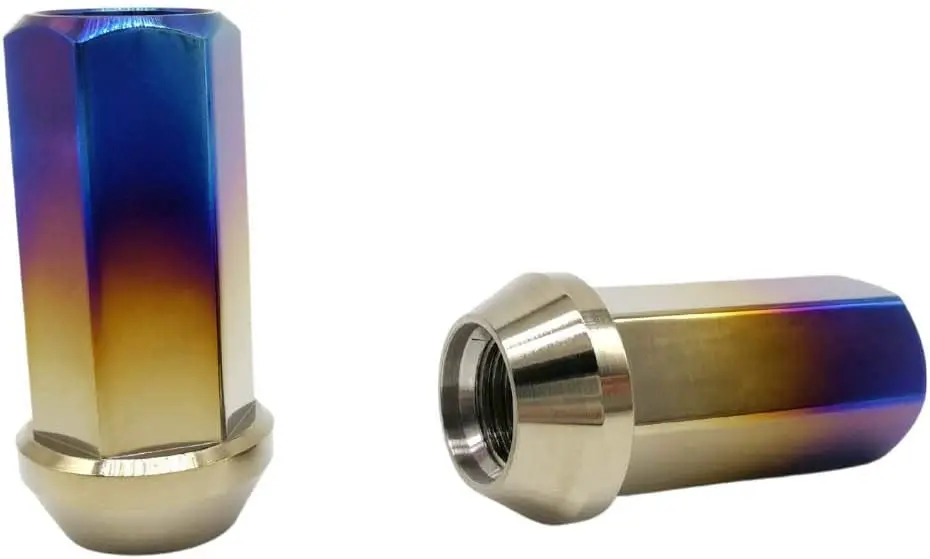
M14 x 1.25 · Confirm wheel seat style before ordering
View on Amazon →5x120 · 74.1 mm hub
Directional bolt-pattern adapters. A spacer does not change PCD.
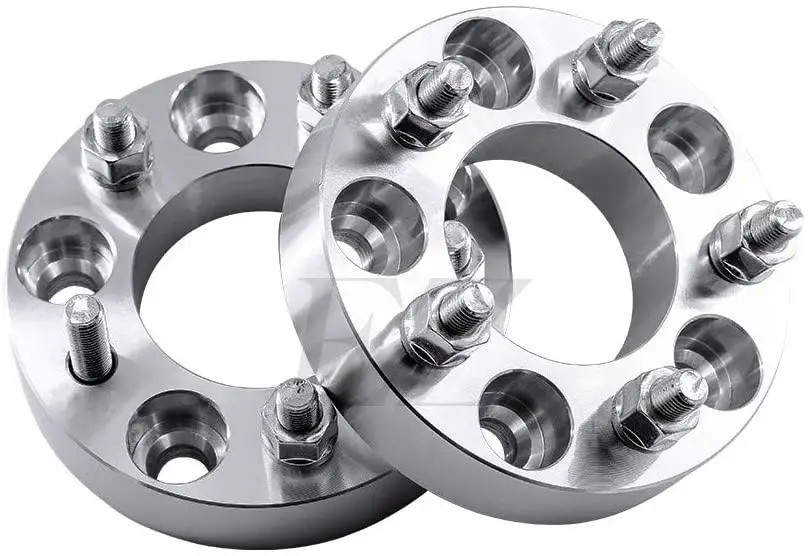
5x120 → 5x127
View on Amazon →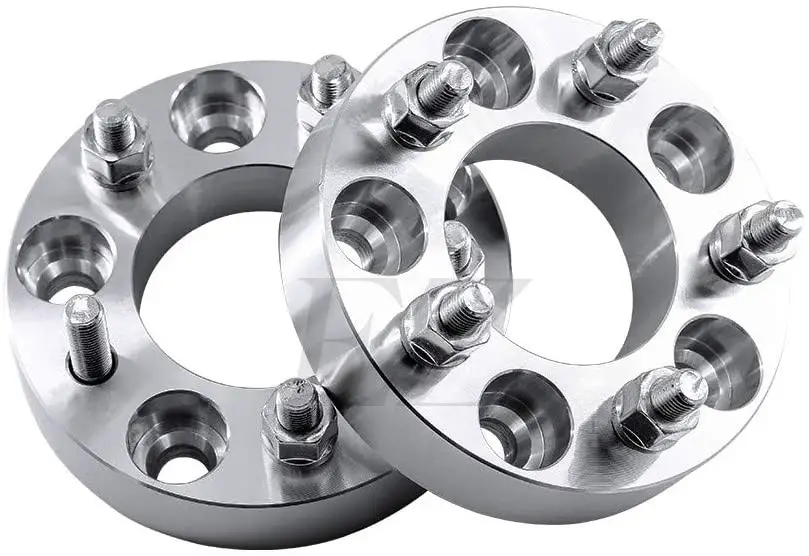
5x120 → 5x114.3
View on Amazon →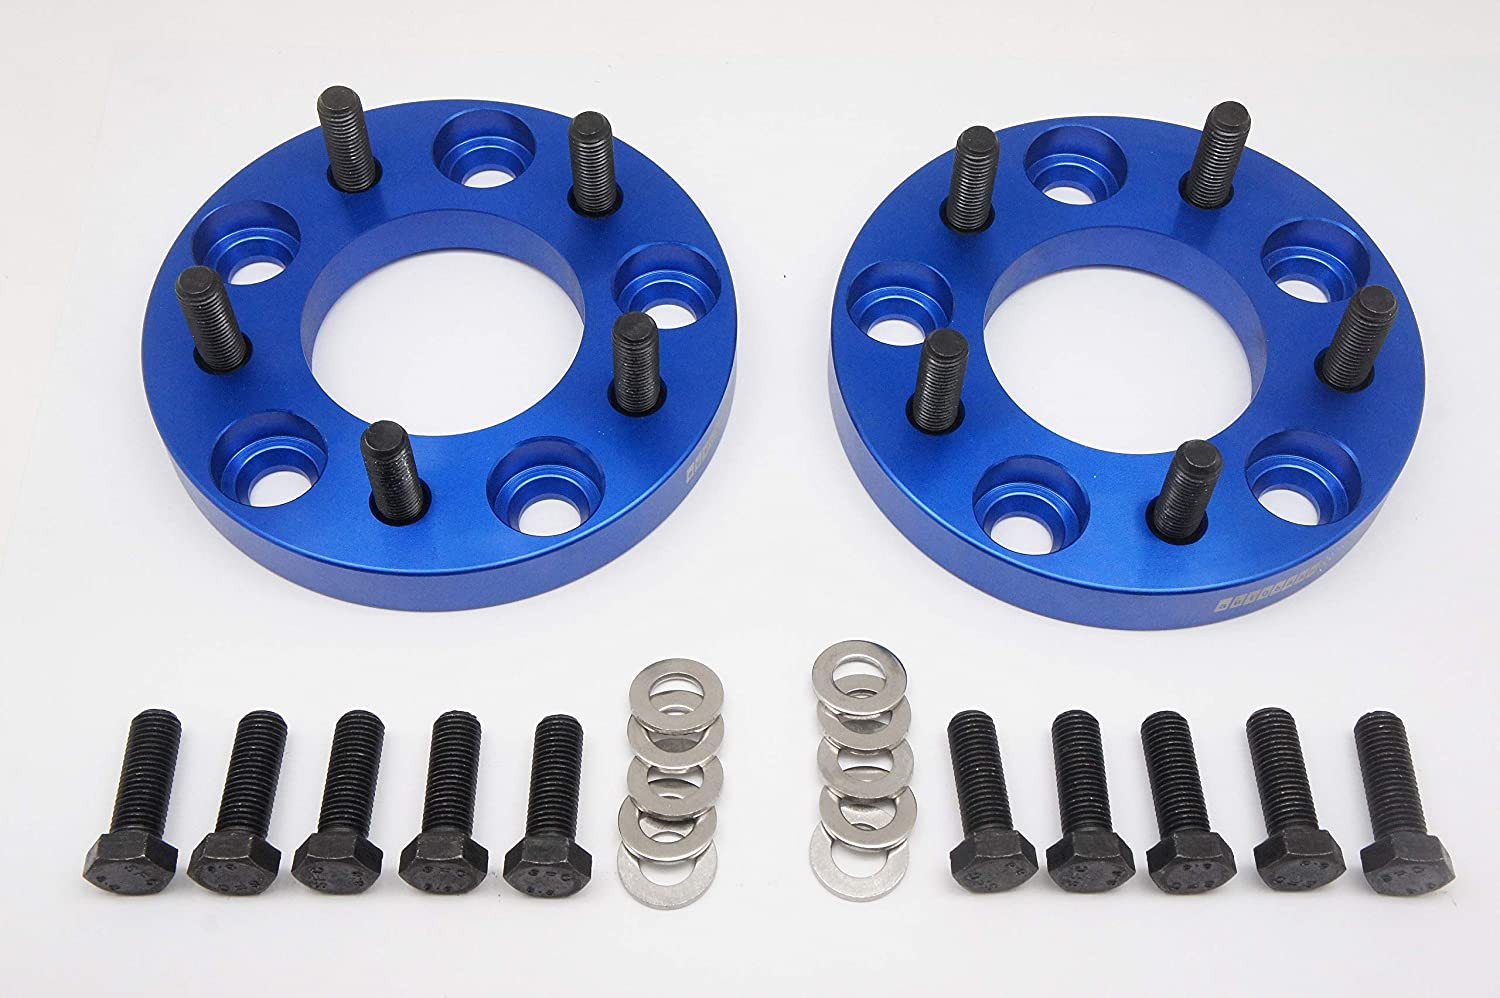
5x120 → 5x114.3
View on Amazon →As an Amazon Associate we earn from qualifying purchases. Product availability and pricing may change.
Wheel interchange depends on more than bolt pattern. Where data is available, this site compares:
A normal wheel spacer does not change bolt pattern. Hub rings cannot enlarge a wheel bore that is smaller than the hub. Brake clearance and tire package fitment still require vehicle-specific checks when not confirmed in the dataset.
The values below are confirmed inputs we have for this model year. The 2013 BMW X6 often used staggered wheel and tire setups and packages varied by trim and market. If a value is not listed, it may vary. Verify exact equipment on your vehicle using the tire sidewall, door-jamb placard, your build sheet, and the on-page calculator.
| Bolt pattern (studs x PCD) | 5x120 |
| Center bore (mm) | 74.1 |
| Thread size | M14 x 1.5 |
| Known OEM wheel example | 20 x 10.0 ET40, backspacing 6.57 in |
| Known OEM tire example | 255/50R19 |
Notes:
Use the calculator to compare a potential donor setup against your 2013 BMW X6 and to test custom wheel and tire sizes before buying.
Plus sizing changes rim diameter and tire aspect ratio to keep overall diameter close to stock while altering stance and handling. Because the X6 had multiple OEM packages, always start from your current tire size. Example only: starting from 255/50R19, a move to a 20 inch rim would typically pair with a lower aspect ratio tire to keep overall diameter similar. Use the calculator to test options and verify that inner and outer clearances remain safe.
What is the bolt pattern on the 2013 BMW X6?
5x120.
Does the 2013 X6 use a staggered setup?
Many 2013 X6 configurations are staggered, but not all. Check your current tire sizes. If the front and rear sidewall markings differ in width or aspect ratio, your vehicle is staggered. Compare each axle separately in the calculator.
What offset should I use?
One known OEM example is 20x10 ET40. Beyond that, acceptable offsets vary by wheel width and brake package. Use the calculator to compare target offsets against your current setup and ensure safe inner and outer clearances. When in doubt, test fit.
Do I need hub-centric rings for aftermarket wheels?
Yes if the wheel’s center bore is larger than 74.1 mm. Use rings that reduce the wheel bore to 74.1 mm. Do not force wheels with a smaller bore onto the hub.
Can I run spacers on the X6?
Yes if needed for clearance, but use hub-centric spacers and appropriately longer M14 x 1.5 bolts. Confirm fender and liner clearance and re-check torque after 50 to 100 miles. Verify local regulations.
Will new wheels affect my TPMS?
Wheels do not, but sensors do. You can transfer existing sensors if compatible with the new wheels or purchase compatible replacements. Program or relearn sensors per BMW instructions for your trim and market.
What tire sizes fit 20 inch wheels on the 2013 X6?
It depends on width, offset, brake package, and whether your vehicle is staggered. Start from your current tire diameter and use the calculator to test 20 inch options that keep overall diameter close while ensuring clearance.
What lug hardware does the 2013 X6 use?
M14 x 1.5 lug bolts. Match the seat style to the wheel and do not lubricate threads. Torque to the OEM spec from your owner’s manual.
Always verify final fitment with physical measurements and OEM documentation before purchasing. If any specification on your vehicle differs from the examples above, use your actual values in the calculator for the most accurate comparison.
