OEM wheel and tire fitment specs for the 2003 Buick Regal, including bolt pattern (PCD), center bore diameter, thread size, rim diameter, rim width, wheel offset, and backspacing.
2003 Buick Regal Fitment Specs
Baseline mounting dimensions used for interchange decisions.
Multiple OEM configurations exist for this vehicle. Fitment can vary by trim, brakes, and factory wheel package – confirm your exact setup before buying.
Wheels That Interchange With a 2003 Buick Regal
Results are evaluated from bolt pattern, center bore direction, OEM width/offset envelope, and lug hardware – not bolt pattern alone.
Use lug nuts compatible with your vehicle's studs. Geometry within known OEM envelope (approx. outer change 11.35 mm, inner change 1.35 mm vs mid OEM).
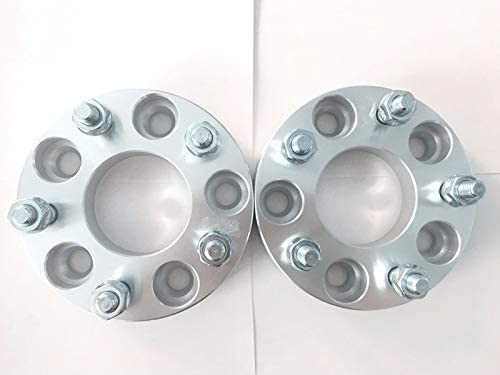
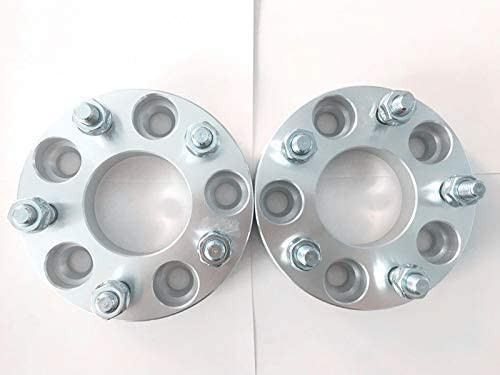
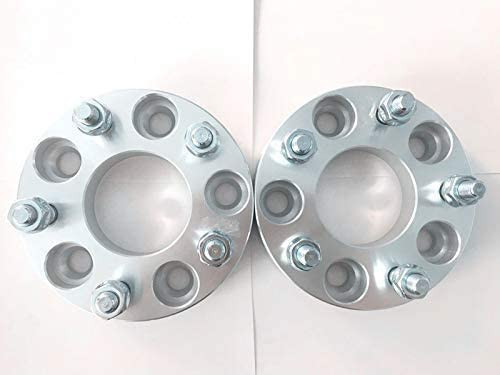
A normal wheel spacer does not change bolt pattern. Hub rings cannot enlarge a wheel bore that is smaller than the hub. Brake clearance and tire package fitment still require vehicle-specific checks when not confirmed in the dataset.
The following specifications are confirmed for at least some 2003 Buick Regal trims. This data may be partial and some items can vary by trim or option package. Always verify your exact vehicle using the on-page calculator, the tire and loading sticker on the driver door jamb, and the owner manual or OEM service information.
Bolt pattern (studs x PCD)
5x115
Center bore
70.3 mm
Thread size
M12 x 1.5
Rim diameter
16 in
Rim width
6.5 in
Wheel offset (ET)
42 mm
Backspacing
4.9 in
Tire size example
215/70R15
Note: The listed 16x6.5 wheel spec and the 215/70R15 tire spec indicate the vehicle may have been delivered with different wheel and tire packages depending on trim or market. If your door sticker or owner manual shows a different size, follow the OEM source for your specific VIN. Use the calculator below to compare any alternate sizes before buying.
How To Use The Wheel Interchange Calculator
Open the calculator and set Installed on (your vehicle) to 2003 Buick Regal.
If you know your current wheel and tire, enter them under Installed on to establish a baseline. If not, use the sizes from your door sticker.
Enter the candidate setup under Wheels from (donor vehicle) to compare an entire donor wheel and tire package. You can also enter exact custom specs.
Adjust Custom wheel size to set rim diameter, rim width, and offset for the donor or custom wheel. The tool will update clearances like inner strut side and fender side.
Adjust Custom tire size to set section width and aspect ratio. When you change rim diameter, the tire outer diameter in the comparison updates so you can track speedometer change and ride height.
Review highlighted differences. Watch inner clearance to suspension and brakes, outer poke relative to the fender, and overall tire diameter change.
If anything shows potential interference, try a narrower tire, different offset, or a smaller diameter change until clearances are acceptable.
Before purchase, confirm that bolt pattern, center bore, and lug seat style match, and verify brake caliper clearance with a physical test fit whenever possible.
Fitment Checklist Before You Buy
Bolt pattern must be 5x115. Do not use 5x114.3 without a proper engineered solution. Mixed patterns or wobble hardware are not recommended for safety.
Center bore must seat properly on the 70.3 mm hub. If the wheel hub bore is larger, plan to use hub centric rings with 70.3 mm inner diameter.
Thread and lug seat must match. Thread is M12 x 1.5. Match the lug seat type to the wheel design, typically conical or ball seat. Do not mix seat types.
Offset and backspacing should be close to stock to maintain inner clearance and scrub radius. Use the calculator to visualize inner strut clearance and fender poke.
Tire outer diameter should remain close to stock to protect speedometer accuracy and ABS behavior. A common guideline is within about 3 percent, but always confirm with the calculator and a physical test fit.
Brake caliper and spoke clearance. Some wheel designs with the same size can still contact calipers. Test fit whenever possible.
Load rating. Ensure wheel and tire load ratings meet or exceed the vehicle’s GAWR. Check the door sticker and manufacturer data.
TPMS and valve hardware. If your vehicle is equipped, confirm sensor type and compatibility. Relearn procedures may be required.
Plus Sizing And Common Upgrades
The Regal platform can often accept modest plus sizes, but confirmation for your exact trim is required. Treat the examples below as planning guidance only and verify using the calculator and a test fit.
Plus 1 from a 16 inch baseline. Many owners consider a 17 inch wheel with a lower profile tire that keeps overall diameter similar. Check offset and inner clearance carefully.
Plus 2 to 18 inch. This can improve steering response but reduces sidewall height. Inspect fender and liner clearance at full lock and full compression.
Wider tires. A modest width increase can improve grip. Use the calculator to see inner strut and outer fender changes. You may need a slightly different offset to balance clearances.
Ride quality and speedometer. Lower profile tires transmit more impact and can change indicated speed. Confirm diameter change and consider recalibration if required by local regulations.
If your OEM tire size differs from the example above, base all plus sizing from your actual OEM size as shown on your door jamb sticker or owner manual.
Installation Tips
Park on level ground, chock wheels, and use a properly rated jack and stands. Never work under a vehicle supported only by a jack.
Clean the hub face and center pilot with a wire brush. Remove rust and debris so the wheel seats flush.
Dry threads. Unless the OEM service information specifies otherwise, install lug nuts dry and clean. Lubricants and anti-seize can alter torque.
Hand start all lug nuts to avoid cross-threading. Tighten in a star pattern in stages.
Torque to the value in your owner manual or OEM service guide using a calibrated torque wrench. Re-torque after 50 to 100 miles.
Confirm stud engagement. Ensure at least 6.5 to 8 full turns of engagement on M12 x 1.5 threads or per OEM guidance.
Verify clearance. After installation, turn the steering from lock to lock and check for rubbing. Inspect with the suspension compressed if possible.
If using hub centric rings, ensure the ring seats fully on the hub and in the wheel bore before torquing.
70.3 mm hub centric rings for larger-bore aftermarket wheels: Search on Amazon
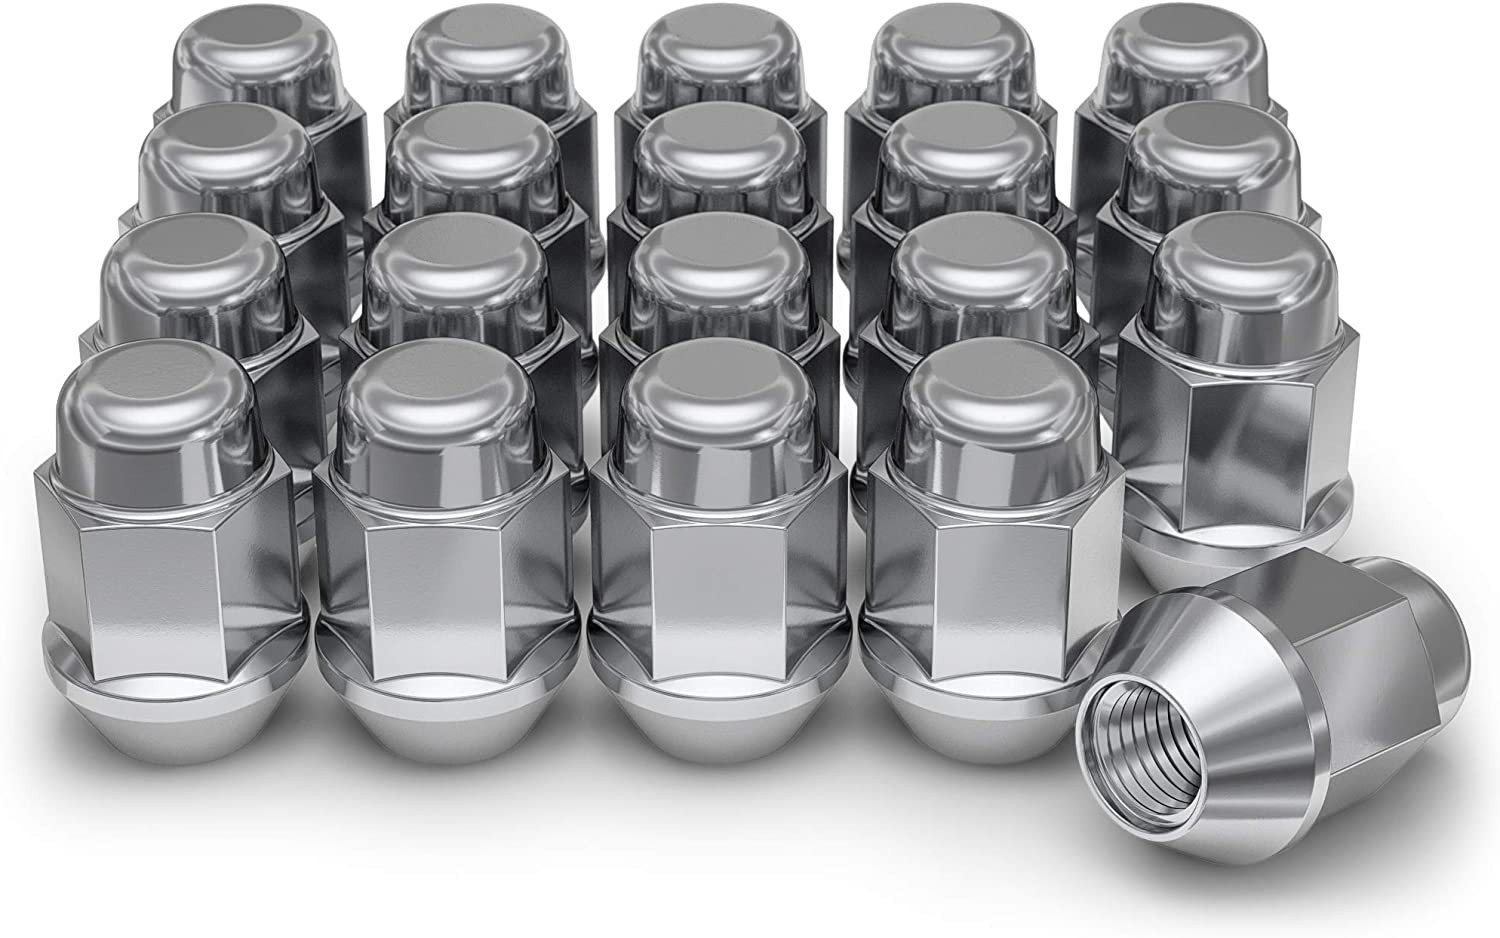
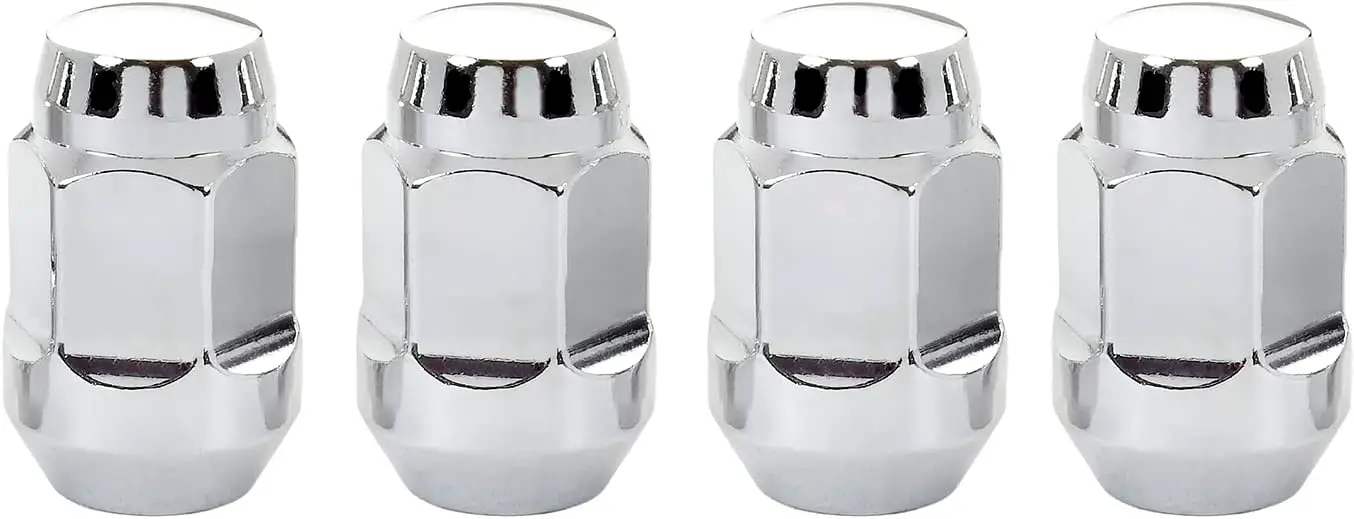
M12 x 1.5 conical lug nuts if required by your wheels: Search on Amazon
Also have a floor jack, jack stands, wire brush, brake cleaner, and a quality tire pressure gauge on hand.
FAQs
What is the bolt pattern for the 2003 Buick Regal
5x115.
What center bore do I need
70.3 mm hub bore. If your wheel has a larger bore, plan on hub centric rings with 70.3 mm inner diameter and the wheel’s outer diameter.
What lug nuts does it use
Threads are M12 x 1.5. The seat style must match the wheel design. Many aftermarket wheels use a 60 degree conical seat, but confirm with your wheel supplier.
Can I fit 5x114.3 wheels on a 5x115 car
This is not recommended. Mismatched bolt patterns can lead to vibration, fastener stress, and loss of clamping force.
What offset should I choose
Start near the OEM value listed above and use the calculator to evaluate inner and outer clearance. Small changes can have large effects on fender poke and strut clearance. Always test fit.
Will 17 or 18 inch wheels fit
They may, depending on tire size, offset, and brake clearance for your exact trim. Use the calculator to keep overall diameter close to stock and verify with a physical test fit.
Do I need new TPMS sensors
Some 2003 vehicles did not use valve stem sensors. Check your owner manual. If sensors are present, confirm compatibility with new wheels and perform any required relearn.
Why do the listed wheel and tire sizes not match
The Regal was offered with multiple packages. The data above reflects known values for at least some trims. Always follow your door sticker and OEM documentation for your specific vehicle, then use the calculator to compare any alternatives.