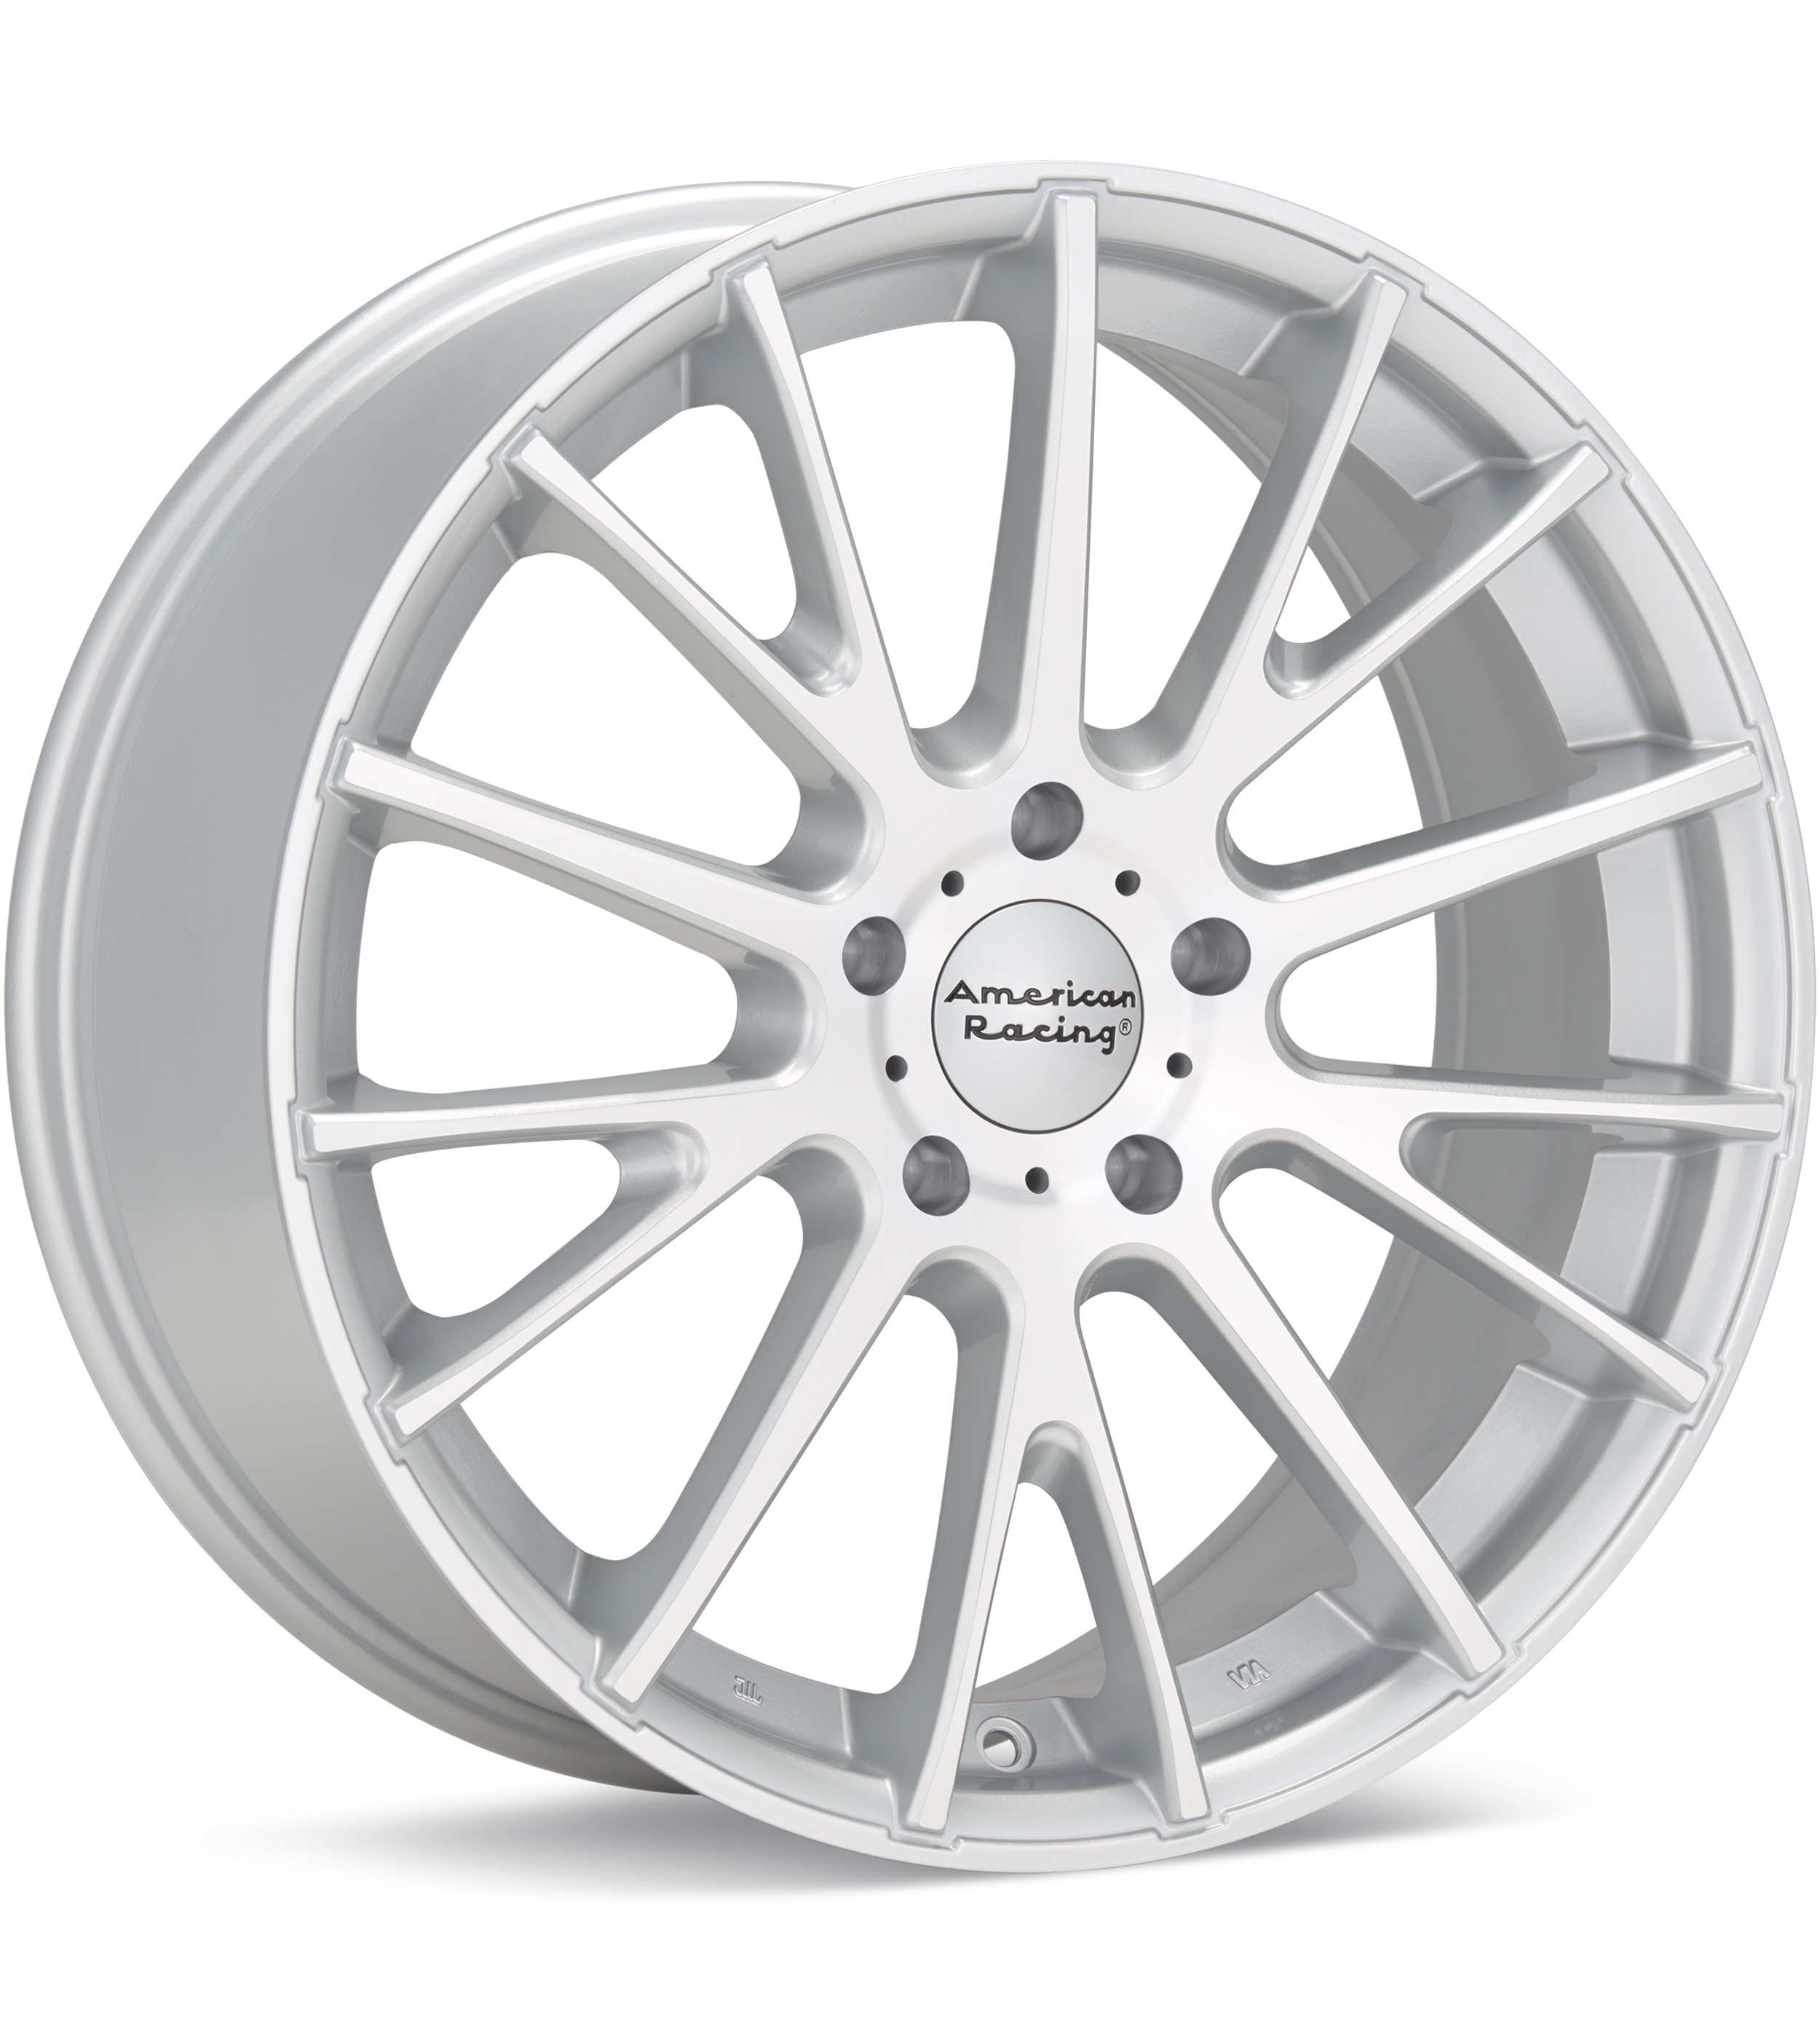
American Racing
AR904
Silver Machined w/Clearcoat
16 × 7″ · ET +40
$209.00
View at Tire Rack ↗Recorded OEM specifications for the 1999 Acura TL, donor years with overlapping ranges, and a calculator to compare a selected wheel. Range overlap is not a guaranteed fit.
Save these wheel specs to your Ownery garage
Baseline mounting dimensions used for interchange decisions.
Thread-only product links are shopping examples, not verified fits. Seat style is not confirmed here. As an Amazon Associate we earn from qualifying purchases.
Selected size: 16 × 6.5″ · ET +55
Showing matching bolt patterns and offsets up to 20 mm lower. Confirm center bore, load rating, and clearance at Tire Rack.
American Racing
Silver Machined w/Clearcoat
16 × 7″ · ET +40
$209.00
View at Tire Rack ↗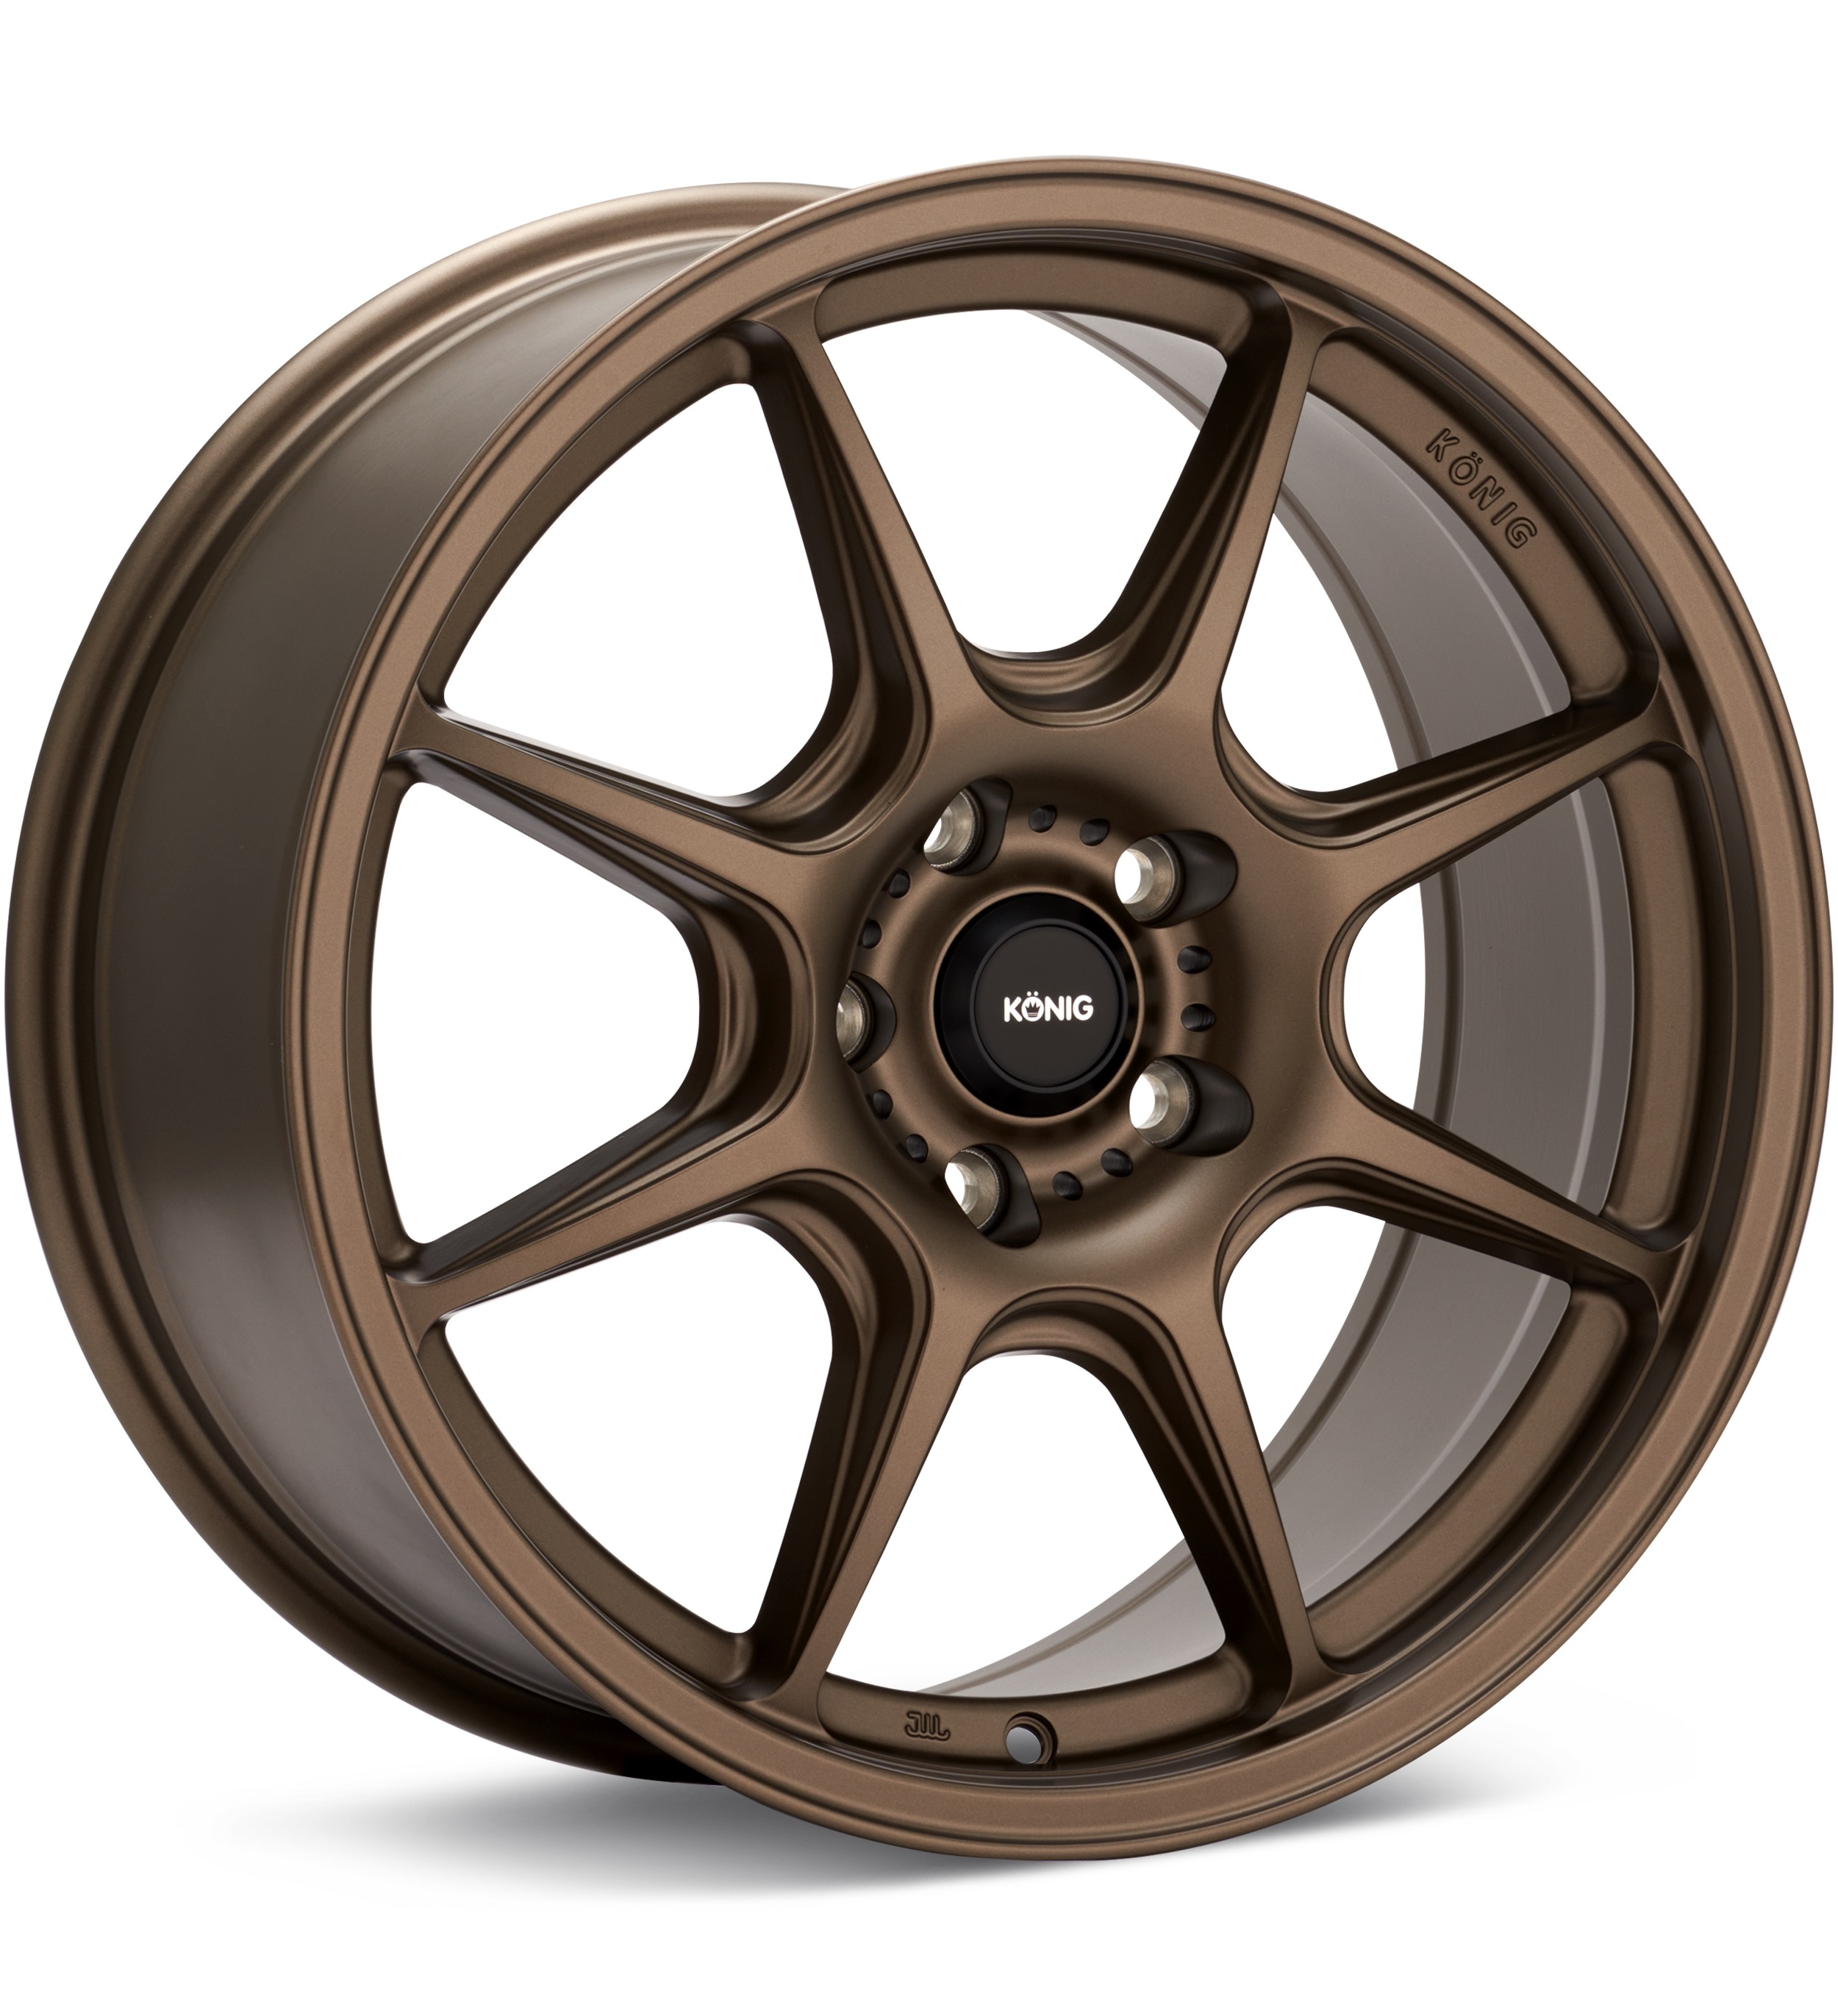
Konig
Matte Bronze
16 × 7.5″ · ET +40
$182.09
View at Tire Rack ↗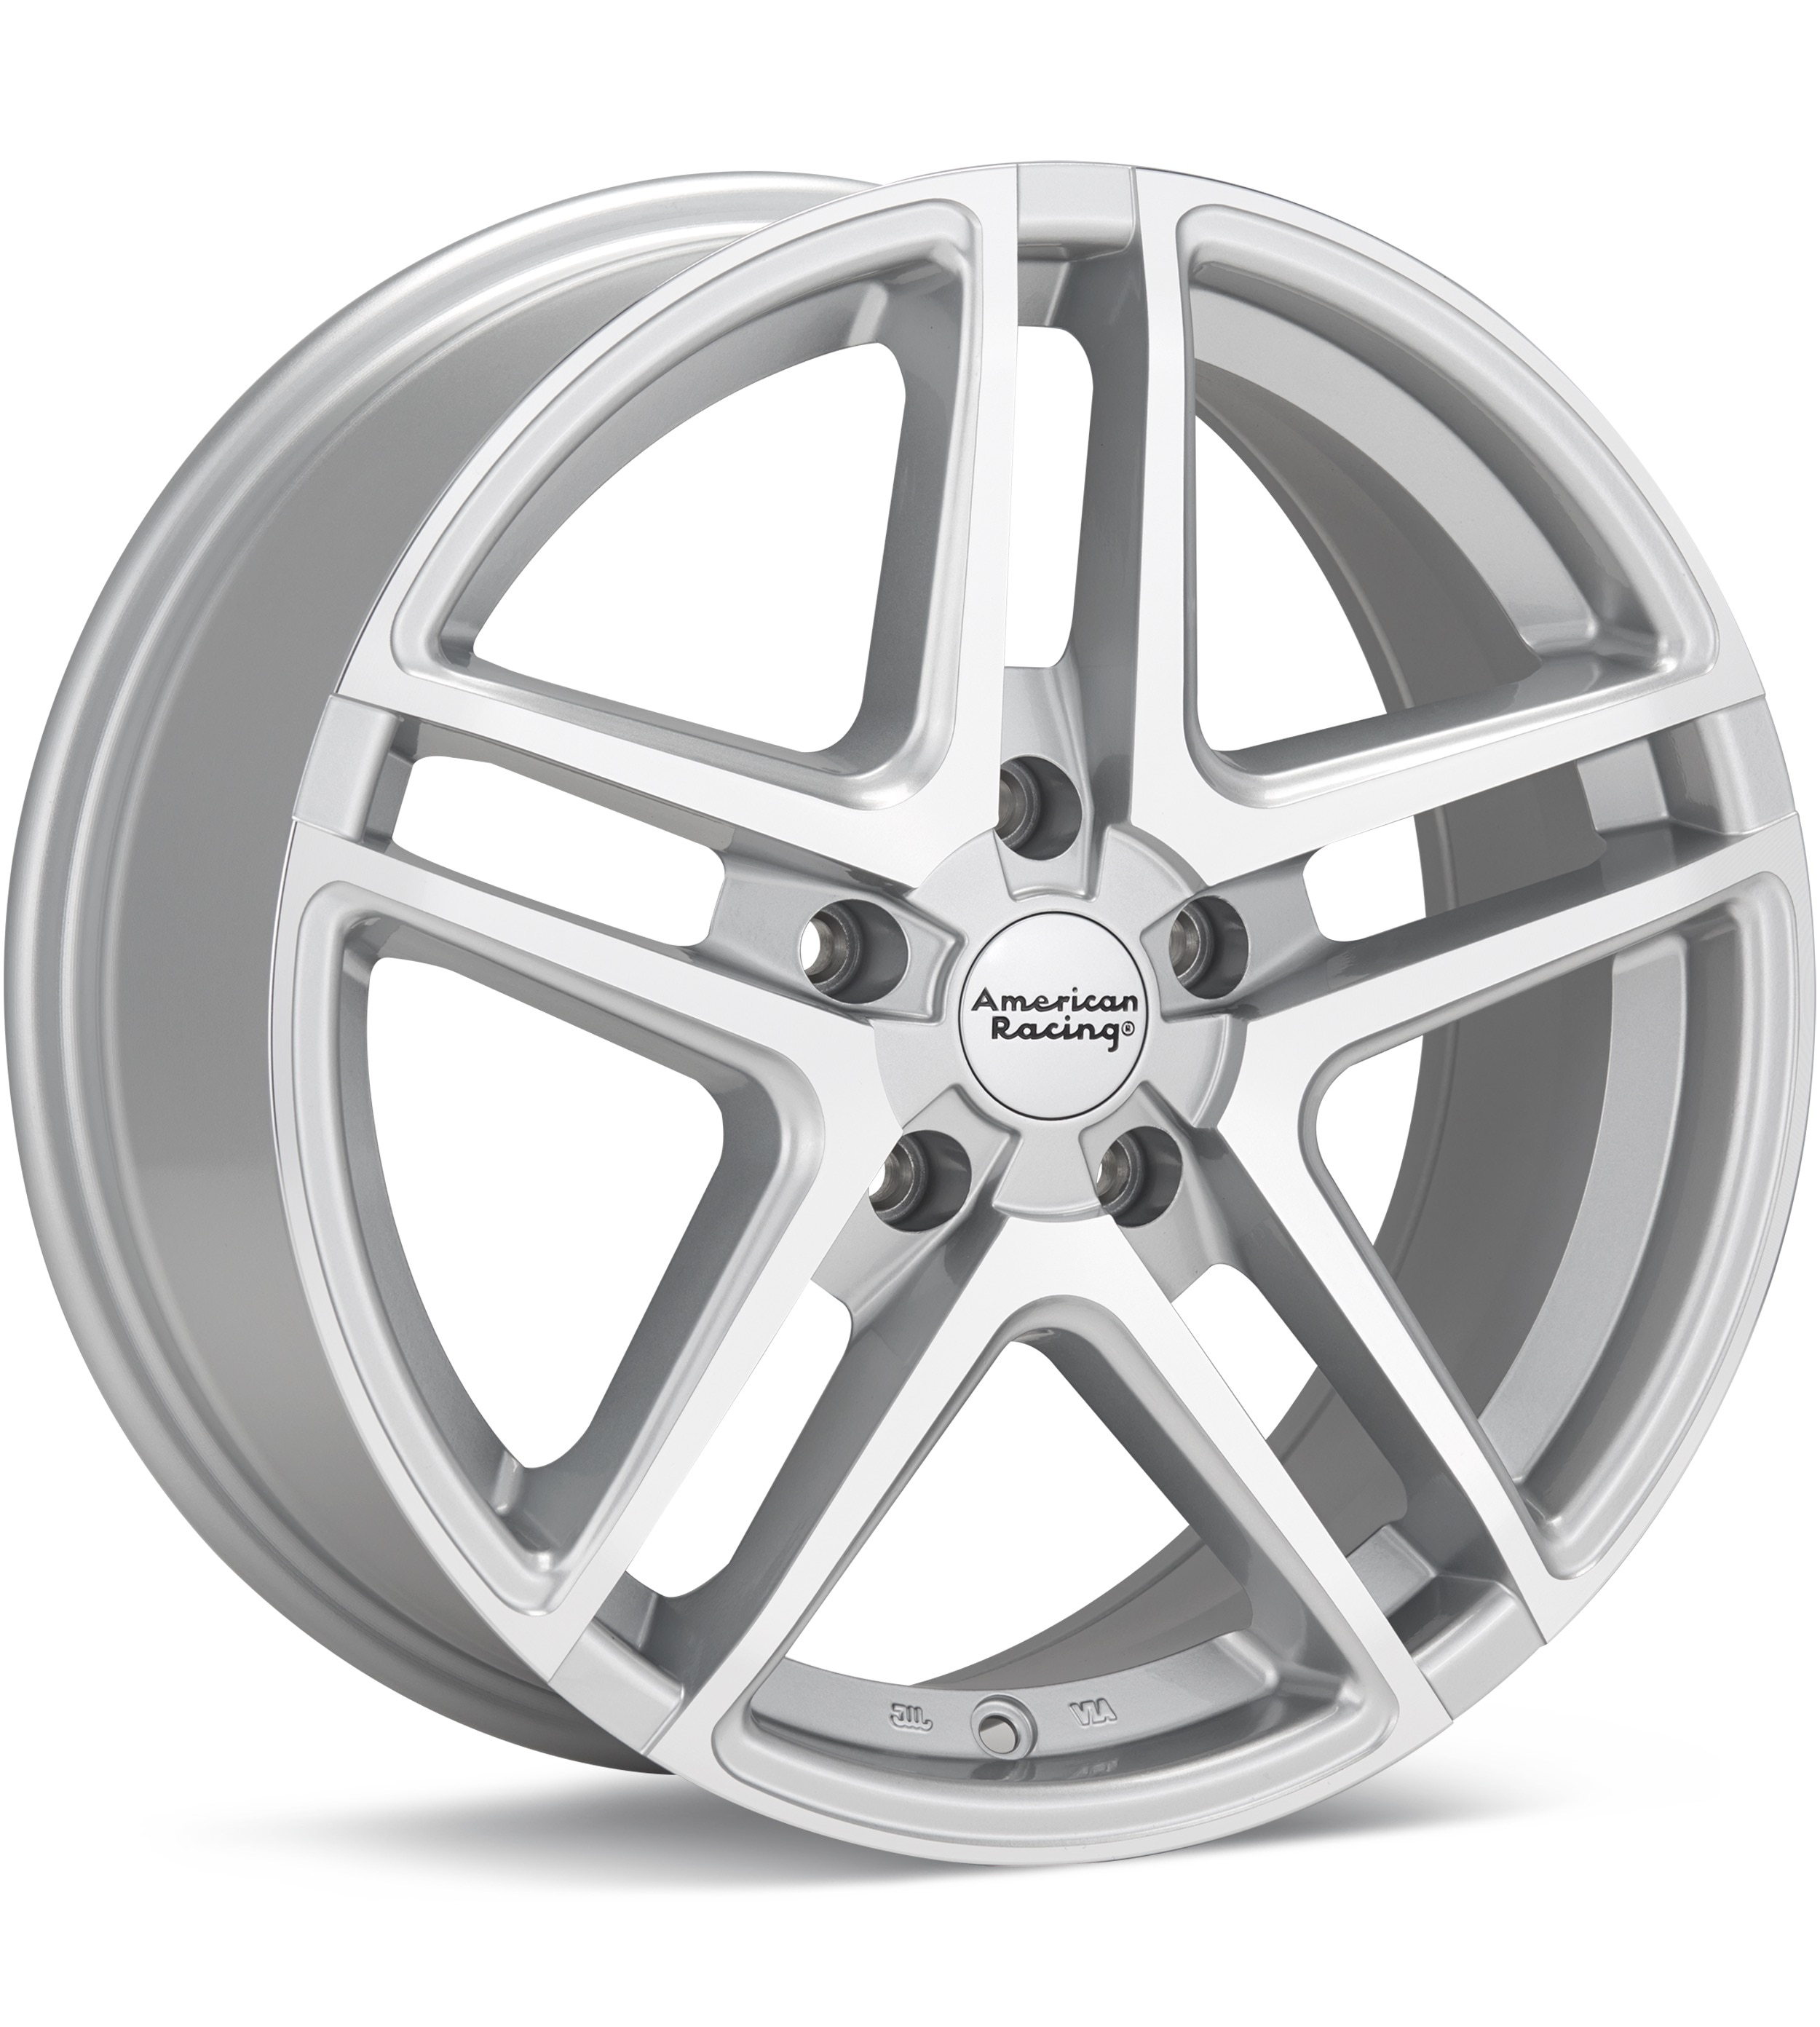
American Racing
Silver Machined w/Clearcoat
16 × 7″ · ET +40
$209.00
View at Tire Rack ↗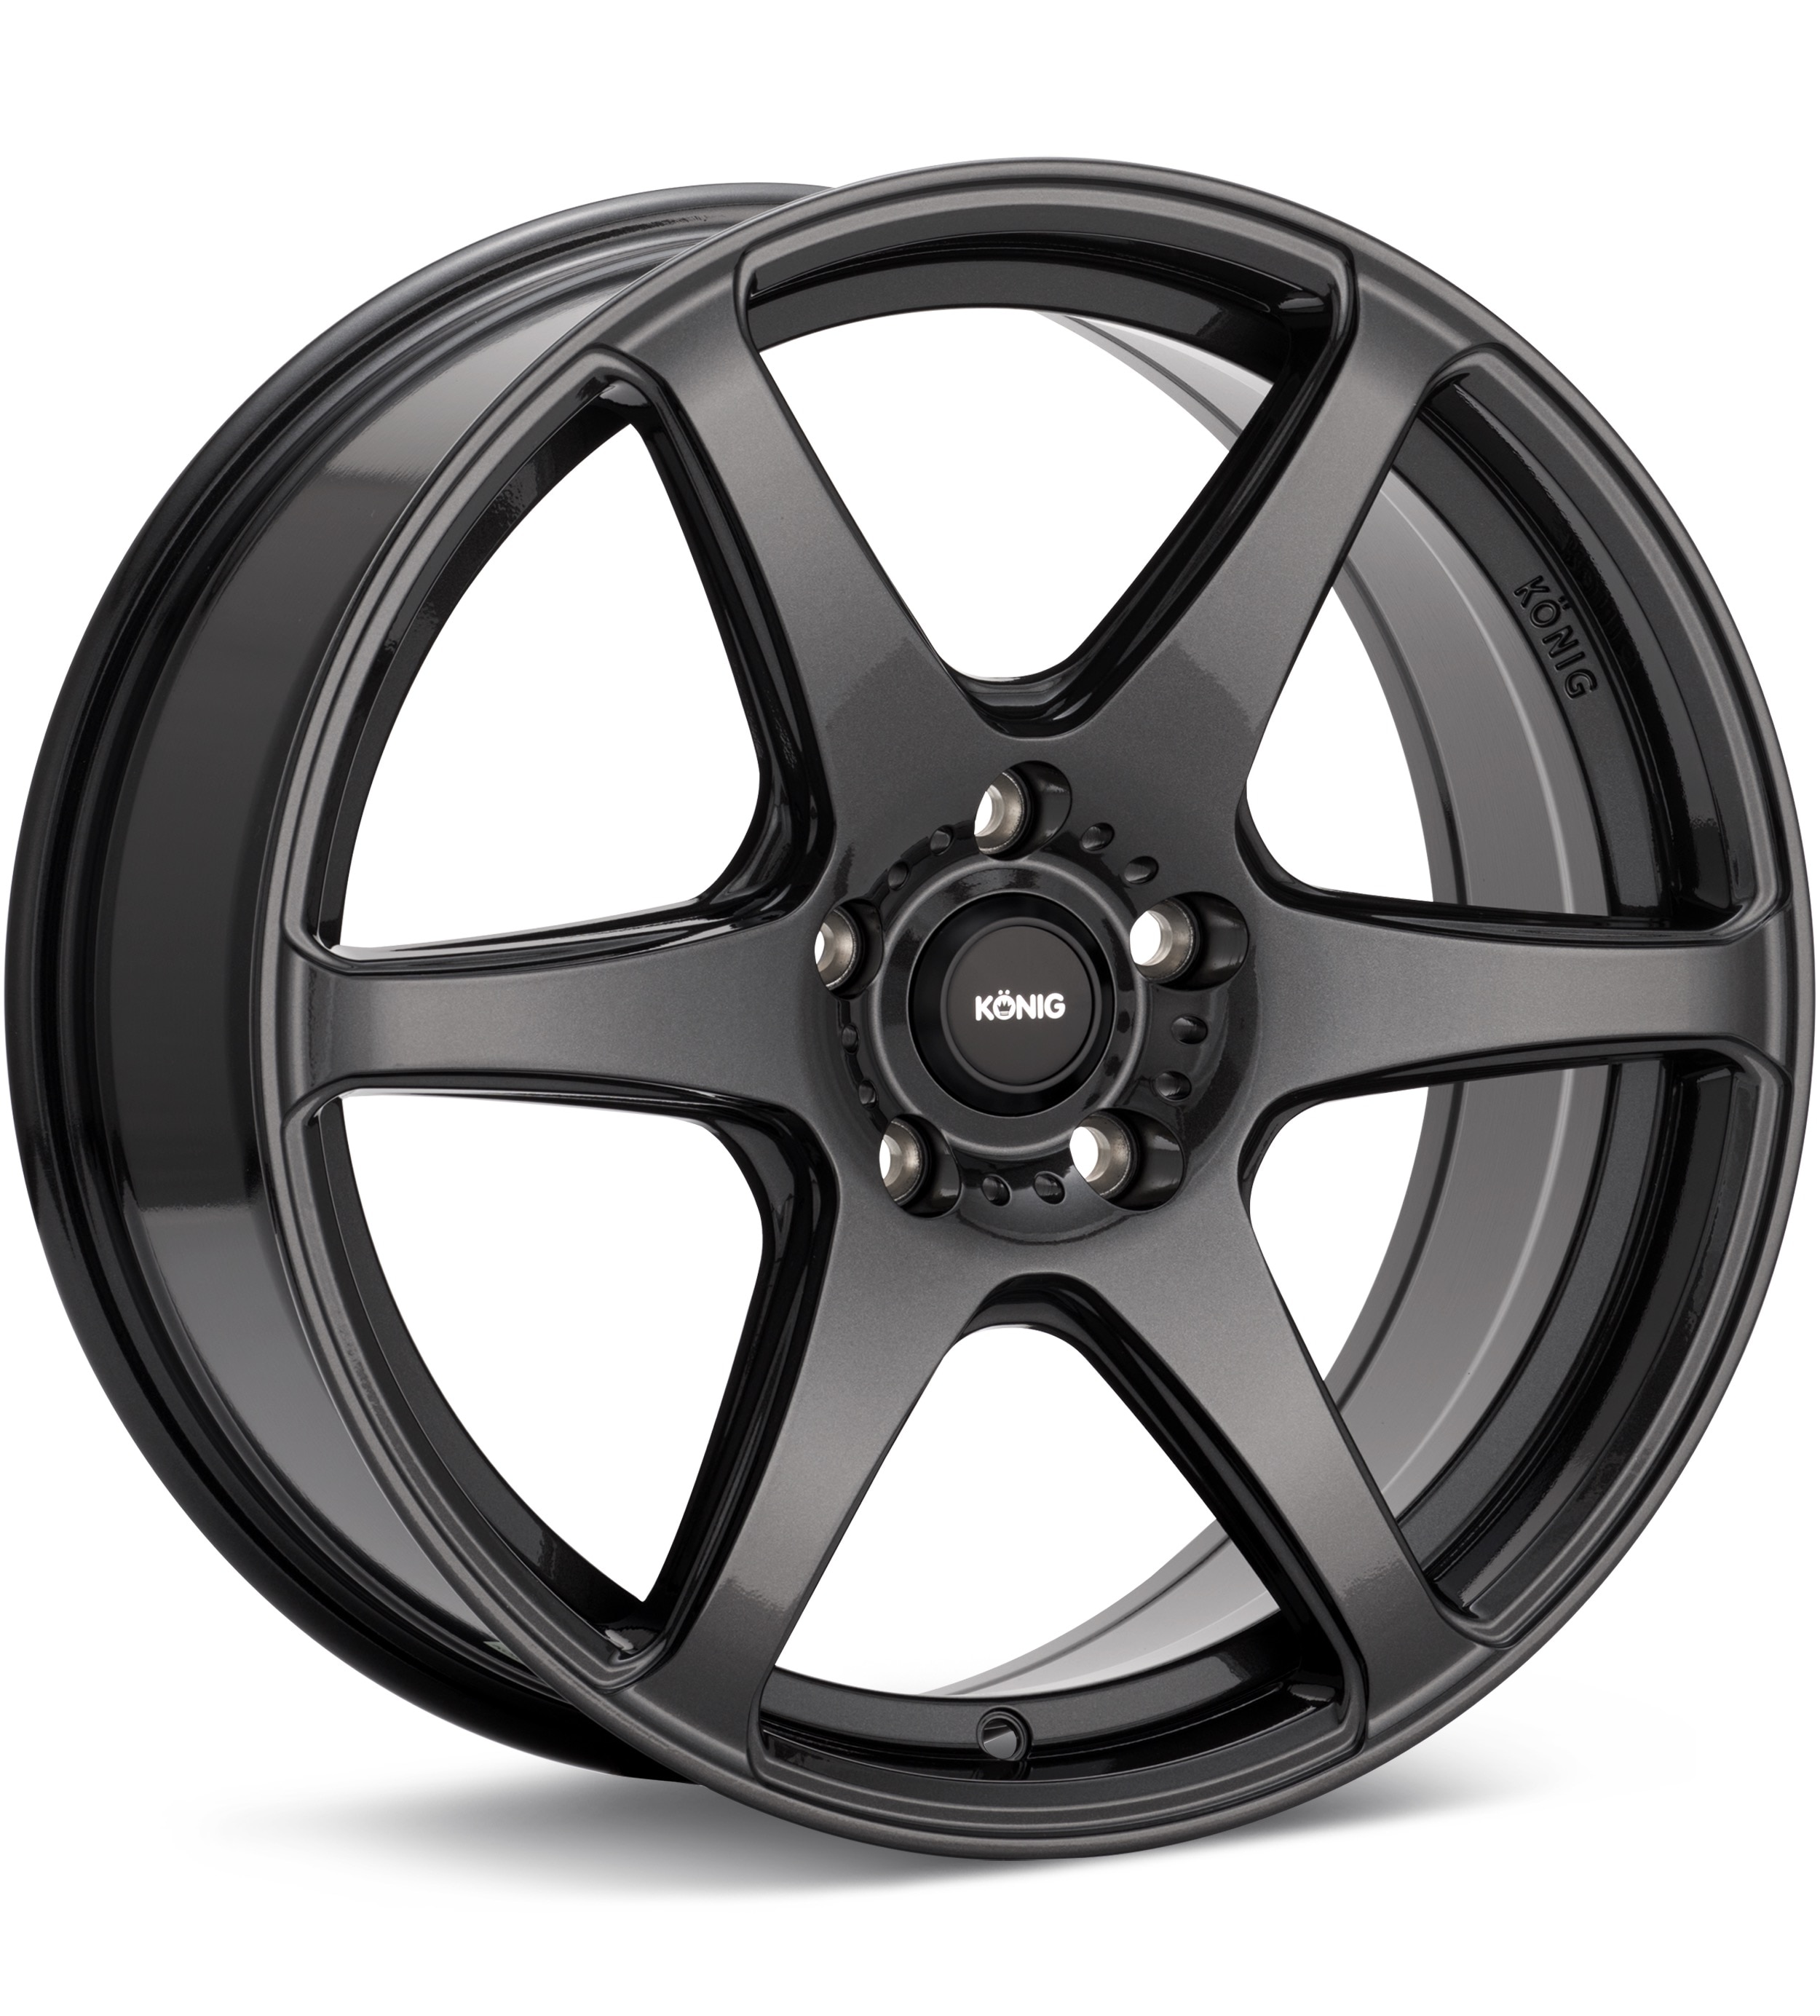
Konig
Gloss Graphite
16 × 7.5″ · ET +40
$189.05
View at Tire Rack ↗We may earn a commission when you buy through these links. Prices and availability may change.
These are vehicle-year records whose recorded OEM ranges overlap this 1999 Acura TL. Overlap is not a guarantee that a specific wheel will install. Selected-wheel comparison is in the calculator below.
Evaluated 77 donor years. Listed 24 eligible overlaps (not all evaluated years are compatible). Showing all listed.
Years grouped because recorded compatibility evidence is equivalent. Each year keeps its own page.
Approximate position vs the mid OEM package: outer change -0.67 mm, inner change -5.68 mm. This uses aggregated width/offset ranges, not a specific wheel.
Years grouped because recorded compatibility evidence is equivalent. Each year keeps its own page.
Donor width/offset sits outside the known OEM envelope for this vehicle.
Years grouped because recorded compatibility evidence is equivalent. Each year keeps its own page.
Approximate position vs the mid OEM package: outer change -0.67 mm, inner change -5.68 mm. This uses aggregated width/offset ranges, not a specific wheel.
Years grouped because recorded compatibility evidence is equivalent. Each year keeps its own page.
Approximate position vs the mid OEM package: outer change -0.67 mm, inner change -5.68 mm. This uses aggregated width/offset ranges, not a specific wheel.
Only years with evidence-based interchange relationships are listed. Adjacent years are not assumed compatible.
Compare a donor vehicle or custom wheel against this 1999 Acura TL. Use Compare in calculator on a donor row above to fill the donor side of this same calculator.
Compare wheel compatibility between two vehicles
1999 Acura TL





Example products matched to recorded thread, hub, or spacer dimensions. They are not verified fits. Confirm seat style, thickness, and clearance before ordering.
M12 x 1.5
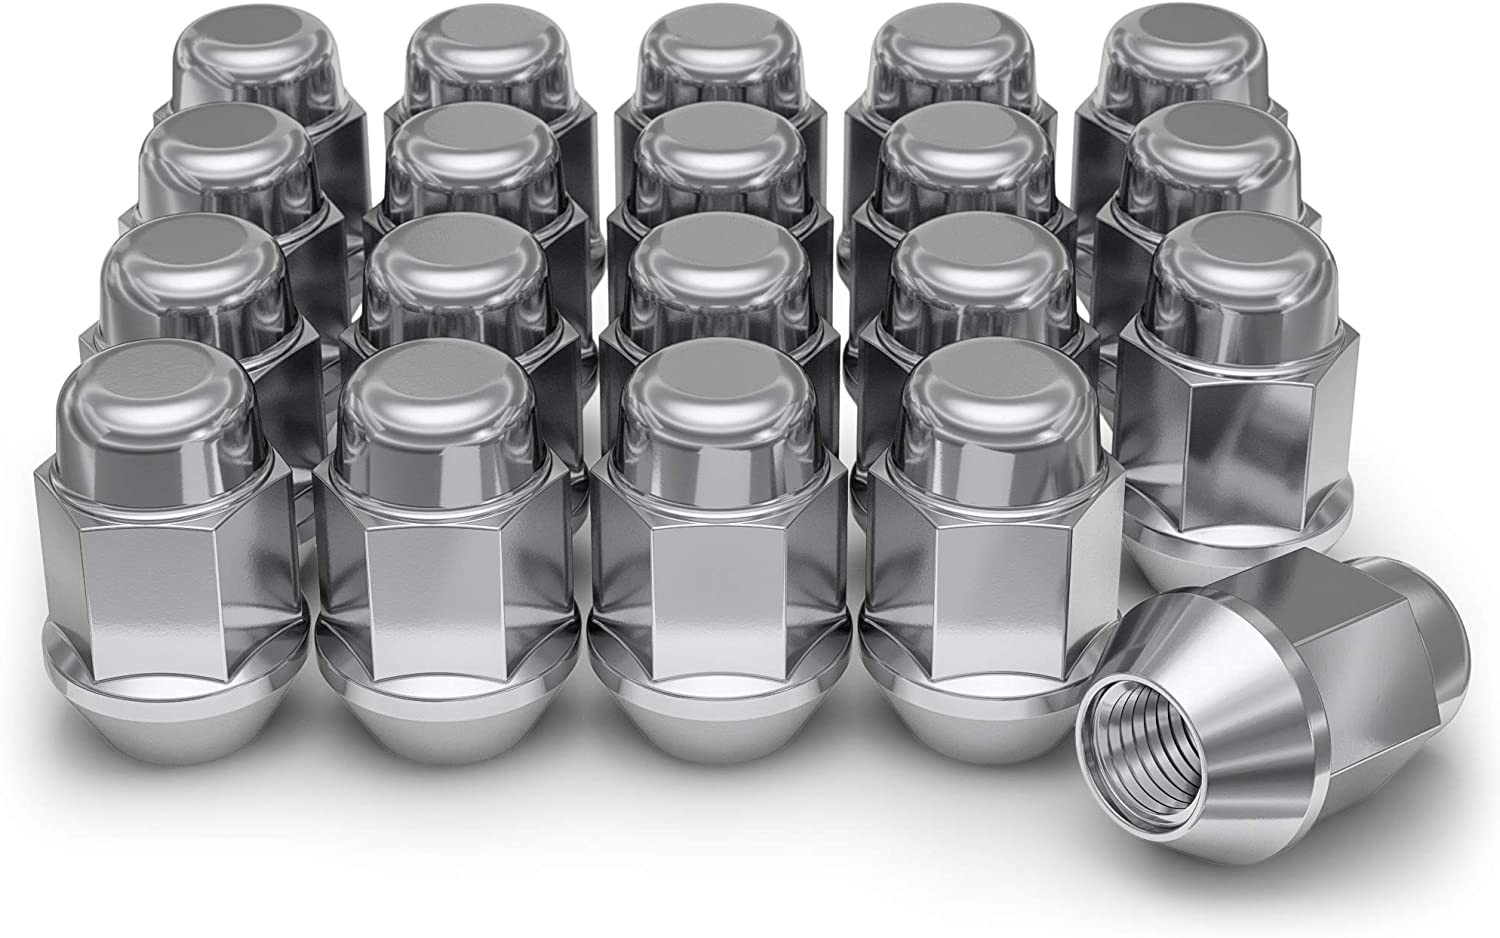
M12 x 1.5 · Thread match only; seat style is not verified
View on Amazon →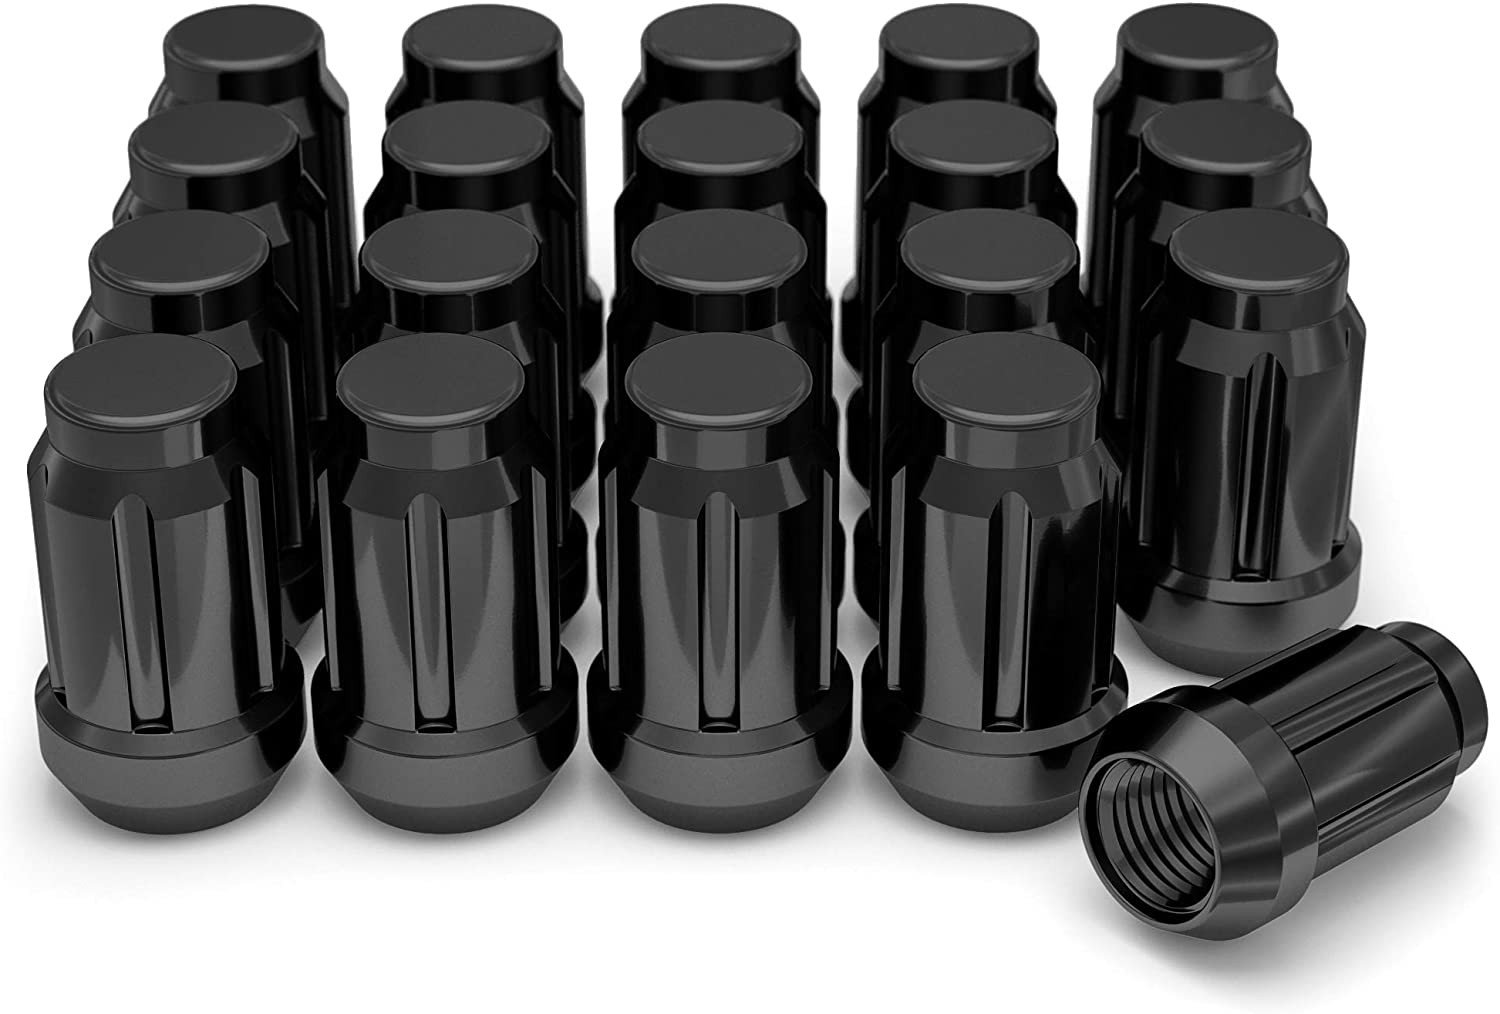
M12 x 1.5 · Thread match only; seat style is not verified
View on Amazon →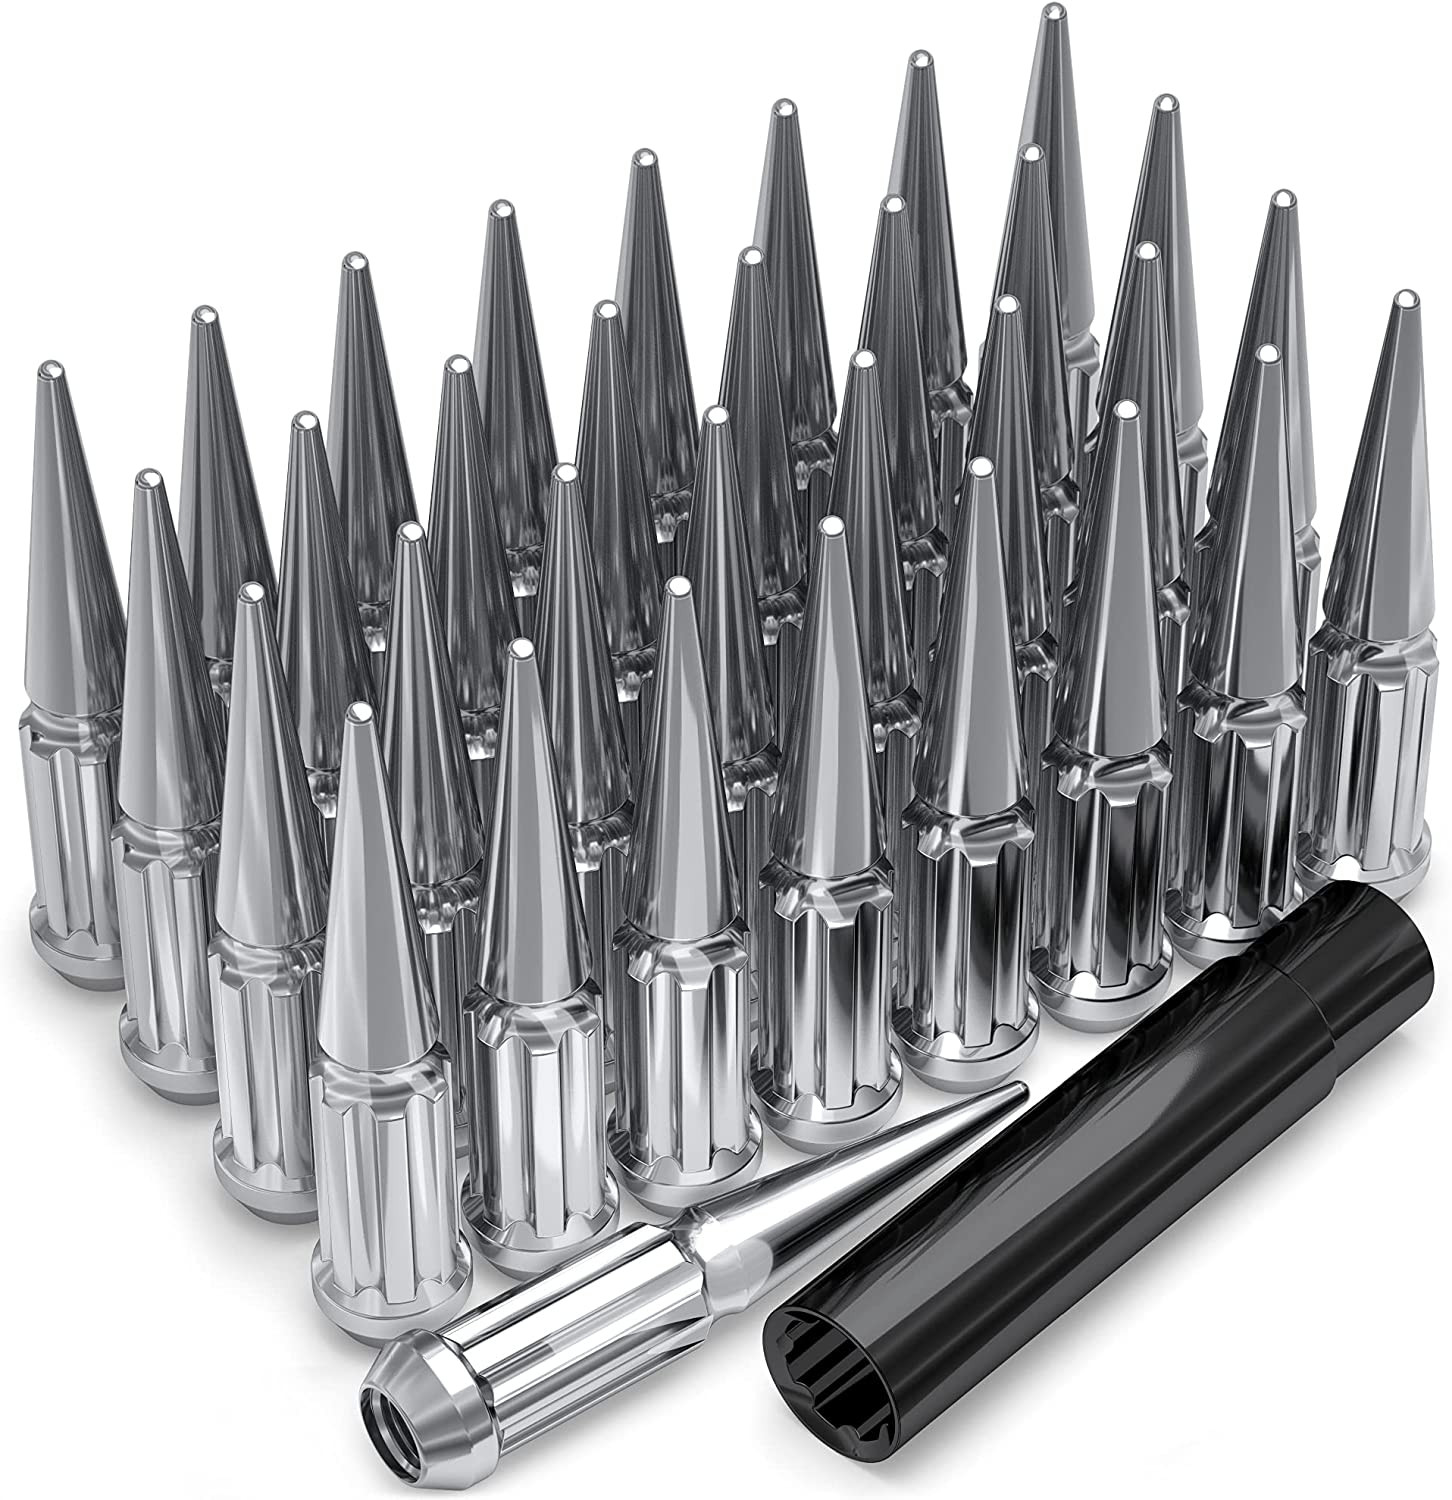
M12 x 1.5 · Thread match only; seat style is not verified
View on Amazon →As an Amazon Associate we earn from qualifying purchases. Product availability and pricing may change.
Solve the primary fitment question: will a replacement wheel or wheel/tire combo fit a 1999 Acura TL without clearance, safety, or driveability problems? I will walk you through checking the constraints, using the on-page calculator, and confirming final fit before you drive.
What you need before you start. These are minimum items and observations I ask you to have.
Start with the known OEM fitment. Then check the constraints that most commonly cause trouble.
| Specification | 1999 Acura TL (OEM) |
|---|---|
| Bolt pattern (studs x PCD) | 5x114.3 |
| Center bore (mm) | 64.1 |
| Thread size | M12 x 1.5 |
| Rim diameter (in) | 16 |
| Rim width (in) | 6.5 |
| Wheel offset (ET, mm) | 55 |
| Backspacing (in) | 5.42 |
| Tire (section/aspect/rim) | 205 / 60 / R16 |
Open the calculator. Compare an alternate wheel/tire entry against the OEM baseline. Change one variable at a time: start with rim diameter, then width, then offset.
Mount wheels with correct hub centering and even clamping. Tighten in a star pattern. I cannot provide a specific lug torque value here because it can vary by trim and lug type. Recommended action: look up the 1999 Acura TL wheel lug torque in the OEM service manual or owner’s manual and validate it against the calculator guidance.
If you need common parts: a calibrated torque wrench and hub-centric rings reduce fitment risk. Example searches: torque wrench and hub centric rings.
Torque wrench search on Amazon
Hub-centric rings search on Amazon
Validate in two stages: virtual validation with the calculator, then physical validation on the car.
Common problems and how I would address them as a technician.
Cause: wheel bore larger than hub. Solution: use a properly sized hub-centric ring. Validation: if the wheel still wobbles, re-check the ring diameter and seating surface.
Cause: offset too low or wheel too wide inward. Solutions and trade-off: use shallower offset, reduce wheel width, or install a small spacer. Spacers change load on studs and alter scrub radius. Recommended: prefer a wheel with correct offset over spacers when possible.
Cause: wrong thread size or stud length. The known thread size is M12 x 1.5 for this vehicle. Validation: physically check threads and measure engagement. If in doubt, consult OEM parts or a dealer.
Cause: large change in overall tire diameter. Solution: select a tire size with minimal diameter change, or plan for speedometer recalibration if you change diameter significantly.
You should now have a clear path: use the OEM baseline values above, run scenarios in the on-page calculator, then confirm physically with one wheel mounted. Key constraints are center bore, offset, bolt pattern, and thread size. Where values are not provided here, verify with the OEM manual or dealer and use the calculator for validation.
If you want, tell me the exact donor wheel dimensions you are considering (rim width, offset, and bore) and I will walk through the calculator steps with precise pass/fail checks.
Wheel interchange depends on more than bolt pattern. Where data is available, this site compares recorded OEM values:
A normal wheel spacer does not change bolt pattern. Hub rings cannot enlarge a wheel bore that is smaller than the hub. Brake clearance and tire package fitment still require vehicle-specific checks when not confirmed in the dataset.
