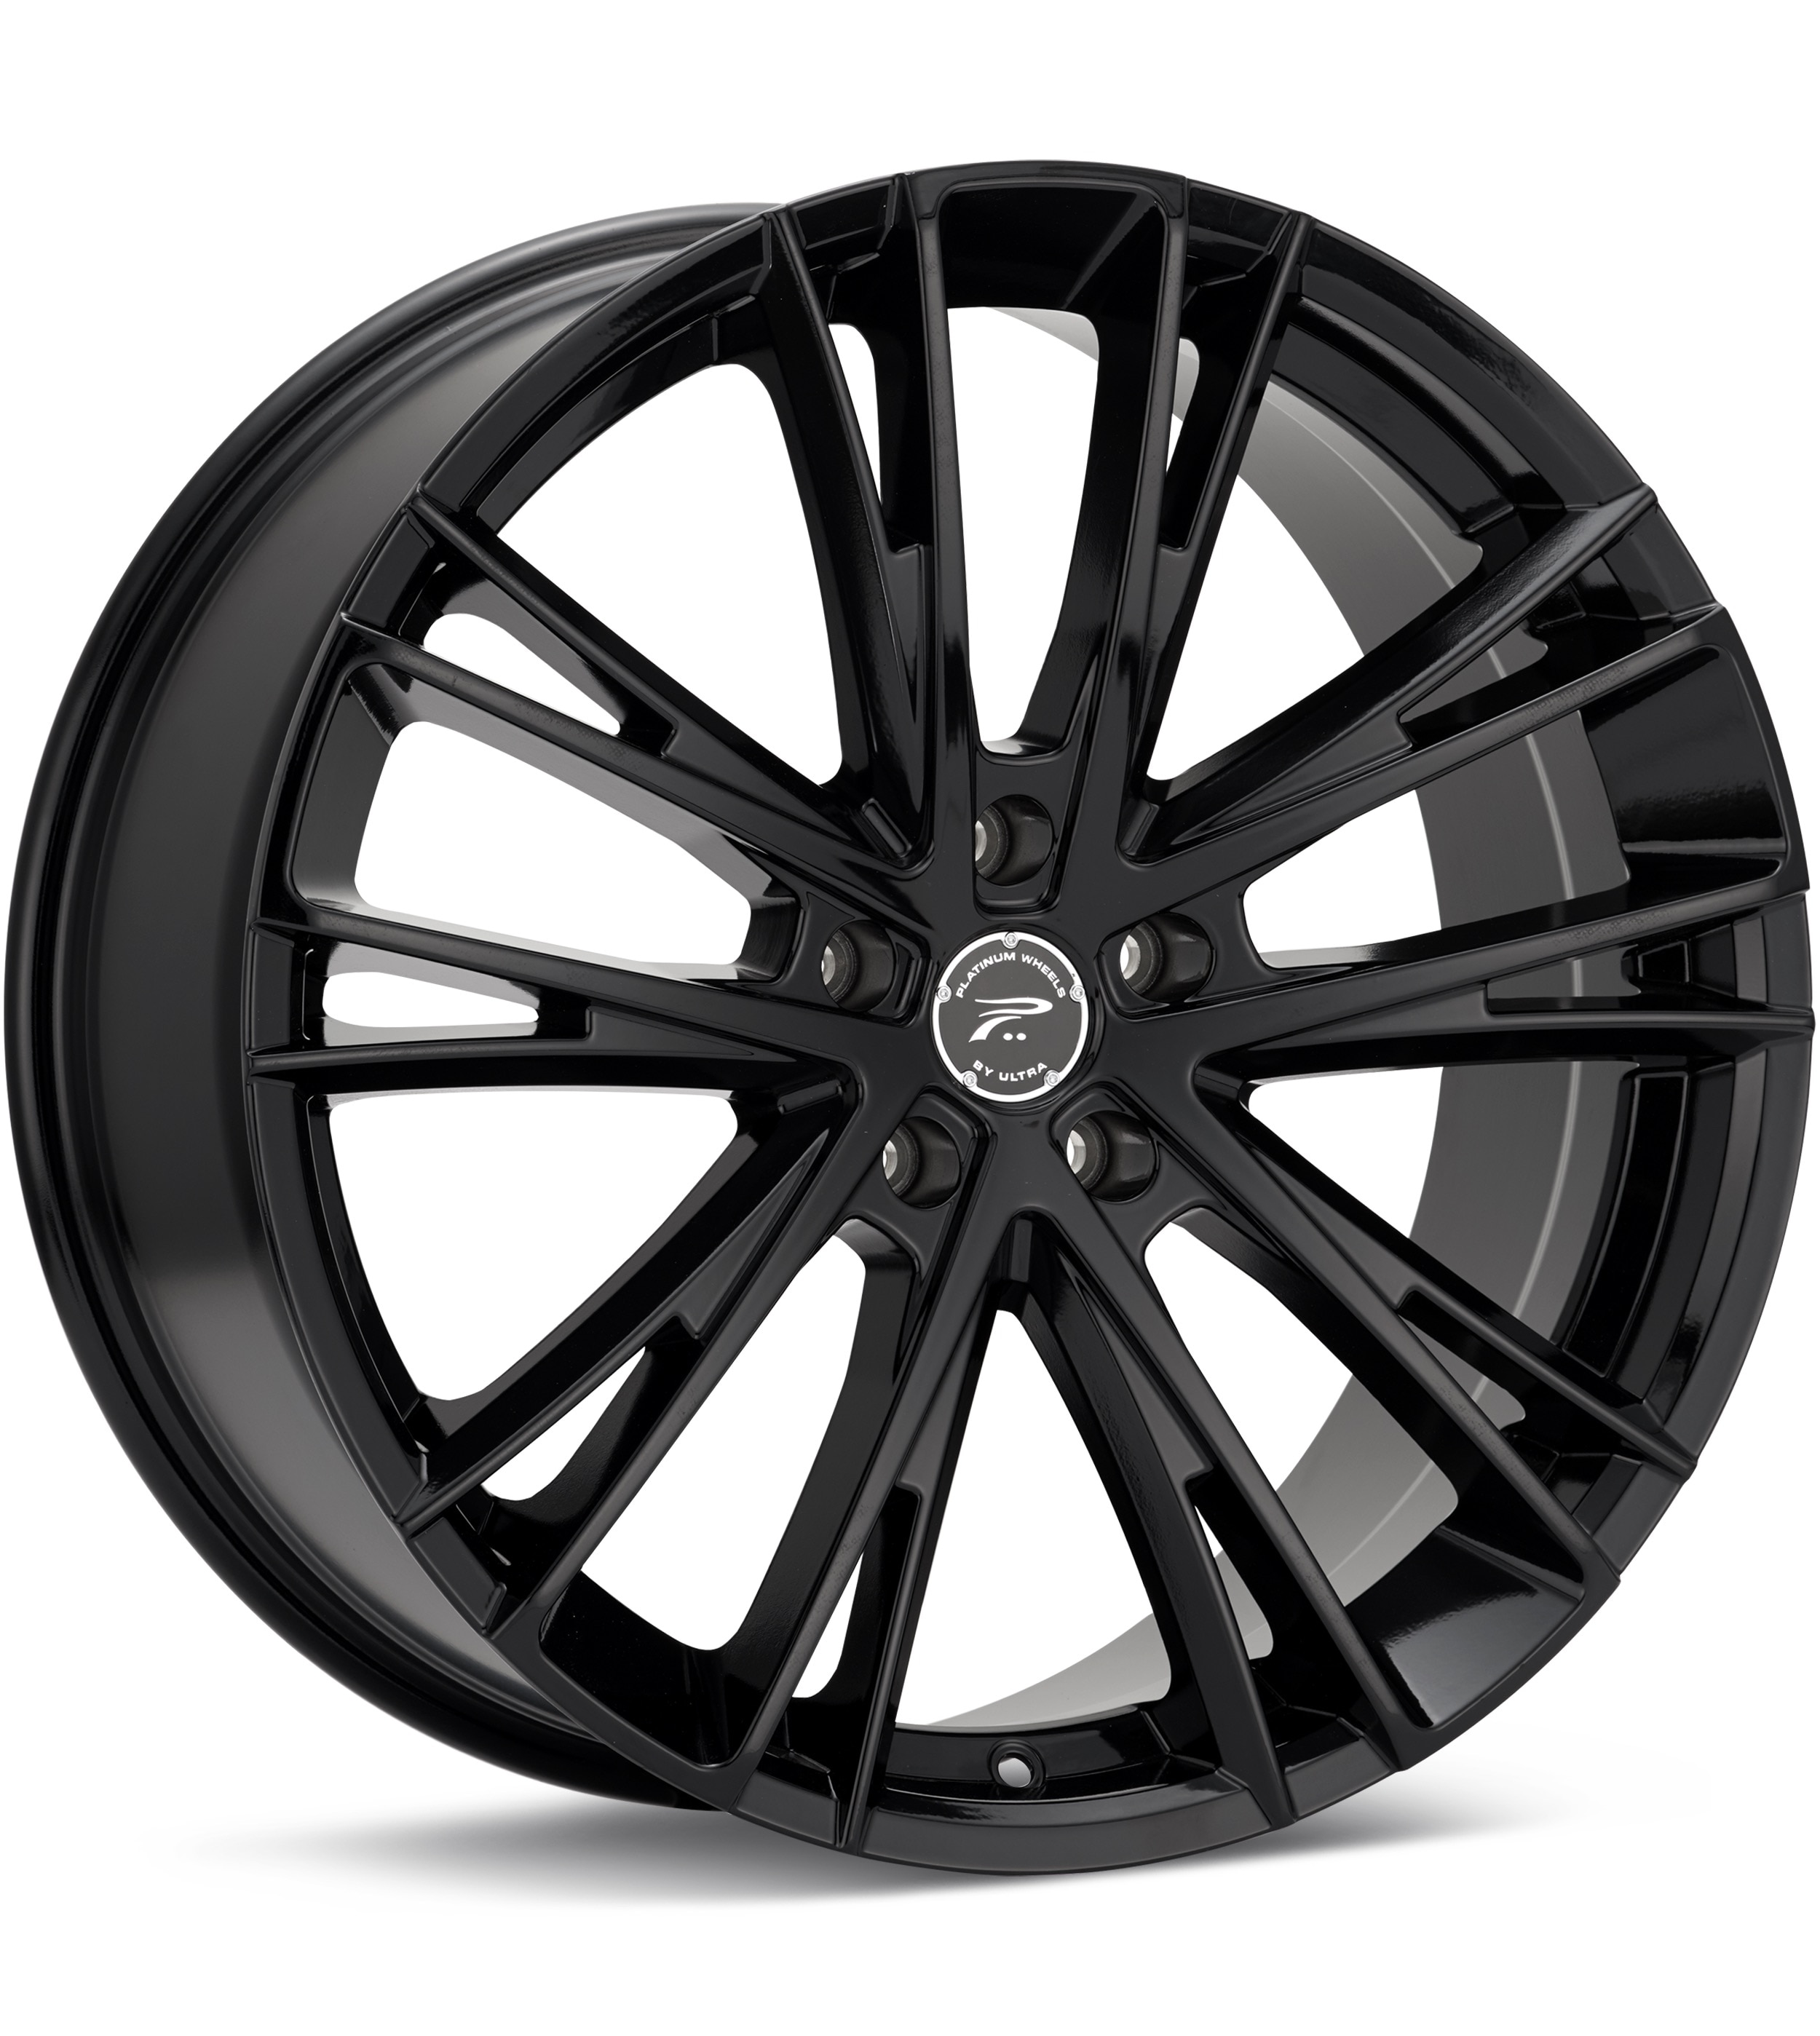
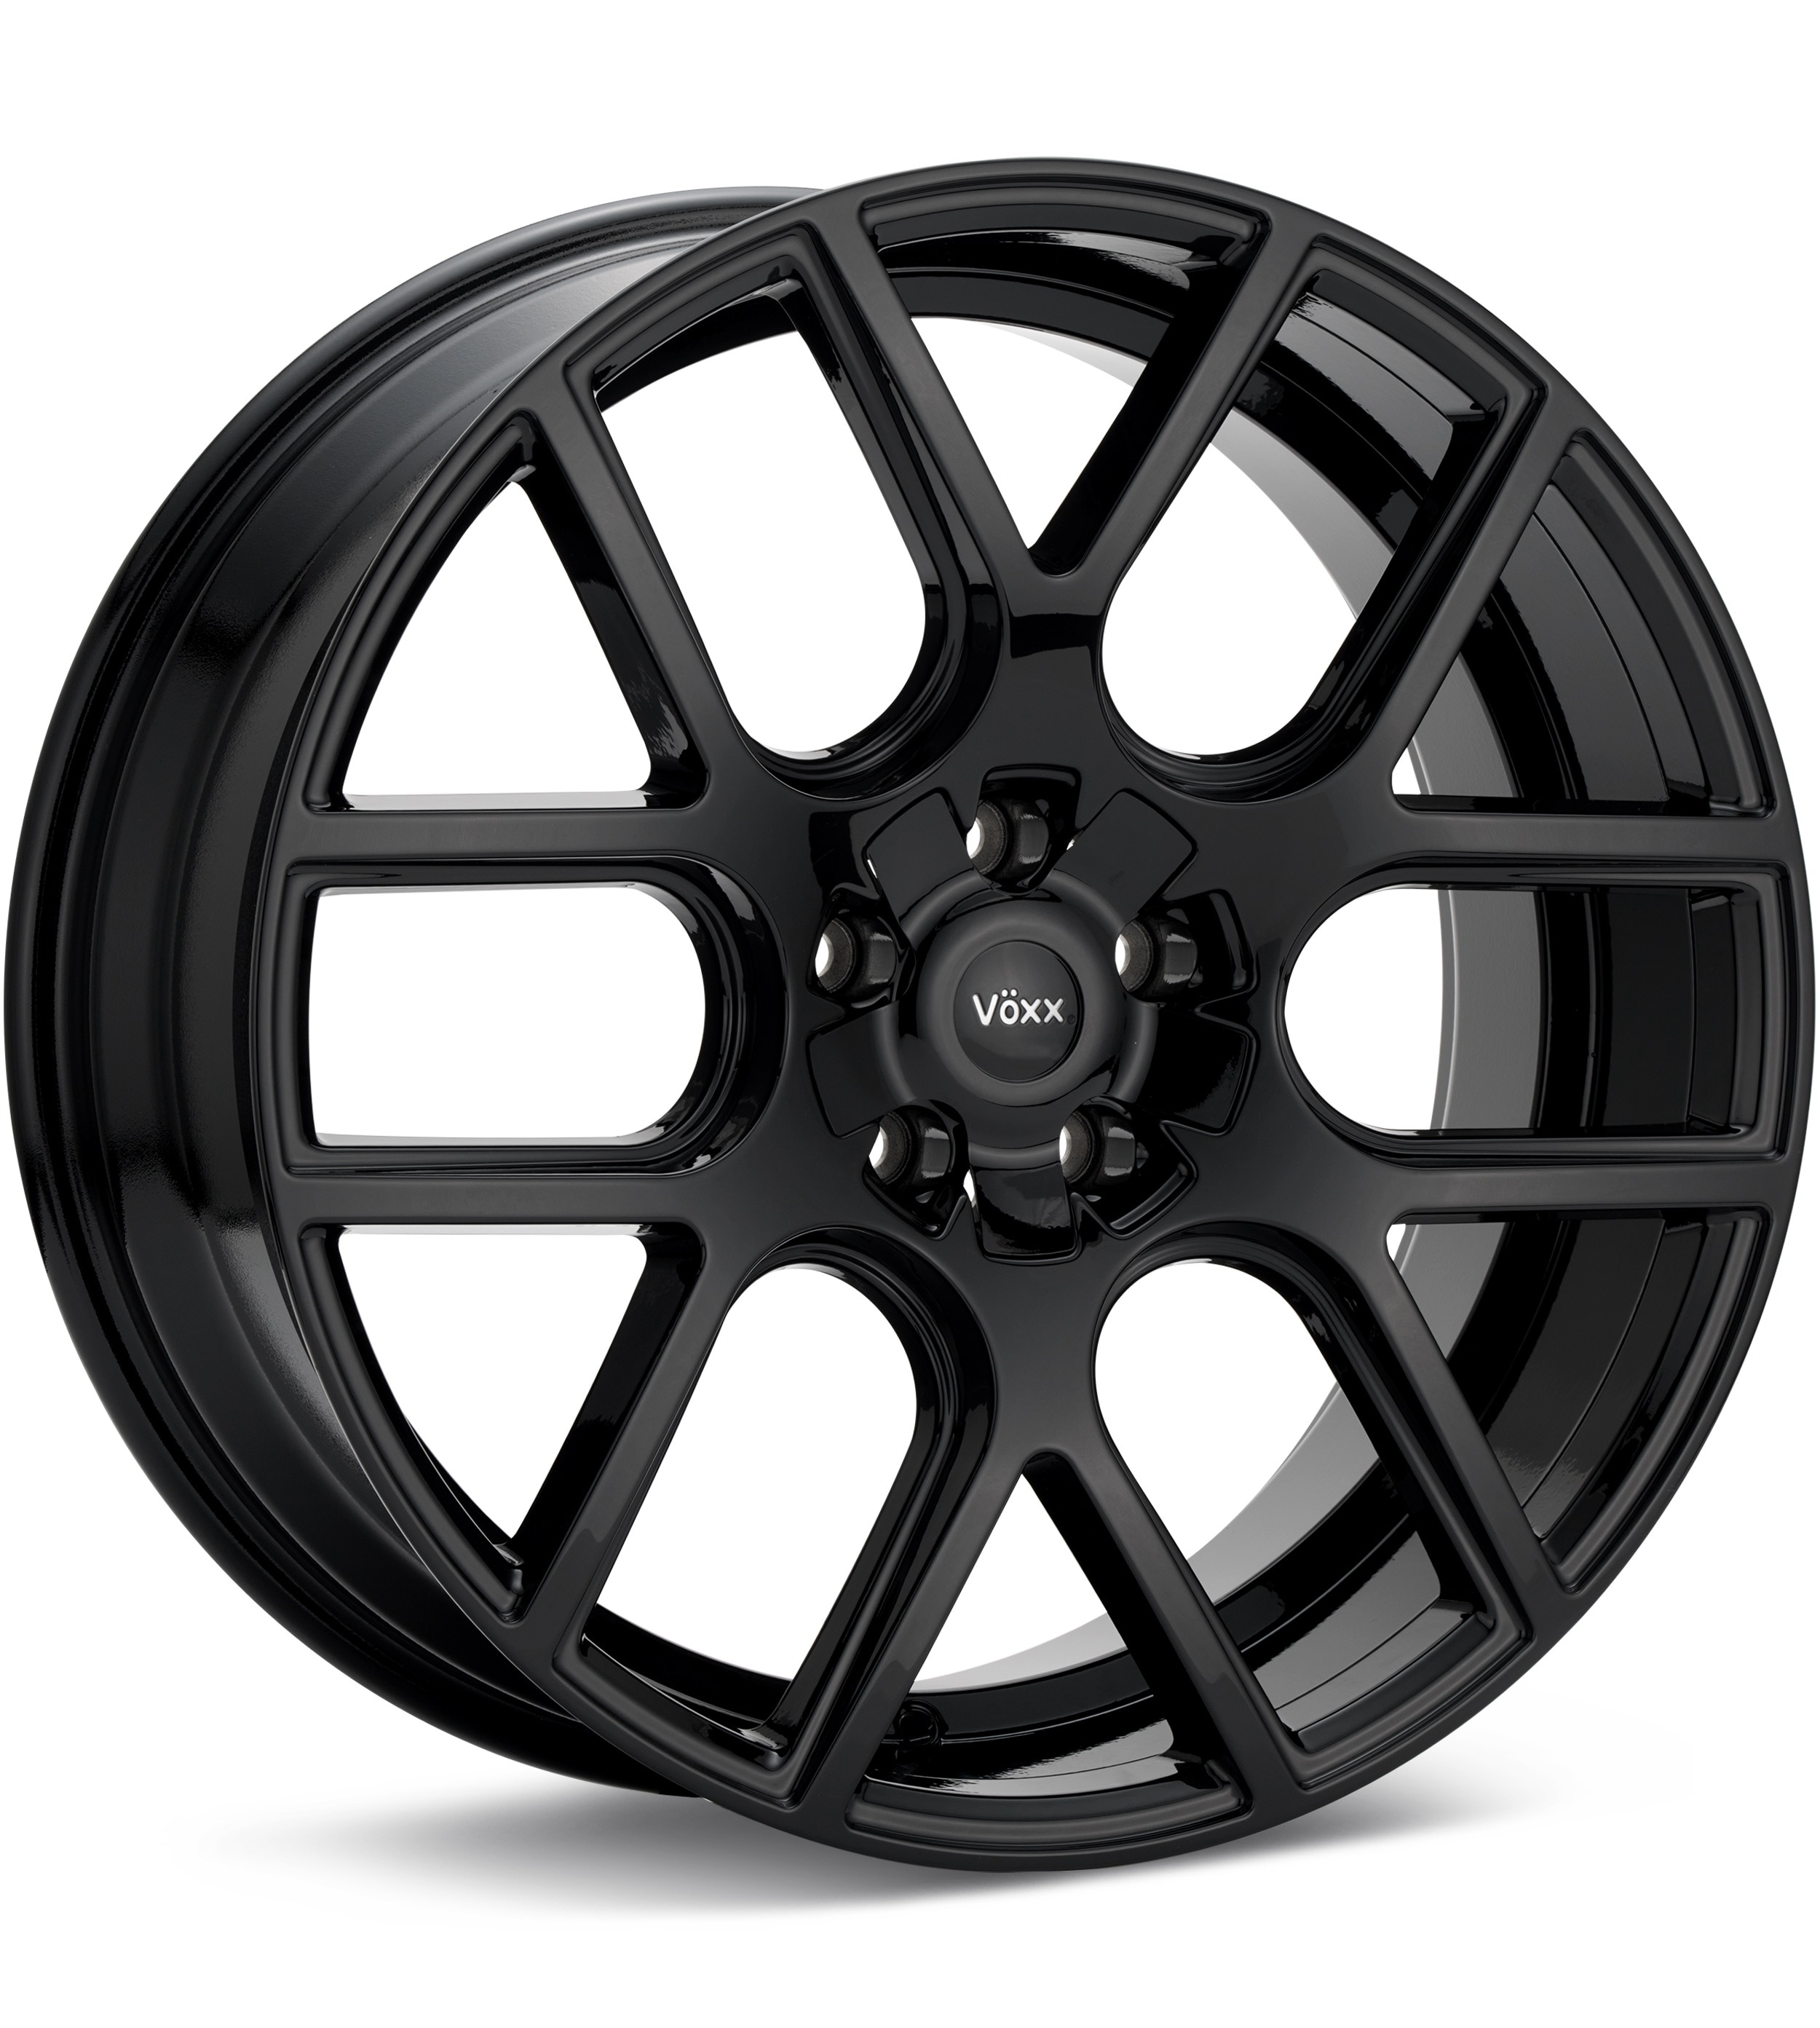
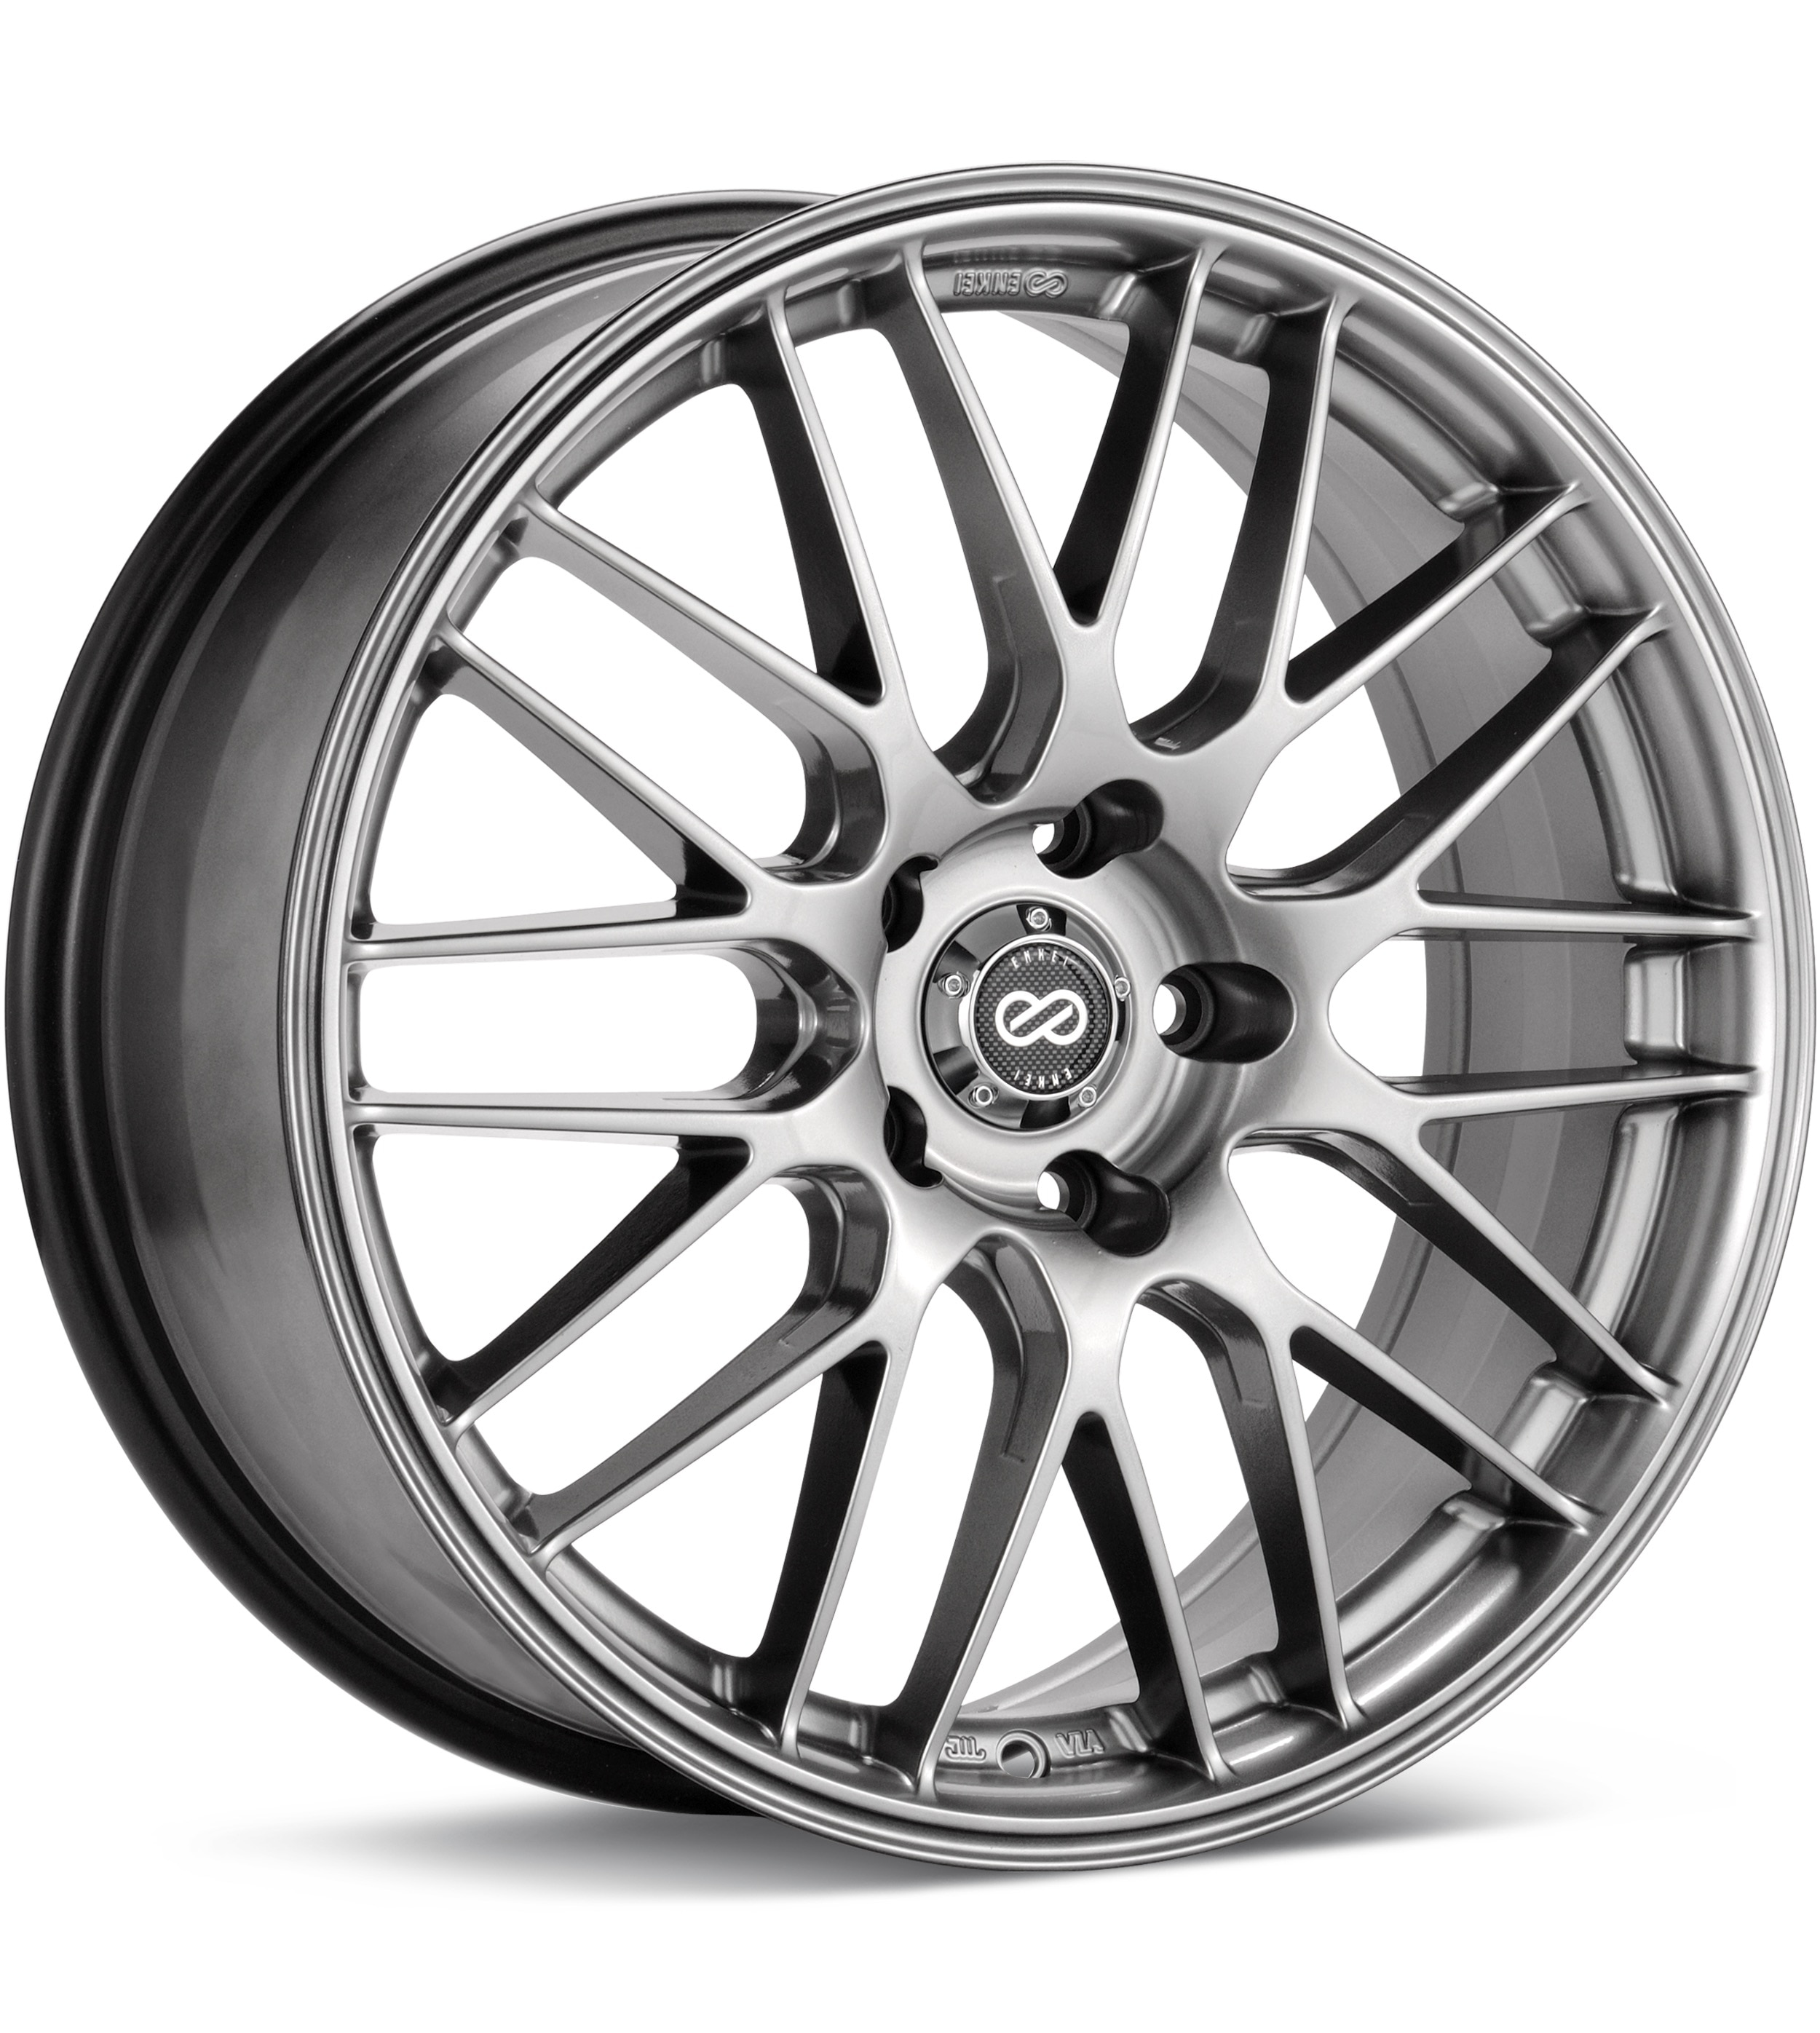
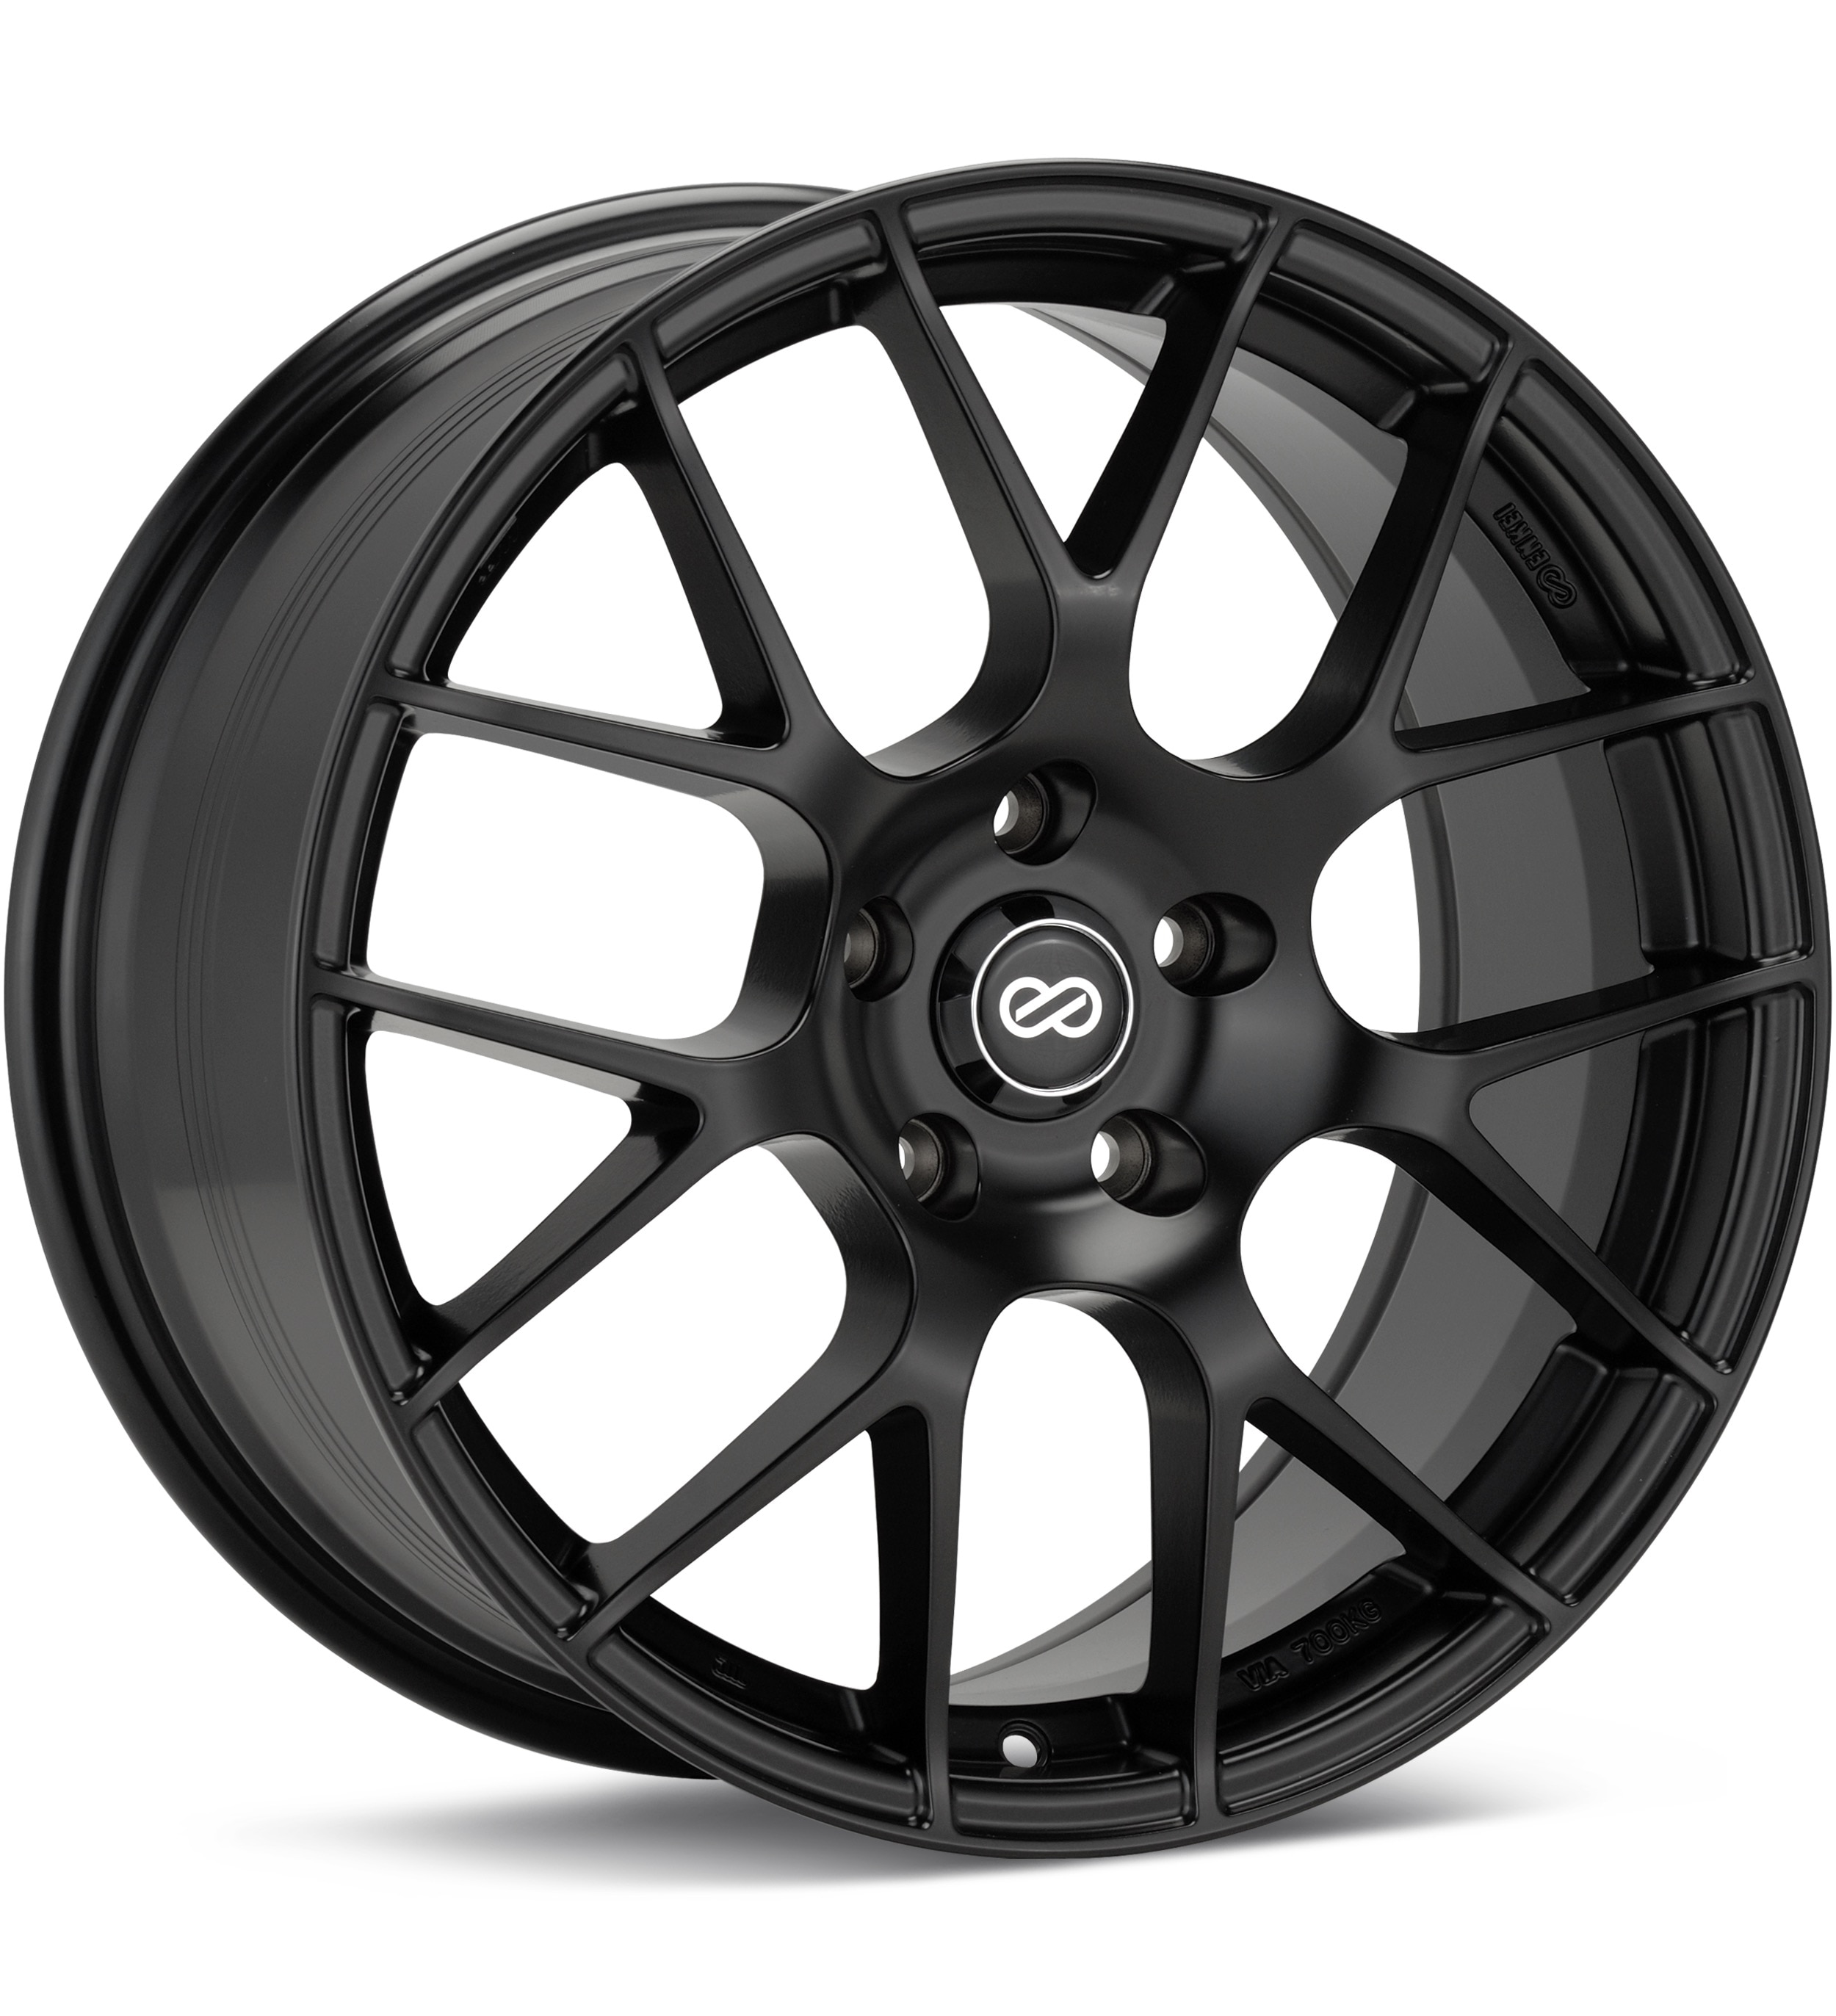
OEM wheel and tire fitment specs for the 2018 Audi S4, including bolt pattern (PCD), center bore diameter, thread size, rim diameter, rim width, wheel offset, and backspacing.
Recorded OEM specifications for the 2018 Audi S4, donor years with overlapping ranges, and a calculator to compare a selected wheel. Range overlap is not a guaranteed fit.
Multiple OEM configurations exist for this vehicle. Fitment can vary by trim, brakes, and factory wheel package – confirm your exact setup before buying.
Thread-only product links are shopping examples, not verified fits. Seat style is not confirmed here. As an Amazon Associate we earn from qualifying purchases.
Explore wheels at Tire Rack
Selected size: 18 × 8″ · ET +40
Showing matching bolt patterns and offsets up to 20 mm lower. Confirm center bore, load rating, and clearance at Tire Rack.
We may earn a commission when you buy through these links. Prices and availability may change.
Donor vehicles with overlapping OEM specs
These are vehicle-year records whose recorded OEM ranges overlap this 2018 Audi S4. Overlap is not a guarantee that a specific wheel will install. Selected-wheel comparison is in the calculator below.
Evaluated 101 donor years. Listed 24 eligible overlaps (not all evaluated years are compatible). Showing all listed.
Wheel geometryOEM width/offset ranges overlap (not a specific wheel)
Approximate position vs the mid OEM package: outer change -0.67 mm, inner change -5.68 mm. This uses aggregated width/offset ranges, not a specific wheel.
Dataset suggestionWheel spacer ≈ 6.68 mm – not a verified installation requirement.
A spacer of about 6.68 mm is a dataset suggestion only; clearance is not verified. Estimated outer position is about 6.68 mm farther inward than the mid OEM package.
Check wheel configurationCenter-bore records disagree
Bolt pattern5x112 · Same recorded PCD
Center bore66.5 mm · same recorded hub figure
Wheel geometryOEM width/offset ranges overlap (not a specific wheel)
Center-bore records disagree (donor year-level hub 66.6 mm vs trim range 66.5–66.5 mm). Unqualified overlap is not claimed until the conflict is resolved. Approximate position vs the mid OEM package: outer change -0.67 mm, inner change -5.68 mm. This uses aggregated width/offset ranges, not a specific wheel.
Wheel geometryOEM width/offset ranges overlap (not a specific wheel)
Approximate position vs the mid OEM package: outer change -4.68 mm, inner change -1.67 mm. This uses aggregated width/offset ranges, not a specific wheel.
Wheel geometryOEM width/offset ranges overlap (not a specific wheel)
Approximate position vs the mid OEM package: outer change -1.67 mm, inner change -4.68 mm. This uses aggregated width/offset ranges, not a specific wheel.
Wheel geometryOEM width/offset ranges overlap (not a specific wheel)
Approximate position vs the mid OEM package: outer change -2.68 mm, inner change -3.68 mm. This uses aggregated width/offset ranges, not a specific wheel.
Wheel geometryOEM width/offset ranges overlap (not a specific wheel)
Approximate position vs the mid OEM package: outer change -2.68 mm, inner change -3.68 mm. This uses aggregated width/offset ranges, not a specific wheel.
Audi S4 Years With Compatible Wheels
Only years with evidence-based interchange relationships are listed. Adjacent years are not assumed compatible.
Compare a donor vehicle or custom wheel against this 2018 Audi S4. Use Compare in calculator on a donor row above to fill the donor side of this same calculator.
Compare
Compare wheel compatibility between two vehicles
Wheels from (donor vehicle)
Selected Car:
Custom wheel size (optional)
Tip: change values here to simulate custom wheels and immediately see the impact in the comparison below.
Custom tire size (optional)
Installed on (your vehicle)
Selected Car:
2018 Audi S4
Compare Rims
Specification
Wheels from
Installed on
Result (Click it)
Bolt Pattern
The total number of bolt holes and the diameter of the circle they form.
-
5x112
Center Bore
The hole in the center of the wheel that fits over the vehicle’s hub.
-
66.5 mm
Thread Size
The size and spacing of the threads on the bolts or nuts that hold the wheel in place.
-
M14 x 1.5
Rim Diameter
The wheel diameter in inches that determines which tire sizes will fit.
-
18"
Rim Width
The distance between the inner edges of the wheel is measured in inches.
-
8.0"
Wheel Offset
How far the wheel sits inward or outward relative to the hub mounting surface.
-
40 mm
Backspacing
Shows how much space the wheel takes up toward the inside of the vehicle.
-
-
Wheel Fasteners
The type of hardware used to secure the wheel to the vehicle.
-
-
Compare Tires
Specification
Wheels from
Installed on
Result (Click it)
Section Width
The width of the tire from sidewall to sidewall, measured in millimeters.
-
-
Aspect Ratio
The height of the tire’s sidewall expressed as a percentage of its width.
-
-
Diameter
The wheel diameter for which the tire is designed to fit.
-
-
Tire Pressure
The recommended air pressure for safe and efficient driving.
-
-
Overall Diameter
The total height of the tire and wheel combined affects clearance and speedometer accuracy.
-
-
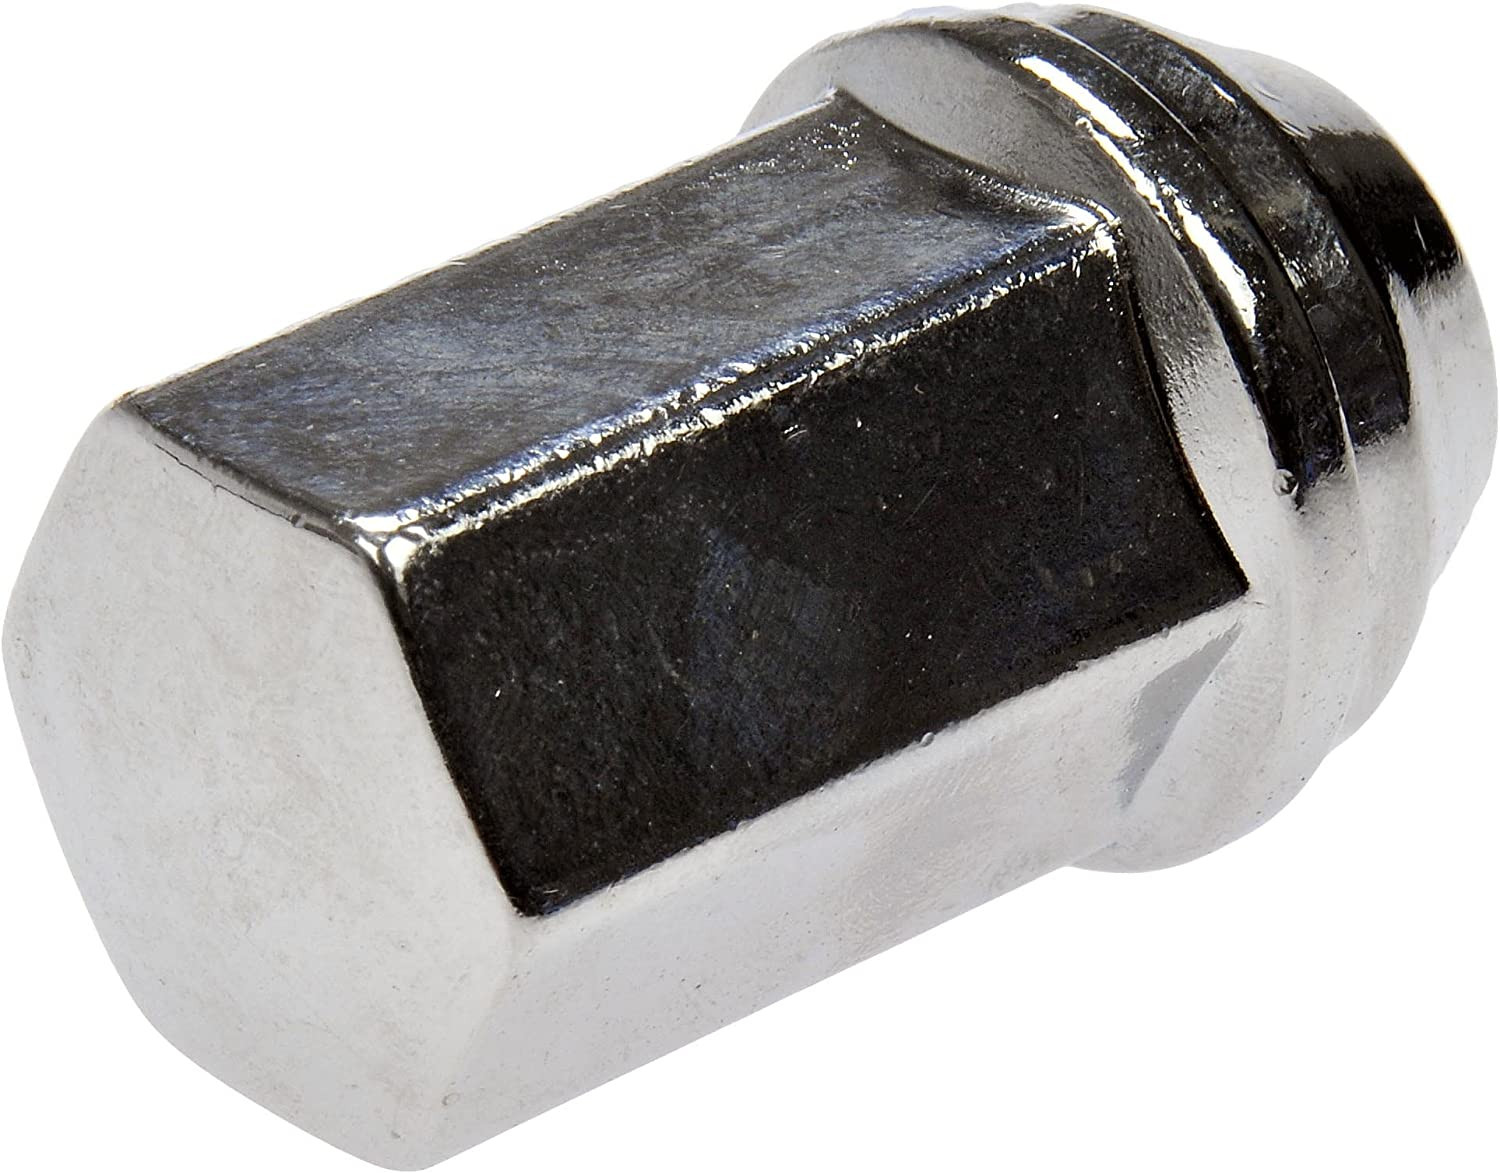
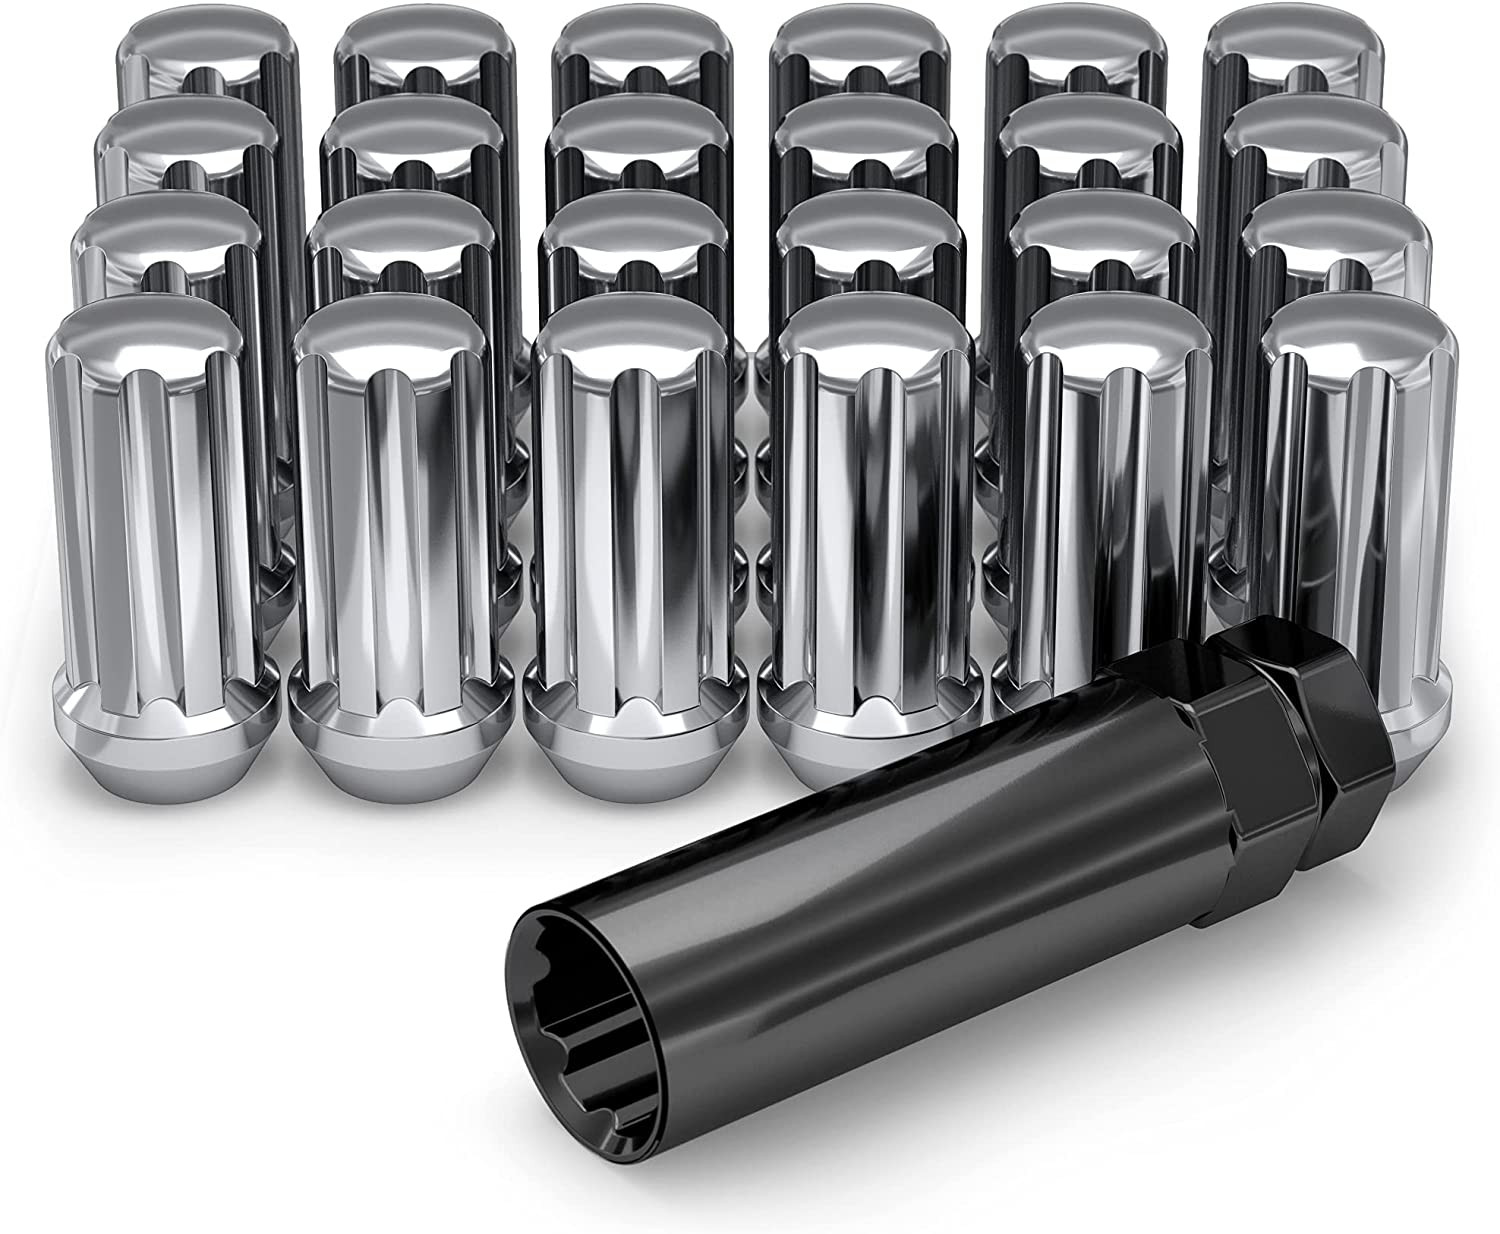
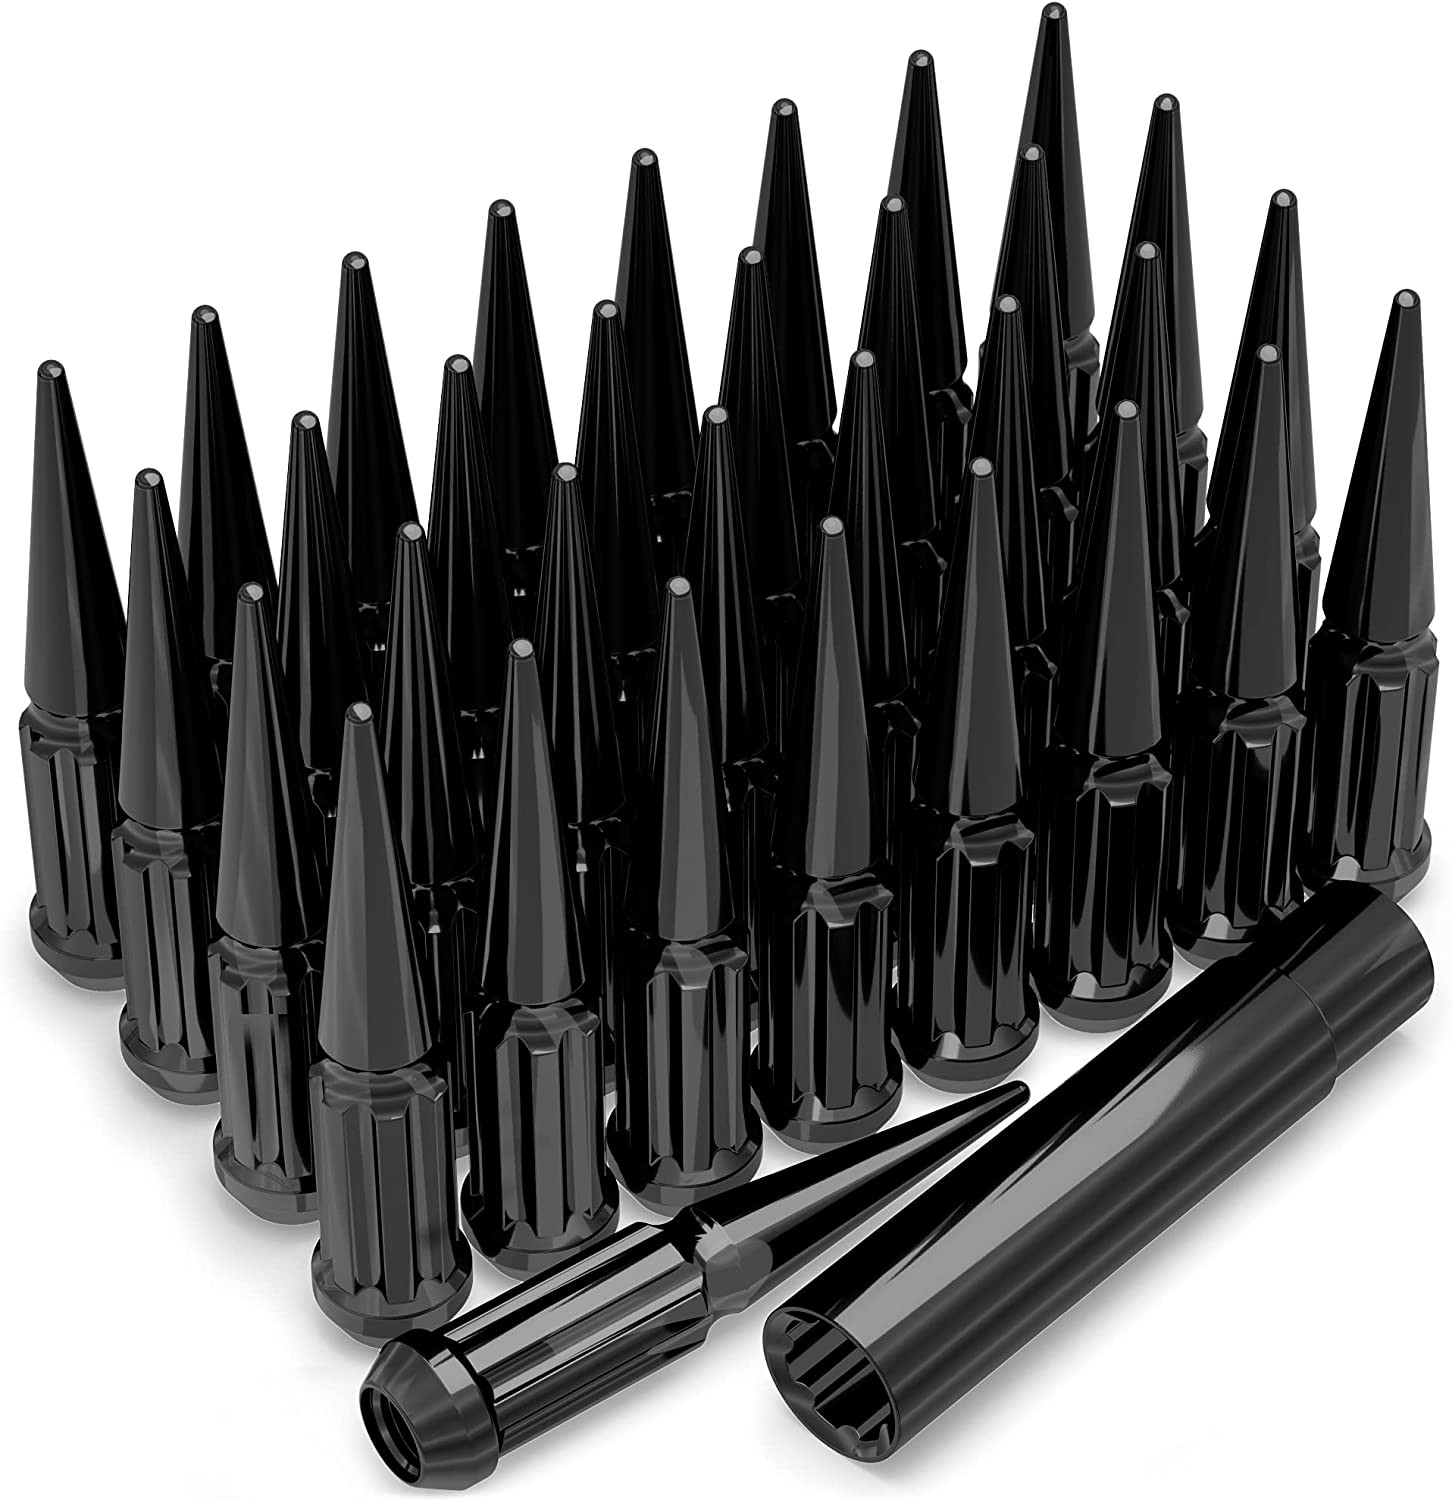
Wheel Fitment Parts for the 2018 Audi S4
Example products matched to recorded thread, hub, or spacer dimensions. They are not verified fits. Confirm seat style, thickness, and clearance before ordering.
As an Amazon Associate we earn from qualifying purchases. Product availability and pricing may change.
2018 Audi S4 Wheel Interchange and Fitment Guide
When you swap wheels on a 2018 Audi S4, the main problem is balancing brake clearance, fender clearance, and correct hardware under real-world constraints. The on-page calculator lets you compare a donor setup against your S4, but you still need safe assumptions and validation. Below is the process I use in the shop to plan, check, and confirm a fit without guesswork.
1. Goal
Define a wheel and tire setup for a 2018 Audi S4 that fits safely, matches critical mounting specs, and passes physical validation on the car using the calculator and basic checks.
2. Prerequisites
Known OEM baseline for the 2018 Audi S4 (may vary by trim/package):
Spec
Value
Bolt pattern (studs x PCD)
5x112
Center bore (mm)
66.5
Thread size
M14 x 1.5
Rim diameter (in)
18
Rim width (in)
8.0
Wheel offset (ET, mm)
40
Backspacing (in)
5.57
Tire size
245/40R18
Other OEM sizes may exist by trim/package. If your sticker or build sheet shows different sizes, use those as your baseline. You can confirm with the calculator on this page and OEM sources.
Basic tools: torque wrench, appropriate socket, jack and stands, and a way to measure clearances.
Seat type for lug bolts can vary by wheel design. Verify with the wheel manufacturer. Do not mix seat types.
3. Step by step
3.1 Establish your baseline
Use the OEM setup above as the “Installed on (your vehicle)” baseline in the calculator. If your door-jamb sticker or build sheet lists a different OEM size, enter that instead.
3.2 Enter the donor wheel or custom size
If you know the donor vehicle’s wheel specs, select it in “Wheels from (donor vehicle).” Then confirm the exact rim width, diameter, and offset if available.
If you are planning an aftermarket setup, use “Custom wheel size.” Enter rim diameter, width, and offset. Then enter the “Custom tire size.” Adjust section width and aspect ratio as needed. The calculator updates tire diameter as you change rim diameter.
3.3 Check critical mounting constraints first
Bolt pattern: your S4 is 5x112. A different PCD is not recommended.
Center bore: hub is 66.5 mm. Wheels with a larger bore need 66.5 rings. Smaller bore will not fit the hub.
Thread size: M14x1.5. Match your bolts and seat profile to the wheel design.
3.4 Evaluate clearance changes with the calculator
Inner clearance: watch the inboard move toward the strut and control arms. More positive offset or wider wheels reduce inner clearance.
Outer “poke”: watch fender and liner clearance. Lower offset or wider wheels push outward.
Tire diameter: keep overall diameter close to stock to protect speedometer and driving aids. A small variance is common; use the calculator’s percentage change as your guide.
3.5 Consider practical trade-offs
Wider tires can improve grip but may rub at full lock or over bumps.
Lower offset can enhance stance but increases fender risk and steering kickback.
Larger diameter reduces sidewall and ride comfort. Brake clearance can improve, but bending risk rises with thin sidewalls.
3.6 Plan hardware and accessories
Hub-centric rings are recommended when wheel bore exceeds 66.5 mm.
Verify bolt length when using spacers or different wheel pad thickness. The engaged thread length should meet manufacturer guidance.
TPMS: reuse sensors if compatible, or source compatible units for your wheels.
4. Validation
Physical test-fit: mount one front and one rear. Spin each by hand and check for contact.
Brake caliper clearance: confirm at least visible daylight around caliper faces and barrel. Inspect spoke-to-caliper clearance at multiple clock positions.
Fender and liner clearance: turn lock-to-lock, compress suspension with a jack under the control arm, and recheck.
Road test: drive at multiple speeds. Feel for vibration, rubbing, or steering pull.
Torque: tighten lug bolts to the value specified in the Audi owner’s manual, then re-check torque after 50–100 miles.
Speedometer check: compare GPS speed to the cluster. The calculator’s tire diameter change should match what you observe.
5. Troubleshooting
Vibration at highway speed:
Validation: confirm hub-centric fit. If the wheel bore is larger than 66.5 mm, install proper rings.
Action: road-force balance the tires and recheck torque in a star pattern.
Rubbing on turns or bumps:
Validation: review calculator inner/outer shifts versus OEM.
Action: consider a slightly higher offset, narrower tire, or adjust camber within spec. Ensure liner clips are intact.
Bolts bottoming or too few threads engaged:
Validation: measure bolt shank versus hub depth and wheel pad.
Action: use correct-length M14x1.5 bolts with the proper seat profile for your wheel.
TPMS warning:
Validation: check sensor IDs and battery status.
Action: relearn procedure per Audi guidance or install compatible sensors.
Steering feel changes:
Validation: compare scrub radius and track change in the calculator.
Action: select an offset closer to OEM, or reduce spacer thickness.
6. Wrap up
Start with the 2018 Audi S4 OEM baseline above, then use the calculator to model any donor or custom setup. Keep the bolt pattern, center bore, and thread size identical. Use offset and tire size changes thoughtfully, with clear validation for brake and fender clearance. When values are unknown or vary by trim, verify them on your vehicle label and with OEM documentation before buying. With careful planning and a methodical check, you can move from uncertainty to a confident, clean fit.
Methodology and sources
Wheel interchange depends on more than bolt pattern. Where data is available, this site compares recorded OEM values:
Bolt pattern / PCD
Center bore direction (donor wheel bore must not be smaller than the hub)
Wheel diameter, width, and offset against known OEM ranges
A normal wheel spacer does not change bolt pattern. Hub rings cannot enlarge a wheel bore that is smaller than the hub. Brake clearance and tire package fitment still require vehicle-specific checks when not confirmed in the dataset.