2009 Honda Pilot Wheel Interchange
Known OEM Fitment For 2009 Honda Pilot
The following specifications are the known fitment data provided for the 2009 Honda Pilot. Treat these values as a starting point, not as a guarantee that every wheel or tire will clear the brakes, suspension, bodywork, or steering components.
| Specification |
Provided value |
| Bolt pattern |
5x120 |
| Center bore |
64.1 mm |
| Thread size |
M14 x 1.5 |
| Rim diameter |
18 inches |
| Rim width |
7.5 inches |
| Wheel offset |
ET45, or 45 mm |
| Backspacing |
5.52 inches |
| Tire section width |
245 mm |
| Tire aspect ratio |
65 |
| Tire rim diameter |
R17 |
There is an apparent size conflict in the supplied data: the wheel diameter is listed as 18 inches, while the tire size components correspond to a 17-inch rim, such as 245/65R17. A 17-inch tire cannot be installed on an 18-inch wheel. Confirm the exact wheel and tire specification from the vehicle placard, owner’s manual, wheel markings, service information, or a Honda dealer before purchasing parts.
The 5x120 bolt pattern, 64.1 mm center bore, and M14 x 1.5 thread size should also be verified against the actual vehicle and replacement wheel. Bolt pattern alone does not establish safe fitment.
How To Use The Wheel Interchange Calculator
Use the calculator to compare a donor vehicle’s wheel and tire measurements with the measurements installed on your 2009 Honda Pilot. Enter or select the donor vehicle under “Wheels from” and the Honda Pilot under “Installed on.” Review the differences in diameter, width, offset, backspacing, tire diameter, and tire width.
The calculator also supports a “Custom wheel size” option. Use it when you are evaluating an aftermarket wheel or a wheel whose exact specifications are known. Enter the rim diameter, rim width, and offset shown on the wheel documentation or casting. Do not estimate these values from appearance.
Use “Custom tire size” to compare section width and aspect ratio. Remember that changing rim diameter updates the tire diameter in the comparison. The tire’s rim diameter must match the wheel’s diameter exactly. A calculator can identify dimensional differences, but it cannot confirm brake clearance, load rating, tire pressure monitoring compatibility, lug-seat compatibility, or legal requirements.
For this vehicle, pay special attention to the conflict between the supplied 18-inch wheel value and R17 tire value. Run separate comparisons for the confirmed wheel and tire combination rather than treating those values as one usable assembly.
Fitment Checklist Before You Buy
- Confirm the bolt pattern is 5x120 and verify the wheel’s hole pattern and seat design.
- Confirm the center bore. A wheel bore smaller than 64.1 mm will not fit over the hub. A larger bore may require correctly sized hub-centric rings if approved for the application.
- Confirm the wheel diameter and tire rim diameter match. Do not mount an R17 tire on an 18-inch wheel.
- Compare wheel width, offset, and backspacing with the calculator and inspect for inner suspension and brake clearance.
- Check the wheel’s load rating against the vehicle manufacturer’s requirements. The supplied data does not include a load rating.
- Confirm the replacement tire’s load index, speed rating, overall diameter, and approved width range using the tire manufacturer’s specifications.
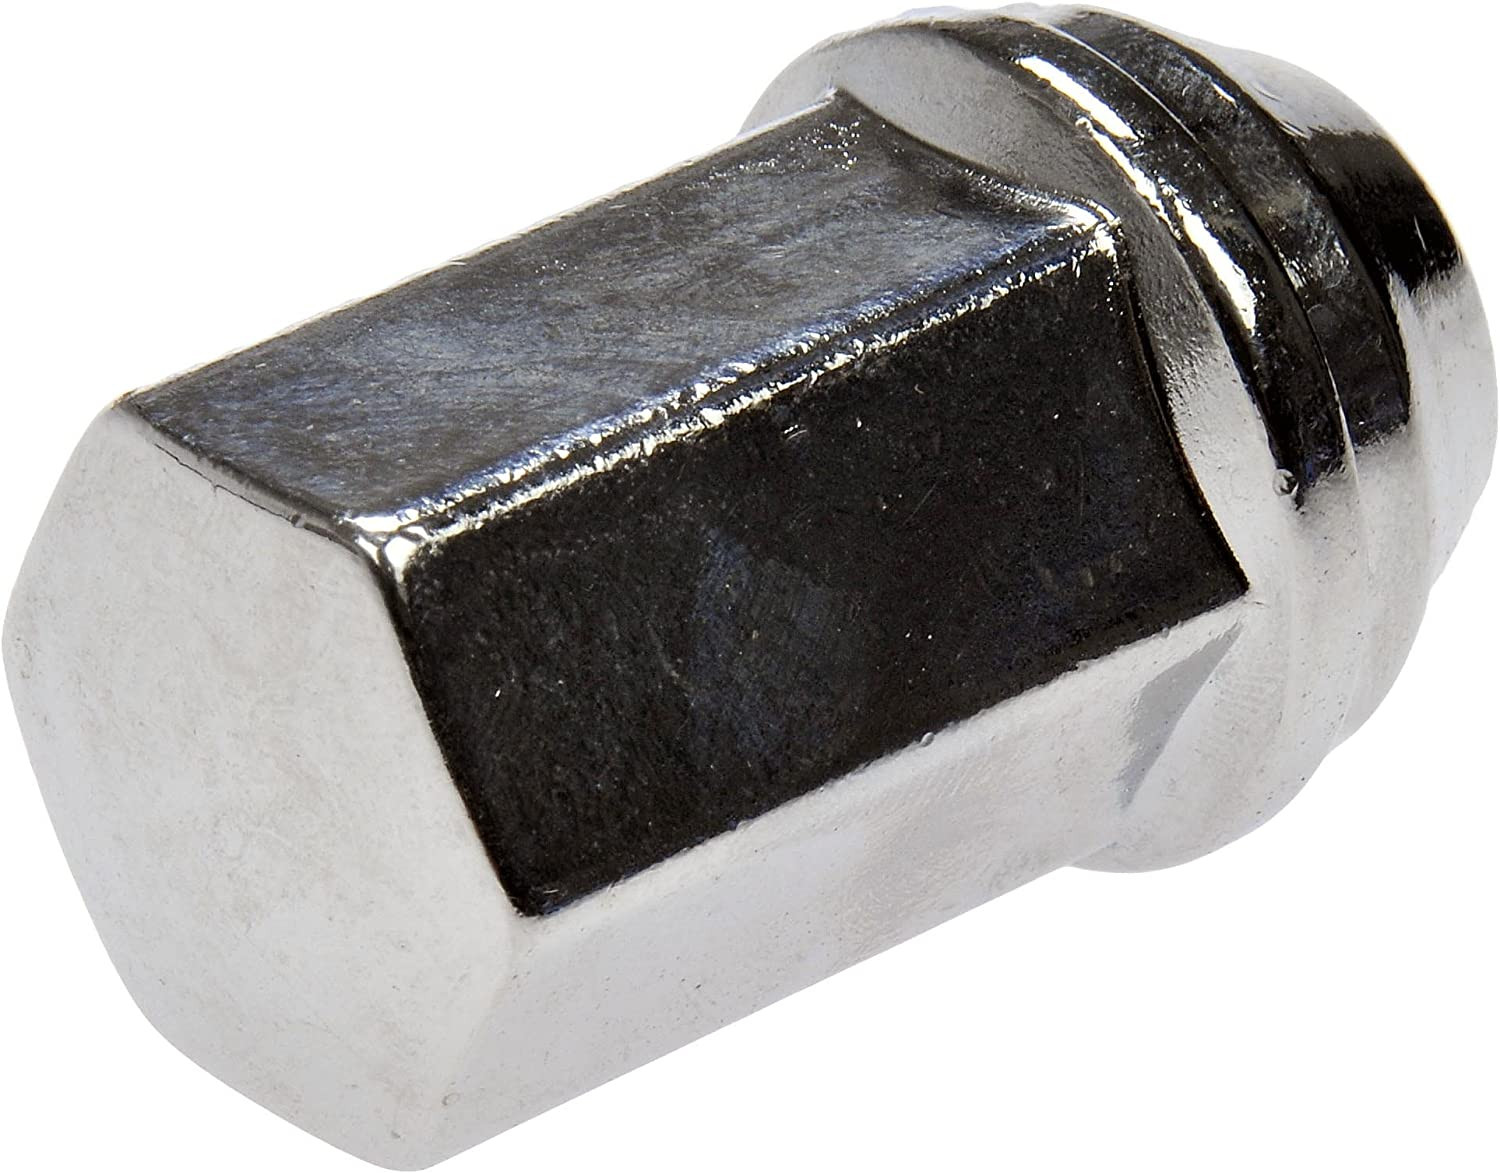
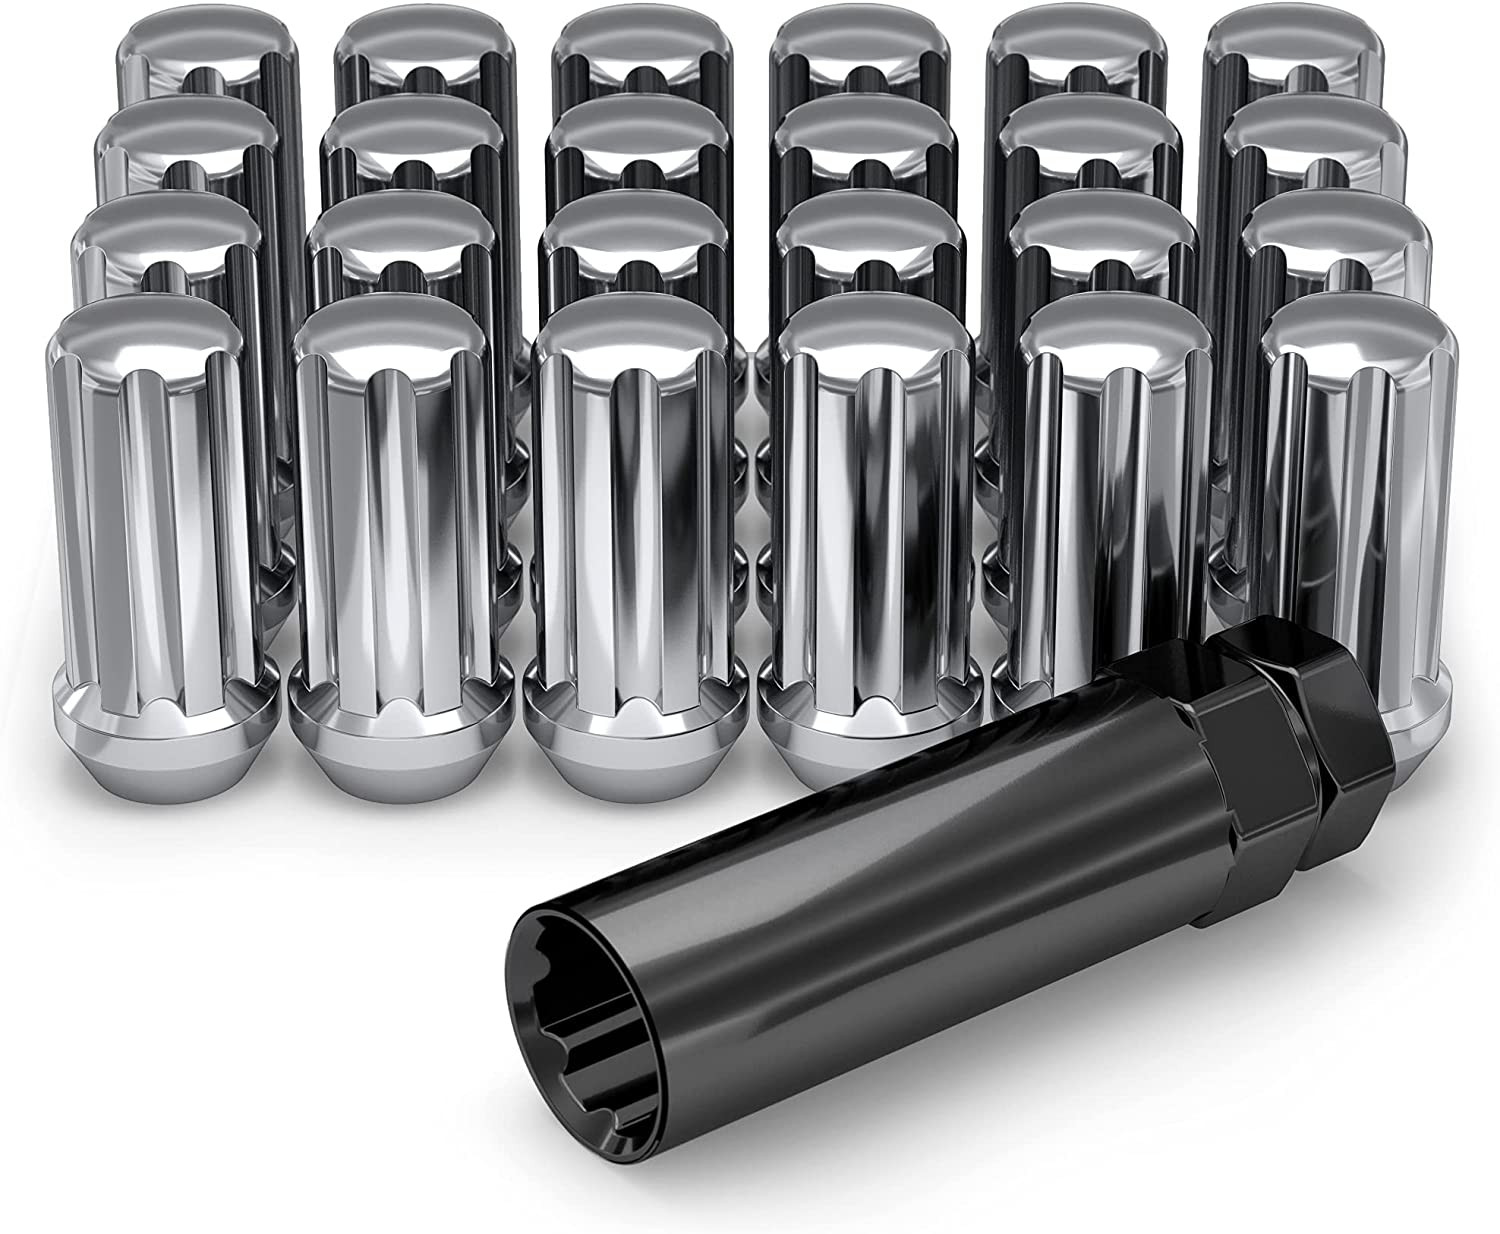
- Verify that the lug nuts match the wheel’s seat type and the vehicle’s M14 x 1.5 studs. Thread size alone does not identify the correct lug-nut seat.
- Check clearance at full steering lock and through the suspension’s full range of motion. Inspect for contact with brake components, struts, control arms, fenders, and liners.
- Confirm whether the vehicle uses a tire pressure monitoring system and whether the replacement wheels require compatible sensors.
- After installation, check that the wheel is fully seated against the hub and that the tire does not rub during a careful low-speed test.
Plus Sizing And Common Upgrades
Plus sizing changes the wheel diameter while maintaining a similar overall tire diameter by using a lower aspect-ratio tire. This can alter ride comfort, steering response, ground clearance, speedometer behavior, rim protection, and the risk of damage from potholes.
No specific upgrade size is confirmed here. Do not assume that any 17-inch, 18-inch, or larger wheel will fit simply because it shares the 5x120 pattern. Use the calculator to compare the proposed wheel and tire, then confirm physical clearances and load ratings on the actual vehicle.
If the supplied 18-inch wheel specification is correct, the tire must be an approved 18-inch tire size. If the supplied 245/65R17 tire specification is correct, it requires a 17-inch wheel. Confirm which assembly is installed before selecting an upgrade.
Changing offset moves the wheel inward or outward. A lower offset generally moves the wheel farther outward, while a higher offset generally moves it farther inward, but the actual result depends on wheel width and tire shape. Use measured clearances rather than relying only on visual flushness.
Installation Tips
Before installation, clean the hub mounting surface and the wheel’s mating surface. Remove rust, dirt, and paint buildup that could prevent the wheel from seating flat. Never use spacers, adapters, or hub rings as a substitute for resolving an incorrect bolt pattern or unsafe clearance issue.
Install the wheel by hand and start each lug nut by hand to avoid cross-threading. Tighten the lug nuts in a star or crisscross pattern, then torque them to the vehicle manufacturer’s specified value using a calibrated torque wrench. The correct torque value is not provided here, so obtain it from the owner’s manual or Honda service information.
After driving a short distance, recheck for abnormal vibration, rubbing, steering changes, or loosened hardware. Recheck lug torque according to the wheel or vehicle manufacturer’s instructions. If the vehicle vibrates, pulls, or makes contact with any component, stop driving and inspect the installation.
Tools And Helpful Supplies
Useful items include a calibrated torque wrench, the correct socket, a reliable jack and jack stands or an approved vehicle lift, wheel chocks, a tire pressure gauge, and a tread or clearance inspection light.
Use jack stands or a lift rated for the vehicle. Never work beneath a vehicle supported only by a jack. A tire shop can also verify tire mounting, balancing, bead seating, and clearance when the required equipment or specifications are unavailable.
FAQs
What is the bolt pattern listed for the 2009 Honda Pilot?
The provided bolt pattern is 5x120. Confirm it on the vehicle and replacement wheel before purchase because a matching pattern does not by itself prove complete fitment.
What center bore is listed?
The provided center bore is 64.1 mm. A smaller wheel bore will not pass over the hub, while a larger bore may require an accurately sized hub-centric ring if appropriate for the wheel and vehicle.
Can the listed 245/65R17 tire be used on the listed 18-inch wheel?
No. The R17 designation means the tire is designed for a 17-inch rim. It cannot be safely mounted on an 18-inch wheel. The supplied data contains both an 18-inch wheel value and an R17 tire value, so confirm which specification is correct.
What wheel offset is listed?
The provided offset is ET45, or 45 mm. Compare the proposed wheel’s offset and width with the installed setup in the calculator, then check actual clearance because offset changes the wheel’s position relative to suspension and body components.
Are all 5x120 wheels compatible with this Honda Pilot?
No. The bolt pattern is only one part of fitment. Center bore, wheel width, diameter, offset, brake clearance, lug-seat design, load rating, tire size, and vehicle-specific clearance must also be confirmed.
What lug-nut thread size is provided?
The supplied thread size is M14 x 1.5. The lug nut must also have the correct seat type and sufficient engagement for the specific wheel. Verify both details before installation.
Does the calculator guarantee that a donor wheel will fit?
No. It compares the entered dimensions and helps identify differences between donor and installed wheels. It does not replace a physical clearance check or confirmation of load ratings, brake clearance, lug compatibility, tire requirements, and OEM guidance.
Where should I confirm the final specifications?
Check the tire and loading information label, owner’s manual, wheel markings, tire manufacturer data, Honda service information, and a qualified tire or wheel professional. Use the calculator on this page to compare confirmed measurements before ordering.