OEM wheel and tire fitment specs for the 2016 Chevrolet Silverado 1500, including bolt pattern (PCD), center bore diameter, thread size, rim diameter, rim width, wheel offset, and backspacing.
Recorded OEM specifications for the 2016 Chevrolet Silverado 1500, donor years with overlapping ranges, and a calculator to compare a selected wheel. Range overlap is not a guaranteed fit.
Multiple OEM configurations exist for this vehicle. Fitment can vary by trim, brakes, and factory wheel package – confirm your exact setup before buying.
Thread-only product links are shopping examples, not verified fits. Seat style is not confirmed here. As an Amazon Associate we earn from qualifying purchases.
Donor vehicles with overlapping OEM specs
These are vehicle-year records whose recorded OEM ranges overlap this 2016 Chevrolet Silverado 1500. Overlap is not a guarantee that a specific wheel will install. Selected-wheel comparison is in the calculator below.
Evaluated 98 donor years. Listed 24 eligible overlaps (not all evaluated years are compatible). Showing all listed.
Wheel geometryOEM width/offset ranges overlap (not a specific wheel)
Recorded OEM bolt pattern, center bore, and width/offset ranges overlap. This is not a guarantee that every wheel from the donor year fits this vehicle.
Dataset suggestionWheel spacer ≈ 5.5 mm – not a verified installation requirement.
A spacer of about 5.5 mm is a dataset suggestion only; clearance is not verified. Estimated outer position is about 5.5 mm farther inward than the mid OEM package.
OEM specs overlapOEM ranges overlap – confirm the specific wheel
Bolt pattern6x139.7 · Same recorded PCD
Center bore78.1 mm · same recorded hub figure
Wheel geometryOEM width/offset ranges overlap (not a specific wheel)
Recorded OEM bolt pattern, center bore, and width/offset ranges overlap. This is not a guarantee that every wheel from the donor year fits this vehicle.
Wheel geometryOEM width/offset ranges overlap (not a specific wheel)
Recorded OEM bolt pattern, center bore, and width/offset ranges overlap. This is not a guarantee that every wheel from the donor year fits this vehicle.
Wheel geometryOEM width/offset ranges overlap (not a specific wheel)
Recorded OEM bolt pattern, center bore, and width/offset ranges overlap. This is not a guarantee that every wheel from the donor year fits this vehicle.
Chevrolet Silverado 1500 Years With Compatible Wheels
Only years with evidence-based interchange relationships are listed. Adjacent years are not assumed compatible.
Compare a donor vehicle or custom wheel against this 2016 Chevrolet Silverado 1500. Use Compare in calculator on a donor row above to fill the donor side of this same calculator.
Compare
Compare wheel compatibility between two vehicles
Wheels from (donor vehicle)
Selected Car:
Custom wheel size (optional)
Tip: change values here to simulate custom wheels and immediately see the impact in the comparison below.
Custom tire size (optional)
Installed on (your vehicle)
Selected Car:
2016 Chevrolet Silverado 1500
Compare Rims
Specification
Wheels from
Installed on
Result (Click it)
Bolt Pattern
The total number of bolt holes and the diameter of the circle they form.
-
6x139.7
Center Bore
The hole in the center of the wheel that fits over the vehicle’s hub.
-
78.1 mm
Thread Size
The size and spacing of the threads on the bolts or nuts that hold the wheel in place.
-
M14 x 1.5
Rim Diameter
The wheel diameter in inches that determines which tire sizes will fit.
-
17"
Rim Width
The distance between the inner edges of the wheel is measured in inches.
-
8.0"
Wheel Offset
How far the wheel sits inward or outward relative to the hub mounting surface.
-
24 mm
Backspacing
Shows how much space the wheel takes up toward the inside of the vehicle.
-
-
Wheel Fasteners
The type of hardware used to secure the wheel to the vehicle.
-
-
Compare Tires
Specification
Wheels from
Installed on
Result (Click it)
Section Width
The width of the tire from sidewall to sidewall, measured in millimeters.
-
-
Aspect Ratio
The height of the tire’s sidewall expressed as a percentage of its width.
-
-
Diameter
The wheel diameter for which the tire is designed to fit.
-
-
Tire Pressure
The recommended air pressure for safe and efficient driving.
-
-
Overall Diameter
The total height of the tire and wheel combined affects clearance and speedometer accuracy.
-
-
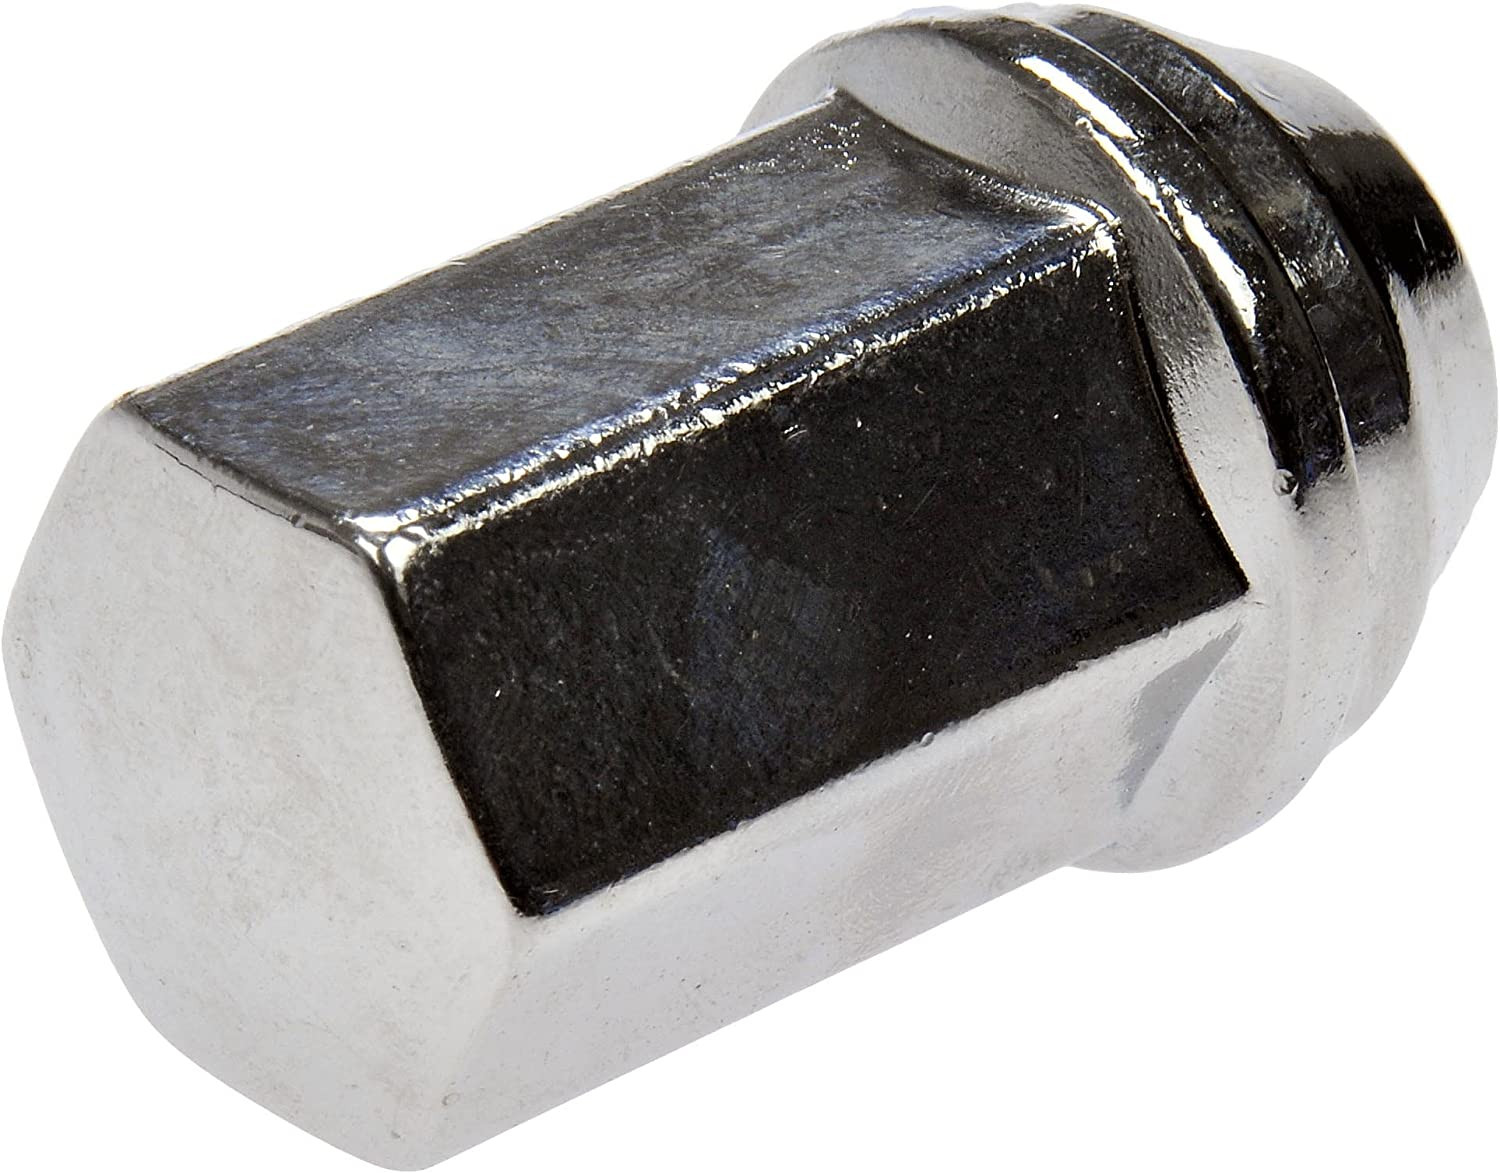
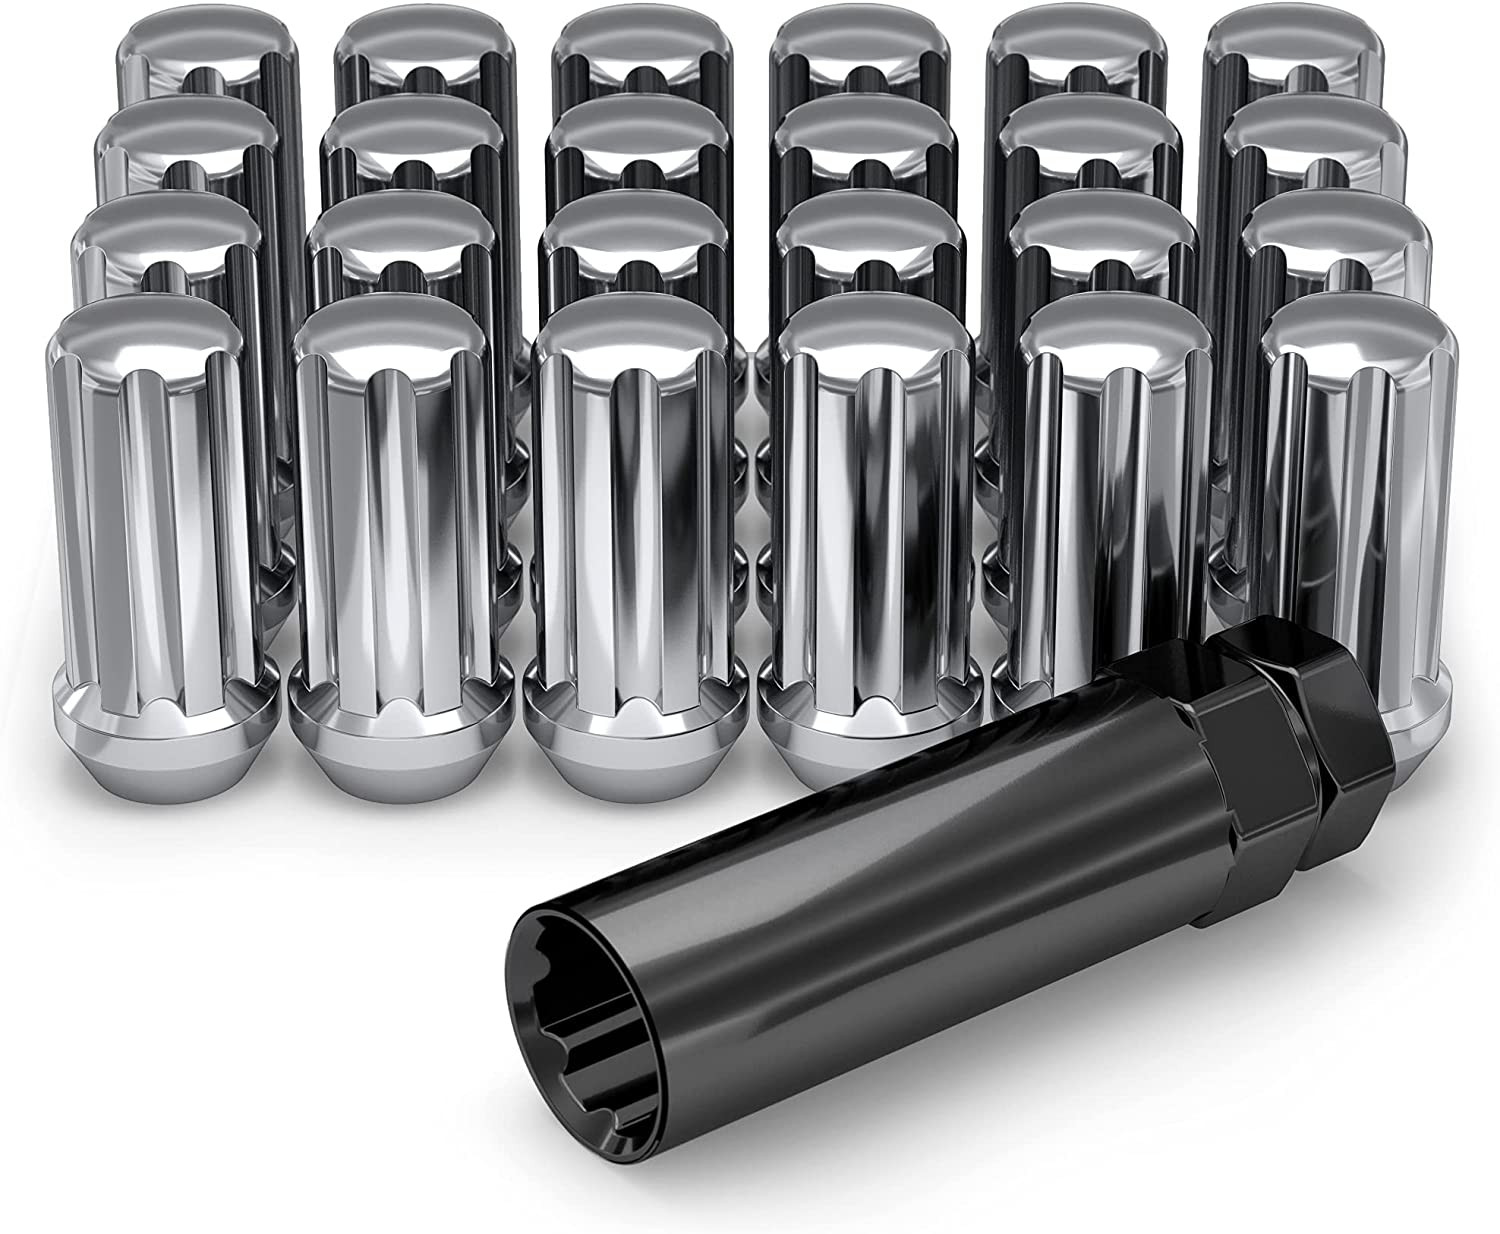
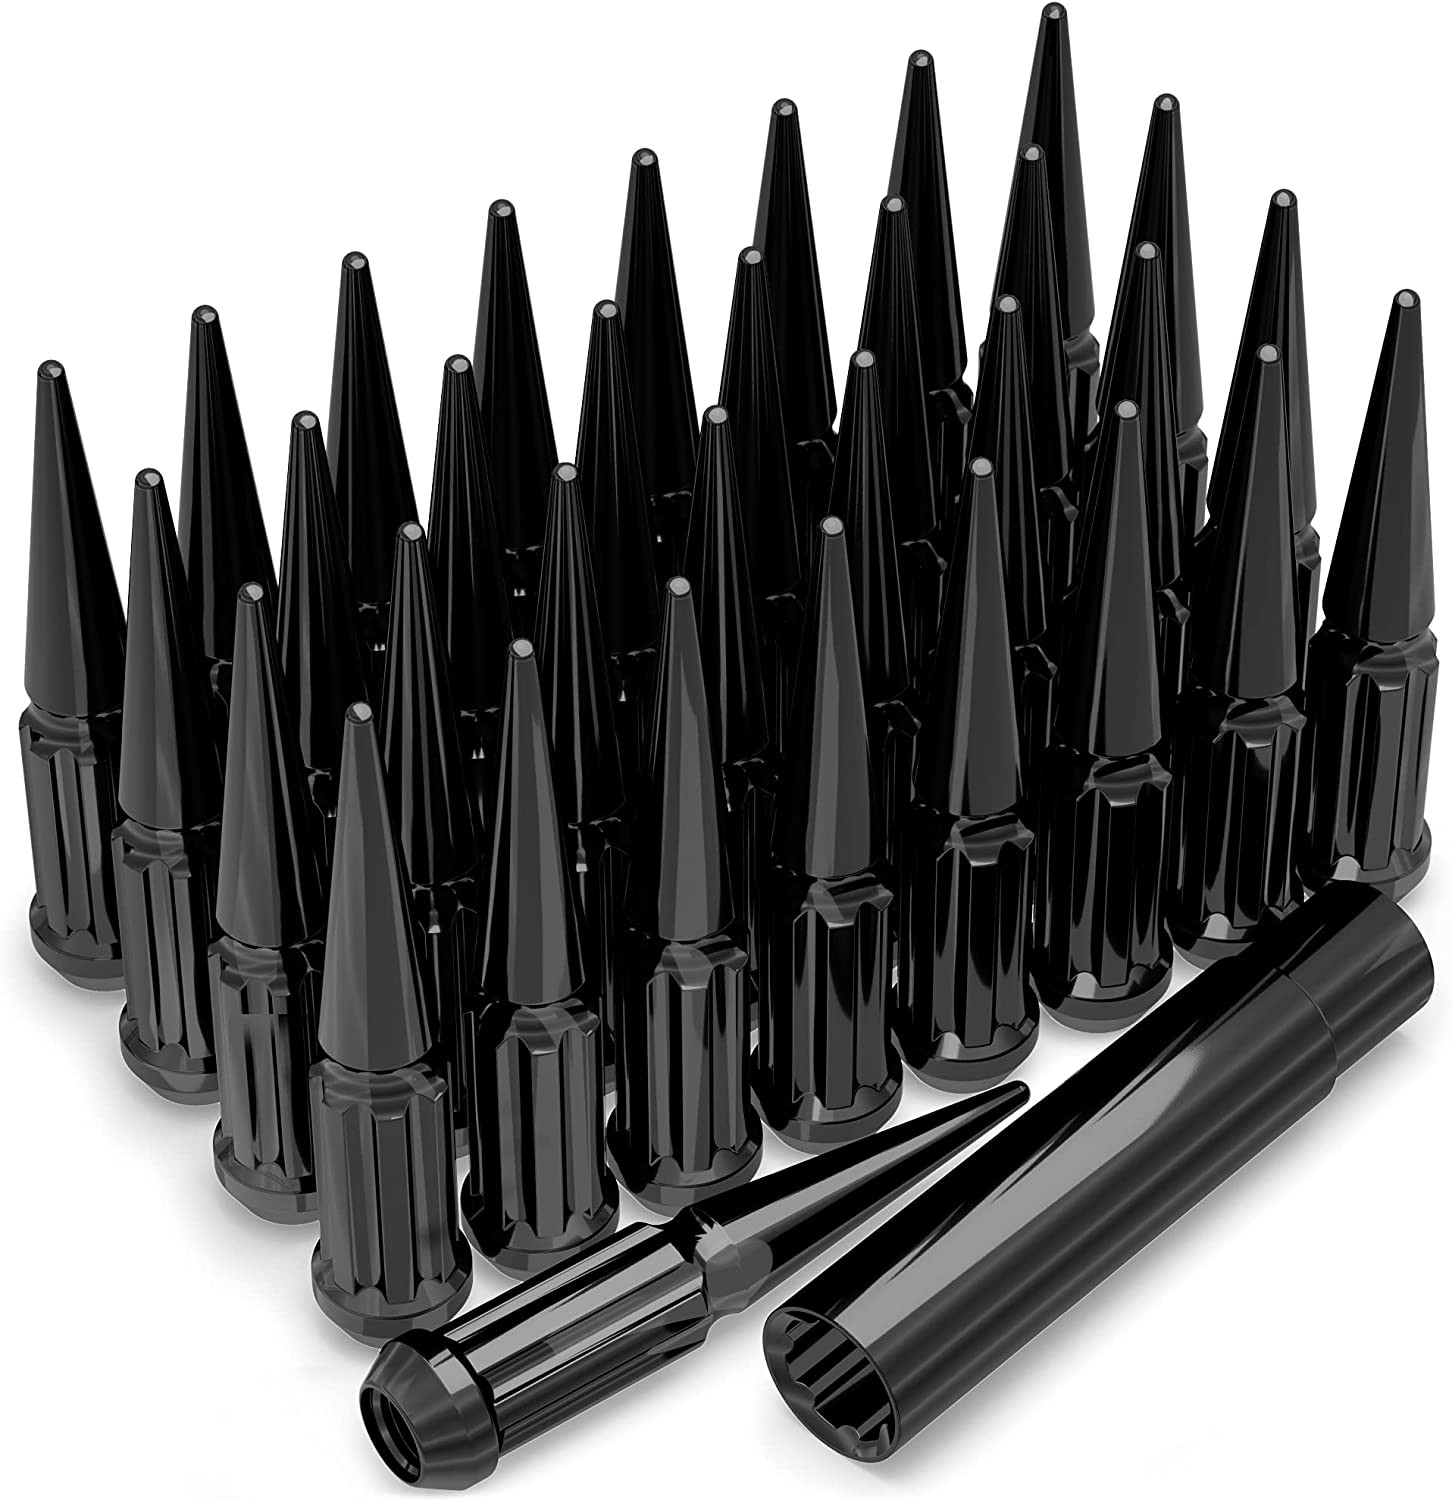
Wheel Fitment Parts for the 2016 Chevrolet Silverado 1500
Example products matched to recorded thread, hub, or spacer dimensions. They are not verified fits. Confirm seat style, thickness, and clearance before ordering.
As an Amazon Associate we earn from qualifying purchases. Product availability and pricing may change.
2016 Chevrolet Silverado 1500 Wheel Fitment Guide
Known OEM Fitment For 2016 Chevrolet Silverado 1500
The values below are taken from our data for this model year. The Silverado 1500 was offered in multiple trims and wheel/tire packages. If something seems inconsistent, assume it is trim-dependent and verify against your truck’s door-jamb tire placard, owner’s manual, and VIN build sheet from an authorized Chevrolet source.
Bolt pattern (studs x PCD)
6x139.7 mm (also known as 6x5.5)
Center bore
78.1 mm
Thread size
M14 x 1.5
Known OEM wheel size
18 x 8.5 in
Offset (ET)
+24 mm
Backspacing
5.19 in
Known OEM tire size
255/70R17
Note: The dataset includes an 18-inch OEM wheel record and a 255/70R17 OEM tire record. These likely reflect different factory packages within the same model year. Always match wheel and tire specs as a set for your specific trim. Use the on-page calculator and confirm against OEM sources before purchasing.
How To Use The Wheel Interchange Calculator
Start with your baseline. In “Installed on (your vehicle),” enter your verified OEM wheel and tire specs from your door placard or manual.
Compare donor options. In “Wheels from (donor vehicle),” enter the wheel specs you want to try, or pick a known package to compare.
Refine with “Custom wheel size.” Adjust rim diameter, width, and offset (ET). The tool shows how inner clearance and outer poke change versus your baseline.
Refine with “Custom tire size.” Change section width and aspect ratio. The calculator updates overall tire diameter automatically when rim diameter changes.
Watch the key outputs:
Inner clearance: Positive number means more room to suspension/brakes; negative indicates potential rubbing.
Outer poke: Positive number indicates the wheel/tire will stick out further toward the fender.
Overall diameter and speedometer change: Aim to keep overall tire diameter within about ±3% of your verified OEM diameter for best results.
Finalize only after you confirm bolt pattern (6x139.7), center bore (78.1 mm or use hub-centric rings), load rating, and tire load index meet or exceed OEM requirements.
Fitment Checklist Before You Buy
Bolt pattern: 6x139.7 mm. 6x139.7 and 6x5.5 are equivalent naming.
Center bore: 78.1 mm. If an aftermarket wheel has a larger bore, use hub-centric rings to reduce to 78.1 mm.
Thread size: M14 x 1.5. Verify lug nut seat type (conical, mag, etc.) with the wheel manufacturer. Do not assume.
Offset and backspacing: Known OEM reference includes +24 mm ET and about 5.19 in backspacing on an 18x8.5 wheel. Moving to lower ET (more negative) increases outer poke and reduces inner clearance; higher ET moves the wheel inward.
Brake and suspension clearance: Check caliper-to-spoke clearance and inner barrel-to-upright clearance. Use the calculator deltas, then physically test-fit when possible.
Overall diameter: If your verified OEM tire size is 255/70R17 (approx. 31.1 in overall), try to keep new setups within ±3% unless you are prepared to recalibrate and check for fender clearance.
Load ratings: Wheel and tire load ratings must meet or exceed the values on your door-jamb placard.
TPMS: Ensure sensor compatibility and have a relearn procedure ready per the service manual.
Stud engagement: Target at least one full bolt diameter of thread engagement (about 14 mm) on each lug with your chosen nuts, especially if spacers are used.
OEM confirmation: Cross-check the door placard, owner’s manual, and a dealer-provided VIN build sheet if your truck’s package is unclear.
Plus Sizing And Common Upgrades
Plus-sizing overview: Increasing wheel diameter typically requires a lower tire aspect ratio so overall diameter stays near stock. Use the calculator to keep within ±3% of your verified OEM tire diameter to limit speedometer error and preserve gearing/ABS behavior.
Width changes: Wider wheels and tires can improve grip but reduce inner clearance and may increase outer poke. Compare changes in poke/clearance, then inspect fender liners, crash bars, and upper control arm proximity.
Offset tuning: Small offset changes can fine-tune stance and clearance. Lower ET increases poke and may require fender coverage solutions; higher ET increases inboard risk near control arms and sway links.
Spacers: If used, choose hub-centric spacers that match 6x139.7 and 78.1 mm hub, and ensure adequate stud engagement. Re-torque per best practices. Only use quality, name-brand hardware.
Towing/hauling: If you tow or carry heavy loads, prioritize tires with higher load index and wheels with proper load ratings. Maintain placard pressures unless instructed otherwise by OEM guidance.
Installation Tips
Work on a level surface. Chock opposite wheels and support the truck with appropriately rated jack stands at the manufacturer-approved lift points.
Prep the hub and wheel mounting face. Remove rust and debris so wheels sit perfectly flush. Do not apply grease on stud threads unless the OEM procedure specifies it.
Install lug nuts by hand to avoid cross-threading. Verify the seat type matches the wheel design.
Torque in a star pattern with a calibrated torque wrench to the specification in your owner’s manual or service information. Re-torque after 50–100 miles.
TPMS: Transfer or install compatible sensors. Complete the GM relearn procedure as described in the service manual or with an approved TPMS tool.
Final checks: Turn lock-to-lock and compress the suspension (or road test carefully) to confirm no rubbing under steering or bump conditions.
Also useful: breaker bar or lug wrench, thin-wall impact sockets, wire brush, hub-centric rings if needed (to 78.1 mm), TPMS relearn tool, and a quality floor jack rated for your truck.
FAQs
What is the bolt pattern on the 2016 Silverado 1500?
6x139.7 mm, also referred to as 6x5.5.
Which lug nuts does it use?
The thread size is M14 x 1.5. The seat type depends on the wheel design. Match the seat (conical, mag, etc.) to the wheel manufacturer’s requirement.
What offset should I use?
One known OEM reference is +24 mm on an 18x8.5 wheel. Other trims may differ. Use the calculator to compare your verified OEM setup to any new wheel and check inner/outer clearances.
Will a larger wheel diameter fit?
It can, but it is trim- and package-dependent. Use the calculator to keep overall tire diameter within about ±3% of your verified OEM size and check brake/fender clearance. Verify with a test fit whenever possible.
Do I need hub-centric rings?
Only if your aftermarket wheel’s center bore is larger than the truck’s 78.1 mm hub. Rings adapt the wheel to the hub for a better centering interface.
Can I use 6x139.7 wheels listed as 6x5.5?
Yes. 6x139.7 mm and 6x5.5 are equivalent naming for the same bolt circle.
What’s the safe thread engagement?
A common guideline is at least one full lug diameter of engagement, about 14 mm for M14 studs. Confirm fit after any spacer or wheel change.
Methodology and sources
Wheel interchange depends on more than bolt pattern. Where data is available, this site compares recorded OEM values:
Bolt pattern / PCD
Center bore direction (donor wheel bore must not be smaller than the hub)
Wheel diameter, width, and offset against known OEM ranges
A normal wheel spacer does not change bolt pattern. Hub rings cannot enlarge a wheel bore that is smaller than the hub. Brake clearance and tire package fitment still require vehicle-specific checks when not confirmed in the dataset.