2011 Honda Ridgeline Wheel Interchange And Fitment Guide
Known OEM Fitment For 2011 Honda Ridgeline
The following specifications are the known reference values provided for the 2011 Honda Ridgeline. Confirm the exact equipment level, wheel markings, tire placard, and owner documentation before purchasing wheels or tires.
| Specification |
Known value |
| Bolt pattern |
5x120 |
| Center bore |
64.1 mm |
| Thread size |
M14 x 1.5 |
| Rim diameter |
18 inches |
| Rim width |
7.5 inches |
| Wheel offset |
ET45 |
| Backspacing |
5.52 inches |
| Tire section width |
245 mm |
| Tire aspect ratio |
65% |
| Tire rim diameter field |
17 inches |
There is an apparent diameter mismatch in the supplied data: the wheel specification is listed as 18 inches, while the tire rim diameter field is listed as 17 inches. Do not assume these values describe one complete wheel and tire package. Check the sidewall marking, such as the tire size printed on the tire, and compare it with the driver-door tire label and Honda documentation.
A wheel must match the 5x120 bolt pattern, provide adequate clearance for the vehicle, and use suitable lug hardware. The center bore should be correct for the hub, or a properly engineered hub-centric solution must be used where appropriate. Do not use wheel spacers, adapters, or lug nuts unless their compatibility and safety have been professionally verified.
How To Use The Wheel Interchange Calculator
Use the calculator to compare a donor vehicle's wheel and tire setup with the setup installed on your 2011 Honda Ridgeline. Enter or select the donor information under “Wheels from” and the Ridgeline information under “Installed on.”
- Enter the donor wheel diameter, width, and offset as shown on the donor wheel or in reliable manufacturer documentation.
- Enter the donor tire section width, aspect ratio, and rim diameter from the tire sidewall.
- Check the calculated changes in wheel position, tire diameter, sidewall height, and overall clearance.
- Use “Custom wheel size” when evaluating an aftermarket wheel. Enter the proposed rim diameter, rim width, and offset rather than relying on a generic vehicle selection.
- Use “Custom tire size” to compare section width and aspect ratio. Changing the rim diameter updates the tire diameter in the comparison, so recheck the complete wheel and tire combination after every change.
The calculator is a comparison aid, not a substitute for a physical test fit or professional inspection. It does not confirm brake clearance, suspension clearance, fender clearance, load capacity, tire availability, or legal compliance.
Fitment Checklist Before You Buy
- Verify the wheel has a 5x120 bolt pattern and that the center bore is compatible with the 64.1 mm hub reference.
- Confirm the proposed wheel's diameter, width, and offset. Small offset changes can alter inner suspension clearance and outer fender position.
- Check that the wheel's load rating meets or exceeds the vehicle manufacturer's requirements.
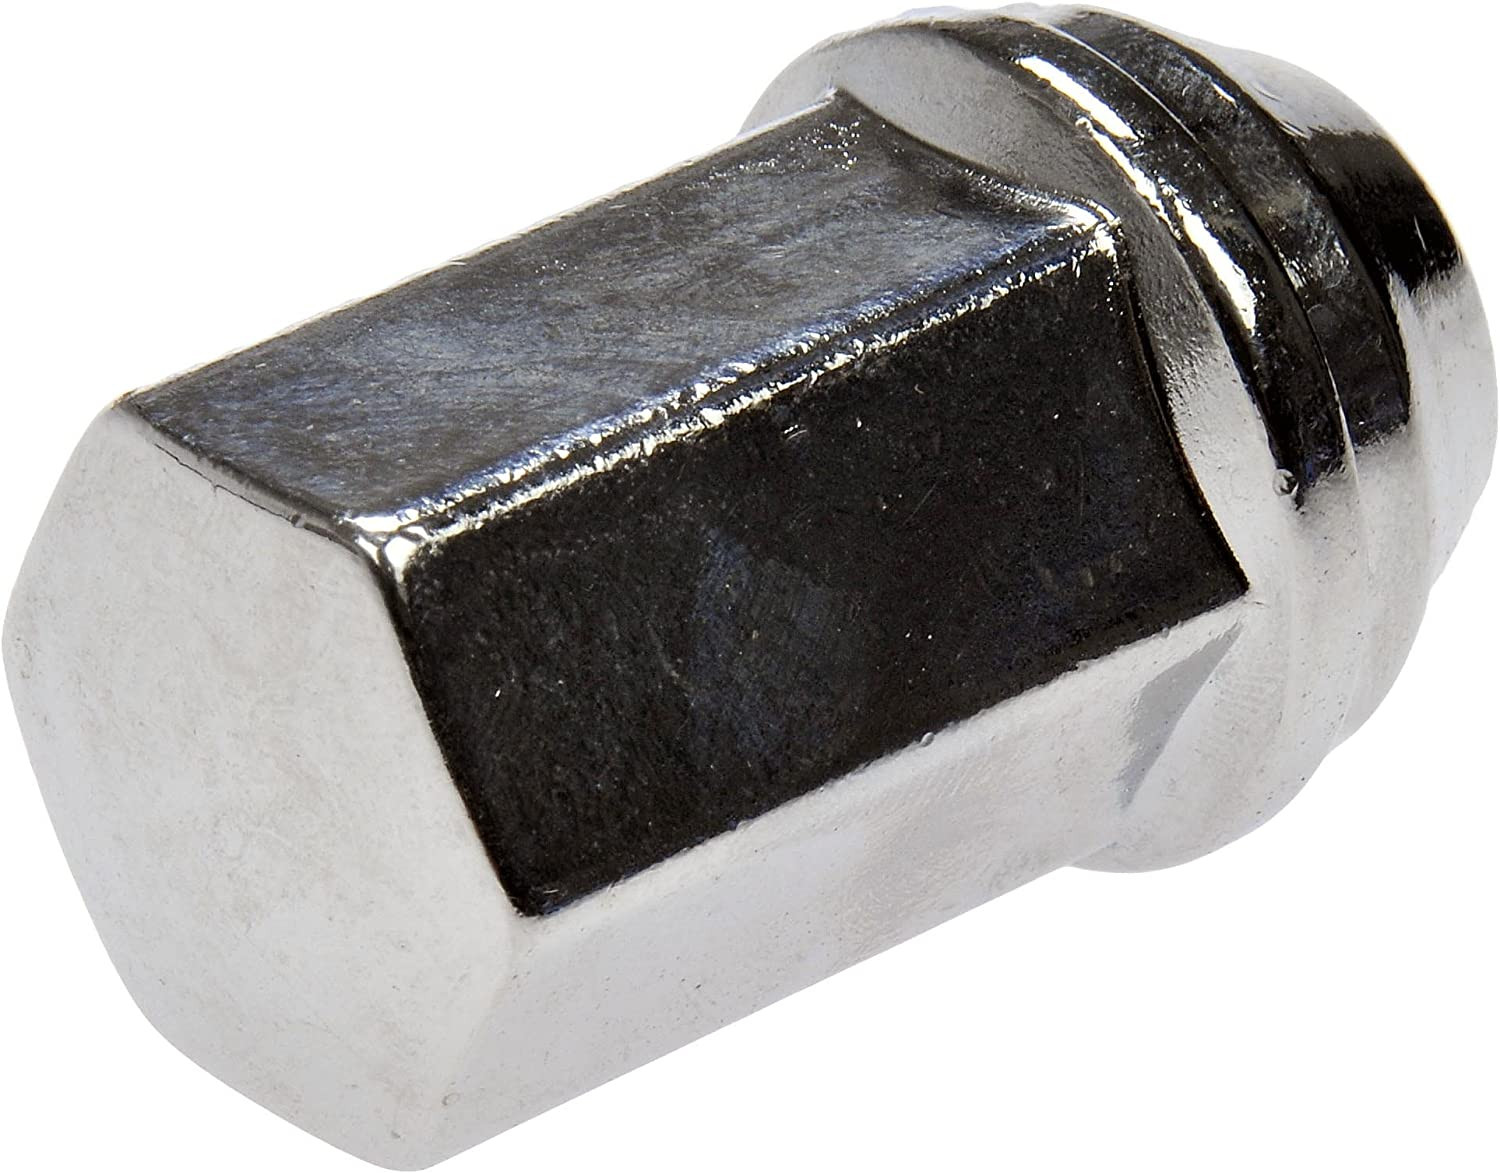
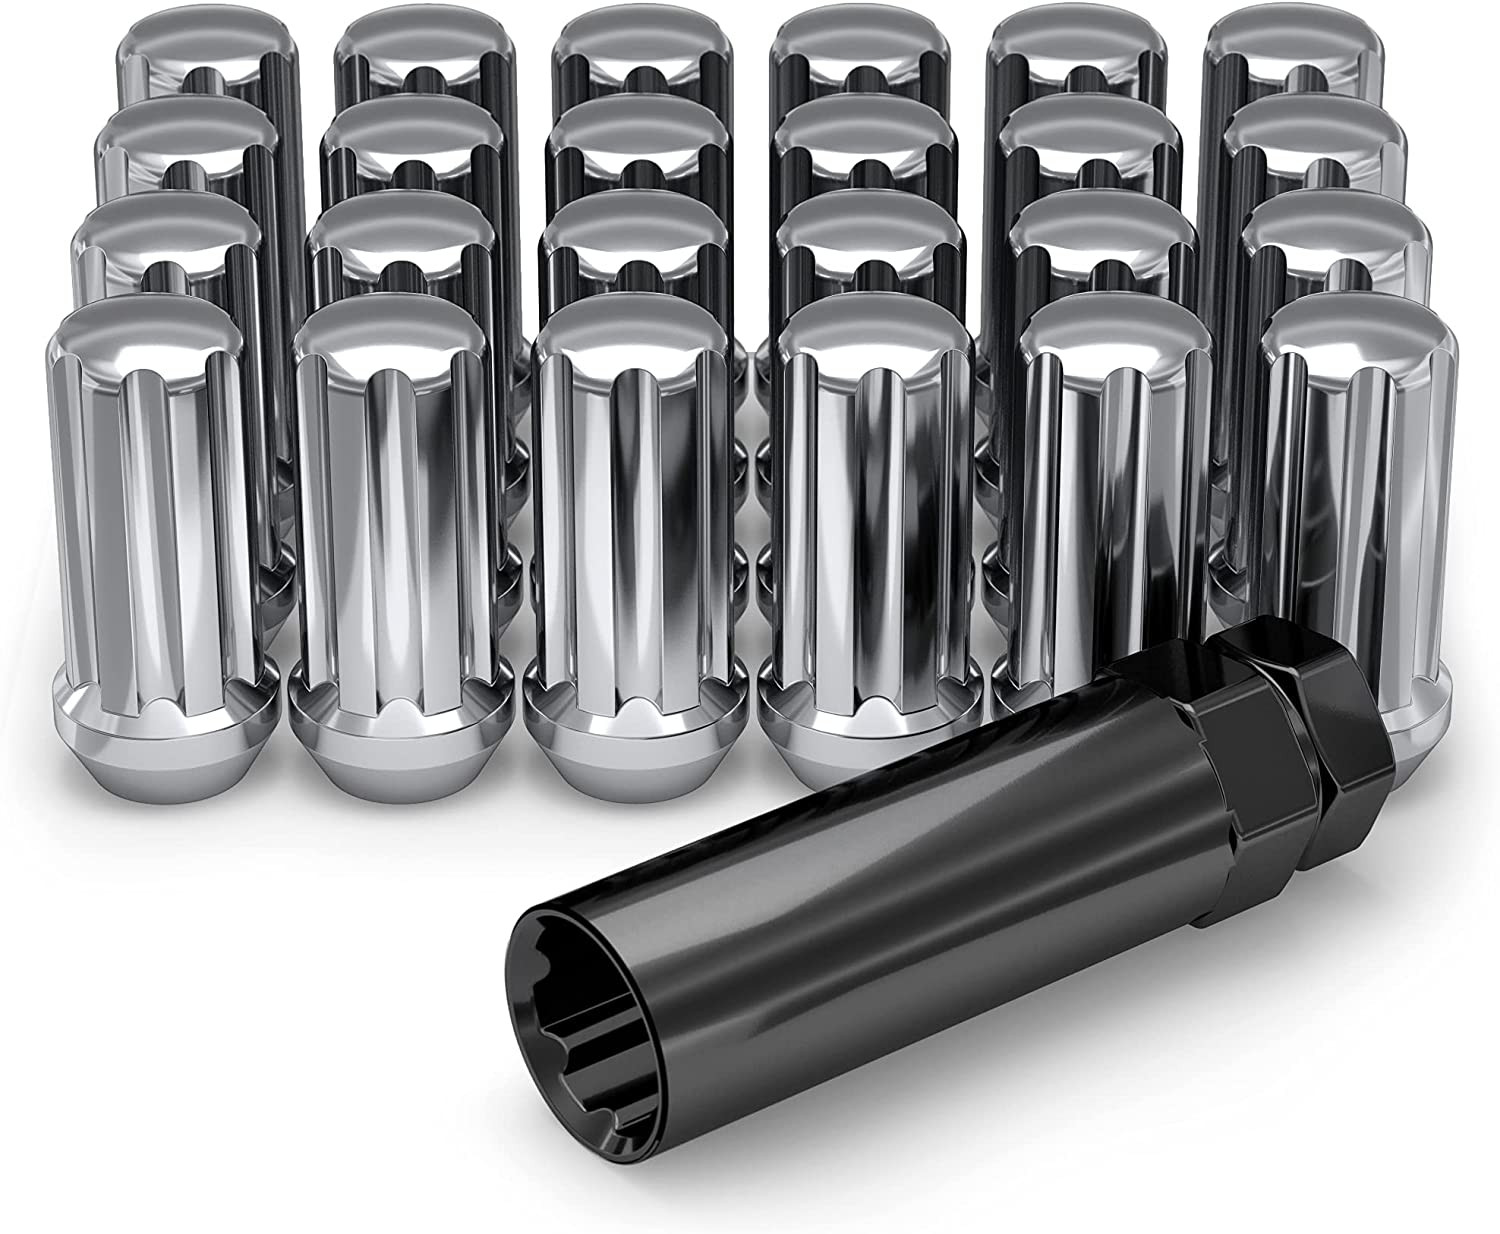
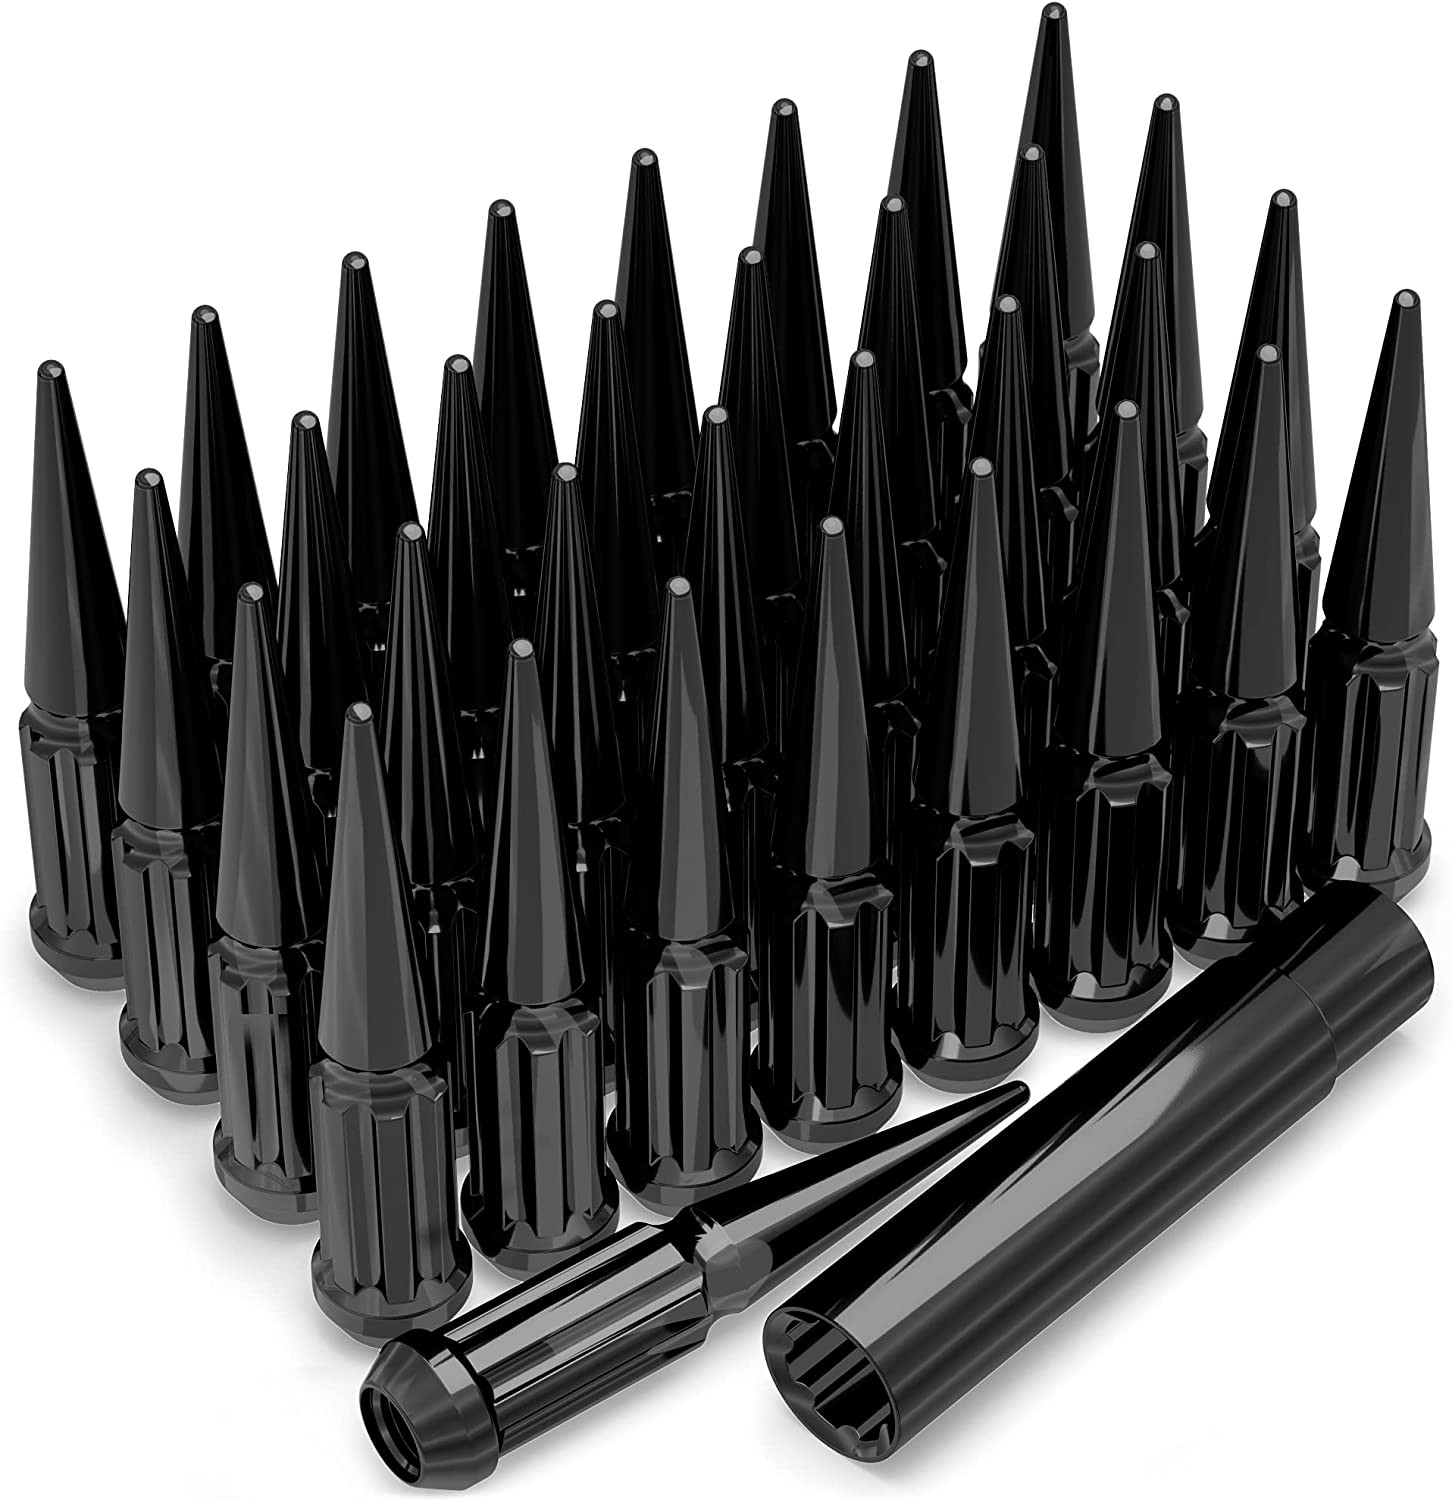
- Confirm the wheel is designed for M14 x 1.5 wheel hardware and that the lug seat type matches the wheel.
- Check brake caliper, strut, control arm, tie-rod, and inner fender clearance. A wheel that fits the bolt pattern can still fail to clear the brakes or suspension.
- Check tire load index, speed rating, diameter, and width against the door-jamb label and owner's manual.
- Measure the actual wheel and tire assembly when possible. Advertised specifications can differ from measured dimensions.
- Inspect for rubbing at full steering lock and through suspension compression before driving normally.
- Confirm that the tire does not extend beyond the fender in a way that violates local requirements.
Because trim-level and package information has not been provided, use the VIN, the vehicle certification label, the door-jamb tire placard, and Honda service information to confirm the exact original configuration.
Plus Sizing And Common Upgrades
Plus sizing changes the wheel diameter while maintaining a similar overall tire diameter by using a lower aspect-ratio tire. The goal is to preserve speedometer behavior, gearing, ground clearance, and electronic-system compatibility as closely as possible.
Do not choose a replacement tire by width alone. Compare the complete tire diameter, load index, speed rating, approved rim-width range, and actual clearance. A wider or lower-profile tire may increase steering effort, road noise, impact risk, and the chance of rubbing.
The supplied specifications include both an 18-inch rim diameter and a 17-inch tire rim diameter field. Resolve that discrepancy before evaluating any plus-size package. Enter the confirmed wheel and tire values into the calculator, then physically verify clearance and confirm the result with a qualified tire or wheel professional.
Installation Tips
- Inspect replacement wheels for cracks, bends, corrosion, damaged mounting faces, or deformed lug holes before installation.
- Clean rust, paint buildup, and debris from the hub and wheel mounting surfaces. Do not use excessive anti-seize on wheel studs or lug threads unless Honda specifically directs it.
- Install only compatible M14 x 1.5 lug hardware with the correct seat style and engagement.
- Start every lug nut by hand to avoid cross-threading.
- Tighten lugs in a crisscross pattern, then torque them to the vehicle manufacturer's specification using a calibrated torque wrench.
- Never rely on an impact wrench as the final torque check.
- After installation, verify clearance with the steering turned fully left and right. If safe access permits, inspect clearance while the suspension is loaded and unloaded.
- Recheck lug torque after the initial driving period specified by the wheel manufacturer or installer.
- Set tire pressure using the vehicle placard, not the maximum pressure molded into the tire sidewall.
Tools And Helpful Supplies
Useful equipment includes a calibrated torque wrench, correctly sized socket, jack and jack stands rated for the vehicle, wheel chocks, a tire-pressure gauge, and a tread-depth or clearance measuring tool. Use approved lifting points and support the vehicle securely. Never work beneath a vehicle supported only by a jack.
Search for a calibrated automotive torque wrench or a digital tire pressure gauge if you need basic wheel-installation equipment. Confirm tool range, socket compatibility, and product instructions before use.
FAQs
What is the bolt pattern for the 2011 Honda Ridgeline?
The known reference is 5x120. Confirm the wheel markings and application details before purchase because bolt pattern alone does not prove complete fitment.
What is the center bore?
The supplied center-bore value is 64.1 mm. The replacement wheel must locate correctly on the hub and must not interfere with the hub or mounting face.
What lug thread size is listed?
The provided thread size is M14 x 1.5. The lug nut's thread is only one part of compatibility; the lug seat shape, diameter, engagement, and wheel design must also match.
Can any 5x120 wheel fit this Ridgeline?
No. Bolt pattern is only one requirement. Diameter, width, offset, center bore, load rating, brake clearance, lug-seat design, and tire specifications must all be checked.
Why does the supplied information show both 17 and 18 inches?
The known data lists an 18-inch rim diameter and a 17-inch tire rim diameter field. These values may represent different records or packages, but that cannot be determined from the supplied information. Verify the tire sidewall, wheel stamp, door-jamb label, VIN-specific records, and Honda documentation.
Will the calculator guarantee that a donor wheel fits?
No. The calculator estimates dimensional differences between donor and installed setups. It cannot independently verify brake clearance, load capacity, lug-seat compatibility, structural condition, or rubbing under all driving conditions.
How do I evaluate an aftermarket wheel?
Select “Custom wheel size” and enter the proposed diameter, width, and offset. Enter the proposed tire under “Custom tire size,” review the dimensional comparison, and then verify the wheel's load rating, center bore, lug hardware, and physical clearance.
What should I do if the tire rubs after installation?
Stop driving the vehicle at speed until the cause is identified. Inspect for contact marks, confirm tire pressure and wheel hardware, and have the assembly checked by a qualified technician. Do not remove safety-related components or add spacers as an unverified fix.