2013 Honda Ridgeline Wheel Fitment Guide
Known OEM Fitment For 2013 Honda Ridgeline
The following specifications are the known fitment values supplied for the 2013 Honda Ridgeline. Equipment can vary by trim, wheel package, market, or replacement-wheel history, so confirm the specifications on your vehicle before ordering wheels or tires.
| Specification |
Known value |
| Bolt pattern |
5x120 |
| Center bore |
64.1 mm |
| Thread size |
M14 x 1.5 |
| Rim diameter |
18 inches |
| Rim width |
7.5 inches |
| Wheel offset |
ET45, or 45 mm |
| Backspacing |
5.52 inches |
| Tire section width |
245 mm |
| Tire aspect ratio |
65 percent |
| Tire rim diameter listed in the supplied tire data |
17 inches |
There is a 17-inch versus 18-inch rim-diameter difference in the supplied data. Do not assume that these values describe one original wheel-and-tire package. Check the tire sidewall, wheel markings, the vehicle certification label, and the Honda service information for your specific truck. The on-page calculator can also help compare alternate wheel and tire combinations, but it cannot replace physical clearance checks or OEM confirmation.
How To Use The Wheel Interchange Calculator
Use the calculator to compare a donor wheel and tire package with the 2013 Honda Ridgeline. Enter the donor vehicle or donor wheel specifications in “Wheels from (donor vehicle)” and enter the Ridgeline specifications in “Installed on (your vehicle).” Compare bolt pattern, center bore, wheel width, diameter, offset, backspacing, and tire dimensions.
You can adjust “Custom wheel size” to test a different rim diameter, width, or offset. You can also adjust “Custom tire size” by entering section width and aspect ratio. When you change the rim diameter, the calculator updates the tire diameter in the comparison. Review the change in overall diameter, sidewall height, inner clearance, outer protrusion, and any reported fitment difference.
A calculator result is a screening tool, not a guarantee of safe installation. Confirm brake, suspension, fender, steering, and hub clearance on the actual vehicle before driving.
Fitment Checklist Before You Buy
Start with the complete wheel specification rather than bolt pattern alone. A wheel with the correct 5x120 pattern may still have an unsuitable center bore, offset, width, load rating, or brake clearance.
- Confirm the 5x120 bolt pattern and verify that the wheel has five correct mounting holes.
- Compare the wheel center bore with the vehicle hub. A larger bore may require properly sized hub-centric rings, while a smaller bore will not fit over the hub.
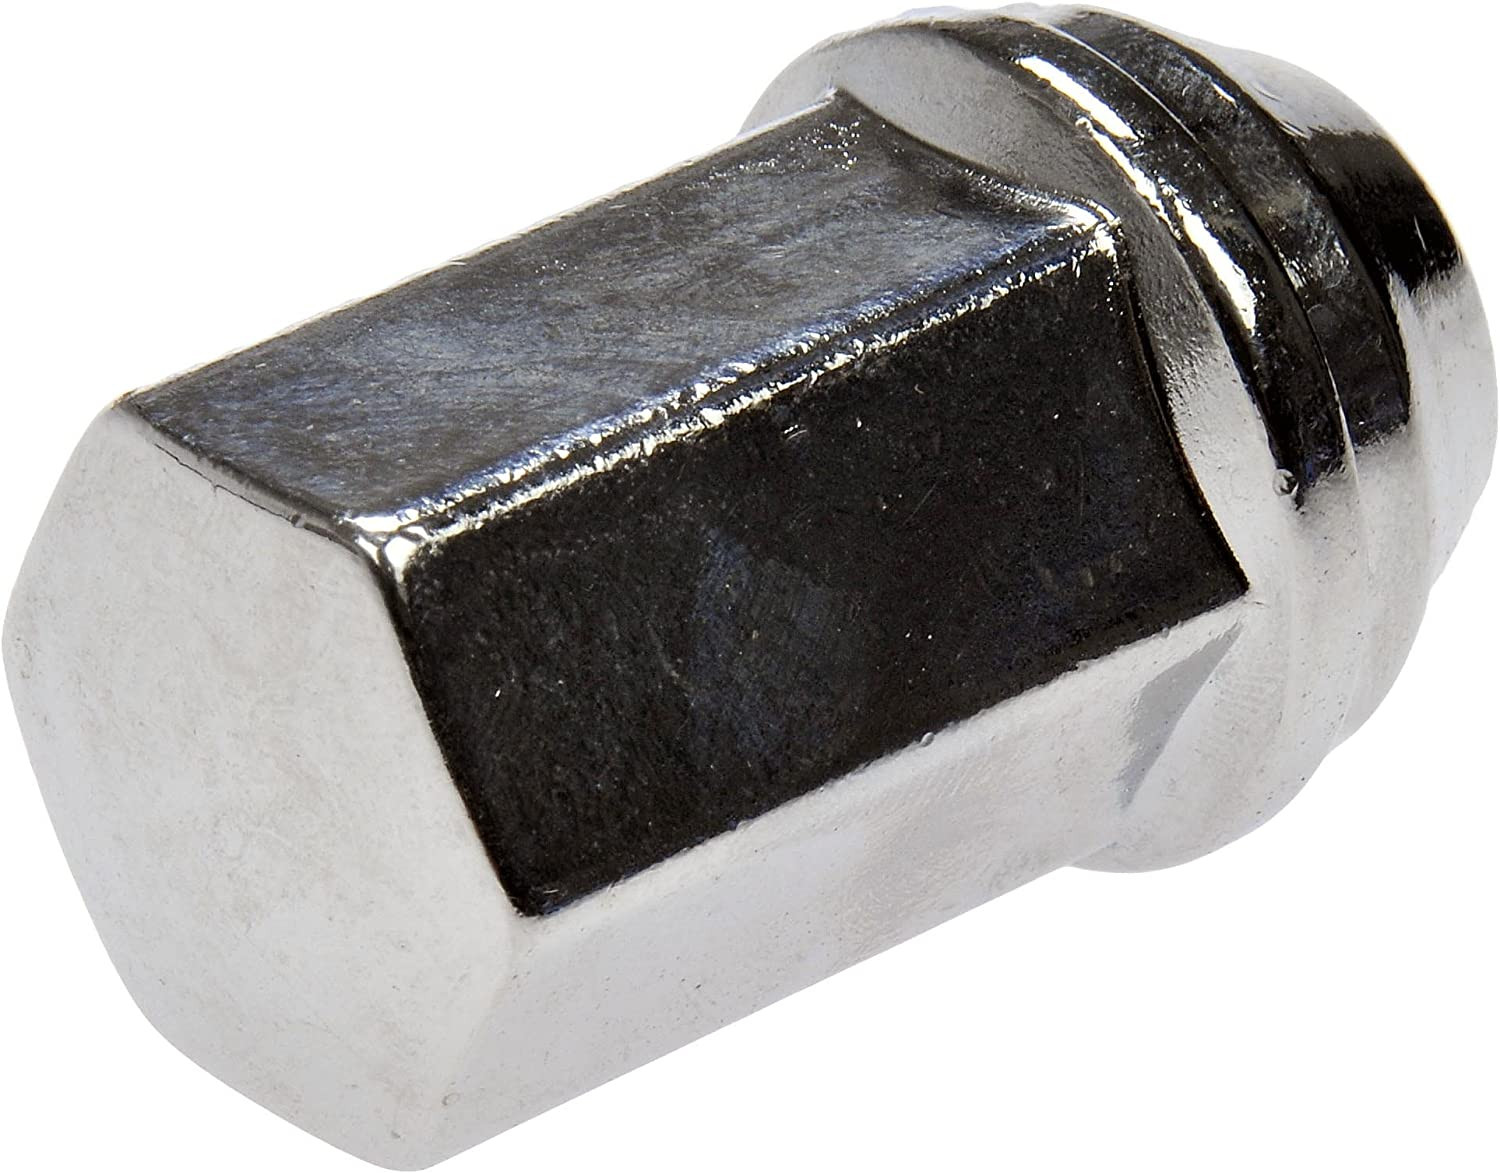
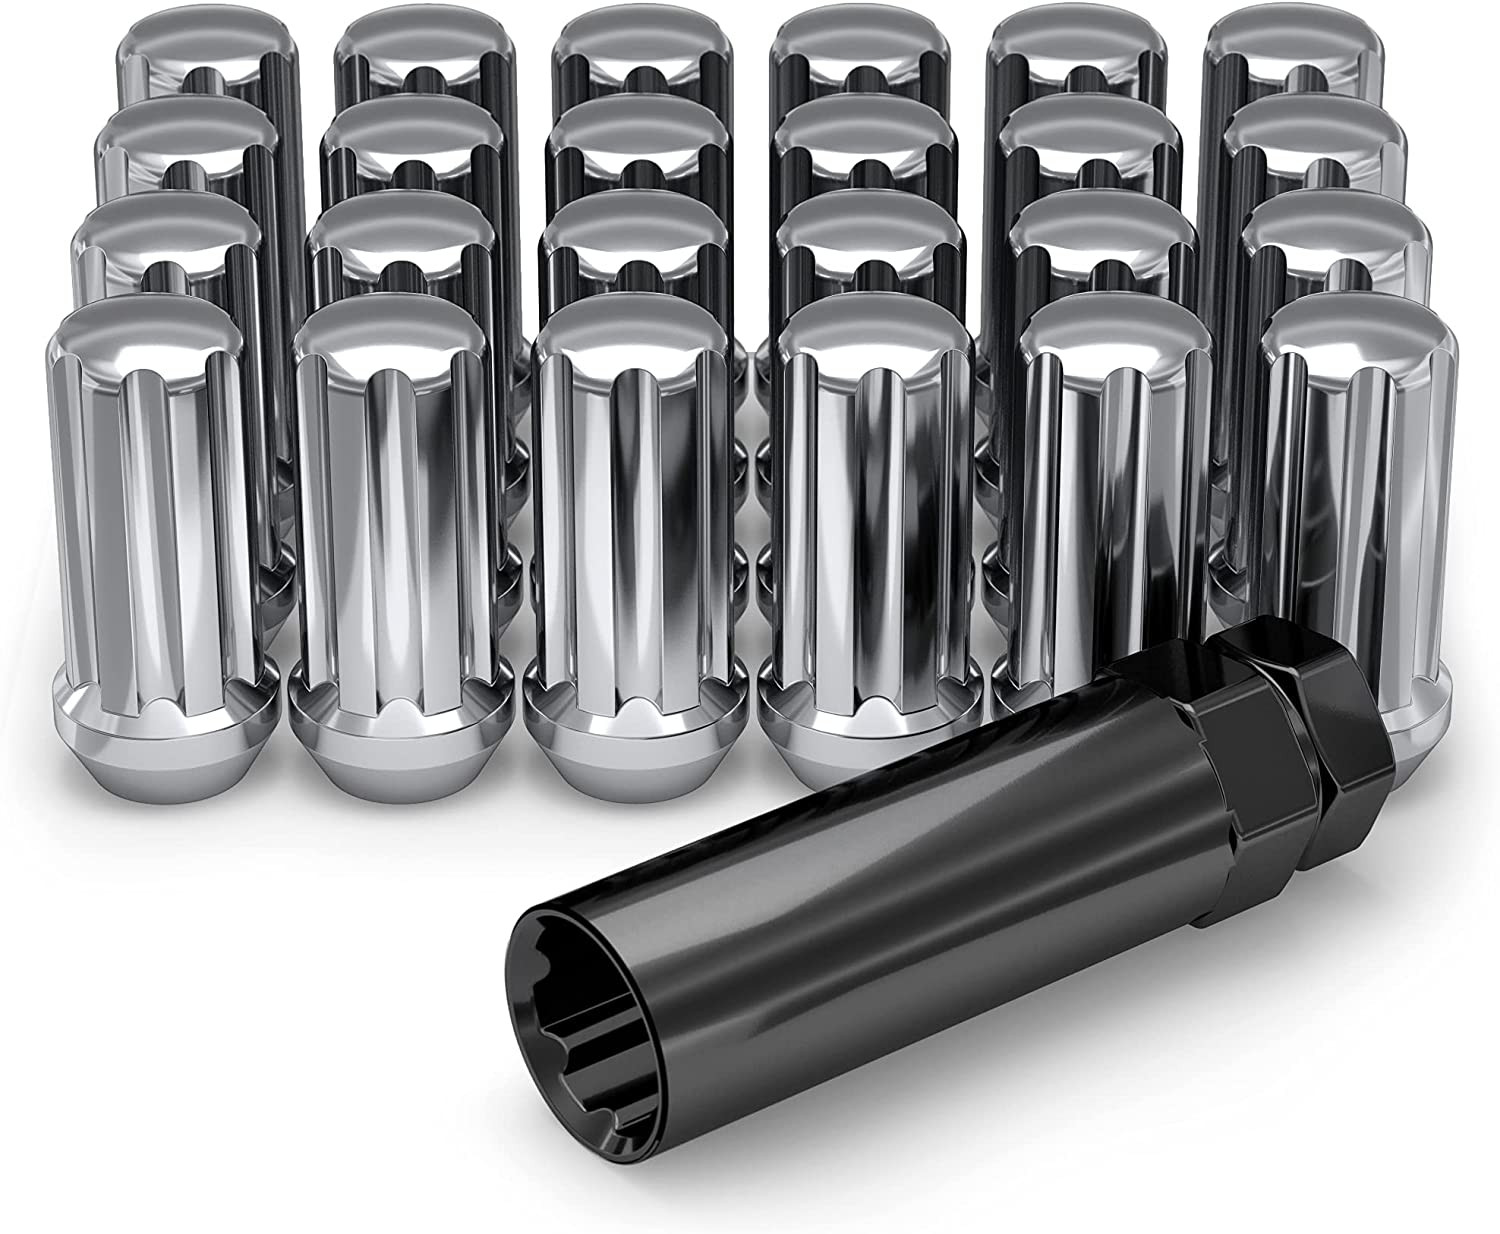
- Match the M14 x 1.5 thread specification with the correct lug hardware. Confirm the lug-seat shape and required seating depth for the selected wheel.
- Check wheel diameter, width, offset, and backspacing against the current setup and the calculator comparison.
- Verify tire load capacity, speed rating, overall diameter, and approved inflation pressure using tire and vehicle documentation.
- Test for clearance at the brake caliper, strut or suspension components, inner wheelhouse, steering lock, and fender edges.
- Inspect used wheels for bends, cracks, corrosion around the bead seat, damaged mounting surfaces, and distorted lug holes.
- Confirm that the replacement wheel is rated for the vehicle's axle loads and intended use.
Plus Sizing And Common Upgrades
Plus sizing changes the wheel diameter while attempting to keep the tire's overall diameter close to the original. The supplied data contains both an 18-inch rim value and a 17-inch tire rim-diameter value, so establish the verified original package before selecting a plus-size combination.
Increasing wheel diameter usually reduces tire sidewall height when overall tire diameter is held near the original. This can affect ride comfort, impact protection, steering response, speedometer accuracy, and wheel damage risk. Increasing tire section width can also change inner suspension clearance and outer fender clearance.
Use the calculator to compare custom wheel width, offset, section width, and aspect ratio. A numerically close overall diameter does not prove that the wheel will clear the brakes or suspension. Check the vehicle and wheel manufacturer's approved tire sizes and load requirements before purchasing.
Installation Tips
Before installation, clean the hub face and wheel mounting surface. Remove rust, dirt, paint buildup, or debris that could prevent the wheel from seating flat. Do not use excessive lubricant on wheel studs or lug threads unless the vehicle or fastener manufacturer specifically permits it, because lubrication can change clamp load.
Install the correct lug hardware by hand and tighten it in a crisscross pattern. Lower the vehicle enough to keep the wheel from rotating, then torque the lugs with a calibrated torque wrench to the vehicle or wheel manufacturer's specified value. The correct torque value is not provided here and should not be guessed.
After installation, rotate the steering from lock to lock and inspect for contact. If possible, check clearance with the suspension loaded and unloaded. Recheck lug torque after the first short drive and again according to the wheel manufacturer's instructions. Stop driving if there is vibration, rubbing, looseness, or any sign of contact.
Tools And Helpful Supplies
Useful items may include a calibrated torque wrench, the correct socket for the lug hardware, a tire pressure gauge, a tread or clearance measuring tool, a wire brush for cleaning the hub face, and a jack and jack stands rated for the vehicle. Use jack stands on a firm, level surface and follow the vehicle owner's lifting points.
Shop automotive torque wrenches on Amazon
Shop digital tire pressure gauges on Amazon
FAQs
What is the bolt pattern for the 2013 Honda Ridgeline?
The supplied fitment information lists a 5x120 bolt pattern. Confirm the wheel's markings and physical fit before installation.
What is the center bore?
The supplied center bore is 64.1 mm. A wheel with a larger center bore may need correctly sized hub-centric rings, while a smaller bore will not fit over the vehicle hub.
What wheel lug thread size is listed?
The supplied thread size is M14 x 1.5. Thread size alone does not identify the correct lug nut; the lug-seat style and wheel manufacturer's requirements must also match.
Why do the supplied specifications show both 17 and 18 inches?
The rim diameter is listed as 18 inches, while the supplied tire data lists a 17-inch tire rim diameter. These values may represent different configurations or incomplete source data. Check the tire sidewall, wheel markings, vehicle label, and OEM documentation before ordering.
Can any 5x120 wheel fit this Ridgeline?
No. Bolt pattern is only one part of fitment. Center bore, offset, width, backspacing, brake clearance, load rating, lug-seat design, and tire compatibility must also be checked.
How can I compare a different wheel size?
Use the calculator's “Custom wheel size” controls to enter the proposed rim diameter, width, and offset. Use “Custom tire size” for section width and aspect ratio, then review the calculated diameter and clearance differences.
Does the calculator guarantee that a wheel is safe?
No. It provides a dimensional comparison. Final approval requires checking OEM and wheel manufacturer's specifications, confirming load capacity, and physically inspecting brake, suspension, steering, and fender clearance.
What should I do if the wheel rubs after installation?
Do not continue driving until the cause is identified. Remove the wheel if necessary and inspect offset, width, tire size, hub seating, lug hardware, and clearance at full steering lock and through suspension travel. Obtain professional inspection if the issue is not immediately clear.