2004 Dodge Viper Wheel Fitment Guide
Known OEM Fitment For 2004 Dodge Viper
The following specifications are the known fitment data provided for the 2004 Dodge Viper. Equipment can vary by trim, package, market, or previous modifications, so confirm the measurements against the vehicle and OEM service information before ordering wheels or tires.
| Specification |
Known value |
| Bolt pattern |
6x114.3, meaning 6 studs on a 114.3 mm pitch circle diameter |
| Center bore |
71.6 mm |
| Thread size |
M12 x 1.25 |
| Rim diameter |
18 inches |
| Rim width |
10.0 inches |
| Wheel offset |
ET51, or 51 mm |
| Backspacing |
7.01 inches |
| Tire size data |
275 section width, 35 aspect ratio, 18 inch rim diameter, commonly written as 275/35R18 |
This page does not establish every clearance requirement or confirm every trim configuration. Verify the original wheel markings, tire placard, owner's manual, and Dodge service information. Also check the inside of the existing wheel for its diameter, width, offset, and load rating.
How To Use The Wheel Interchange Calculator
Use the calculator to compare a donor vehicle's wheels with the wheels installed on your 2004 Dodge Viper. Enter the donor vehicle information in the “Wheels from” fields and enter the Viper information in the “Installed on” fields.
- Compare the bolt pattern first. A wheel must match the vehicle's 6x114.3 pattern unless an engineered, approved solution specifically allows otherwise.
- Compare rim diameter, width, and offset to see how the replacement wheel may sit relative to the current wheel.
- Compare center bore. A wheel bore that is too small will not fit over the hub. A larger bore may require correctly sized hub-centric rings, provided the wheel and application allow them.
- Enter the custom wheel size when evaluating a wheel that is not from a listed donor vehicle. Adjust rim diameter, width, and offset independently.
- Enter the custom tire section width and aspect ratio to compare tire dimensions.
- When rim diameter changes, review the updated tire diameter in the comparison. A different rim diameter normally requires a tire with a suitable sidewall height to maintain an appropriate overall diameter.
The calculator is a comparison tool, not a substitute for a physical test fit or professional inspection. It cannot confirm brake-caliper clearance, suspension clearance, fender clearance, tire load rating, or whether a particular wheel is approved for road use.
Fitment Checklist Before You Buy
- Confirm the vehicle identification number, model year, trim, and any performance package with an OEM source.
- Confirm the 6x114.3 bolt pattern and make sure the wheel has six correctly positioned mounting holes.
- Check the wheel center bore against the known 71.6 mm specification and the actual vehicle hub. Do not force a wheel with an undersized bore onto the hub.
- Confirm the wheel width, offset, and backspacing. Even a wheel with the correct bolt pattern can contact suspension parts, brake components, or bodywork if these dimensions differ.
- Verify wheel and tire load ratings. The replacement assembly must meet or exceed the vehicle and axle requirements shown in OEM documentation.
- Check brake-caliper clearance, spoke clearance, inner barrel clearance, and clearance to suspension components before driving.
- Confirm the tire size, speed rating, load index, and approved rim-width range using the tire manufacturer's documentation.
- Inspect used wheels for bends, cracks, weld repairs, corrosion, damaged threads, and missing or altered hardware.
- Confirm that the wheel's seat type matches the required lug hardware. The provided M12 x 1.25 thread size does not by itself identify the correct lug-seat design.
- Check local regulations and the wheel manufacturer's installation instructions before using spacers, adapters, or aftermarket hardware.
Plus Sizing And Common Upgrades
Plus sizing changes the wheel diameter while using a lower-profile tire to keep the overall tire diameter near the original measurement. The calculator can show how changing rim diameter, width, offset, section width, or aspect ratio affects the comparison, but it does not approve a specific upgrade.
When evaluating a wider wheel or tire, check both the inner and outer edges of the assembly. A change in offset can move the wheel closer to the strut, control arms, or brake components on the inside, or closer to the fender and bodywork on the outside. A wider tire can also change steering clearance and may increase the risk of rubbing during suspension compression or steering lock.
Do not select a tire solely by matching its section width. Confirm the tire manufacturer's approved rim-width range, load index, speed rating, overall diameter, and clearance. If the original-size specification varies for the vehicle configuration, use the door-jamb tire label, owner's manual, and OEM service information as the final reference.
Installation Tips
- Clean the hub mounting face and the wheel mounting pad. Remove rust, dirt, and loose debris without removing metal from the mating surfaces.
- Test-fit each wheel by hand before final tightening. Confirm that it seats flat and that the wheel rotates without contacting brake or suspension components.
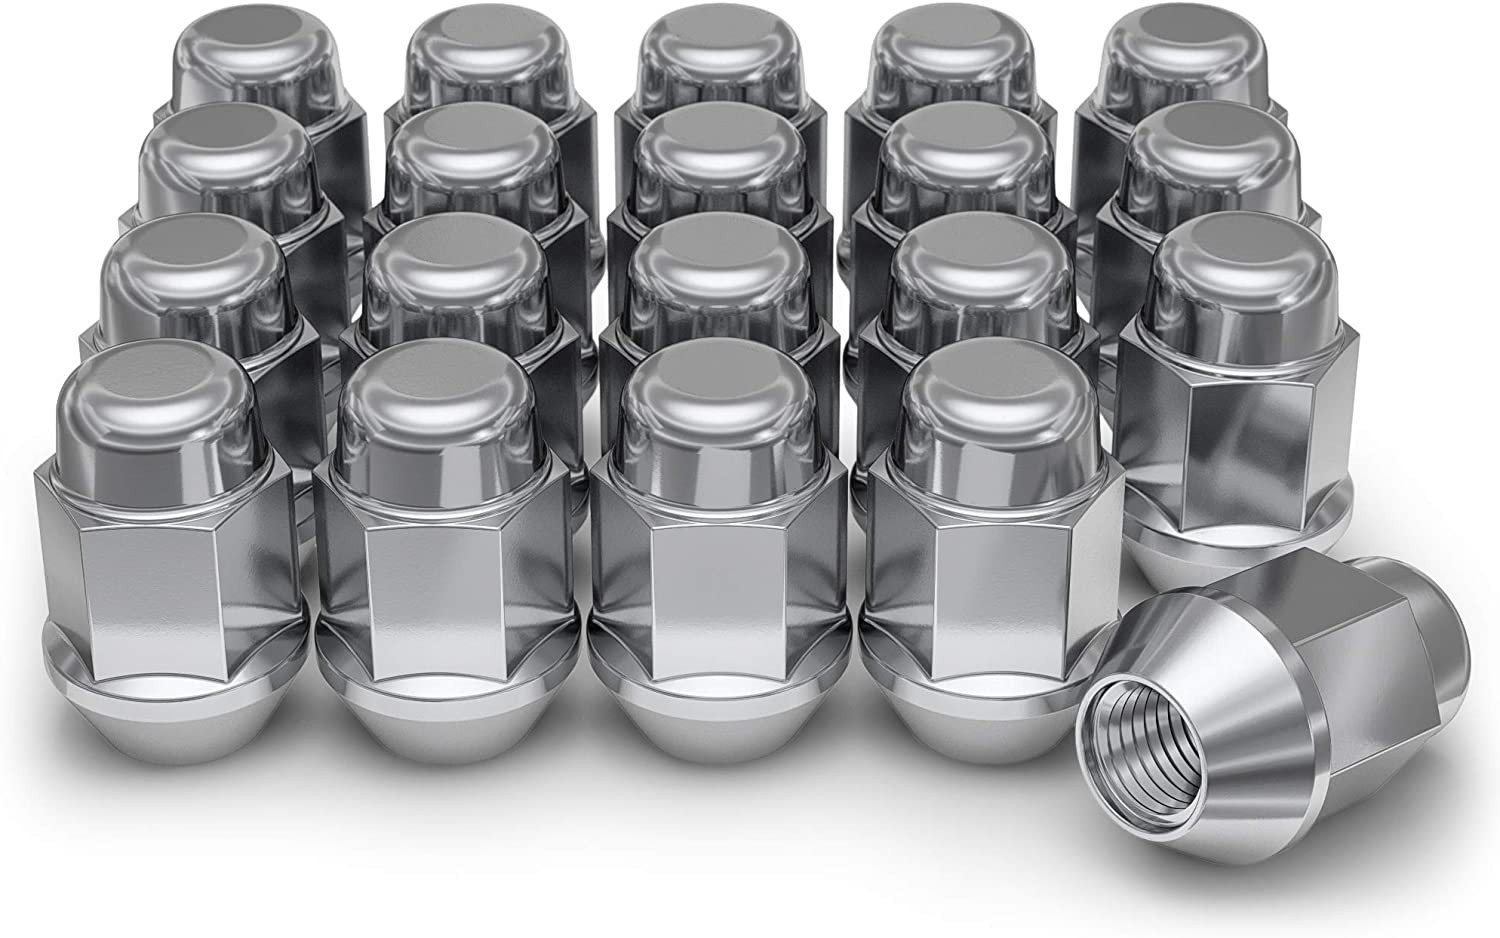
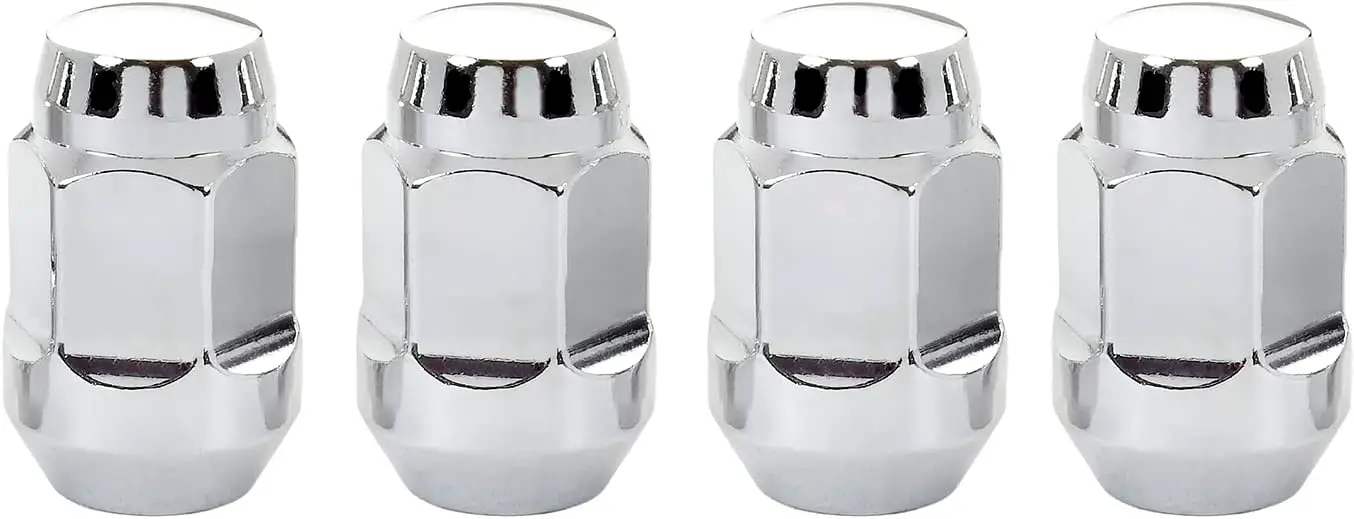
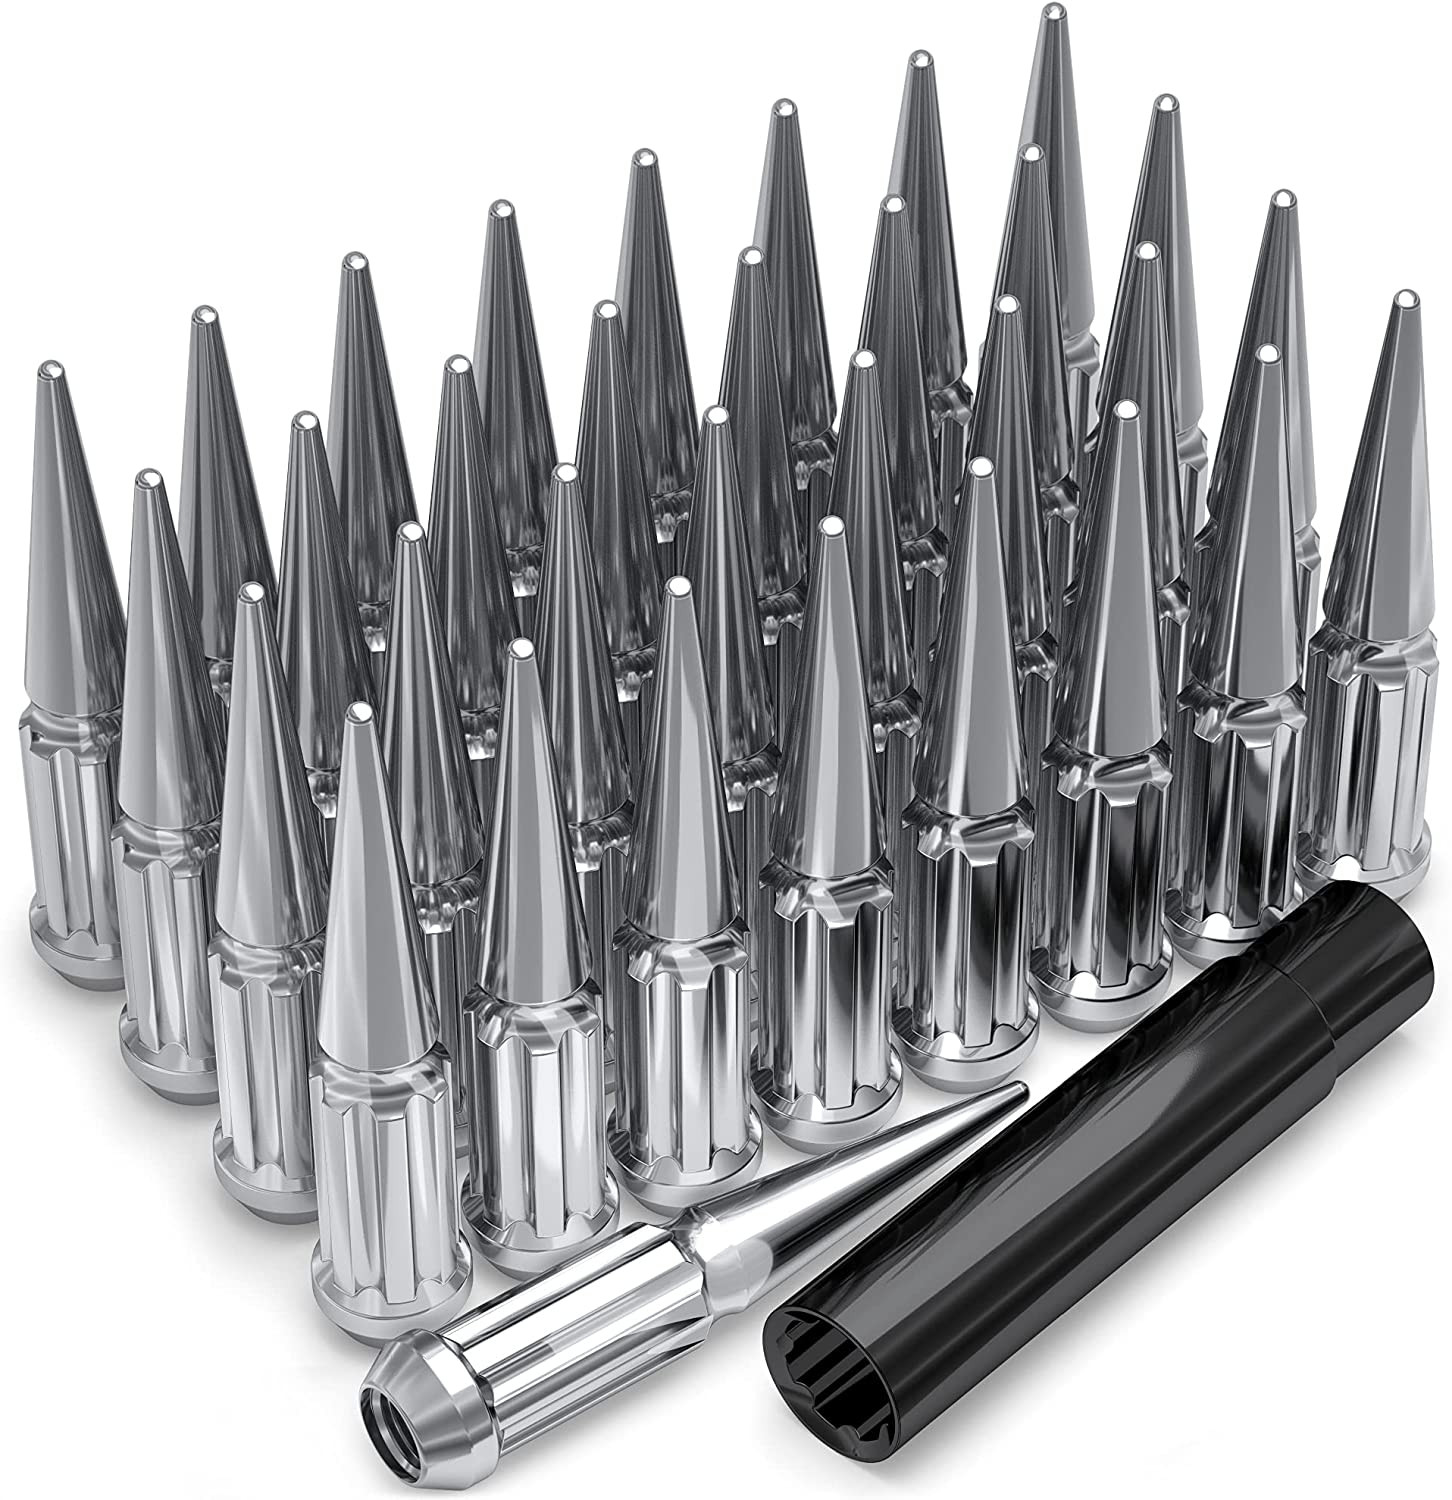
- Use only compatible lug hardware. The M12 x 1.25 thread specification must be matched with the correct seat style, shank dimensions where applicable, and sufficient thread engagement.
- Start every lug by hand to reduce the risk of cross-threading. Do not use an impact tool to force a lug onto damaged or mismatched threads.
- Tighten lugs in a crisscross sequence, then torque them to the vehicle or wheel manufacturer's specified value with a calibrated torque wrench. The correct torque value is not provided here and must be confirmed from OEM or wheel documentation.
- After installation, check for clearance at steering lock and through the available suspension travel. A stationary check may not reveal every rubbing condition.
- Set tire pressure according to the vehicle tire placard unless a qualified tire professional or OEM specification directs otherwise.
- Recheck lug torque after the first short drive and again according to the wheel manufacturer's instructions. Stop driving if you notice vibration, rubbing, loss of pressure, or unusual steering behavior.
- If the vehicle is equipped with tire-pressure monitoring, follow the vehicle and sensor manufacturer's procedures for sensor transfer, installation, and relearning.
Tools And Helpful Supplies
Basic installation equipment should include a floor jack, correctly rated jack stands, wheel chocks, a socket that fits the lug hardware, and a calibrated torque wrench. Use the vehicle owner's manual for approved lifting points and safe support procedures.
Other useful supplies include a wire brush suitable for wheel-hub cleaning, a tire-pressure gauge, a tread-depth gauge, a flashlight, and a straightedge or clearance measuring tool. Use hub-centric rings only when their dimensions and application are confirmed, and never use them to correct an incorrect bolt pattern.
FAQs
What is the known bolt pattern for the 2004 Dodge Viper?
The provided OEM fitment data lists a 6x114.3 bolt pattern. Confirm the vehicle configuration and wheel markings before purchase.
What is the center bore?
The known center bore is 71.6 mm. The replacement wheel must have a bore that fits over the vehicle hub. If the wheel bore is larger, correctly sized hub-centric rings may be needed, subject to the wheel manufacturer's instructions and the actual hub measurement.
What wheel size is listed for this model year?
The provided data lists an 18-inch diameter, 10.0-inch width wheel with ET51 offset and 7.01-inch backspacing. These values may not represent every trim or configuration, so verify them against OEM documentation and the existing wheel.
What tire size is associated with the supplied fitment data?
The supplied tire dimensions are 275 mm section width, a 35 percent aspect ratio, and an 18-inch rim diameter. This is commonly expressed as 275/35R18. Confirm the tire placard and tire manufacturer requirements before fitting this or any alternate size.
Can I install wheels from another vehicle?
Do not assume that another vehicle is compatible. Use the calculator to compare bolt pattern, center bore, diameter, width, offset, backspacing, and tire dimensions, then physically verify brake and suspension clearance. The calculator cannot certify a donor wheel or vehicle list that has not been confirmed by OEM or wheel-manufacturer information.
Can I use a different wheel offset?
A different offset changes the wheel's inner and outer position. Use the calculator to estimate the change, then confirm clearance at the brakes, suspension, steering, and fenders. Do not rely on offset alone, because wheel width also affects the final position.
What is the lug thread size?
The supplied thread specification is M12 x 1.25. The correct lug hardware also depends on the wheel's seat design and other dimensions, so verify the hardware against the wheel manufacturer's instructions and the OEM vehicle requirements.
Does the calculator guarantee that a wheel will fit?
No. It compares entered dimensions and shows how custom wheel and tire sizes differ. Final fitment requires confirmation of load ratings, brake clearance, hub fit, lug compatibility, tire specifications, and safe clearance under real driving and suspension conditions.