1993 Honda Civic Wheel Interchange
Known OEM Fitment For 1993 Honda Civic
The specifications below are the currently available fitment data for the 1993 Honda Civic. Some values are unknown or may vary by trim, market, or factory equipment. Confirm every measurement against the vehicle, the original wheel, and reliable Honda service information before purchasing replacement wheels.
| Specification |
Known value |
Important note |
| Bolt pattern |
Unknown |
Do not assume the stud count or PCD. Confirm it from an OEM source or by measuring the vehicle. |
| Center bore |
56.1 mm |
The wheel center bore must be at least large enough to clear the vehicle hub. A larger bore may require correctly sized hub-centric rings. |
| Thread size |
Unknown |
Confirm the thread diameter, pitch, and required lug nut seat before reusing or ordering hardware. |
| Rim diameter |
14 in |
Verify the diameter stamped on the wheel and confirm brake clearance. |
| Rim width |
5.5 in |
Confirm that the replacement tire is approved for the selected wheel width. |
| Wheel offset |
ET45 |
Offset changes inner and outer clearance. Compare the proposed wheel in the calculator and inspect the vehicle in person. |
| Backspacing |
4.52 in |
This is the supplied backspacing value. Actual wheel measurements can differ because of rim flange shape and measurement method. |
| Tire section width |
165 mm |
Actual tire width varies by brand, model, and approved rim width. |
| Tire aspect ratio |
70 |
Use the complete tire marking when confirming size. |
| Tire rim diameter |
R13 |
This supplied tire value does not match the supplied 14-inch rim value. Verify whether these measurements refer to different configurations or whether one entry is incorrect. |
The supplied tire dimensions describe a 165/70R13 tire, while the supplied rim diameter is 14 inches. A 13-inch tire cannot be mounted on a 14-inch wheel. Check the sidewall marking, door-jamb label, owner’s manual, and the existing wheel before ordering. Do not use an assumed bolt pattern or thread size simply because a wheel appears to fit.
How To Use The Wheel Interchange Calculator
Use the calculator to compare a donor vehicle wheel with the wheel intended for your 1993 Honda Civic. Select the donor vehicle under “Wheels from” and select the Civic under “Installed on.” Review the differences in rim diameter, width, offset, tire size, and overall tire diameter.
When donor information is unavailable or you are evaluating an aftermarket wheel, use “Custom wheel size” to enter the rim diameter, width, and offset. Use “Custom tire size” to enter the tire section width and aspect ratio. Because changing rim diameter updates the tire diameter in the comparison, make sure the tire and wheel diameters remain compatible.
Use calculator results as a screening tool, not as a substitute for physical inspection. The calculator cannot confirm brake-caliper clearance, suspension clearance under compression, body clearance at full steering lock, lug-nut seat compatibility, or whether an unknown bolt pattern is correct.
Fitment Checklist Before You Buy
Confirm the vehicle’s exact trim and market specification. Verify the bolt pattern, stud count, PCD, hub center, and thread size from an OEM service source or by measuring the vehicle. The bolt pattern and thread size for this application are not provided here, so they must not be guessed.
Check the wheel diameter, width, offset, and center bore. Compare the proposed wheel with the supplied 14-inch, 5.5-inch, ET45 reference data, while recognizing that trim-specific differences may exist. Measure inner clearance to the strut, spring, brake caliper, and suspension components. Also check the outer lip against the fender and wheel-arch liner.
Confirm the tire size on the vehicle or OEM label. Resolve the supplied 14-inch rim and 13-inch tire discrepancy before purchase. The tire must match the wheel diameter, be approved for the wheel width, have adequate load and speed ratings, and provide sufficient clearance at normal ride height and full steering lock.
Inspect used wheels for cracks, bends, corrosion around the bead seat, damaged lug holes, and previous repairs. Confirm that the wheel’s lug-seat type matches the vehicle hardware. Never force a wheel onto the hub or use incorrect lug nuts to compensate for a fitment problem.
Plus Sizing And Common Upgrades
Plus sizing means using a larger wheel diameter with a lower-profile tire while attempting to maintain a similar overall tire diameter. It can change steering feel, ride comfort, gearing, speedometer accuracy, rim damage risk, and clearance. The calculator can show how a custom rim diameter changes the comparison, but it cannot approve a size for every trim.
When considering an upgrade, compare the proposed wheel’s width and offset with the supplied ET45 and 5.5-inch reference values. A lower offset generally moves the wheel outward, while a higher offset generally moves it inward, but the exact clearance depends on wheel width and shape. Confirm inner and outer clearance with the suspension loaded and the steering turned fully left and right.
Do not select a tire solely by its advertised width. Tire manufacturers measure section width on specified test rims, so the mounted width can vary. Use the tire manufacturer’s approved rim-width range and maintain adequate load capacity. Any change that causes rubbing, contact with brake or suspension parts, or insufficient fender clearance is unsafe.
Installation Tips
Clean the hub face and wheel mounting surface before installation. Remove rust, dirt, paint buildup, and debris that could prevent the wheel from seating flat. Do not apply grease between the wheel and hub mounting faces unless the vehicle or component manufacturer specifically instructs it.
Install only the correct lug nuts for the wheel’s seat type and the vehicle’s confirmed thread specification. Start every lug nut by hand to avoid cross-threading. Tighten in a star or crisscross pattern, then torque with a calibrated torque wrench to the vehicle or wheel manufacturer’s specification. The required torque is not provided here and should not be guessed.
After installation, rotate each wheel by hand and check for contact. Lower the vehicle, recheck torque according to the manufacturer’s procedure, and inspect for rubbing during slow turns and suspension movement. Recheck lug torque after the initial driving interval specified by the wheel or vehicle manufacturer.
If the vehicle uses a tire-pressure monitoring system, confirm sensor compatibility and complete the required relearn procedure. After changing wheel or tire dimensions, verify tire pressure using the vehicle’s recommended cold-pressure information rather than the maximum pressure printed on the tire sidewall.
Tools And Helpful Supplies
Useful equipment includes a vehicle jack rated for the vehicle, jack stands, wheel chocks, a breaker bar, a calibrated torque wrench, a tire-pressure gauge, a tread-depth gauge, and a straightedge or measuring tools for clearance checks. Use the vehicle’s approved lifting points and never work beneath a vehicle supported only by a jack.
A torque wrench can help achieve the specified lug-nut torque. If you need one, see automotive torque wrenches on Amazon. Confirm the tool’s range and accuracy before use, and always follow the vehicle and wheel manufacturer torque instructions.
FAQs
Can I use any wheel listed for a 1993 Honda Civic?
No. The wheel must match the vehicle’s confirmed bolt pattern, clear the hub and brakes, use compatible lug hardware, and have an appropriate diameter, width, offset, and center bore. A listing that names the vehicle is not sufficient proof of fitment.
What is the bolt pattern for this vehicle?
The bolt pattern is not provided in the available data. Confirm the stud count and PCD using an OEM source, the original wheel markings, a reliable fitment reference, or careful measurement. Do not infer it from the model year alone.
Is a 165/70R13 tire compatible with a 14-inch wheel?
No. The “R13” portion identifies a 13-inch rim diameter, so that tire cannot be mounted on a 14-inch wheel. The supplied 13-inch tire value and 14-inch rim value need to be verified against the vehicle and its documentation.
What does a 56.1 mm center bore mean?
It is the supplied diameter of the vehicle-side hub opening reference. A replacement wheel with a smaller center bore will not seat over the hub. A larger center bore may fit when the bolt pattern and all other specifications are correct, but an appropriately sized hub-centric ring may be needed to center the wheel.
Can I install a wheel with a different offset?
Possibly, but offset affects clearance and wheel position. Compare the proposed size with the supplied ET45 reference in the calculator, then physically inspect the strut, brake, suspension, fender, and wheel-arch clearances. Any rubbing or contact requires correcting the fitment before driving.
How do I confirm the correct lug nuts?
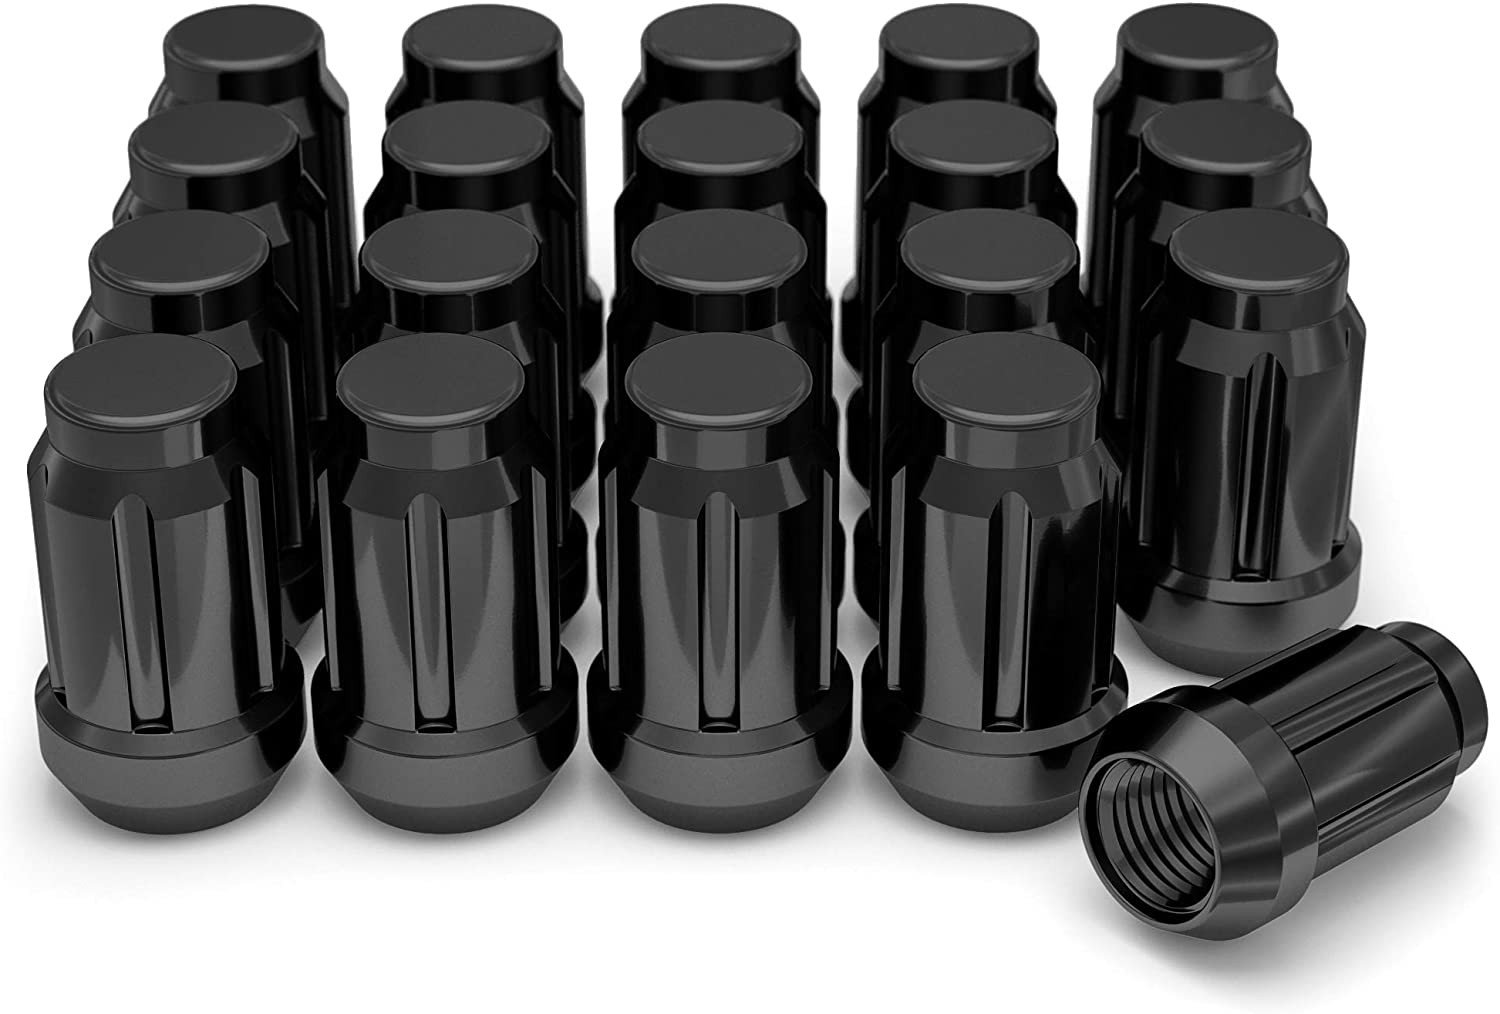
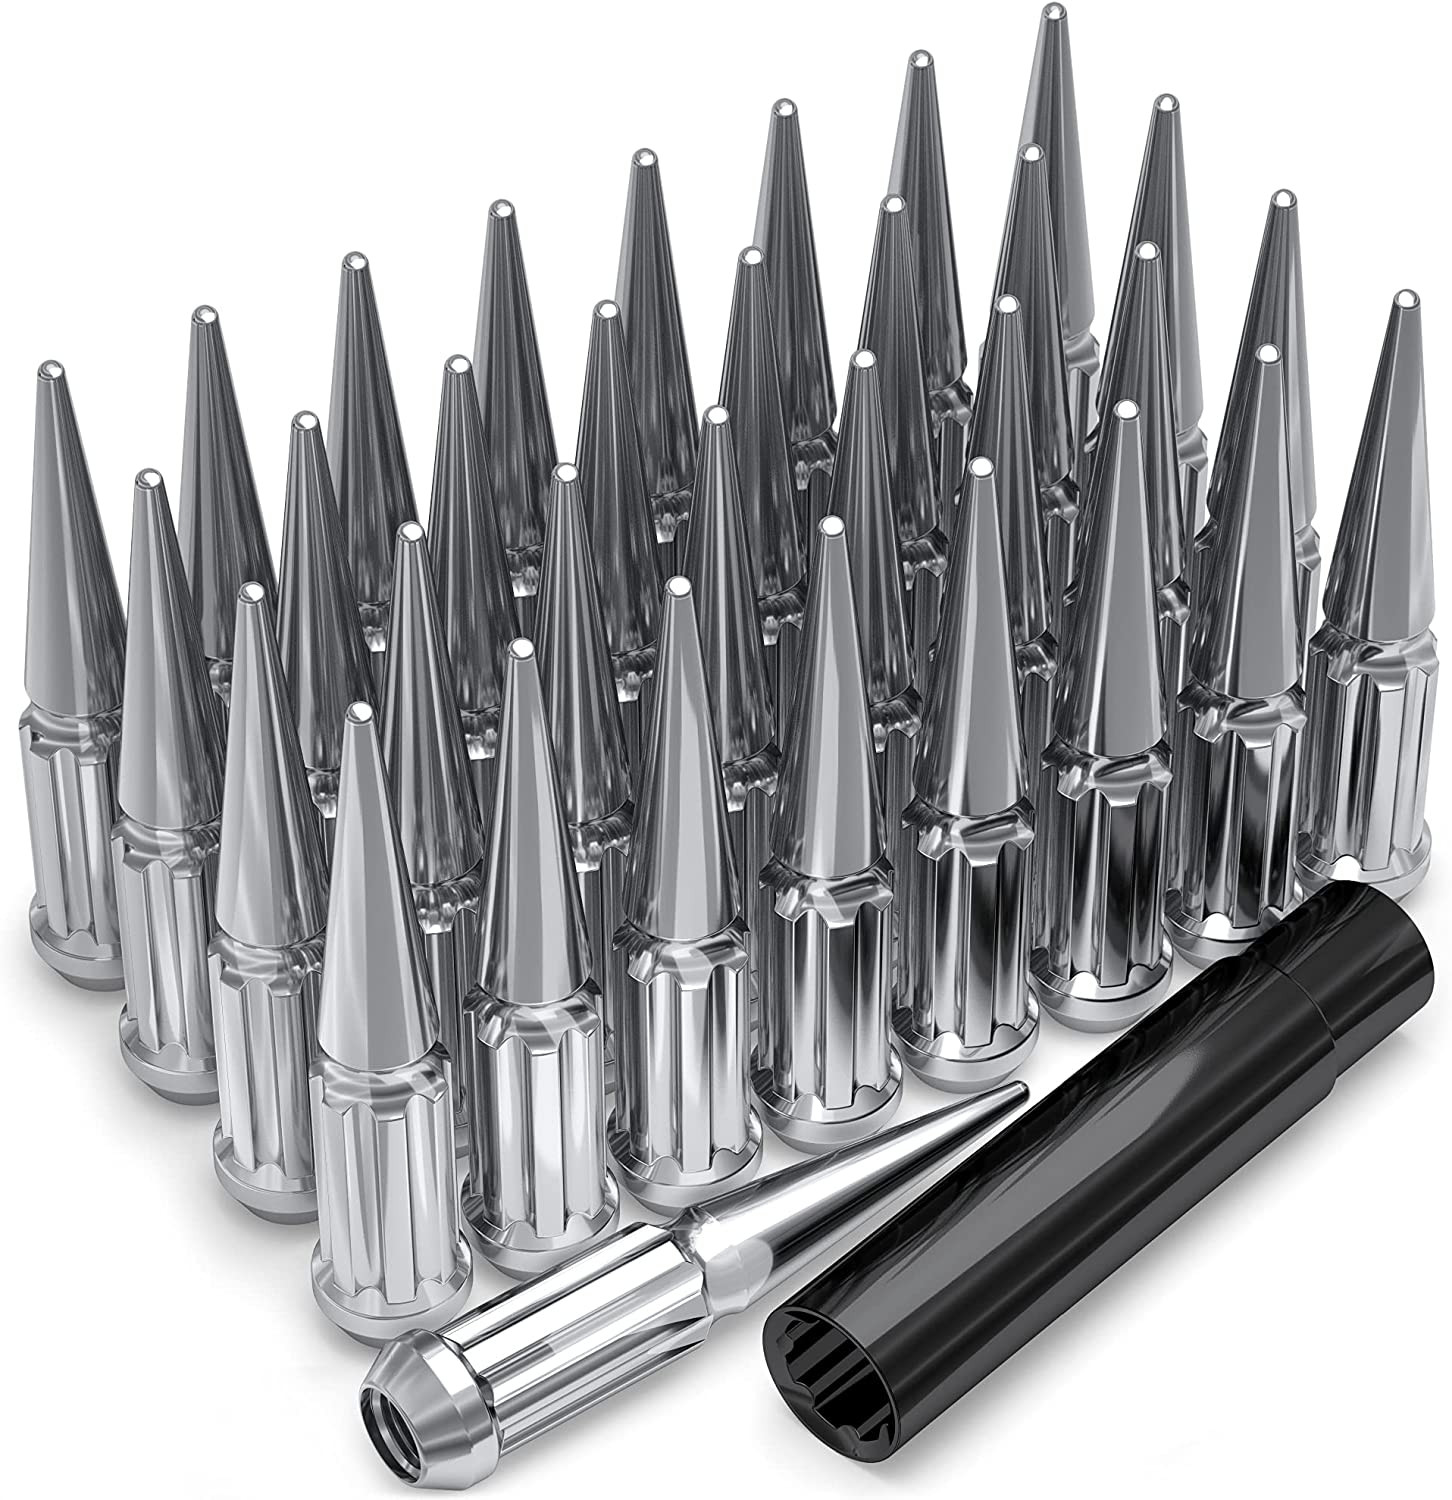
Confirm the vehicle’s thread diameter and pitch, which are unknown here, and match the lug-nut seat to the wheel, such as conical or spherical. Also confirm the required shank length and whether the wheel manufacturer specifies special hardware. Do not reuse lug nuts unless their specifications and condition are verified.
Can the calculator guarantee that a donor wheel will fit?
No. The calculator compares entered dimensions and updates tire diameter when rim diameter changes. It cannot verify every brake, suspension, body, lug-seat, tire-load, or trim-specific issue. Use it to narrow options, then confirm the measurements with OEM information and an in-person inspection.
Where should I find the original tire size and pressure?
Check the driver-door or door-jamb label, owner’s manual, and the tire information for the exact vehicle. The sidewall confirms the tire currently installed, but it does not necessarily prove that the size is the factory specification.