1999 Honda Civic Wheel Fitment Guide
Use this page to compare wheel and tire dimensions for a 1999 Honda Civic. The fitment data below is the known information available for this vehicle record. Some specifications can vary by trim, market, brake package, or replacement wheel, so confirm final fitment with the vehicle owner’s manual, the tire and loading information label, and the original wheel markings before purchasing.
Known OEM Fitment For 1999 Honda Civic
The following specifications are provided for the 1999 Honda Civic. They are reference values, not a substitute for checking the exact vehicle and wheel.
| Specification |
Known value |
| Bolt pattern |
4x100, meaning 4 studs on a 100 mm pitch circle diameter |
| Center bore |
56.1 mm |
| Thread size |
M12 x 1.5 |
| Rim diameter |
16 inches |
| Rim width |
6.5 inches |
| Wheel offset |
ET45, or 45 mm |
| Backspacing |
5.02 inches |
| Tire section width |
175 mm |
| Tire aspect ratio |
70 percent |
| Tire rim diameter field |
R13, or 13 inches |
The supplied wheel diameter is 16 inches while the supplied tire rim diameter field is 13 inches. These values do not describe one complete wheel and tire assembly when taken together, so do not assume a 175/70R13 tire belongs on a 16-inch wheel. Confirm the tire size printed on the vehicle placard and sidewall, and verify the wheel diameter stamped on the wheel. If the data appears inconsistent, use the calculator to test each configuration separately and consult an OEM or tire manufacturer source.
How To Use The Wheel Interchange Calculator
Use the on-page calculator to compare wheels from a donor vehicle with wheels installed on your 1999 Honda Civic. Enter the donor vehicle information in the “Wheels from” fields and the Honda Civic information in the “Installed on” fields. Compare the bolt pattern, center bore, wheel width, diameter, offset, and any other displayed measurements.
You can also select “Custom wheel size” to enter a rim diameter, rim width, and offset. Use “Custom tire size” to enter tire section width and aspect ratio. Changing the rim diameter updates the calculated tire diameter in the comparison, so check the resulting overall diameter and clearance rather than judging compatibility by wheel diameter alone.
A calculator result is a screening tool. It cannot confirm brake clearance, suspension clearance, fender clearance, load capacity, tire approval, or whether the correct lug nuts and wheel seat are supplied. Physically inspect the vehicle and wheel, and obtain professional confirmation when any measurement is uncertain.
Fitment Checklist Before You Buy
Start with the vehicle’s actual wheel and tire information. Check the door-jamb label, owner’s manual, current tire sidewall, and markings on the back of the wheel. Trim-specific information should be confirmed with Honda documentation or a qualified wheel and tire specialist.
- Confirm the 4x100 bolt pattern and make sure the wheel is designed for four M12 x 1.5 wheel studs.
- Check the 56.1 mm center bore. A wheel with a larger bore may require correctly sized hub-centric rings, while a smaller bore will not fit over the hub.
- Verify the wheel diameter, width, and ET45 offset against the calculator and the vehicle’s original equipment.
- Check brake caliper clearance, inner strut clearance, suspension clearance, and outer fender clearance with the actual wheel.
- Confirm tire load index, speed rating, construction, and approved rim-width range.
- Make sure the tire diameter is suitable for the vehicle and that there is enough clearance at full steering lock and full suspension compression.
- Confirm the wheel’s load rating and inspect used wheels for cracks, bends, corrosion, or damaged mounting surfaces.
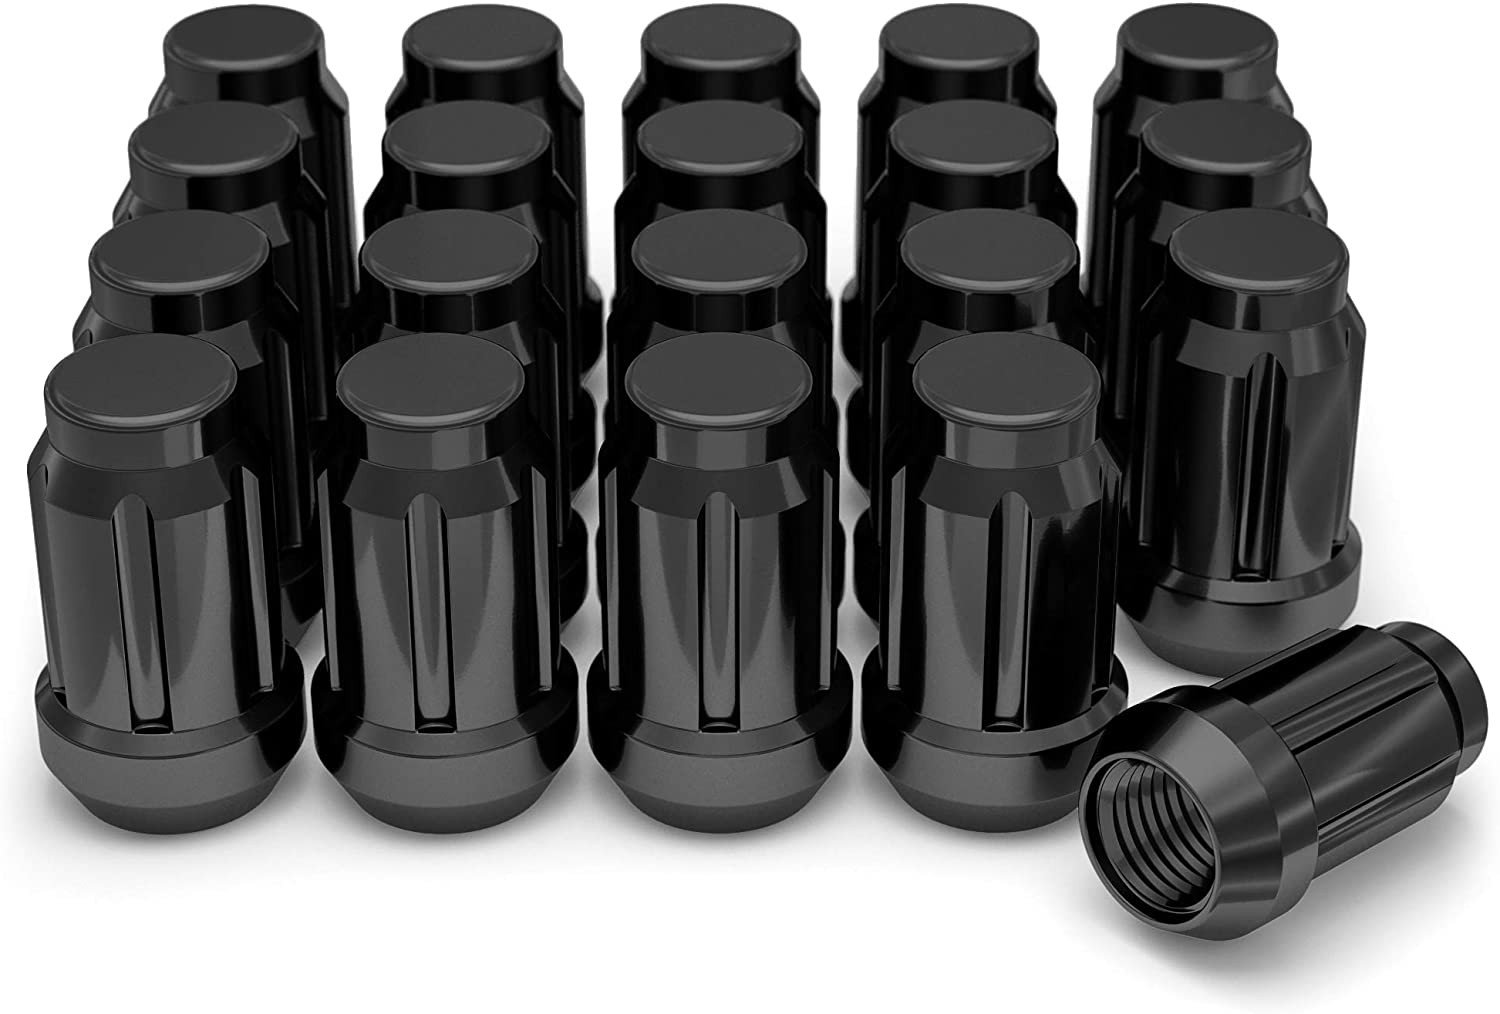
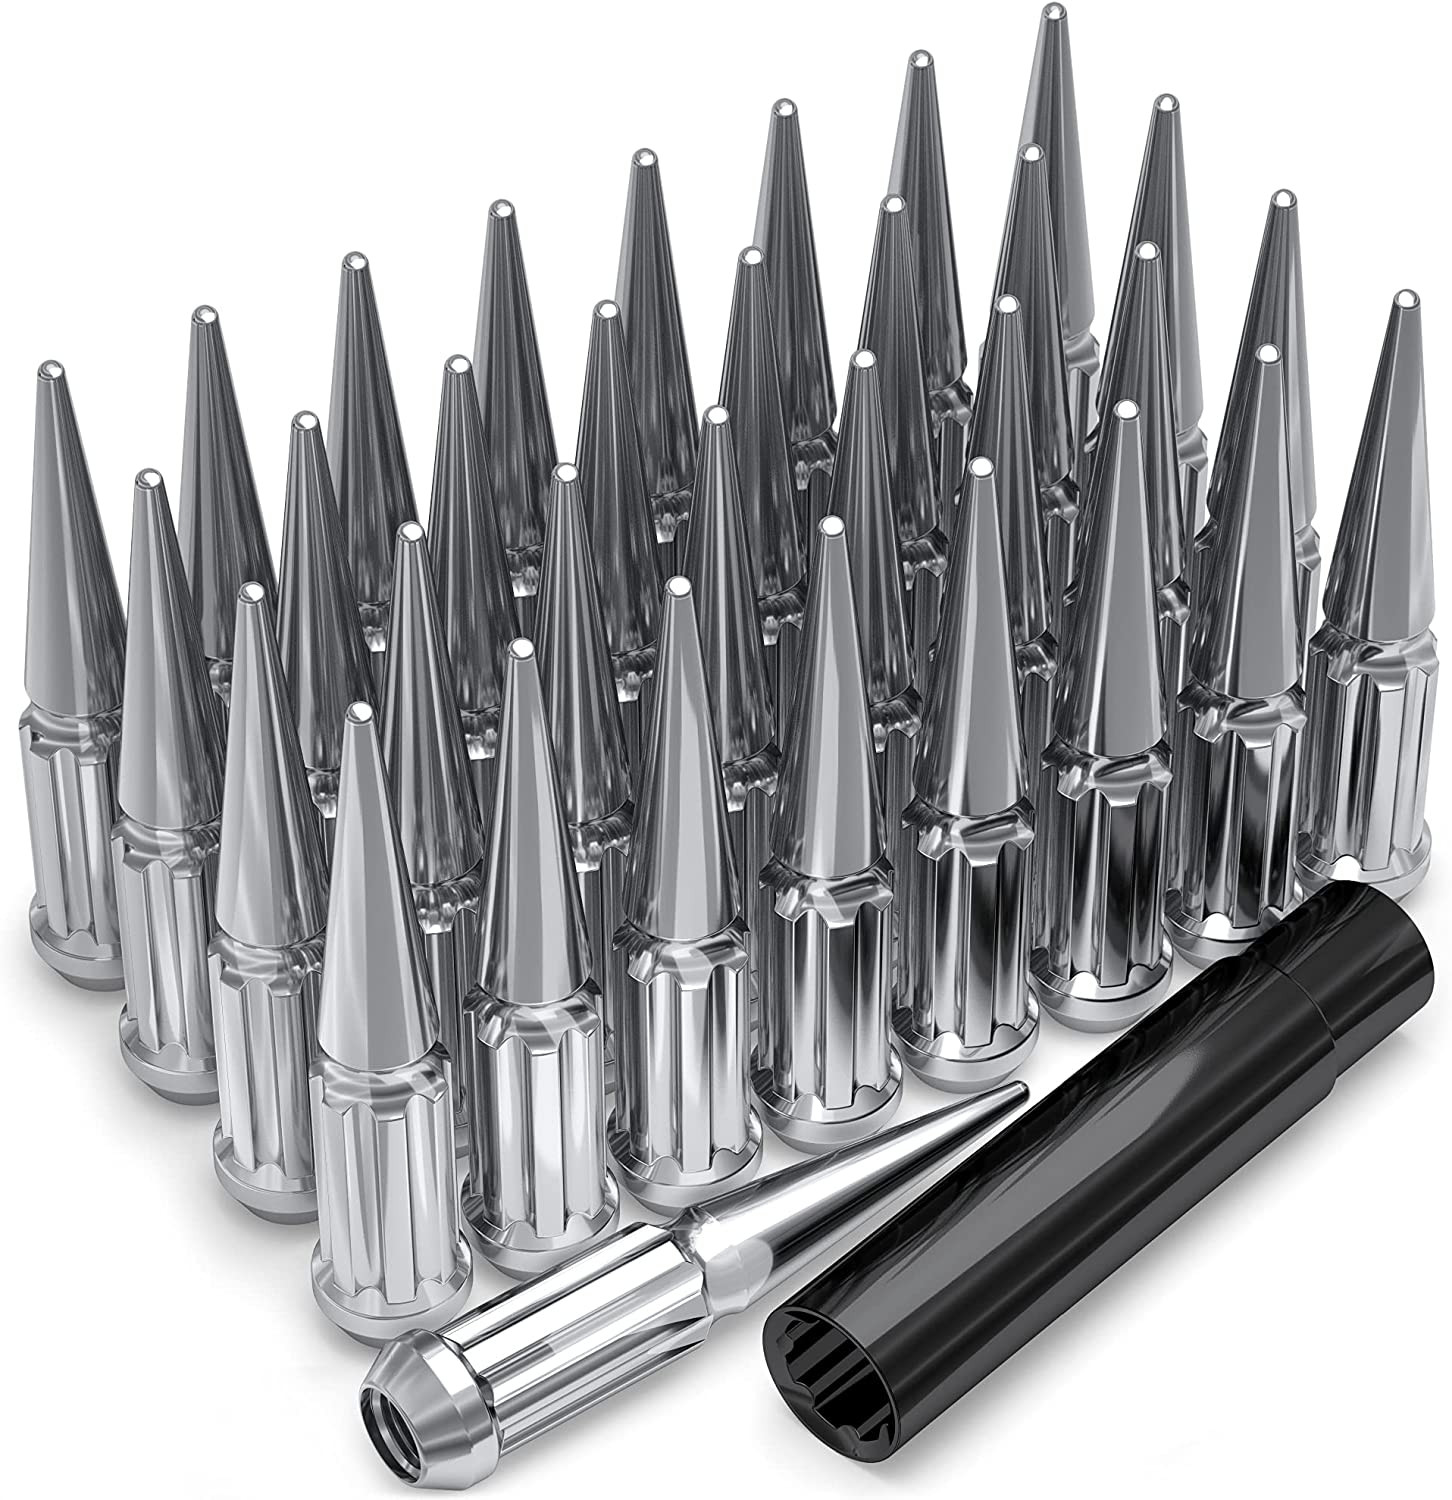
- Verify lug-nut thread, seat style, shank length, and torque requirements. Thread size alone does not identify the correct lug-nut seat.
Plus Sizing And Common Upgrades
Plus sizing changes the wheel diameter while maintaining a similar overall tire diameter by using a lower aspect-ratio tire. The goal is to preserve speedometer behavior, load capacity, and clearance while changing the wheel and tire combination. The correct replacement size cannot be selected from the known data alone because the supplied rim and tire diameter fields are inconsistent.
Use the calculator to compare a proposed custom wheel and tire combination with the verified original setup. Review overall diameter, section width, offset, backspacing, and the change in inner and outer clearance. A wider tire or a different offset can contact the strut, spring, control arm, fender, or splash shield even when the bolt pattern matches.
Do not use spacers, adapters, or stretched tires as a substitute for correct fitment. If a spacer or adapter is considered, it must be specifically engineered for the vehicle and wheel, maintain safe stud or thread engagement, and be approved by a qualified professional. Any change should preserve the tire manufacturer’s load and rim-width requirements.
Installation Tips
Before installation, clean the hub and wheel mounting faces. Do not place paint, grease, rust, or debris between the hub and wheel. Test-fit one front and one rear wheel if possible, then rotate the wheel by hand to check for interference. Confirm clearance with the steering turned in both directions.
Install the correct lug nuts by hand to avoid cross-threading. Tighten them in a star pattern using a calibrated torque wrench set to the vehicle or wheel manufacturer’s specification. The correct torque value is not provided here and must be confirmed from an OEM or wheel manufacturer source.
After installation, check tire pressure using the vehicle placard as the starting point, verify that no warning lights or handling problems appear, and recheck lug-nut torque after the initial driving period recommended by the wheel manufacturer. Stop driving if a tire rubs, a wheel vibrates, or a lug nut will not seat correctly.
Tools And Helpful Supplies
Basic fitment work requires accurate measuring and safe lifting equipment. Use tools rated for the vehicle and follow the instructions supplied with each tool.
- Digital tire tread depth gauge for checking tire condition before reuse.
- 1/2-inch drive click torque wrench for controlled lug-nut tightening.
- Vehicle-specific jack stands and a suitable floor jack. Never work beneath a vehicle supported only by a jack.
- A tire pressure gauge, wheel chocks, a socket that matches the lug nuts, and a wire brush for cleaning the hub face.
- A straightedge and accurate ruler or caliper for checking wheel dimensions when markings are unclear.
FAQs
Does a 4x100 wheel automatically fit a 1999 Honda Civic?
No. The bolt pattern is only one part of fitment. You must also check center bore, wheel diameter, width, offset, brake clearance, tire size, load rating, and lug-nut compatibility.
What center bore is listed for this 1999 Honda Civic?
The known center bore is 56.1 mm. Confirm the vehicle hub and donor wheel measurements before ordering. A wheel bore that is too small will not fit, and a larger bore may need correctly sized hub-centric rings.
What is the listed wheel offset?
The known offset is ET45, or 45 mm. Offset affects how far the wheel sits toward the suspension or fender. Even a small change can affect clearance, so compare the proposed wheel in the calculator and test-fit it where possible.
Can I use the listed 175/70R13 tire on the listed 16-inch rim?
No. A tire marked R13 is designed for a 13-inch rim, while the supplied wheel diameter is 16 inches. The source data is internally inconsistent, so verify the actual tire and wheel specifications from the vehicle and their markings before purchase.
What lug nuts does this Honda Civic use?
The known thread size is M12 x 1.5. The correct lug-nut seat and shape are not provided and can vary with the wheel. Match the lug nut to the wheel’s seat type and confirm thread engagement and torque requirements.
Will a wider wheel or tire rub?
It may. Rubbing depends on width, offset, tire construction, suspension condition, ride height, steering angle, and body clearance. Check both inner and outer clearance with the vehicle loaded and the steering turned through its full range.
How can I confirm the correct OEM tire size?
Read the tire and loading information label, owner’s manual, and current tire sidewall. Compare those details with the calculator, then confirm the replacement tire’s load index, speed rating, rim-width range, and overall diameter with the tire manufacturer or a qualified installer.