OEM wheel and tire fitment specs for the 2009 Audi A6, including bolt pattern (PCD), center bore diameter, thread size, rim diameter, rim width, wheel offset, and backspacing.
Recorded OEM specifications for the 2009 Audi A6, donor years with overlapping ranges, and a calculator to compare a selected wheel. Range overlap is not a guaranteed fit.
Multiple OEM configurations exist for this vehicle. Fitment can vary by trim, brakes, and factory wheel package – confirm your exact setup before buying.
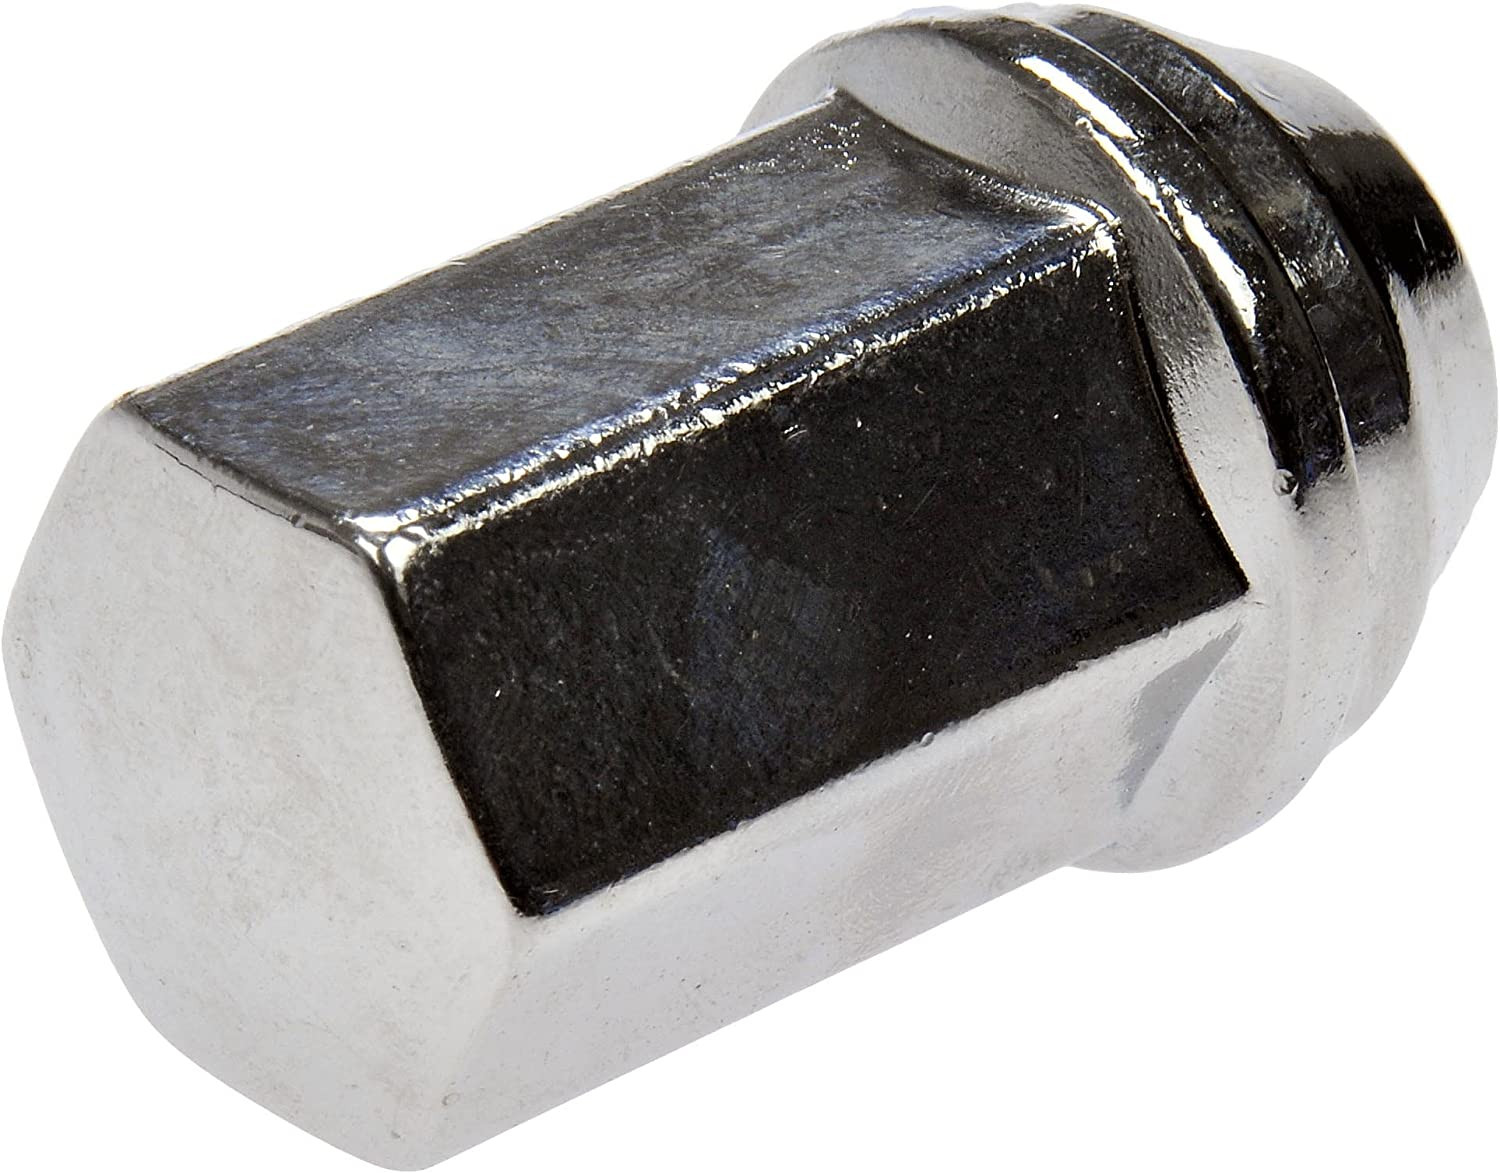
Thread-only product links are shopping examples, not verified fits. Seat style is not confirmed here. As an Amazon Associate we earn from qualifying purchases.
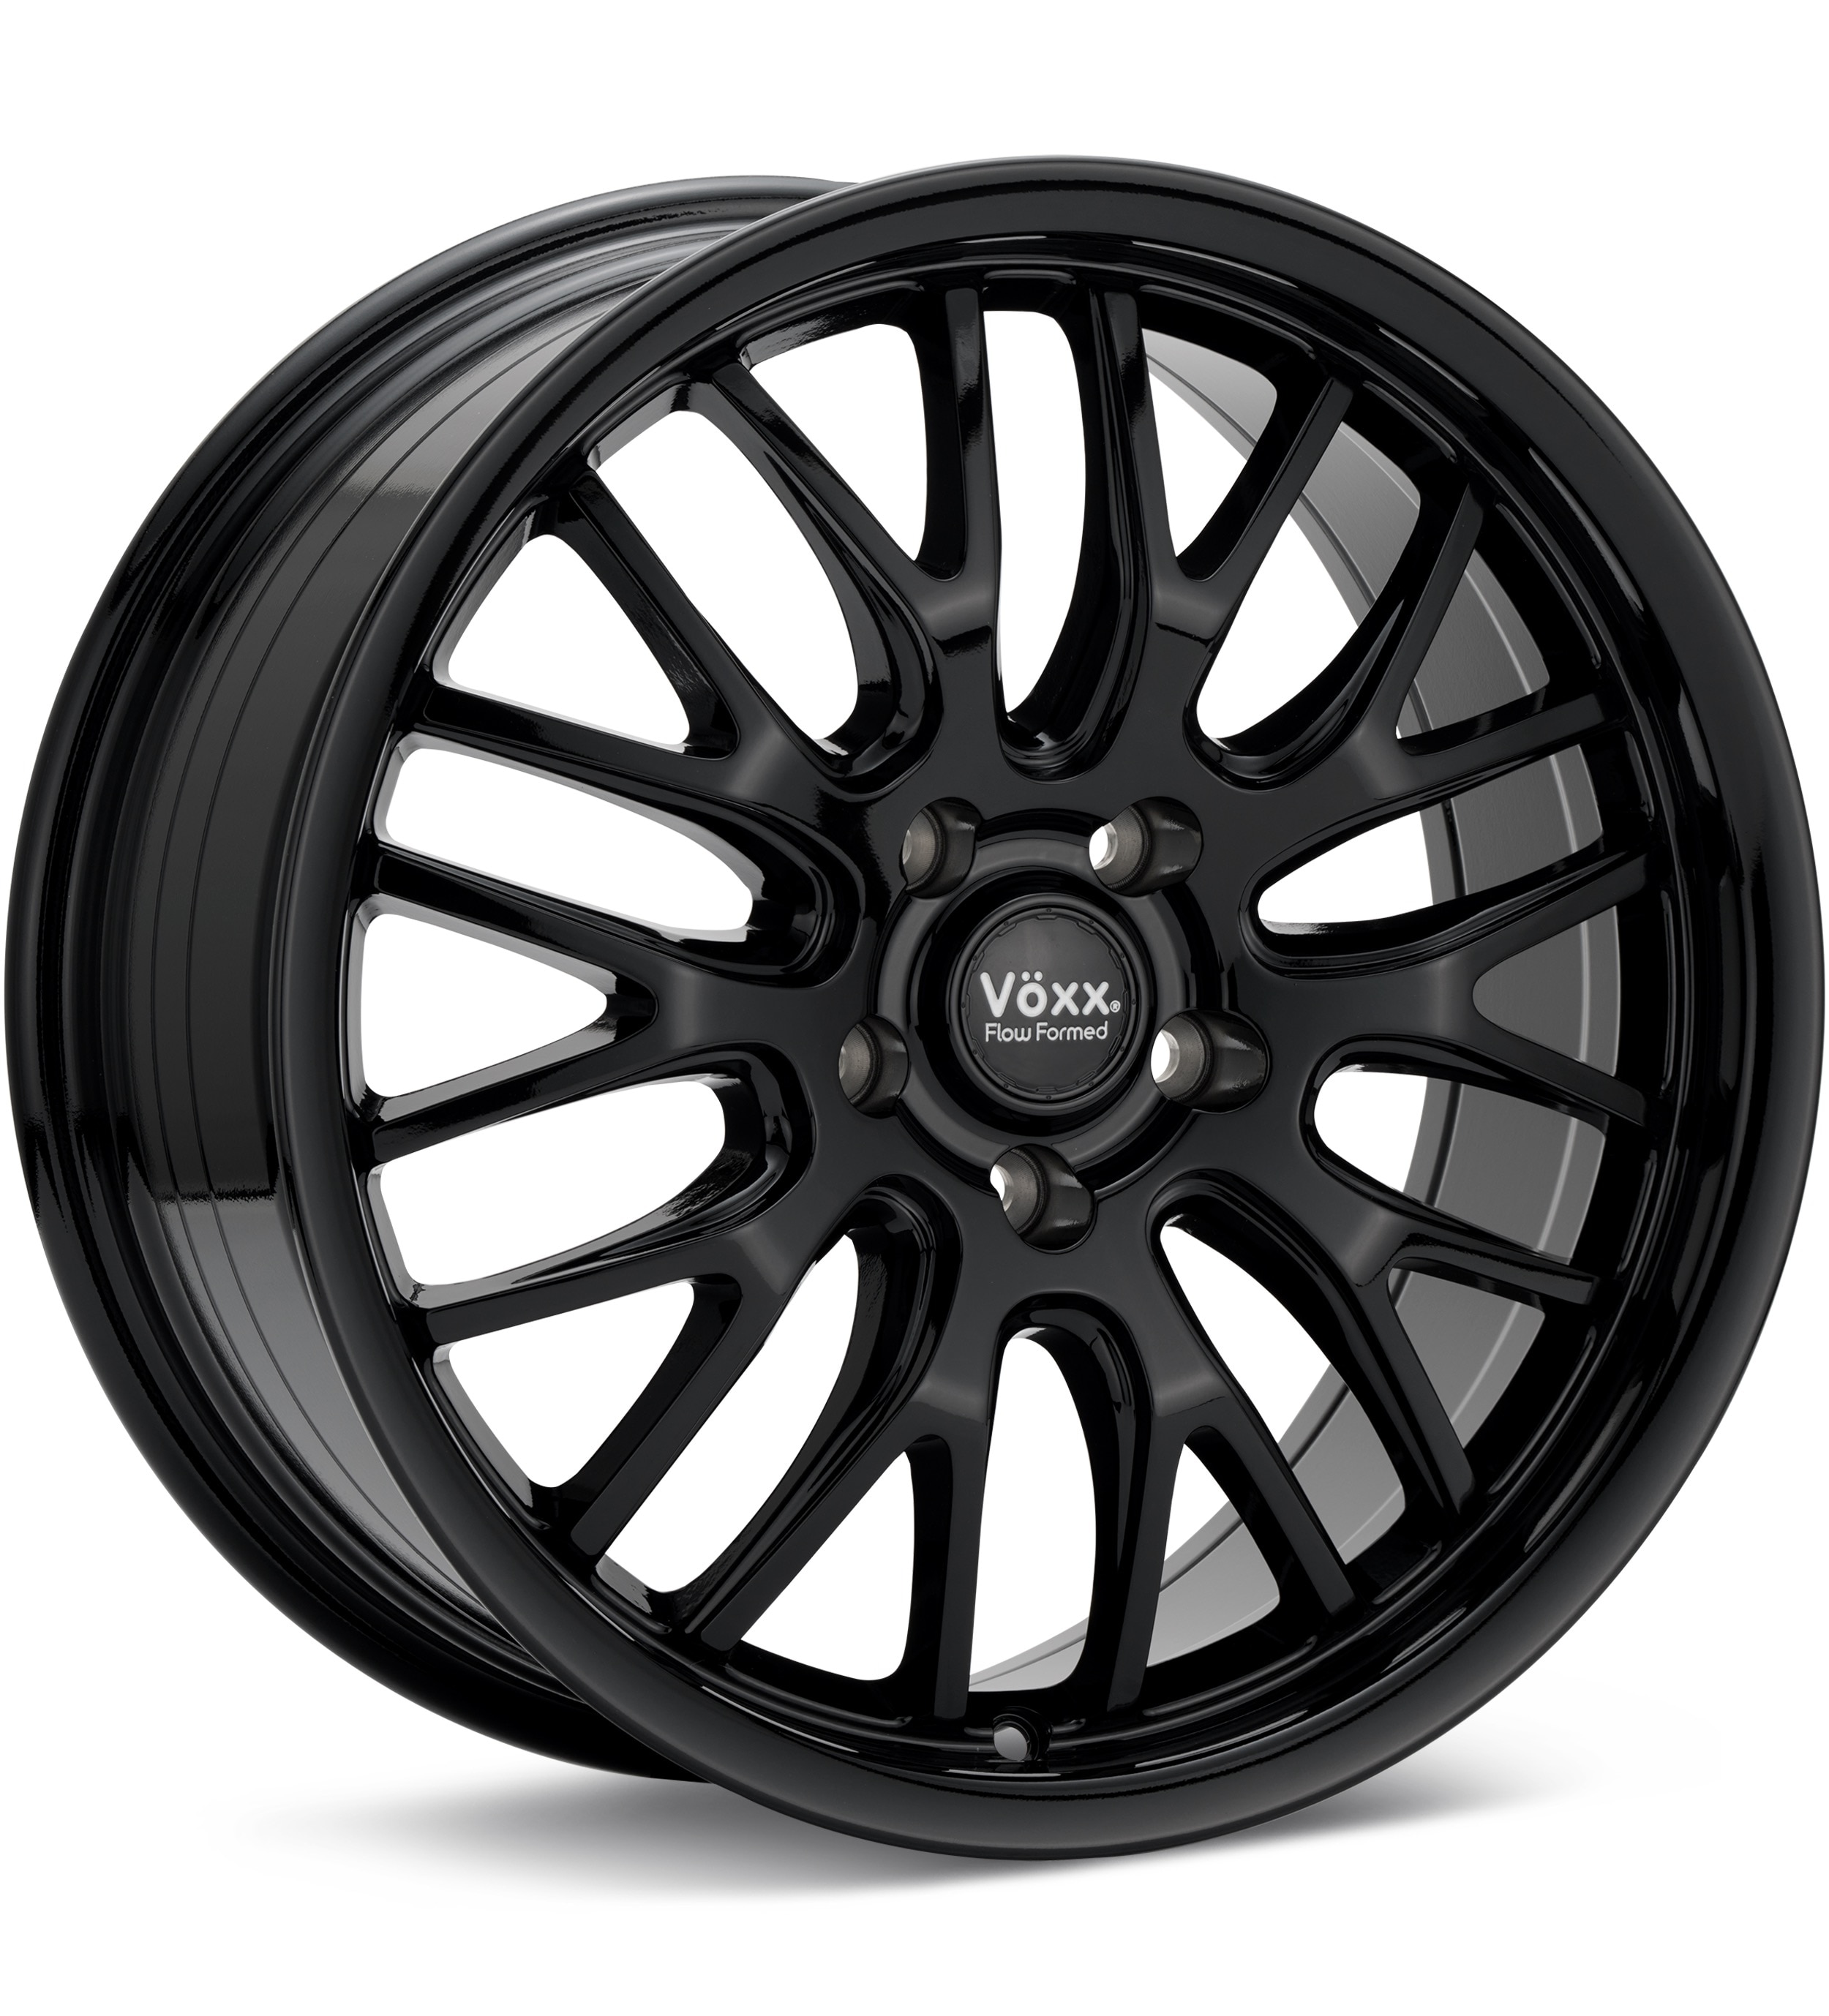
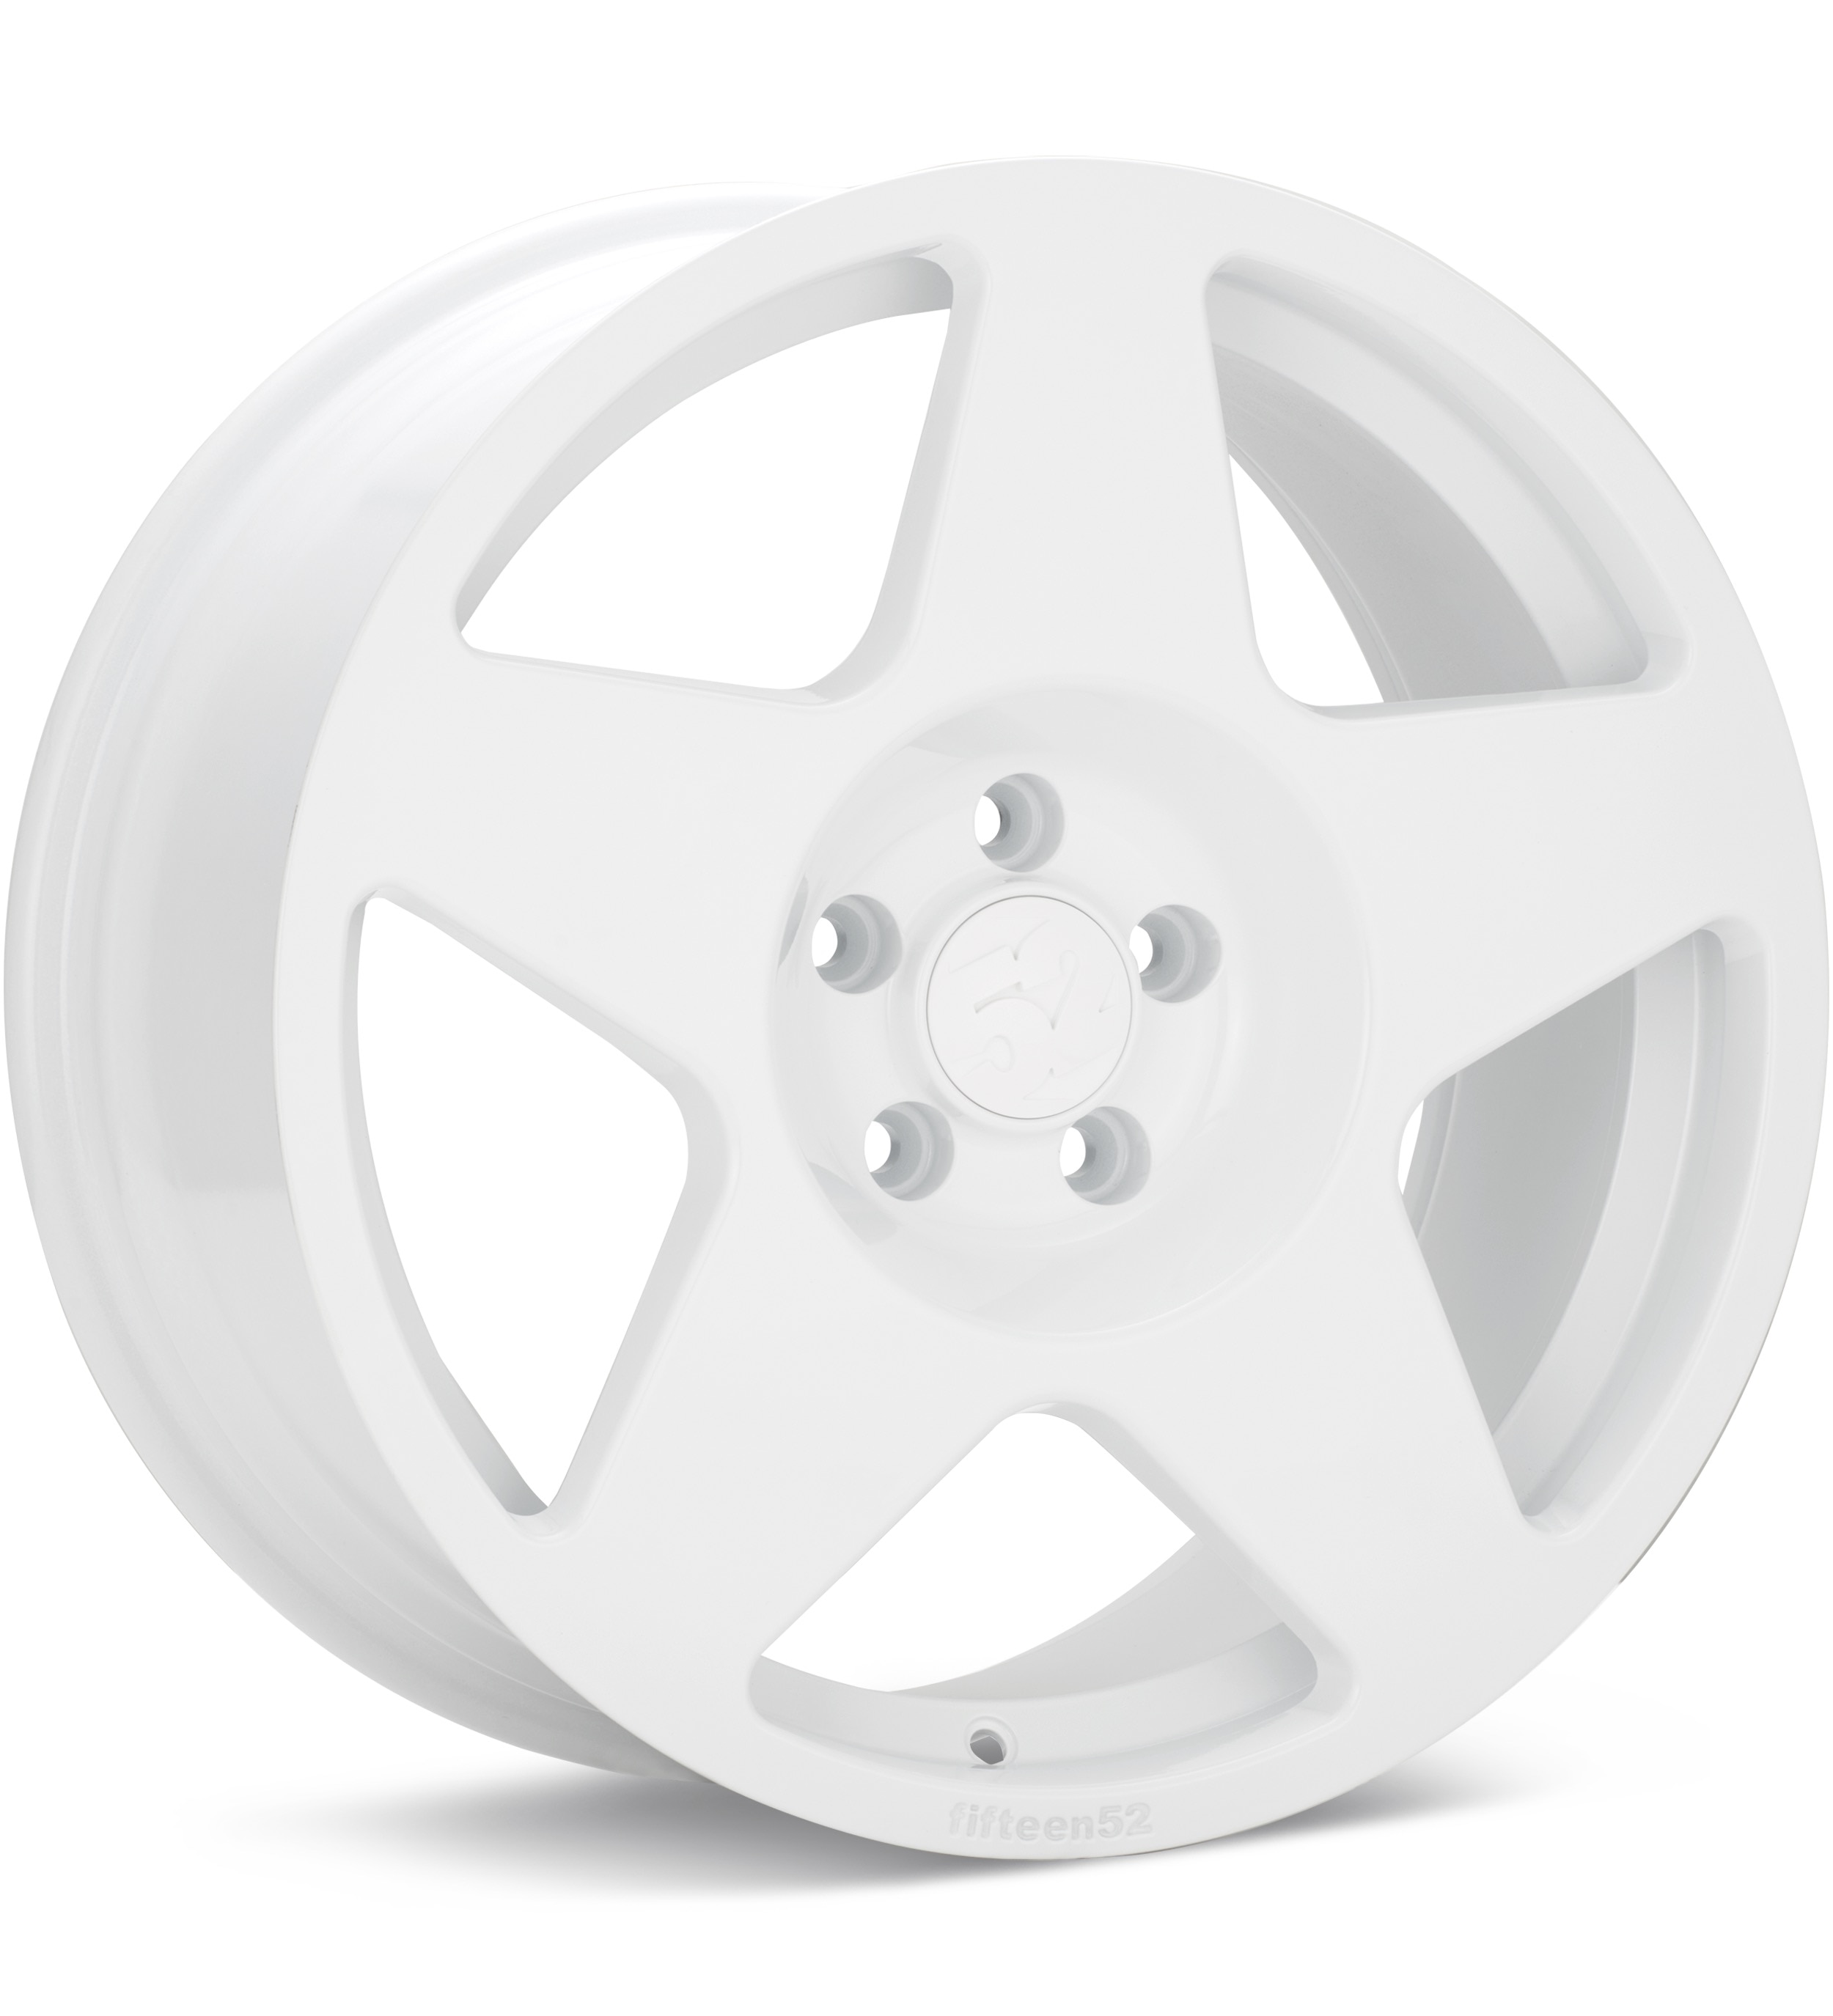
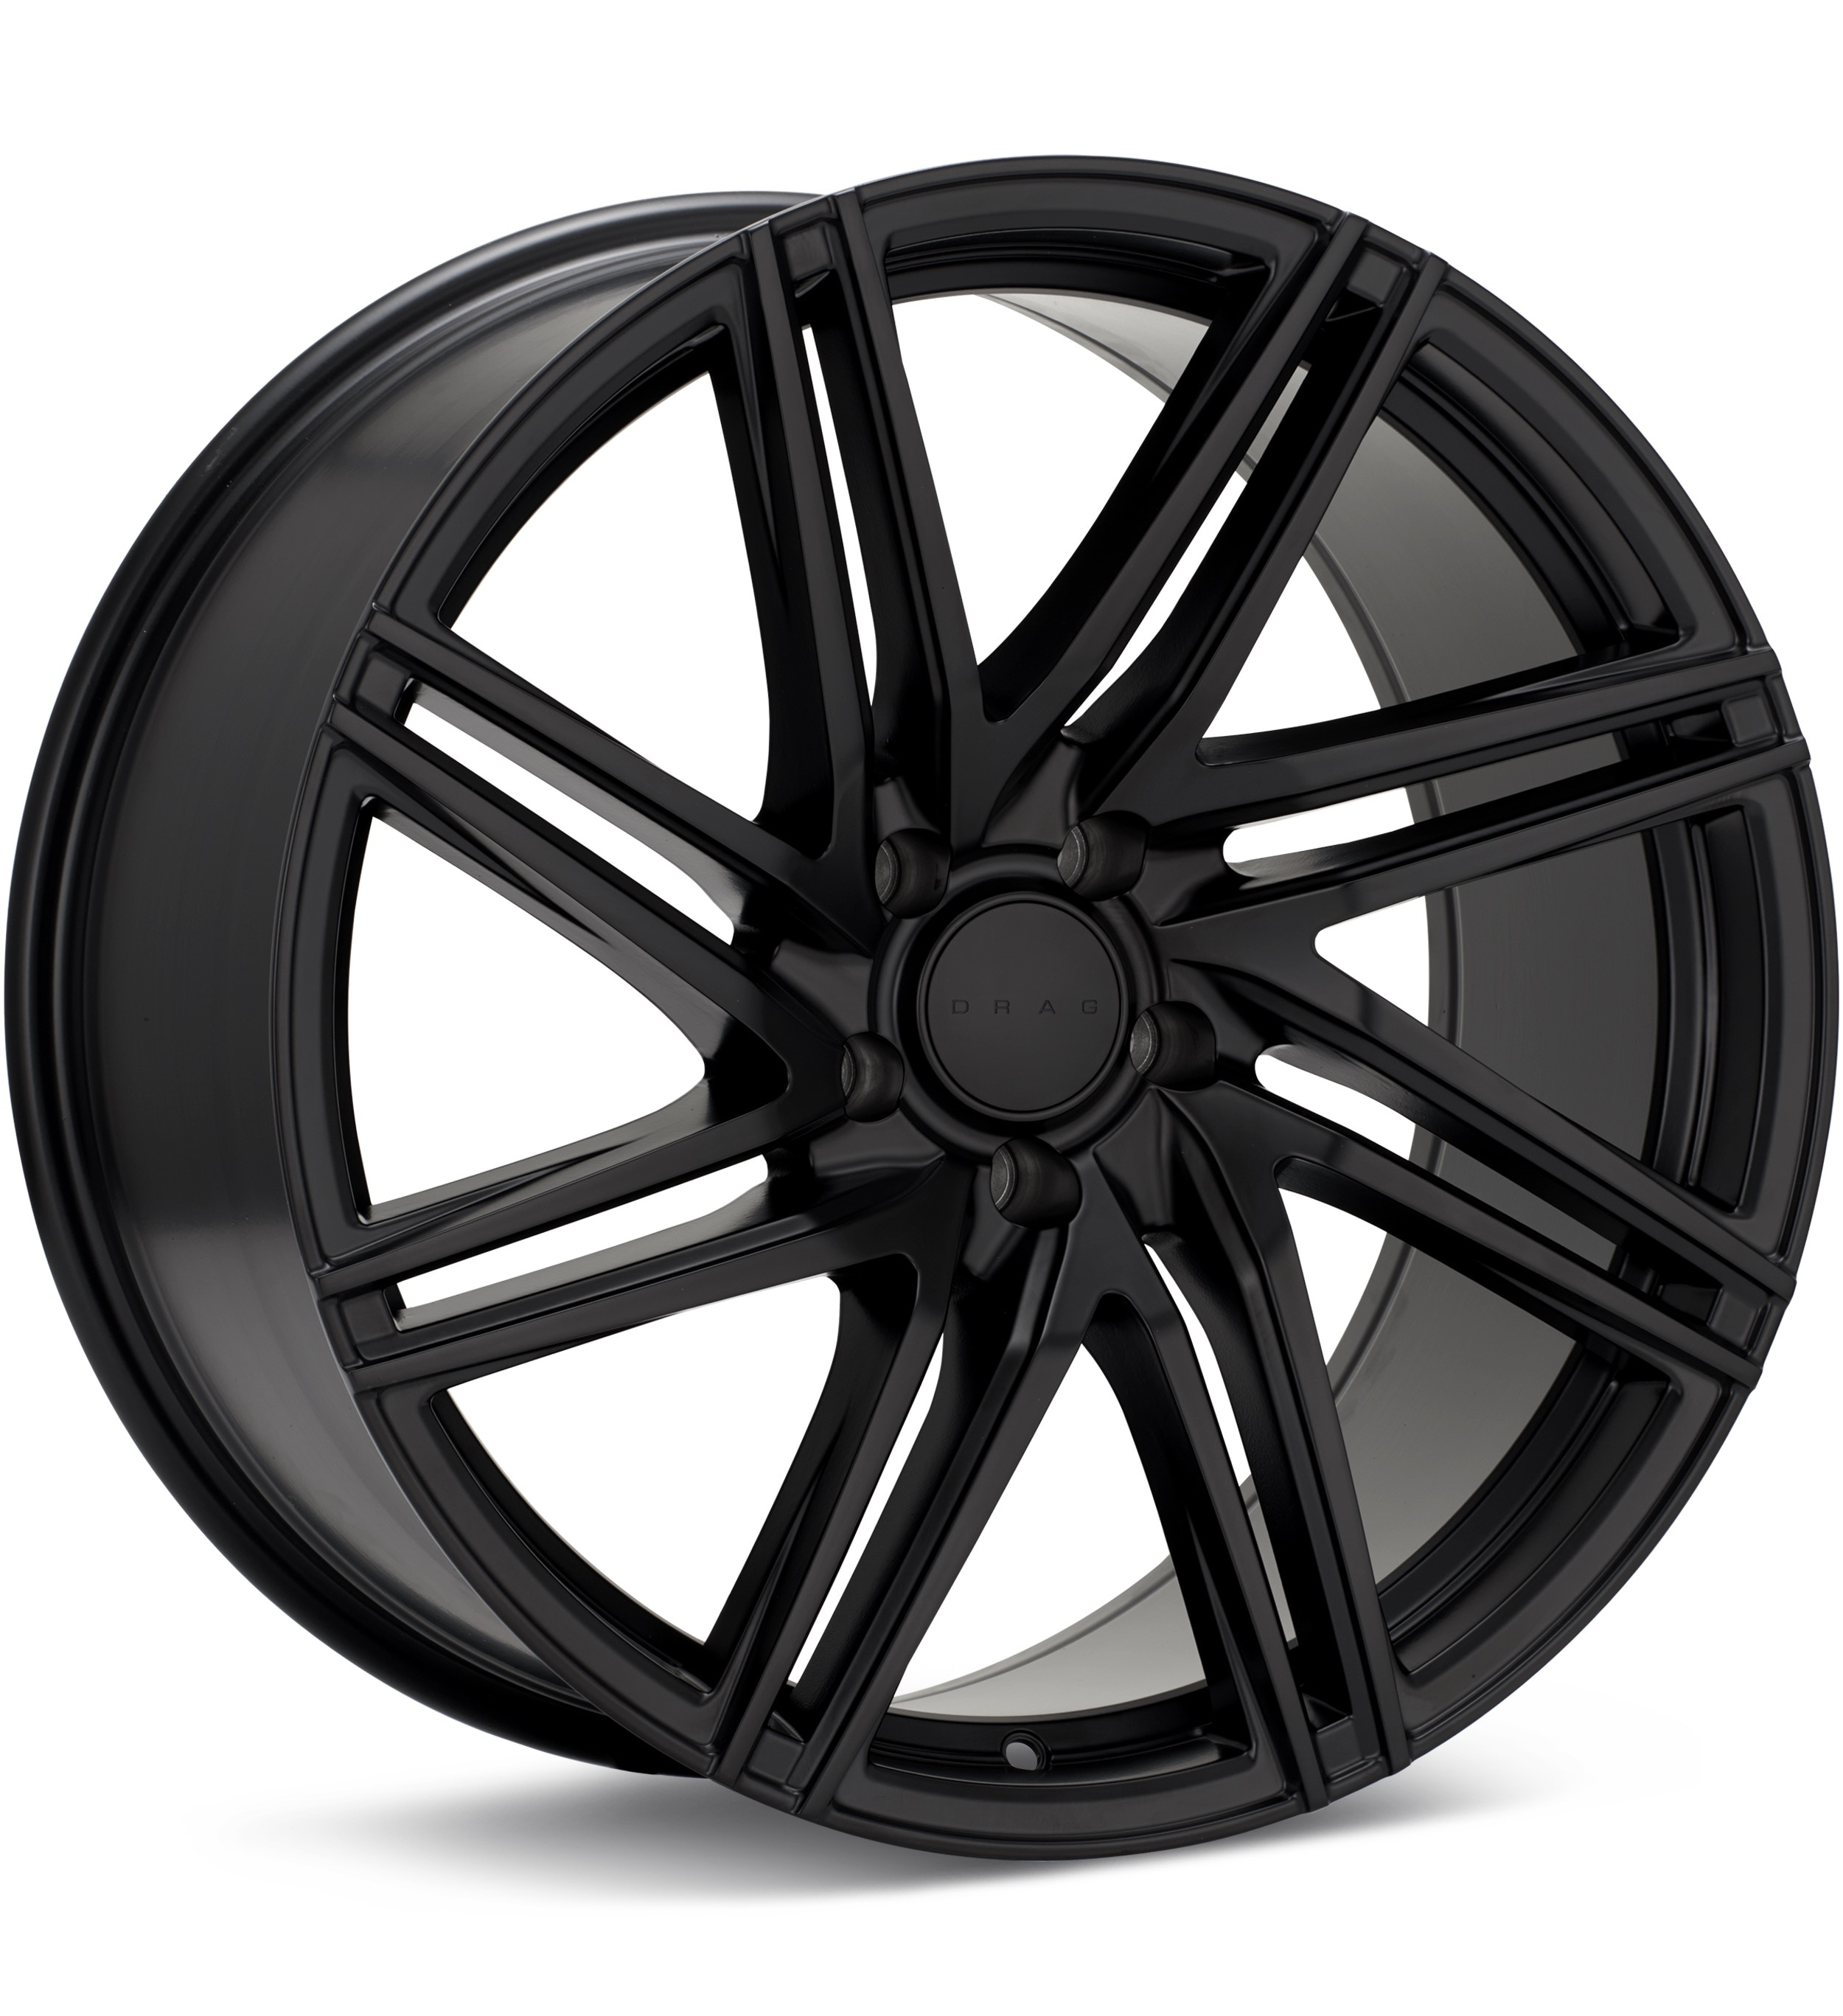
Explore wheels at Tire Rack
Selected size: 17 × 7.5″ · ET +45
Showing matching bolt patterns and offsets up to 20 mm lower. Confirm center bore, load rating, and clearance at Tire Rack.
We may earn a commission when you buy through these links. Prices and availability may change.
Donor vehicles with overlapping OEM specs
These are vehicle-year records whose recorded OEM ranges overlap this 2009 Audi A6. Overlap is not a guarantee that a specific wheel will install. Selected-wheel comparison is in the calculator below.
Evaluated 146 donor years. Listed 24 eligible overlaps (not all evaluated years are compatible). Showing all listed.
Wheel geometryOEM width/offset ranges overlap (not a specific wheel)
Recorded OEM bolt pattern, center bore, and width/offset ranges overlap. This is not a guarantee that every wheel from the donor year fits this vehicle.
Wheel geometryOEM width/offset ranges overlap (not a specific wheel)
Approximate position vs the mid OEM package: outer change -12.85 mm, inner change 0.15 mm. This uses aggregated width/offset ranges, not a specific wheel.
Audi A6 Years With Compatible Wheels
Only years with evidence-based interchange relationships are listed. Adjacent years are not assumed compatible.
Compare a donor vehicle or custom wheel against this 2009 Audi A6. Use Compare in calculator on a donor row above to fill the donor side of this same calculator.
Compare
Compare wheel compatibility between two vehicles
Wheels from (donor vehicle)
Selected Car:
Custom wheel size (optional)
Tip: change values here to simulate custom wheels and immediately see the impact in the comparison below.
Custom tire size (optional)
Installed on (your vehicle)
Selected Car:
2009 Audi A6
Compare Rims
Specification
Wheels from
Installed on
Result (Click it)
Bolt Pattern
The total number of bolt holes and the diameter of the circle they form.
-
5x112
Center Bore
The hole in the center of the wheel that fits over the vehicle’s hub.
-
57.1 mm
Thread Size
The size and spacing of the threads on the bolts or nuts that hold the wheel in place.
-
M14 x 1.5
Rim Diameter
The wheel diameter in inches that determines which tire sizes will fit.
-
17"
Rim Width
The distance between the inner edges of the wheel is measured in inches.
-
7.5"
Wheel Offset
How far the wheel sits inward or outward relative to the hub mounting surface.
-
45 mm
Backspacing
Shows how much space the wheel takes up toward the inside of the vehicle.
-
-
Wheel Fasteners
The type of hardware used to secure the wheel to the vehicle.
-
-
Compare Tires
Specification
Wheels from
Installed on
Result (Click it)
Section Width
The width of the tire from sidewall to sidewall, measured in millimeters.
-
-
Aspect Ratio
The height of the tire’s sidewall expressed as a percentage of its width.
-
-
Diameter
The wheel diameter for which the tire is designed to fit.
-
-
Tire Pressure
The recommended air pressure for safe and efficient driving.
-
-
Overall Diameter
The total height of the tire and wheel combined affects clearance and speedometer accuracy.
-
-
Wheel Fitment Parts for the 2009 Audi A6
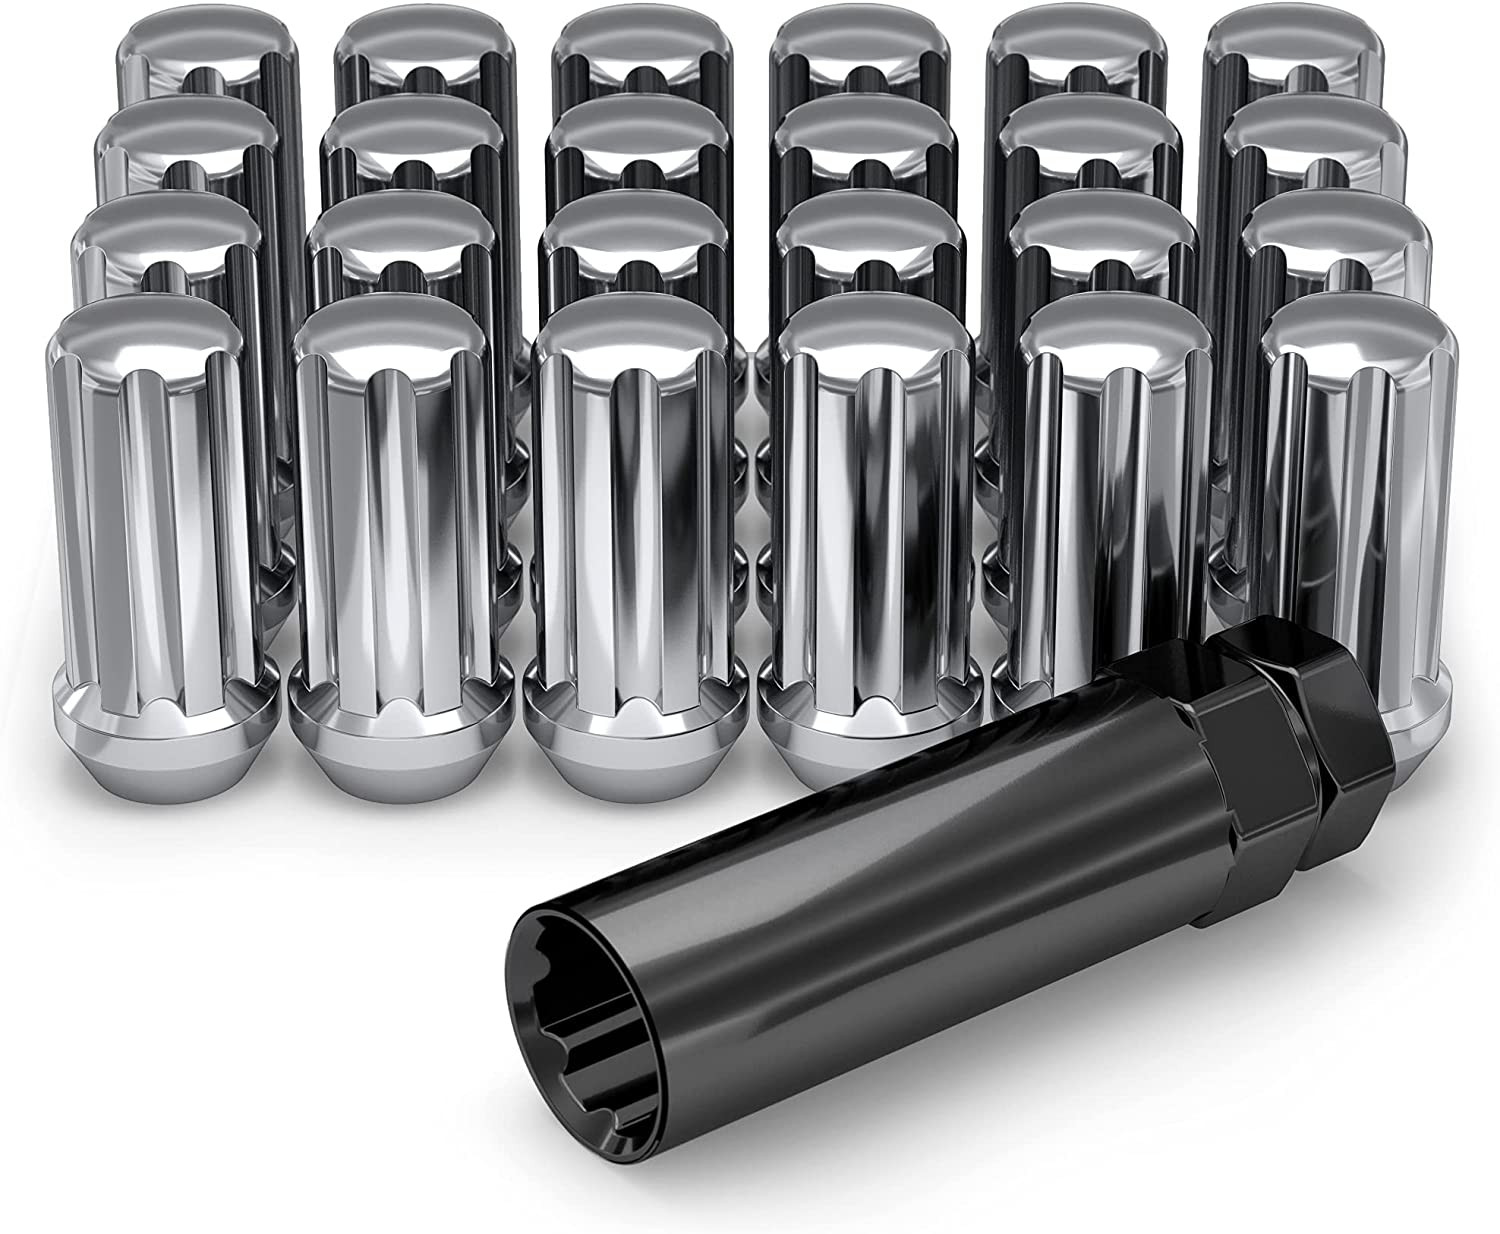
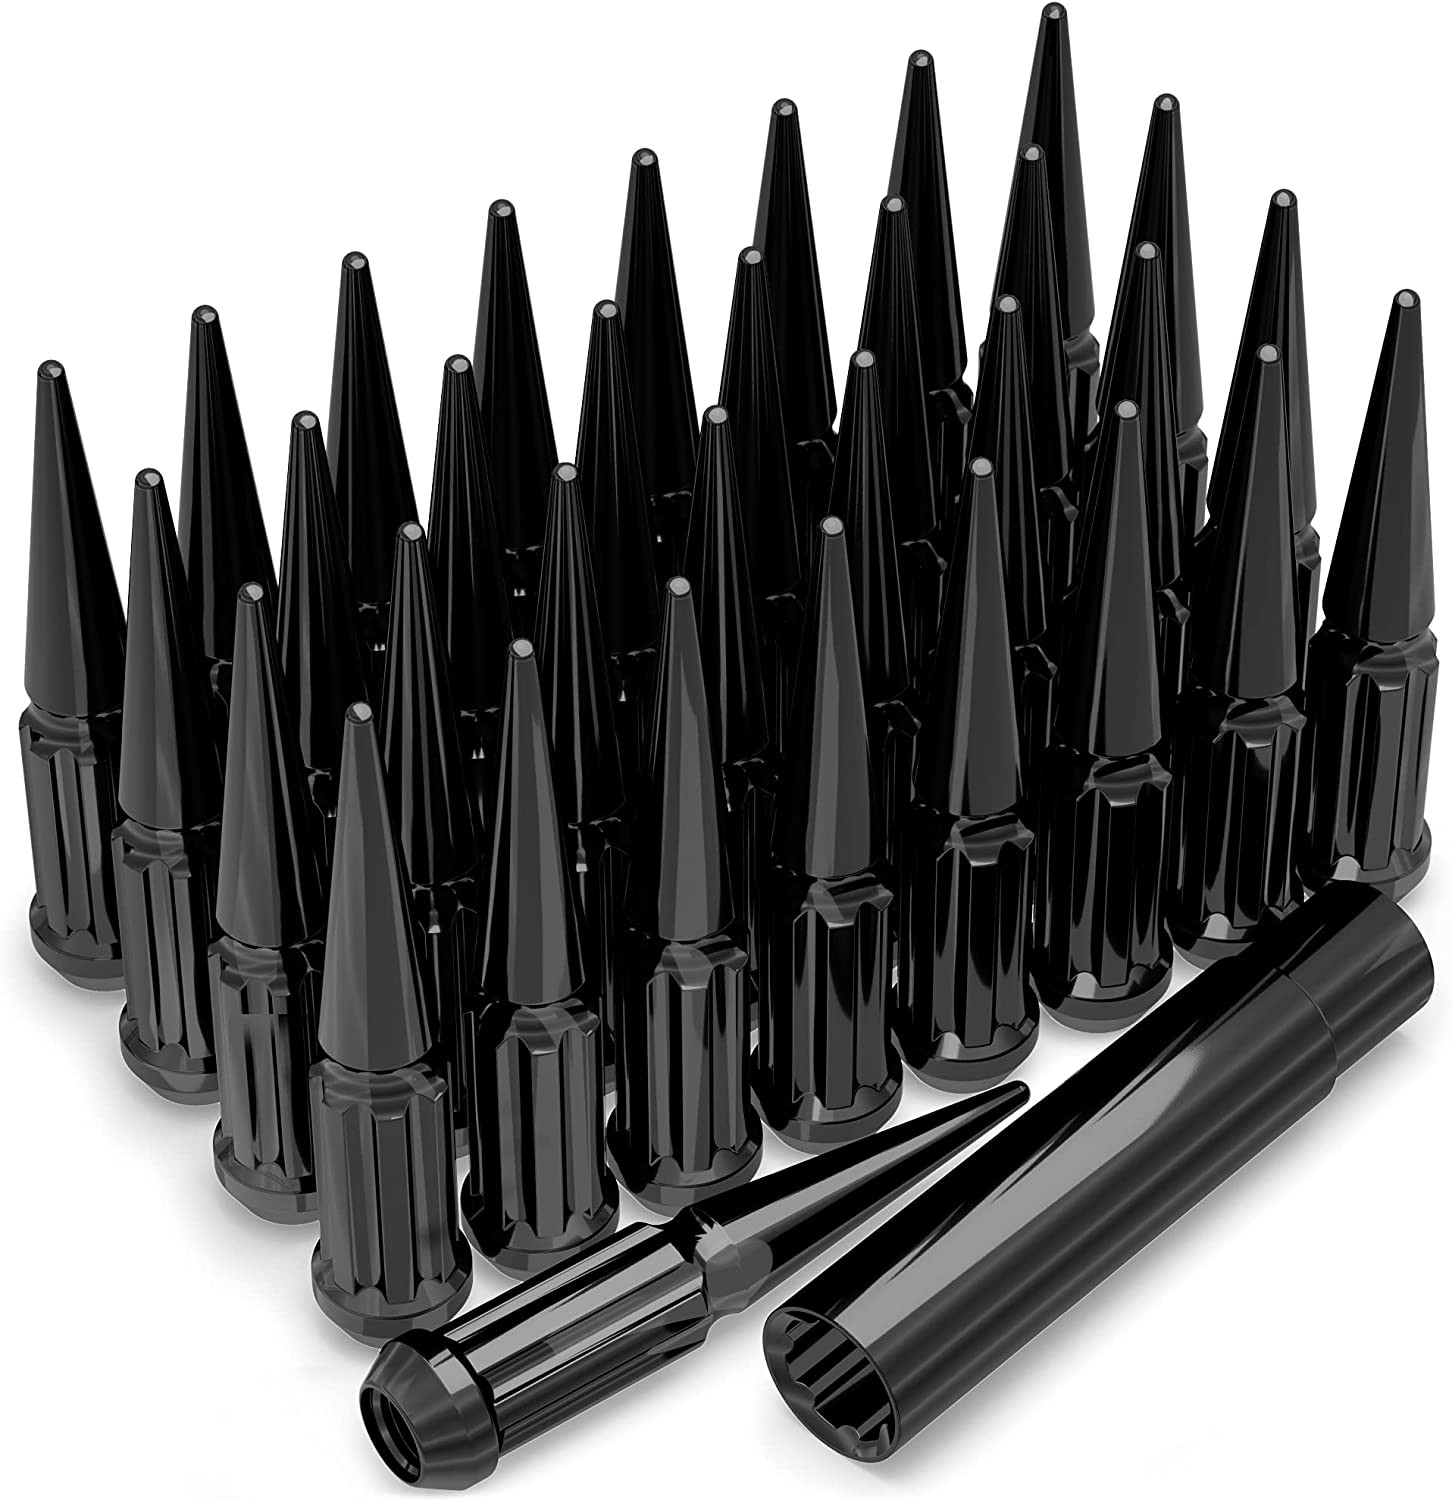
Example products matched to recorded thread, hub, or spacer dimensions. They are not verified fits. Confirm seat style, thickness, and clearance before ordering.
As an Amazon Associate we earn from qualifying purchases. Product availability and pricing may change.
2009 Audi A6 Wheel Fitment Baseline
I steward fitment risk for DIY owners and techs. Let’s start with what is known for the 2009 Audi A6, then work the edge cases. If a value varies by trim or market, I will say so. Use the on-page calculator to confirm changes before you buy.
Spec
Value
Bolt pattern
5x112
Center bore
57.1 mm
Thread size
M14 x 1.5
OEM rim diameter
17 in
OEM rim width
7.5 in
OEM offset (ET)
45 mm
OEM backspacing
5.52 in
OEM tire size
225/50R17
Some trims and regions may ship with different wheel or tire packages. The door-jamb placard and the owner’s manual are your OEM sources of truth. If a spec is missing or uncertain, use the calculator on this page and match against the placard and VIN-based parts catalog.
Tip: The calculator compares Wheels from a donor vehicle to Installed on your vehicle. Changing rim diameter updates tire diameter in the comparison. Use that to keep total tire diameter in a reasonable window.
Edge cases that trip people up
Offset creep: Small offset changes can push the inner barrel into the strut or poke the outer lip past the fender. The calculator will show inner clearance change and outer poke. Even a few millimeters can matter with wide tires.
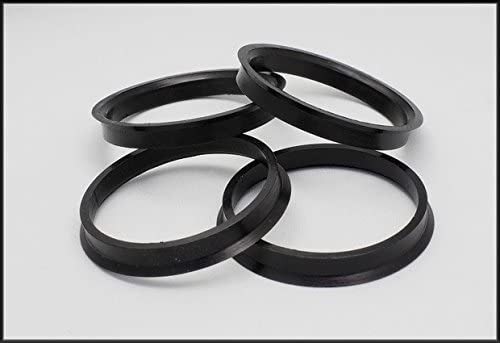
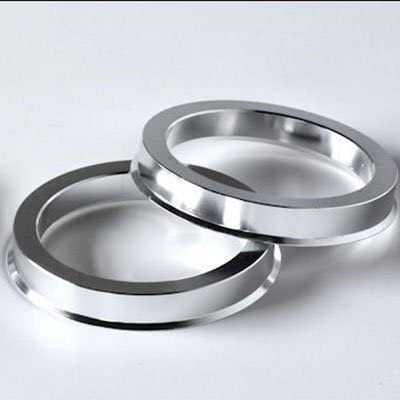
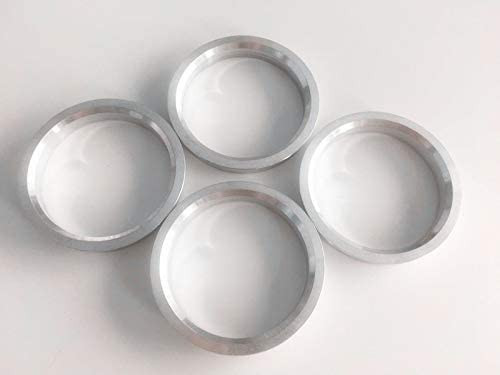
Center bore mismatch: Aftermarket wheels often have a larger bore. Running them without 57.1 mm hub-centric rings may cause vibration. Rings size from the wheel’s bore down to 57.1 mm.
Fastener details: The A6 uses M14 x 1.5 bolts. Seat type and bolt length must match the wheel. Mixing seat types or coming up short on thread engagement can loosen under load.
Brake hardware clearance: Bigger calipers or certain spoke designs may interfere. Barrel diameter and spoke pad depth both matter. A wheel can clear the barrel but still touch the caliper bridge.
Spacers and adapters: Slip-on spacers may remove the hubcentric lip if too thick. That can shift centering to the bolts. If spacers are needed, hub-centric pieces with proper extended bolts reduce vibration risk.
Tire diameter drift: Large changes can skew speedometer and stability control behavior. Many techs aim for a small percentage change relative to the baseline, as a mitigation.
Staggered setups: Wider rears may alter handling balance. Quattro systems can be sensitive to rolling diameter differences. Proceed only if overall diameters match closely.
TPMS considerations: Some cars use valve-stem sensors. Others use indirect wheel speed. If your car has sensors, confirm compatibility before mounting tires.
How to detect a risky fit before and after install
Before mounting
Calculator check: Compare donor wheels to your A6. Watch inner clearance and outer poke numbers. Note tire diameter change when you alter rim size.
Template test: Test-fit one front and one rear without tires. Spin by hand, turn lock to lock, check for any contact points.
Caliper clearance: Hold a straightedge across the hub face. Measure to the nearest caliper point. Compare against wheel spoke pad height and barrel drop.
Centering: Confirm wheel bore is at least 57.1 mm. If larger, plan the correct hub-centric rings.
Fasteners: Verify M14 x 1.5 bolts, matching seat type, and suitable length for any spacers.
After mounting
Vibration band: Shakes between 50 and 70 mph can point to hub-centric or balance issues.
Rubbing audit: Full lock in a parking lot, then a slow speed bump test. Listen and inspect the liner and fender lips.
Tire wear patterns: Fresh feathering or inner shoulder scuffing can signal interference or alignment shift.
Electronic warnings: Unexpected ABS or stability lights after big diameter changes can happen. Re-check the calculator and tire diameter.
Heat or odor near a corner: May indicate caliper contact with the barrel or spoke.
Mitigations if you are near the limits
Use the calculator iteratively: Nudge width and offset until inner clearance shows a small positive margin. Keep outer poke modest relative to the arch.
Keep total tire diameter close to the baseline: Many aim for a small percentage change. The calculator updates diameter as you edit sizes, which helps.
Add hub-centric rings: Size them to 57.1 mm on the hub side, and to your wheel’s center bore on the other side. This can reduce mid-speed vibration.
Select proper bolts: M14 x 1.5, correct seat, and enough shank engagement for any spacer used. Do not mix seat types across corners.
Choose spacer style carefully: If you must run a spacer, hub-centric styles with matching lip are preferred. Re-check that the wheel still seats fully.
Confirm brake clearance with clay: A thin layer on the suspect caliper area can show any contact points after a careful hand spin.
Alignment touch-up: After tire or wheel width changes, a quick alignment check can reduce edge wear and rub events.
Retorque after the first heat cycle: Recheck bolt torque once the assembly has cooled from its first drive.
A normal wheel spacer does not change bolt pattern. Hub rings cannot enlarge a wheel bore that is smaller than the hub. Brake clearance and tire package fitment still require vehicle-specific checks when not confirmed in the dataset.