2010 Honda Element Wheel Fitment Guide
Known OEM Fitment For 2010 Honda Element
The following specifications are the known OEM fitment values supplied for the 2010 Honda Element. They are a starting point for wheel and tire comparison, not a substitute for checking the vehicle identification number, owner’s manual, door-jamb label, or an OEM parts source.
| Specification |
Known value |
| Bolt pattern |
5x114.3 |
| Center bore |
64.1 mm |
| Thread size |
M12 x 1.5 |
| Wheel diameter |
16 inches |
| Wheel width |
6.5 inches |
| Wheel offset |
ET45, or 45 mm |
| Backspacing |
5.02 inches |
| Tire size information |
215 mm section width, 70% aspect ratio, R16 rim diameter |
Using the supplied tire dimensions, the calculated tire diameter is approximately 27.9 inches. Actual mounted diameter can vary by tire brand, tread design, inflation pressure, and measuring method. Confirm the exact tire size and load requirement on the vehicle placard and in the owner’s manual.
Wheel diameter, width, offset, center bore, bolt pattern, lug hardware, brake clearance, and tire load capacity all matter. A wheel that shares the 5x114.3 bolt pattern is not automatically safe or suitable for this vehicle.
How To Use The Wheel Interchange Calculator
Use the calculator to compare a donor vehicle’s wheel and tire information with the 2010 Honda Element reference values.
- Enter or select the donor vehicle under “Wheels from.” Treat any donor specification as unconfirmed until you check a reliable OEM or manufacturer source.
- Set the vehicle being fitted under “Installed on your vehicle” to the 2010 Honda Element.
- Compare rim diameter, rim width, offset, bolt pattern, center bore, and tire dimensions. The calculator helps identify dimensional differences, but it cannot confirm brake clearance, lug-seat compatibility, suspension clearance, or the tire’s load and speed ratings.
- Use “Custom wheel size” to test a different rim diameter, width, or offset. Changing rim diameter updates the tire diameter in the comparison.
- Use “Custom tire size” to compare section width and aspect ratio. Review the resulting diameter and width difference rather than relying only on a percentage match.
- After finding a promising combination, physically verify the wheel, tire, and hardware before driving. Check for contact at full steering lock and through the suspension’s available travel.
Fitment Checklist Before You Buy
Confirm every item below with the wheel manufacturer, tire manufacturer, vehicle documentation, and an in-person test fit when possible.
- Verify the 5x114.3 bolt pattern and confirm that the wheel has five correct bolt holes.
- Compare the wheel’s center bore with the 64.1 mm vehicle hub. A larger bore may require correctly sized hub-centric rings. A smaller bore will not fit over the hub.
- Confirm the wheel offset and width. Changes from ET45 can move the wheel toward suspension components or the fender.
- Check the wheel’s load rating and the tire’s load index and speed rating against the vehicle’s requirements.
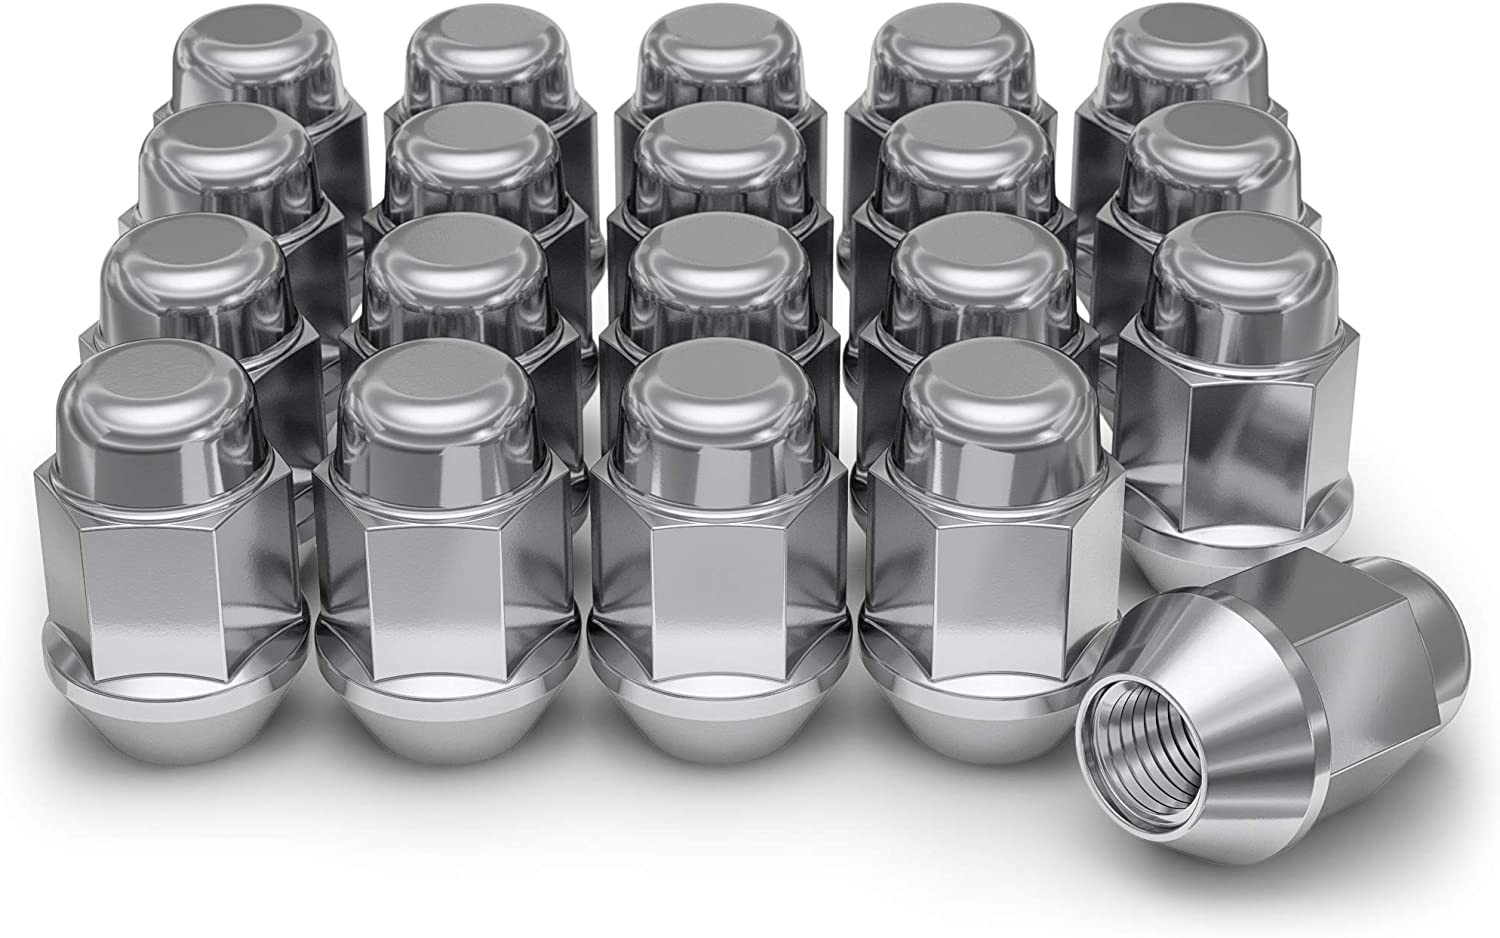
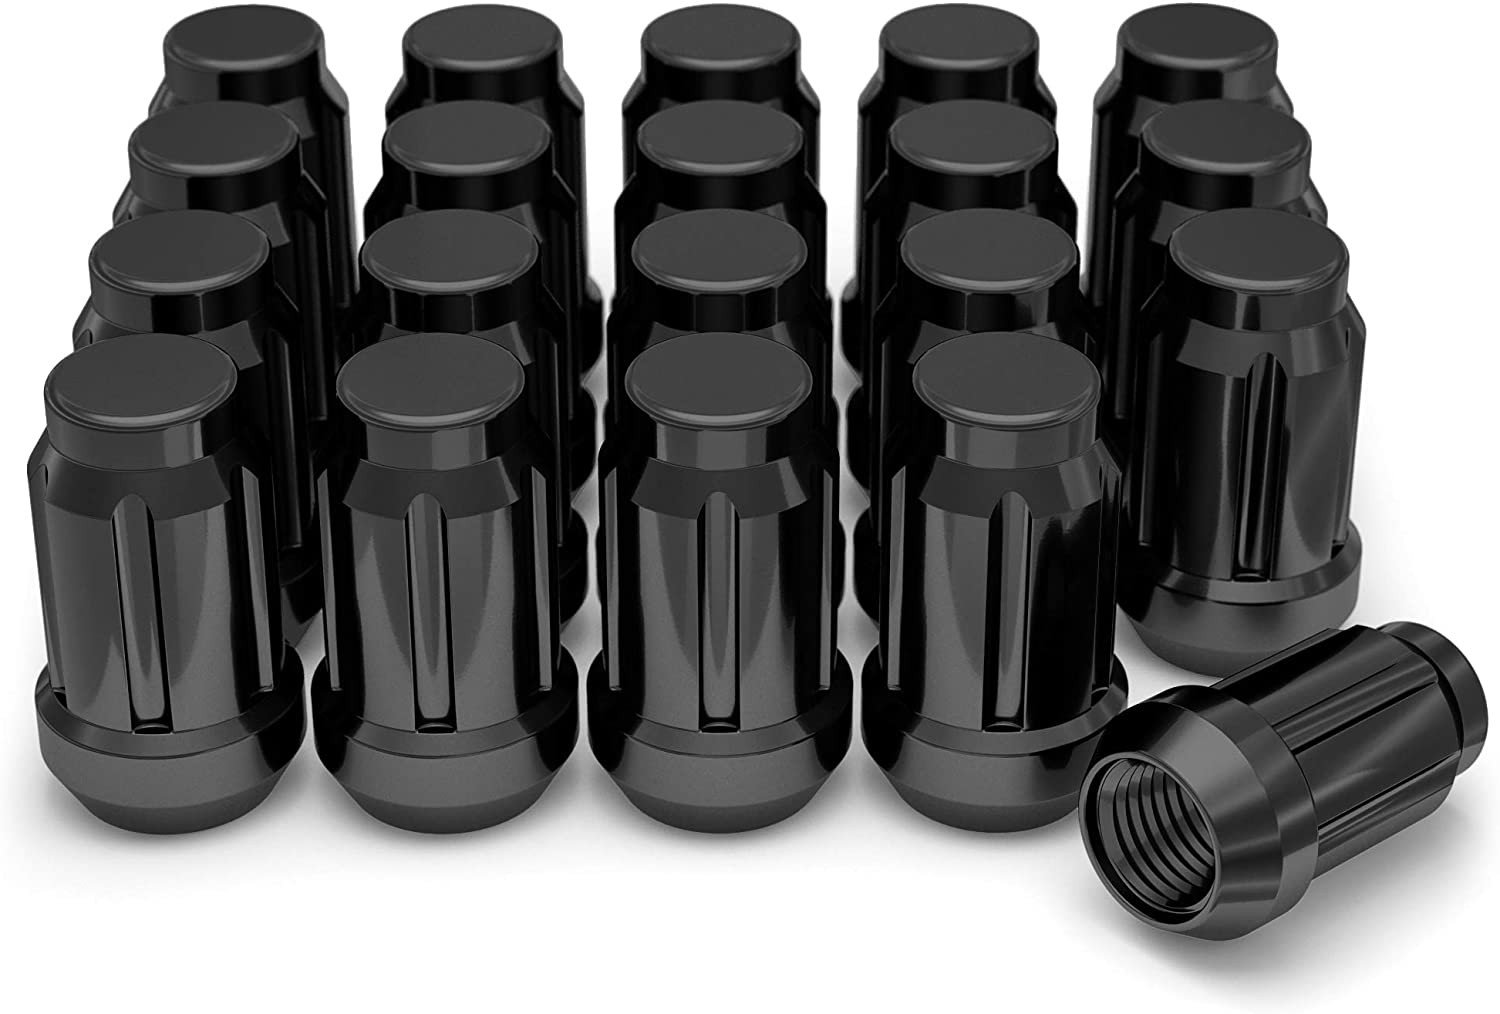
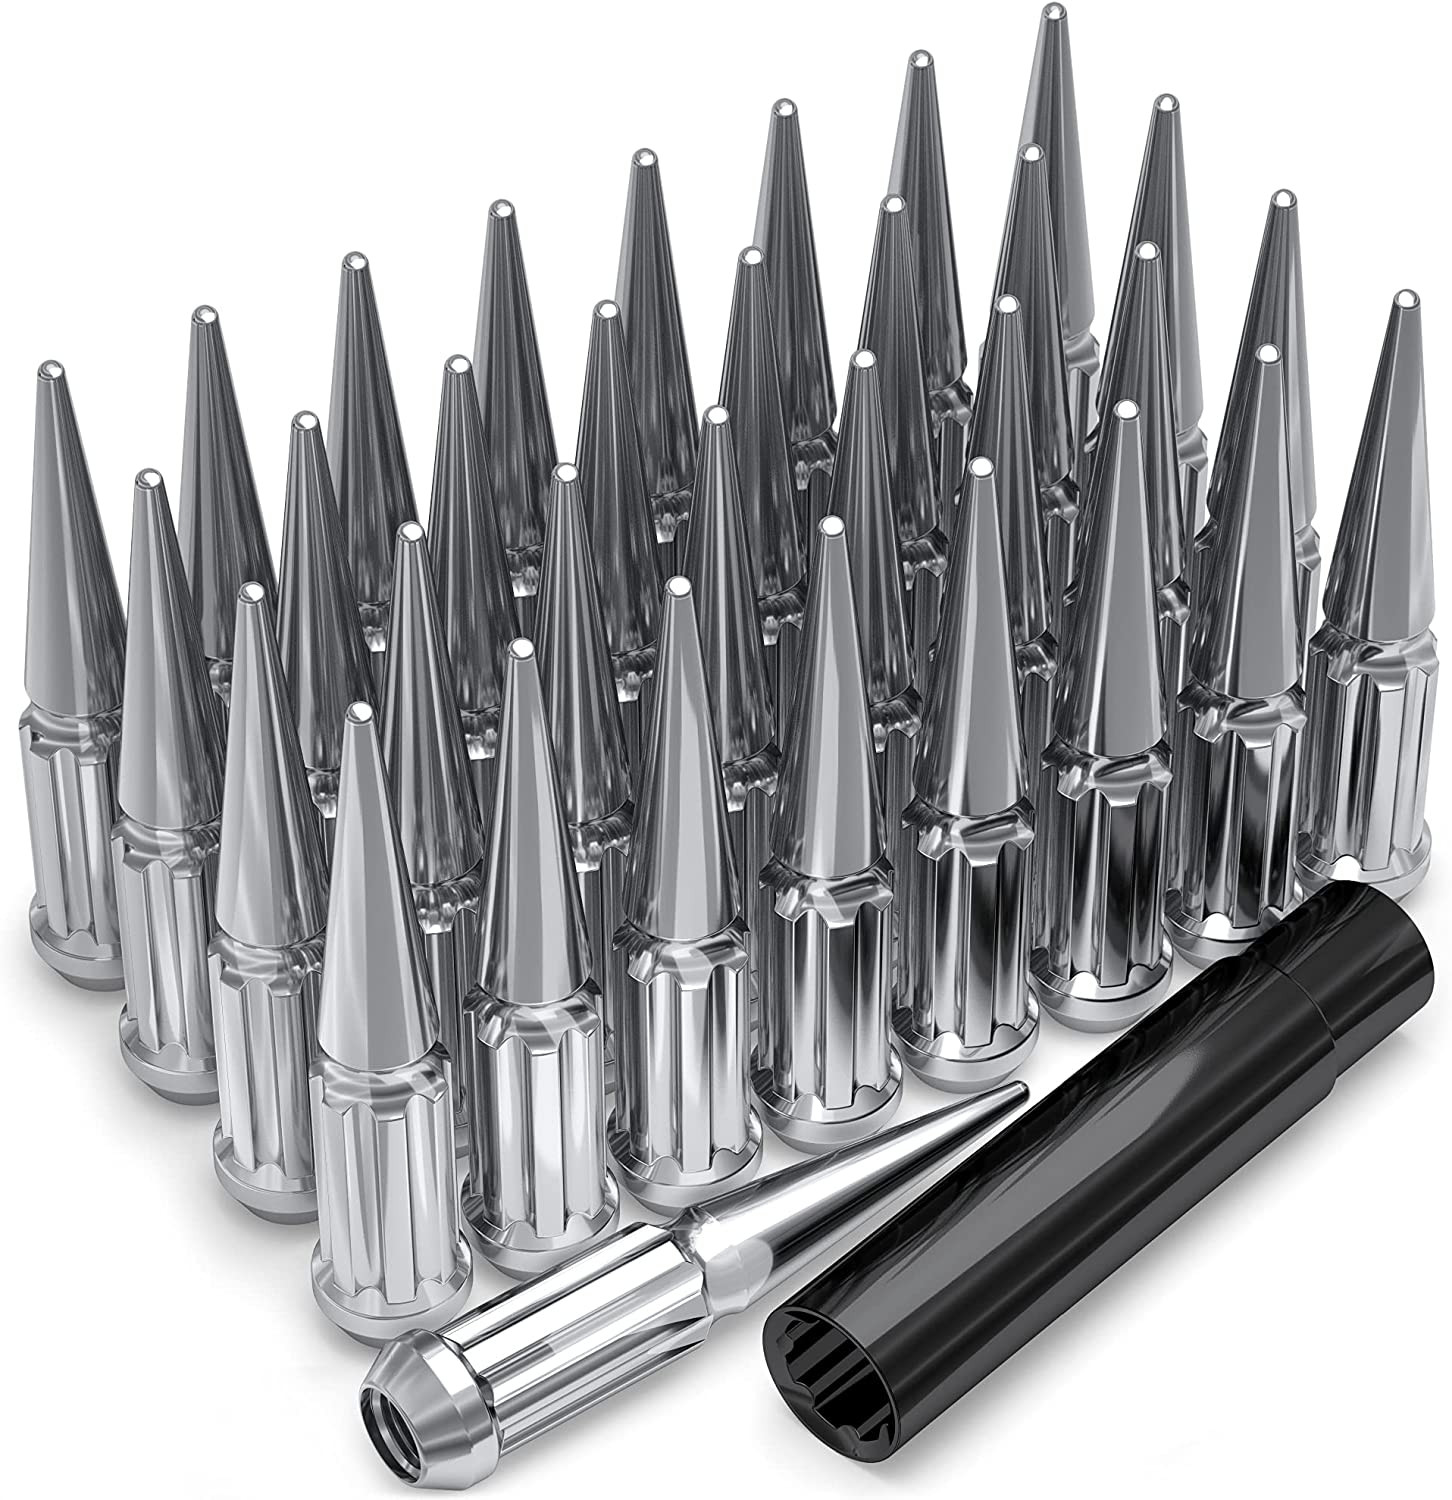
- Confirm the lug nut thread size is M12 x 1.5 and verify the lug seat type. Thread size alone does not establish that a lug nut is safe for a particular wheel.
- Check brake caliper and rotor clearance. Spoke shape and barrel design can cause interference even when the diameter, width, and bolt pattern appear correct.
- Inspect inner clearance to struts, control arms, tie rods, and other suspension parts, then check outer clearance to the fender and liner.
- Confirm tire clearance at full left and right steering lock and with the suspension compressed.
- Verify that the tire size is approved for the wheel width and that the tire does not contact the vehicle.
- Check whether the vehicle uses tire pressure monitoring sensors and whether the replacement wheels and sensors support the required system.
Plus Sizing And Common Upgrades
Plus sizing changes the wheel diameter while using a lower-profile tire to keep overall tire diameter near the original. This can change ride comfort, steering response, ground clearance, speedometer behavior, wheel protection, and clearance.
No specific plus-size wheel and tire combination is confirmed by the supplied data. Use the calculator’s custom wheel and tire fields to compare candidate dimensions, then confirm the complete combination with the tire maker’s approved rim-width range and the wheel manufacturer’s clearance information.
When considering a wider wheel or tire, compare both section width and offset. A wider tire can reduce clearance to suspension parts on the inside and to the fender or liner on the outside. Do not use spacers or adapters to solve a fitment problem unless the parts are specifically engineered for the vehicle and installed according to the manufacturer’s instructions.
Keep the replacement tire’s load capacity at or above the vehicle requirement. Avoid reducing overall diameter substantially, and recalibrate or verify vehicle systems as recommended by the vehicle manufacturer if the final tire diameter differs from the OEM reference.
Installation Tips
Before installation, clean the hub and wheel mounting faces and remove rust or debris that could prevent the wheel from sitting flush. Do not place grease, anti-seize, paint, or other material between the wheel and hub mounting faces unless the vehicle or wheel manufacturer specifically permits it.
Install only the correct lug nuts for the wheel’s seat design and the supplied M12 x 1.5 thread specification. Start every lug nut by hand to avoid cross-threading. Tighten in a crisscross pattern, then torque with a calibrated torque wrench to the vehicle or wheel manufacturer’s specified value. The required torque value is not provided here, so do not guess it.
After installation, rotate each wheel by hand if safely possible and inspect for contact. Lower the vehicle, recheck torque after a short initial drive when recommended by the wheel manufacturer, and inspect again after the first several miles. Set tire pressure using the vehicle’s door-jamb label, not the maximum pressure molded into the tire sidewall.
If a vibration, rubbing noise, steering change, warning light, or loss of pressure occurs, stop and inspect the installation. Do not continue driving on a wheel or tire that contacts the vehicle or does not seat correctly.
Tools And Helpful Supplies
Useful equipment includes a calibrated torque wrench, a suitable socket, a tire pressure gauge, a tread-depth gauge, a jack and properly rated jack stands, and wheel chocks. Use the vehicle’s designated lifting points and follow the service manual’s lifting instructions.
For a basic tool search, see automotive torque wrenches on Amazon and digital tire pressure gauges on Amazon. Product fit, calibration, and load ratings should be checked before purchase.
A hub bore measurement tool or accurate caliper can help verify the wheel center bore. If hub-centric rings are needed, match their inner and outer diameters precisely and use rings intended for automotive wheel applications.
FAQs
What is the bolt pattern for the 2010 Honda Element?
The known bolt pattern is 5x114.3. Confirm the wheel’s complete specifications because bolt pattern by itself does not confirm fitment.
What is the center bore for the 2010 Honda Element?
The supplied center bore is 64.1 mm. A wheel with a smaller center bore will not fit over the hub. A larger bore may require correctly sized hub-centric rings.
What wheel size is listed for the 2010 Honda Element?
The known reference wheel is 16 inches in diameter, 6.5 inches wide, with a 45 mm offset. These values should still be confirmed against the vehicle’s trim-specific documentation and the wheel being purchased.
What tire dimensions are provided for this vehicle?
The supplied tire information is 215 mm section width, a 70% aspect ratio, and an R16 rim diameter. The complete tire marking, load index, and speed rating should be confirmed from the vehicle placard and owner’s manual.
Will every 5x114.3 wheel fit a 2010 Honda Element?
No. The wheel must also have suitable center bore, width, offset, load rating, lug-seat design, and brake and suspension clearance. Tire size and load rating must also be appropriate.
Can I install a wheel with a different offset?
A different offset changes the wheel’s position relative to the hub, suspension, and fender. Use the calculator to compare the change, then verify physical clearance and manufacturer recommendations. Do not assume that a small numerical difference is automatically safe.
Does the calculator guarantee that a wheel will fit?
No. It compares the entered dimensions and updates tire diameter when rim diameter changes. It cannot physically verify spoke clearance, brake clearance, lug-seat compatibility, wheel load rating, tire approval, or rubbing under steering and suspension movement.
What lug nut thread size is listed?
The known thread size is M12 x 1.5. The correct lug nut seat and overall shape still depend on the replacement wheel. Confirm both with the wheel manufacturer before installation.
Where can I confirm trim-specific or replacement-wheel information?
Check the vehicle’s door-jamb tire label, owner’s manual, VIN-based OEM parts information, and the wheel and tire manufacturers’ technical documentation. If those sources disagree, do not install the parts until the discrepancy is resolved.