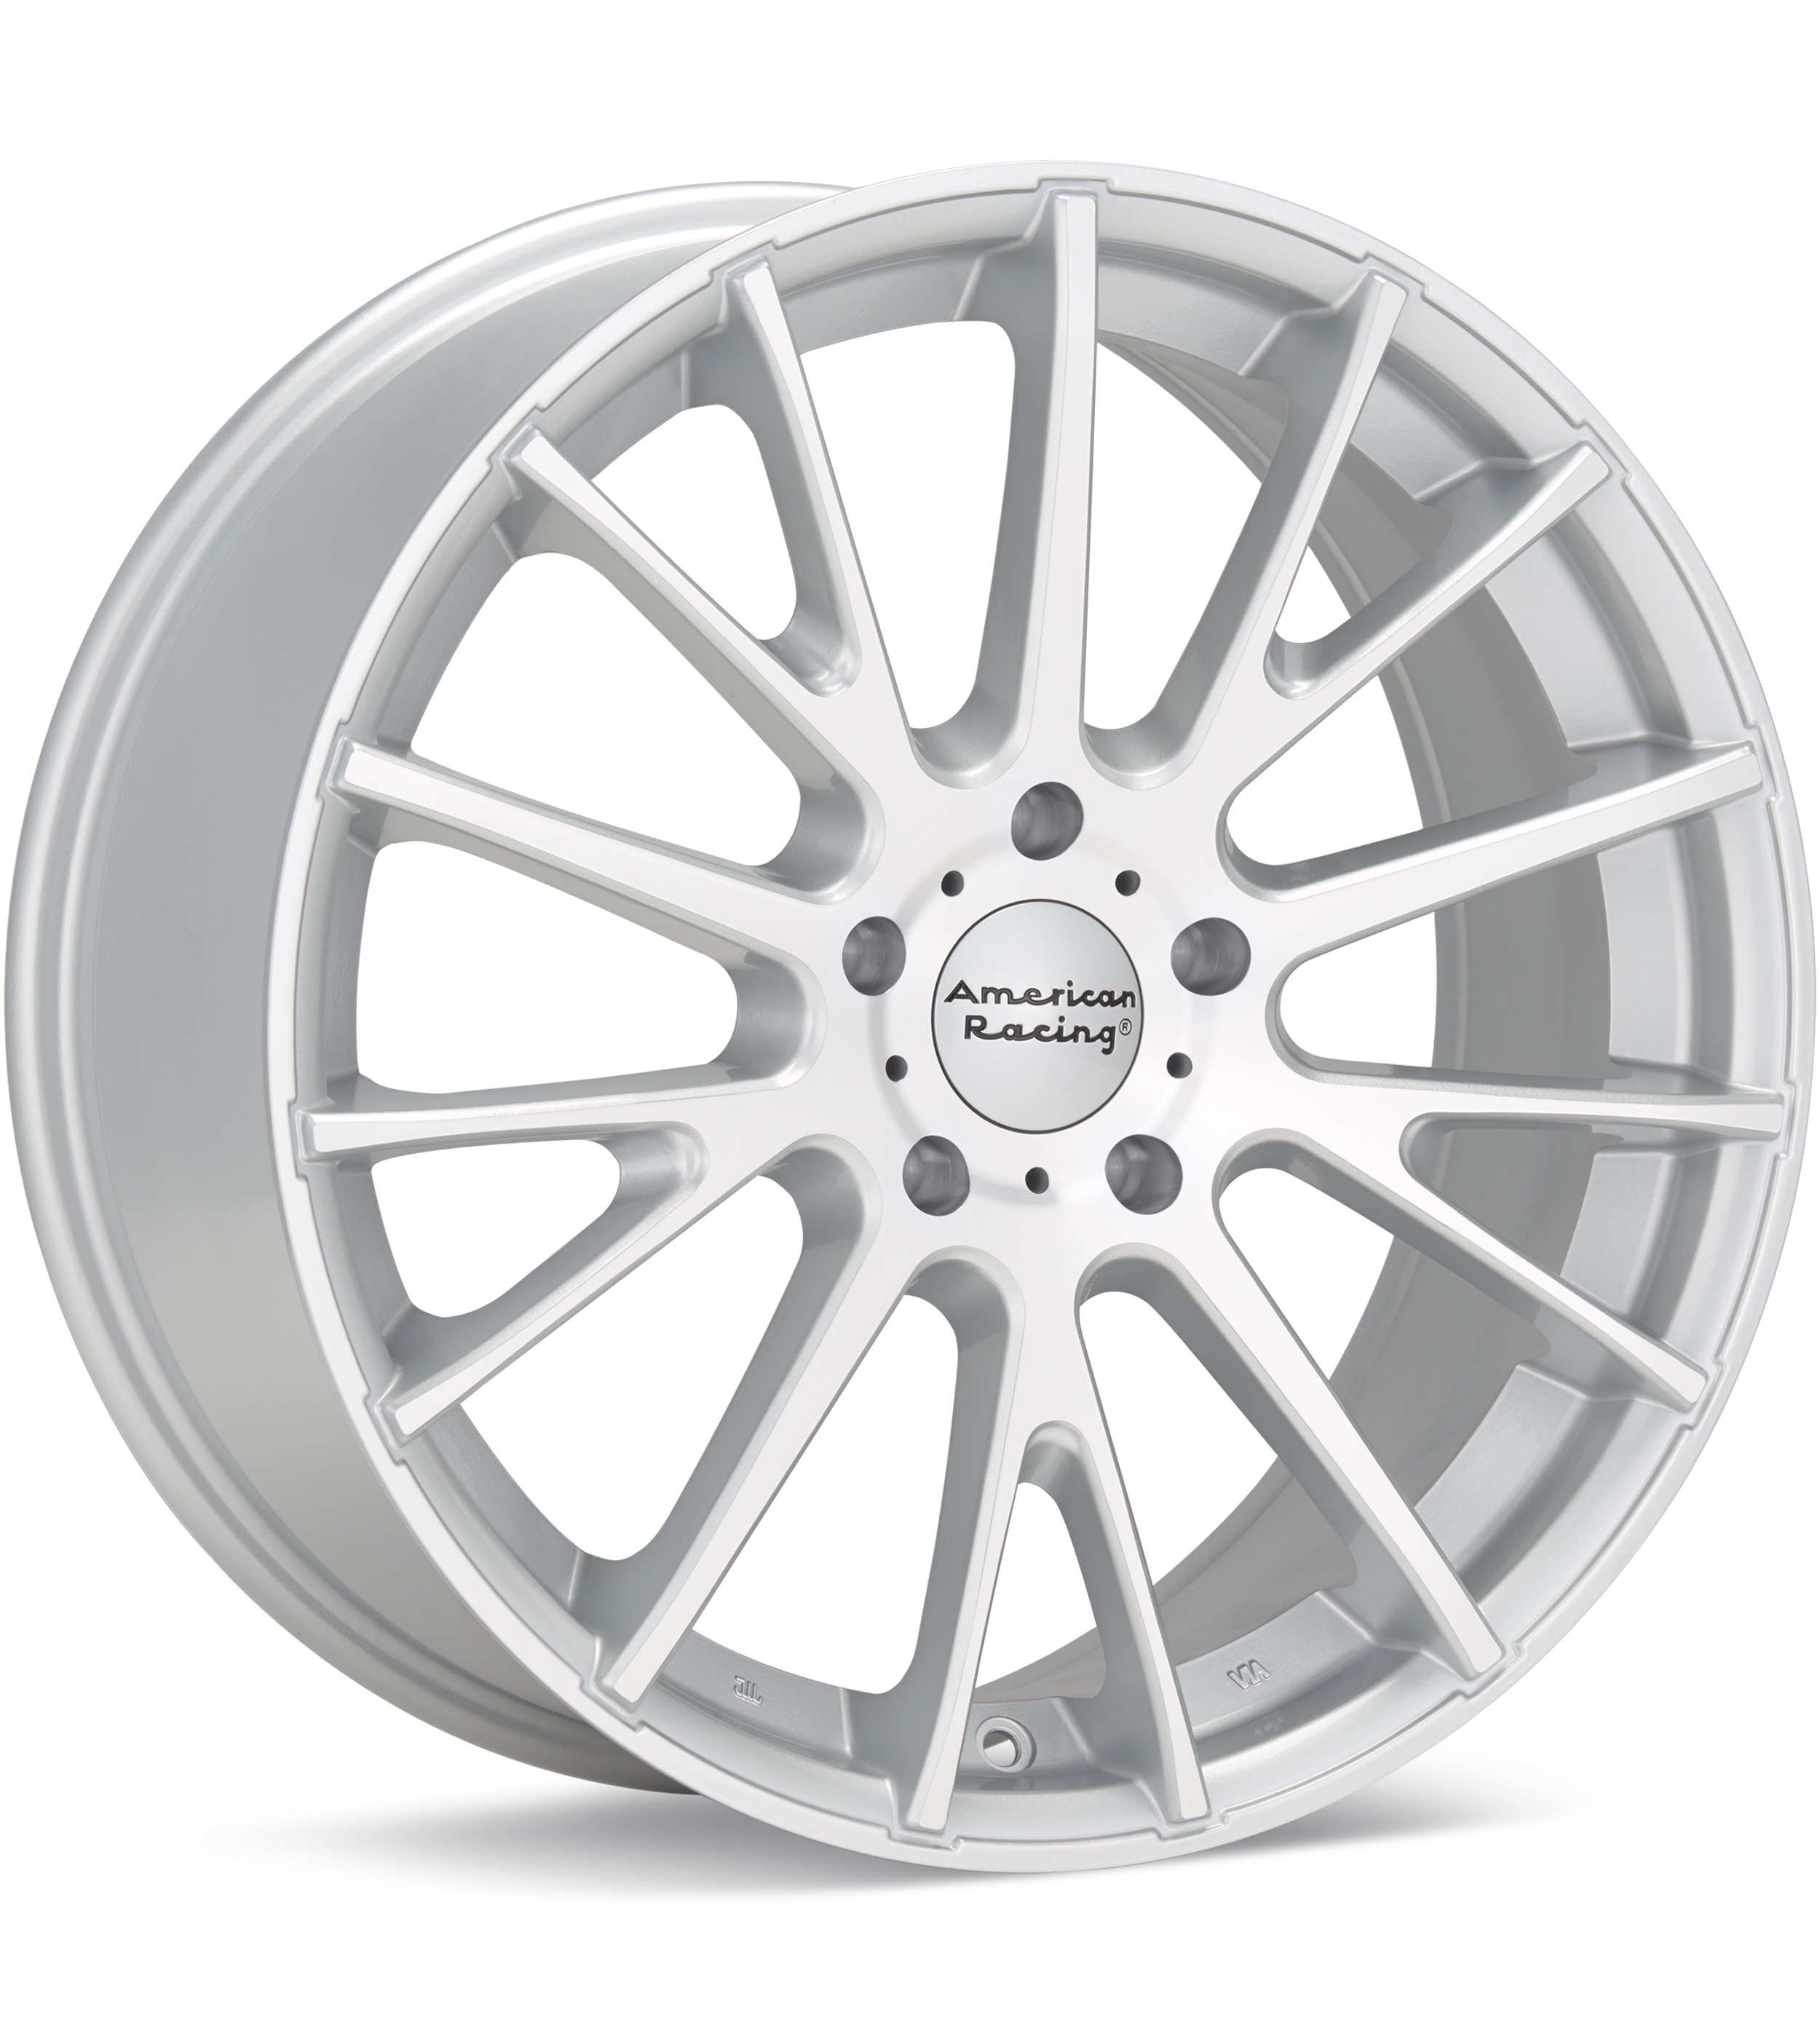
American Racing
AR904
Silver Machined w/Clearcoat
16 × 7″ · ET +40
$209.00
View at Tire Rack ↗Recorded OEM specifications for the 1999 Honda Odyssey, donor years with overlapping ranges, and a calculator to compare a selected wheel. Range overlap is not a guaranteed fit.
Save these wheel specs to your Ownery garage
Baseline mounting dimensions used for interchange decisions.
Multiple OEM configurations exist for this vehicle. Fitment can vary by trim, brakes, and factory wheel package – confirm your exact setup before buying.
Thread-only product links are shopping examples, not verified fits. Seat style is not confirmed here. As an Amazon Associate we earn from qualifying purchases.
Selected size: 16 × 6.5″ · ET +50
Showing matching bolt patterns and offsets up to 20 mm lower. Confirm center bore, load rating, and clearance at Tire Rack.
American Racing
Silver Machined w/Clearcoat
16 × 7″ · ET +40
$209.00
View at Tire Rack ↗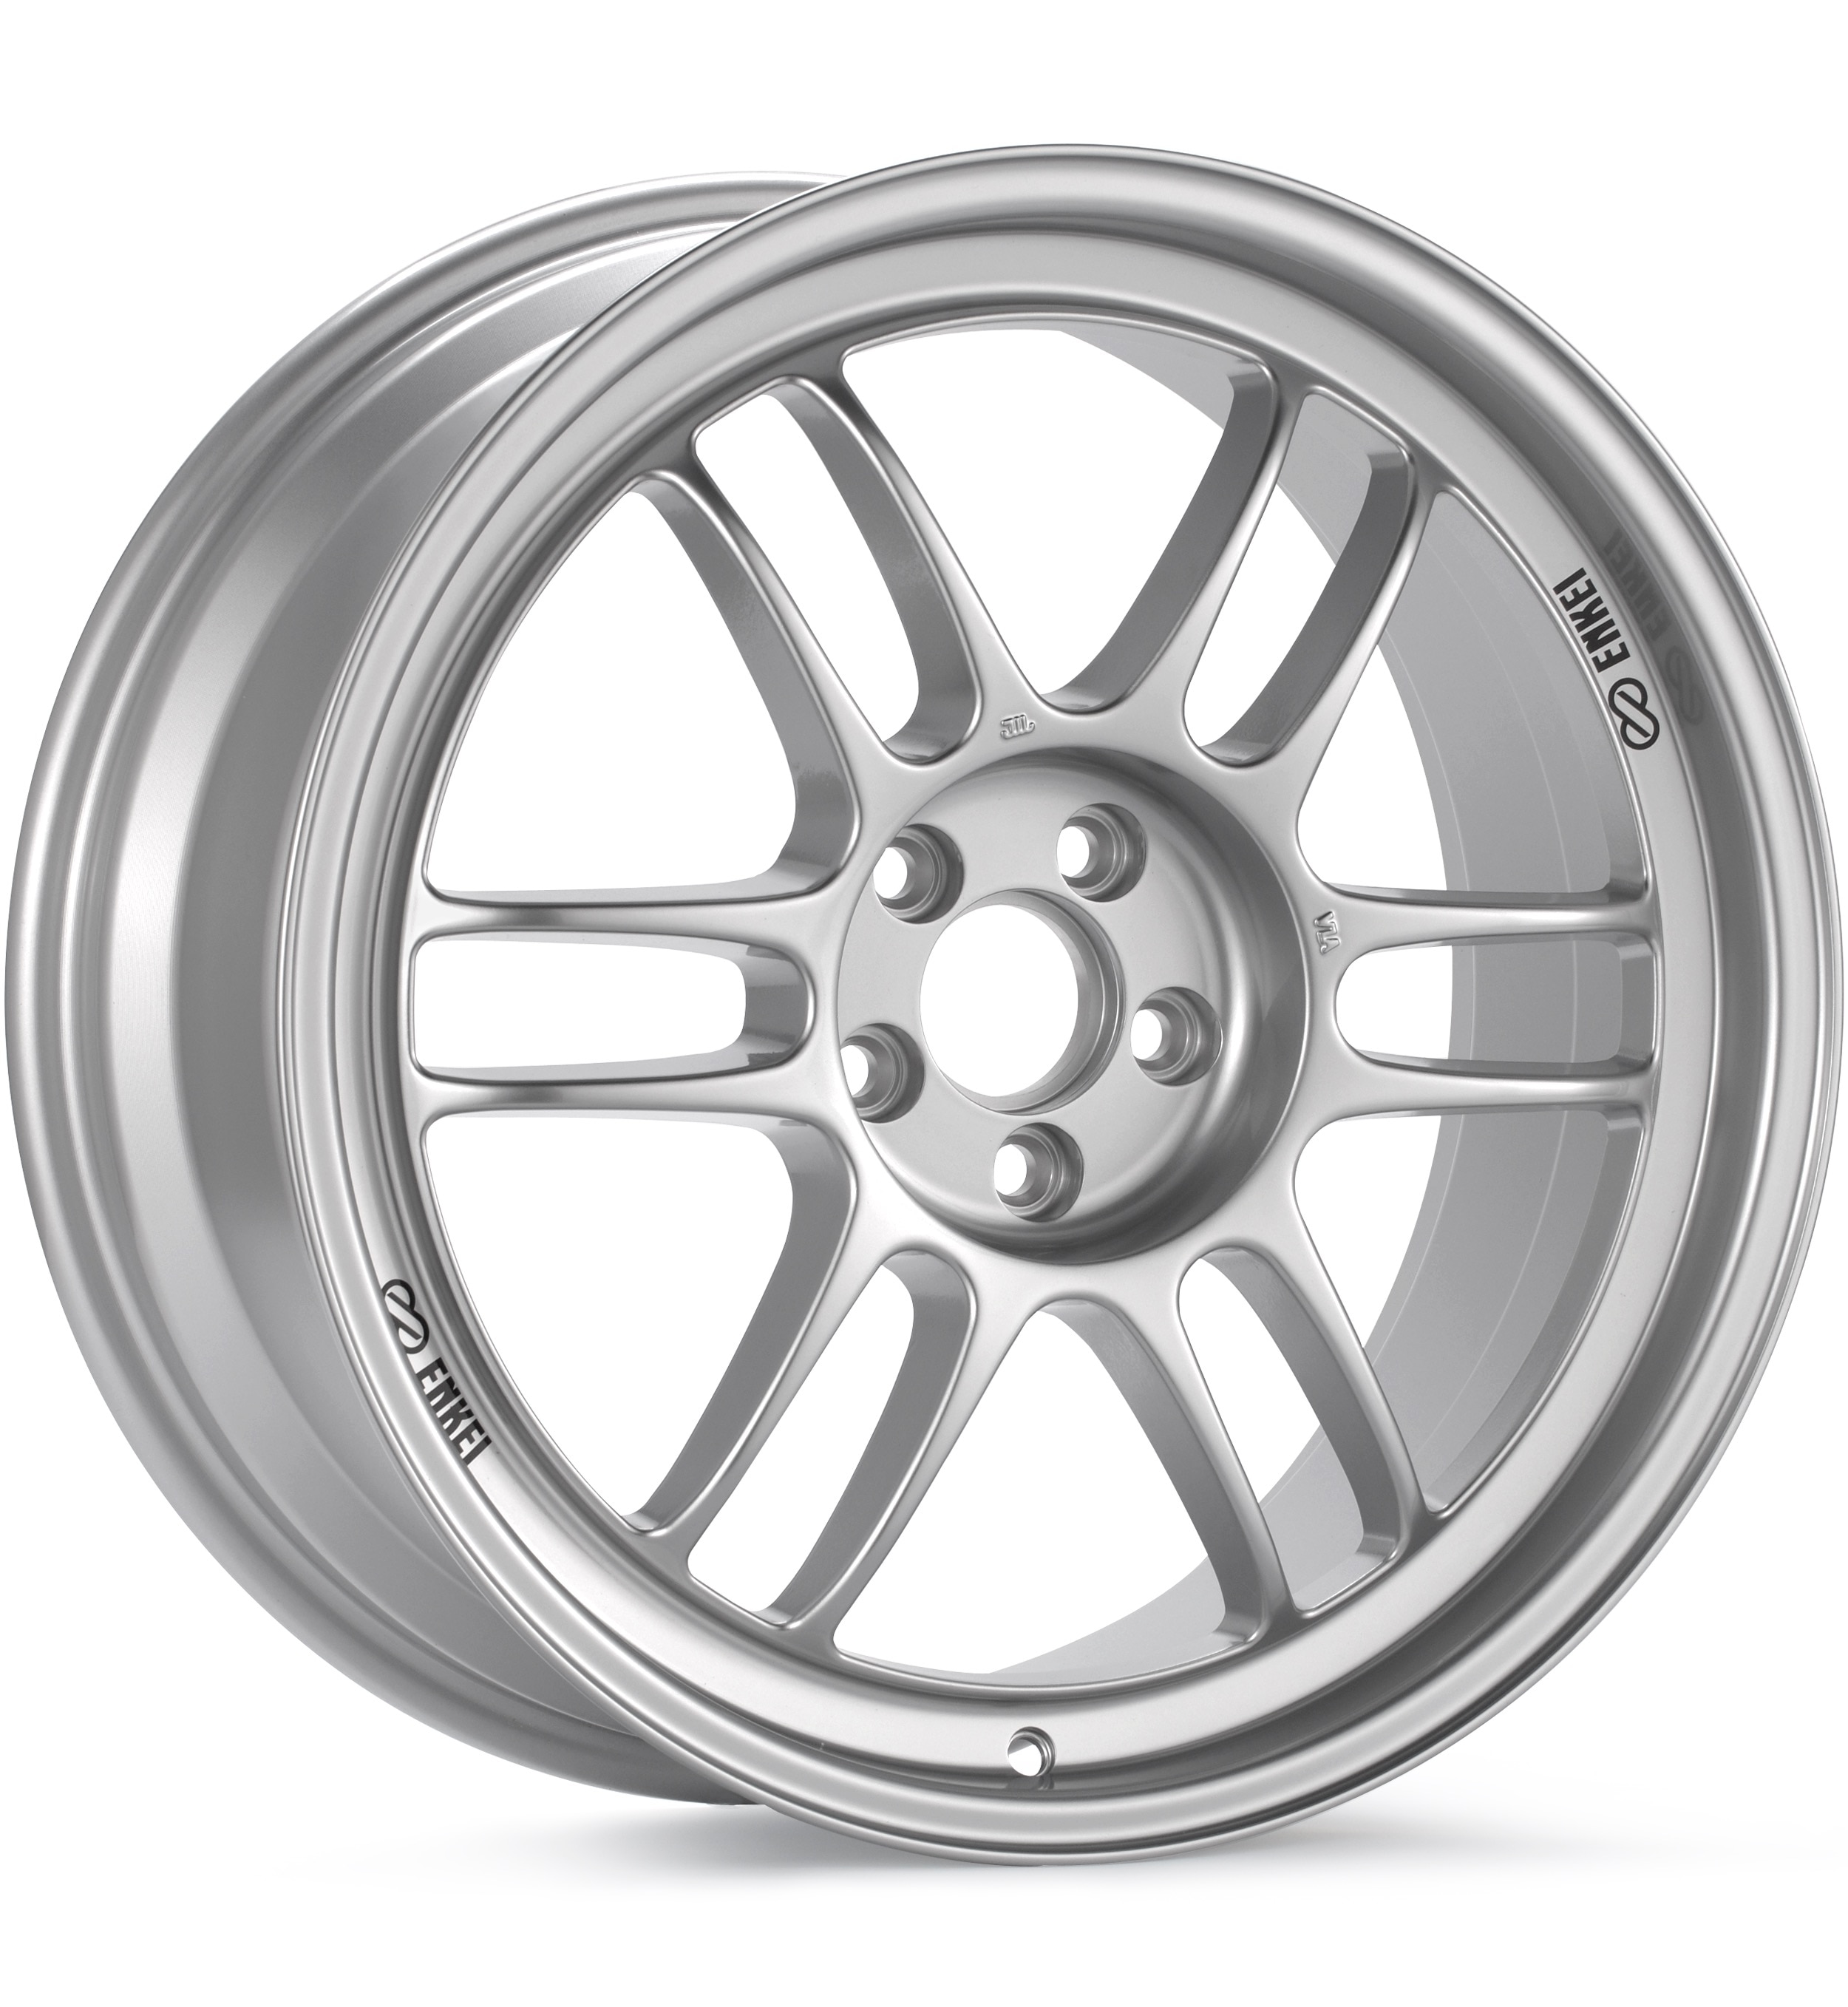
Enkei Racing
Bright Silver
16 × 7″ · ET +30
$270.00
View at Tire Rack ↗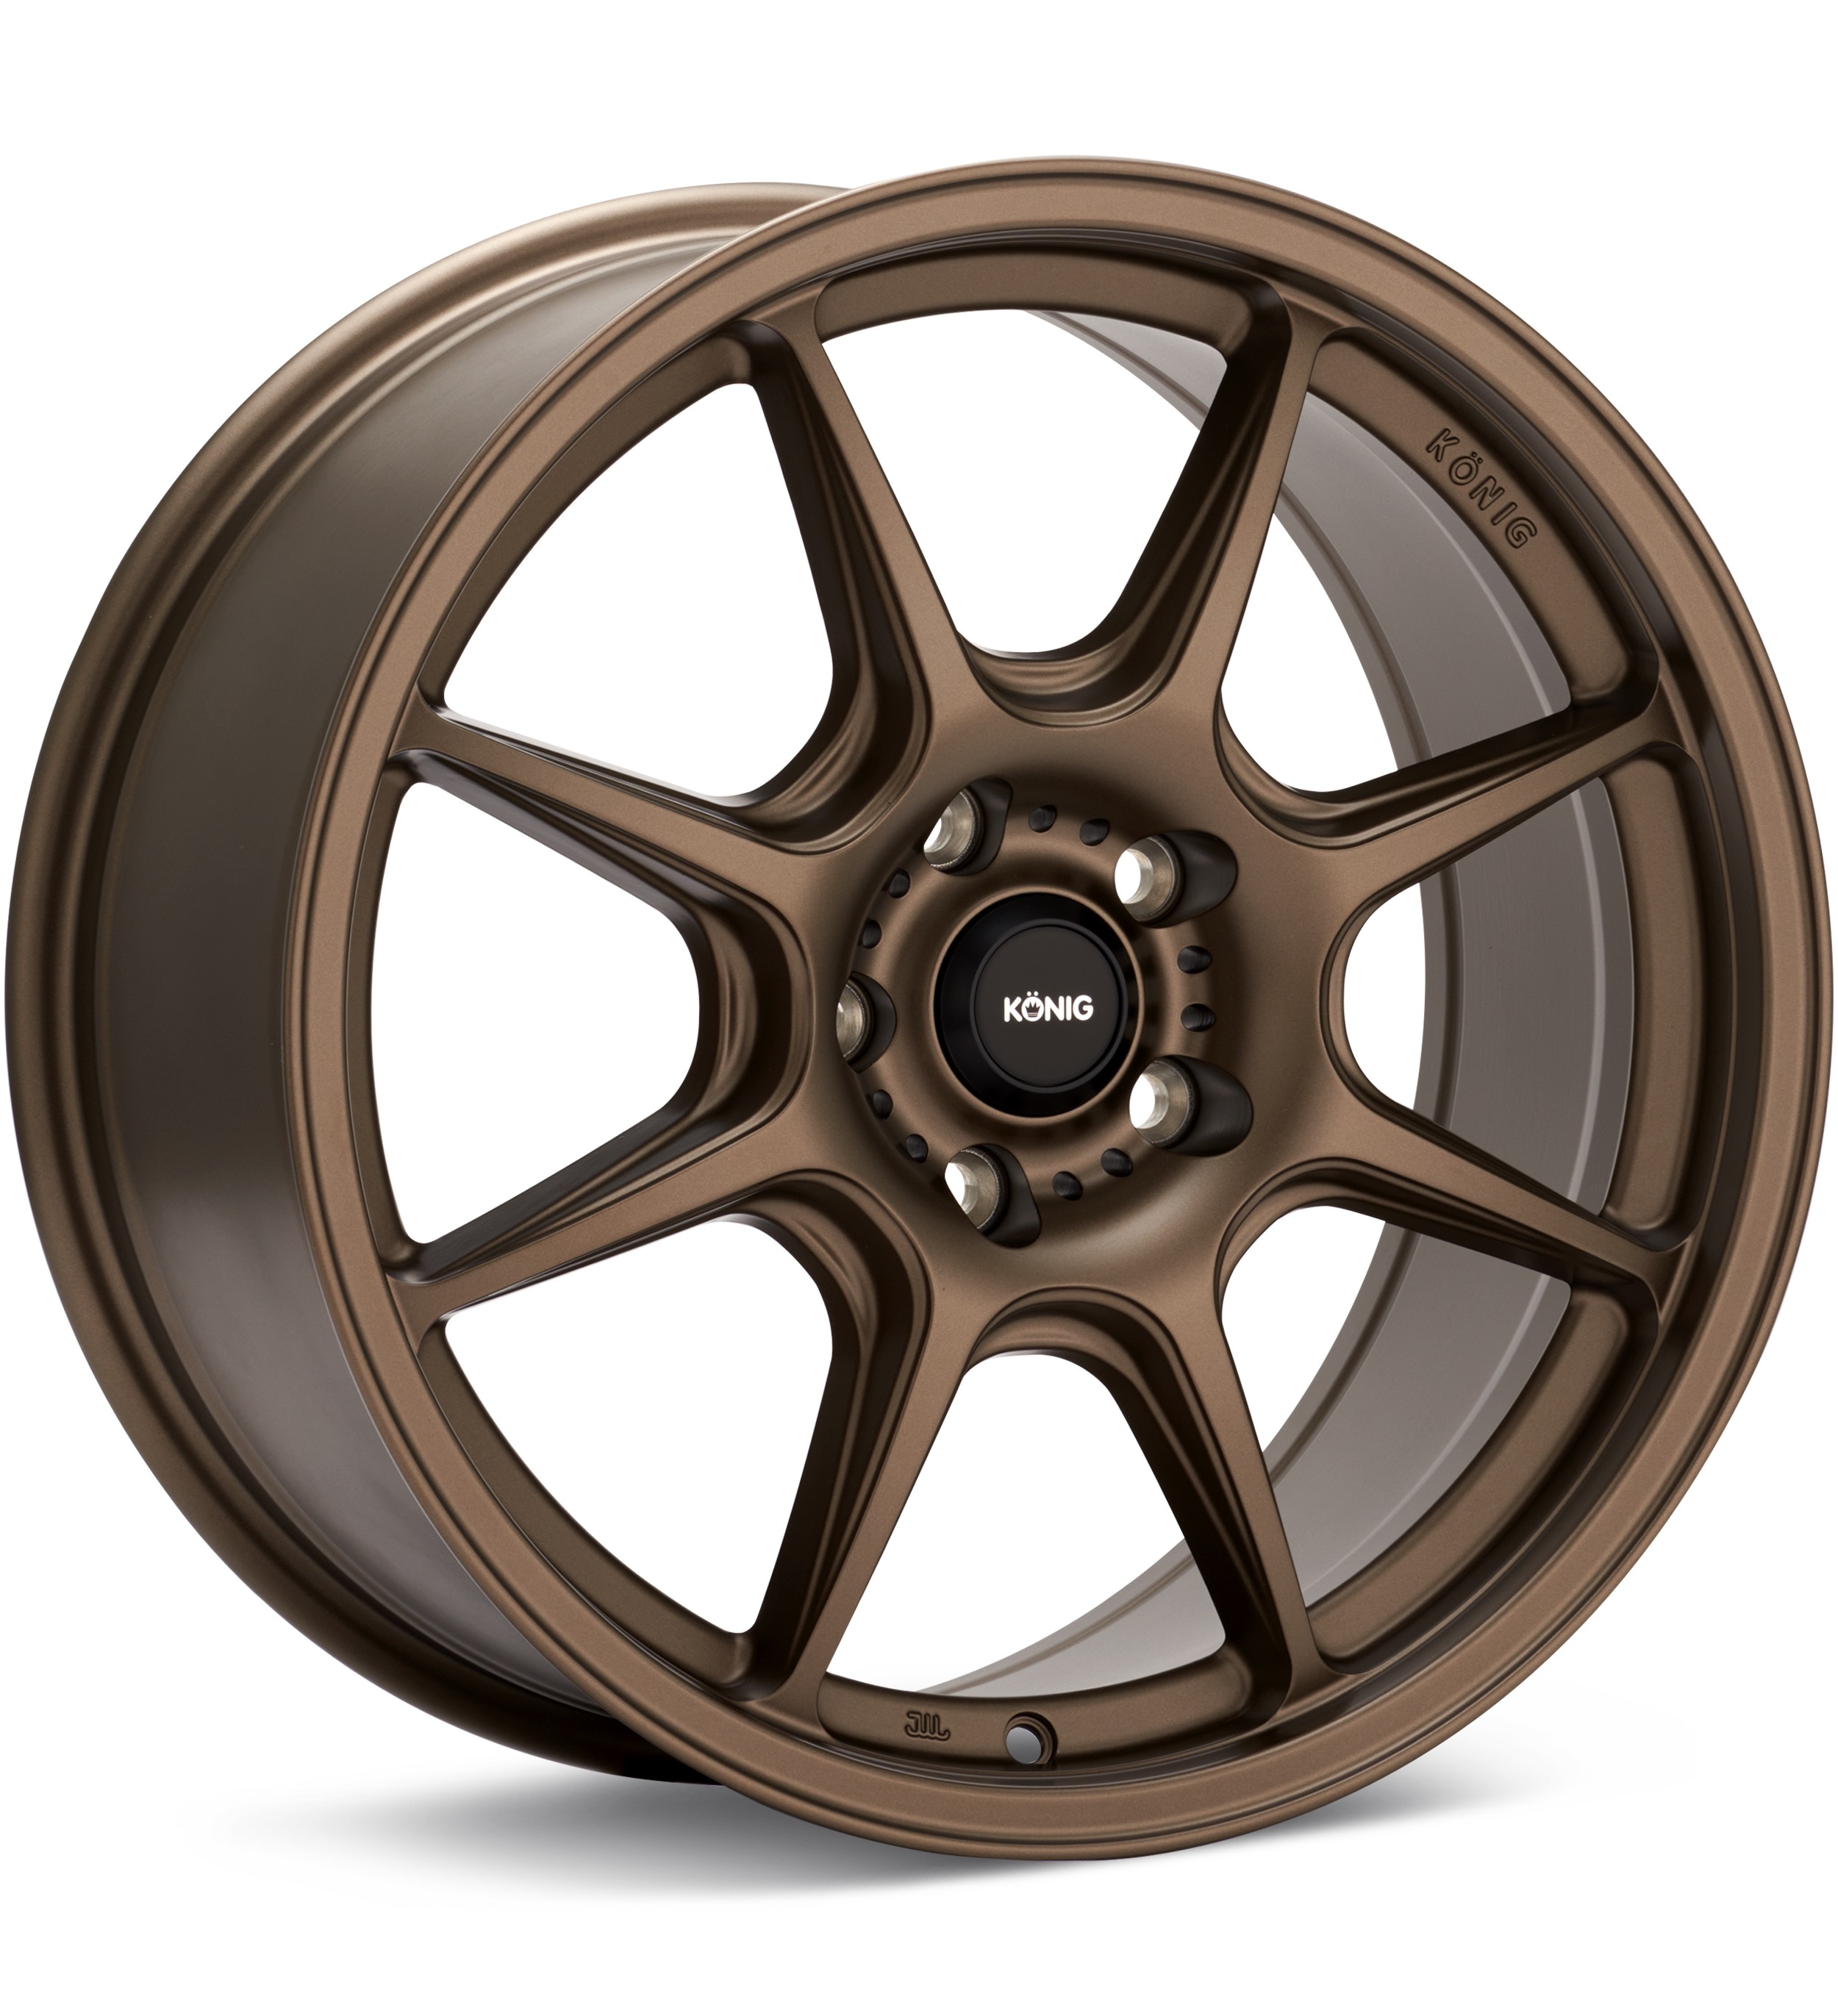
Konig
Matte Bronze
16 × 7.5″ · ET +40
$182.09
View at Tire Rack ↗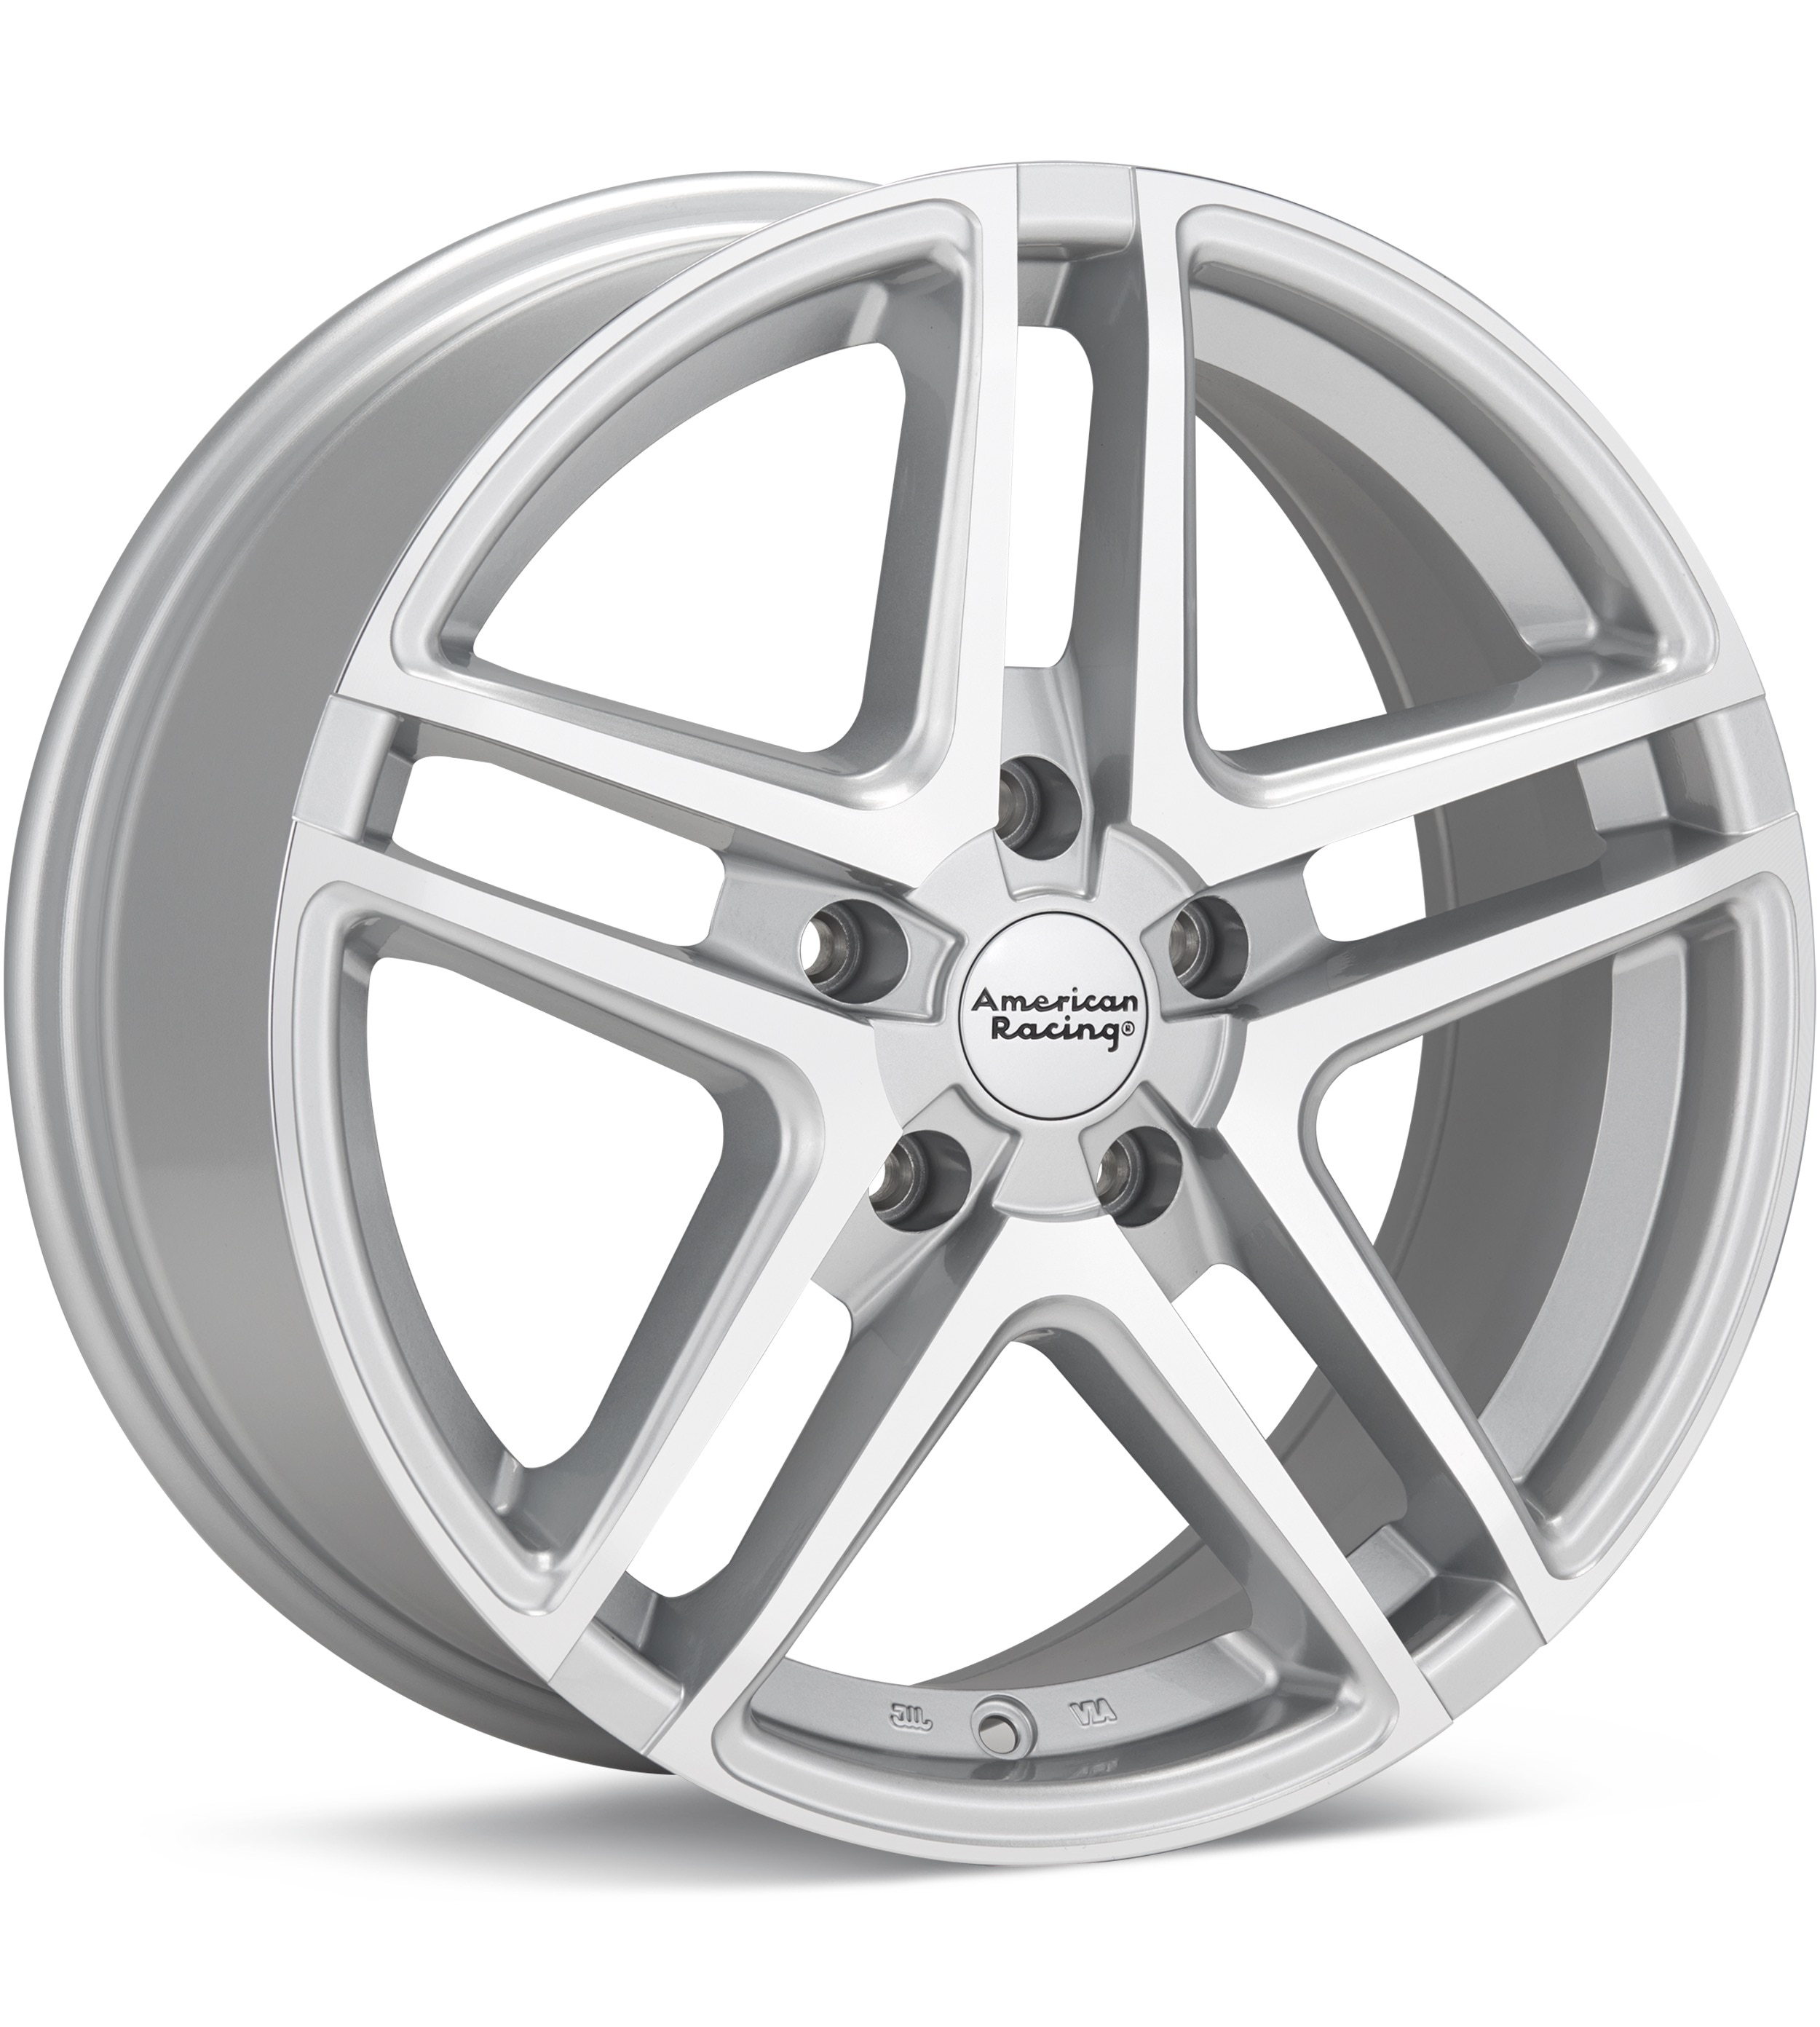
American Racing
Silver Machined w/Clearcoat
16 × 7″ · ET +40
$209.00
View at Tire Rack ↗We may earn a commission when you buy through these links. Prices and availability may change.
These are vehicle-year records whose recorded OEM ranges overlap this 1999 Honda Odyssey. Overlap is not a guarantee that a specific wheel will install. Selected-wheel comparison is in the calculator below.
Evaluated 139 donor years. Listed 24 eligible overlaps (not all evaluated years are compatible). Showing all listed.
Years grouped because recorded compatibility evidence is equivalent. Each year keeps its own page.
Approximate position vs the mid OEM package: outer change -3.18 mm, inner change -3.18 mm. This uses aggregated width/offset ranges, not a specific wheel.
Years grouped because recorded compatibility evidence is equivalent. Each year keeps its own page.
Recorded vehicle-side thread for the 1999 Honda Odyssey is M12x1.5. This donor year is recorded as M14x1.5. That is the vehicle stud/nut thread, not an intrinsic thread stamped on the wheel. Hardware must match this vehicle’s studs and the selected wheel’s seat and engagement. Existing hardware may be reusable if it already matches. Seat style is not in this dataset, so products are not a verified fit.
View M12 x 1.5 options on Amazon – thread match only; seat style is not verified.
Recorded vehicle-side thread differs (M14x1.5 on the donor year vs M12x1.5 on the target vehicle). Hardware must match the target vehicle’s studs and the selected wheel’s seat. Existing hardware may be reusable if it already matches. Seat style is not confirmed in this dataset. Approximate position vs the mid OEM package: outer change -1.17 mm, inner change -5.18 mm. This uses aggregated width/offset ranges, not a specific wheel.
Years grouped because recorded compatibility evidence is equivalent. Each year keeps its own page.
Recorded vehicle-side thread for the 1999 Honda Odyssey is M12x1.5. This donor year is recorded as M14x1.5. That is the vehicle stud/nut thread, not an intrinsic thread stamped on the wheel. Hardware must match this vehicle’s studs and the selected wheel’s seat and engagement. Existing hardware may be reusable if it already matches. Seat style is not in this dataset, so products are not a verified fit.
Center-bore records disagree (donor year-level hub 72.5 mm vs trim range 64.1–64.1 mm). Unqualified overlap is not claimed until the conflict is resolved. Recorded vehicle-side thread differs (M14x1.5 on the donor year vs M12x1.5 on the target vehicle). Hardware must match the target vehicle’s studs and the selected wheel’s seat. Existing hardware may be reusable if it already matches. Seat style is not confirmed in this dataset. Approximate position vs the mid OEM package: outer change -1.17 mm, inner change -5.18 mm. This uses aggregated width/offset ranges, not a specific wheel.
Years grouped because recorded compatibility evidence is equivalent. Each year keeps its own page.
Approximate position vs the mid OEM package: outer change -3.18 mm, inner change -3.18 mm. This uses aggregated width/offset ranges, not a specific wheel.
Only years with evidence-based interchange relationships are listed. Adjacent years are not assumed compatible.
Compare a donor vehicle or custom wheel against this 1999 Honda Odyssey. Use Compare in calculator on a donor row above to fill the donor side of this same calculator.
Compare wheel compatibility between two vehicles
1999 Honda Odyssey





Example products matched to recorded thread, hub, or spacer dimensions. They are not verified fits. Confirm seat style, thickness, and clearance before ordering.
M12 x 1.5
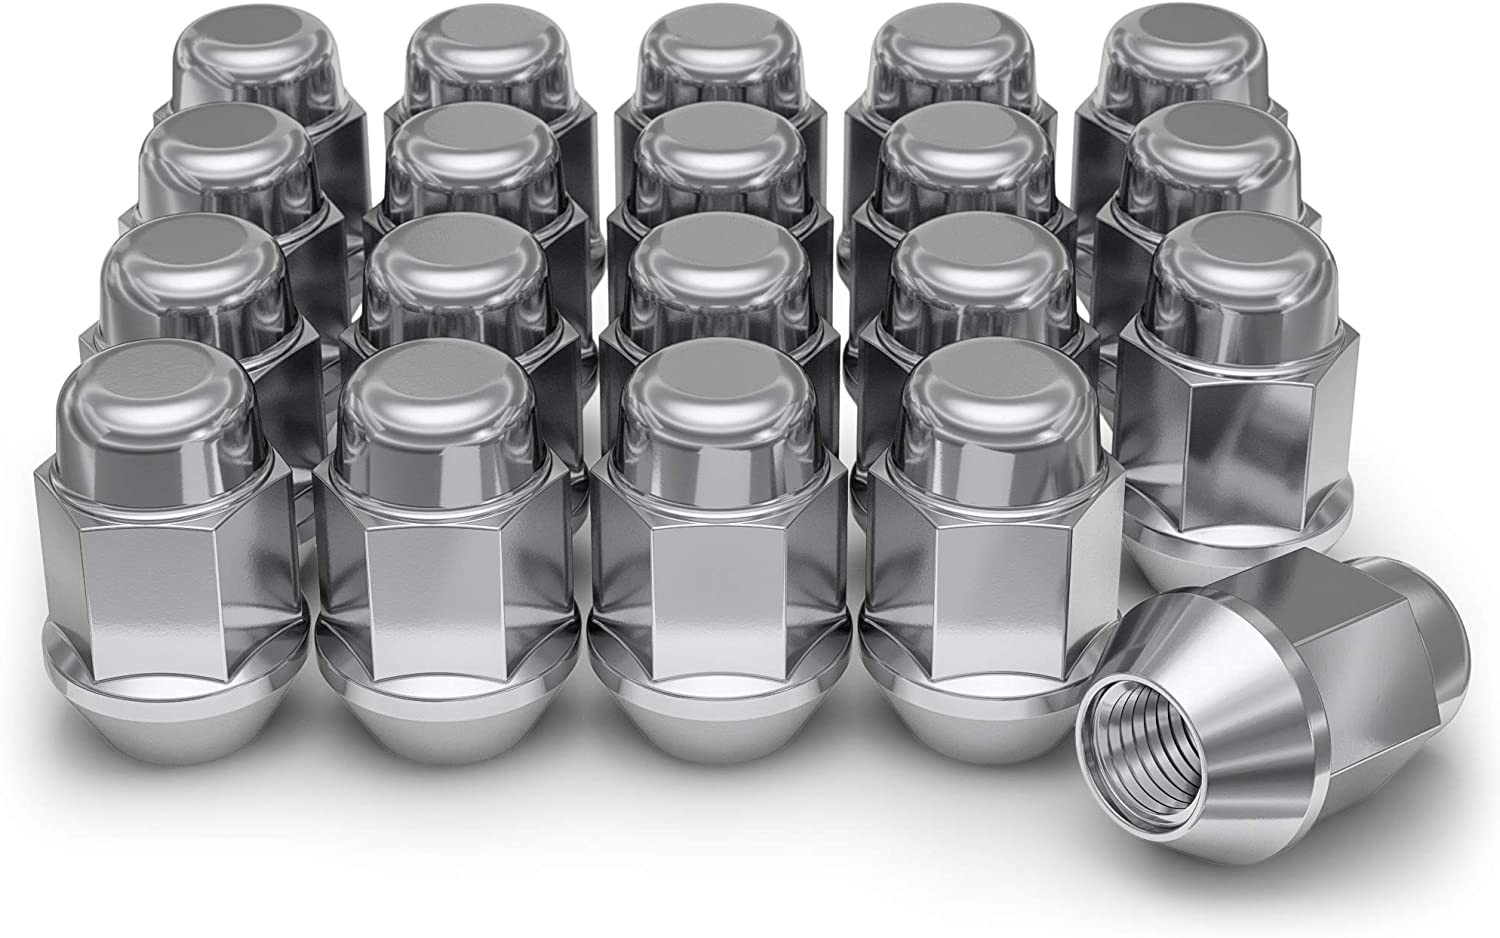
M12 x 1.5 · Thread match only; seat style is not verified
View on Amazon →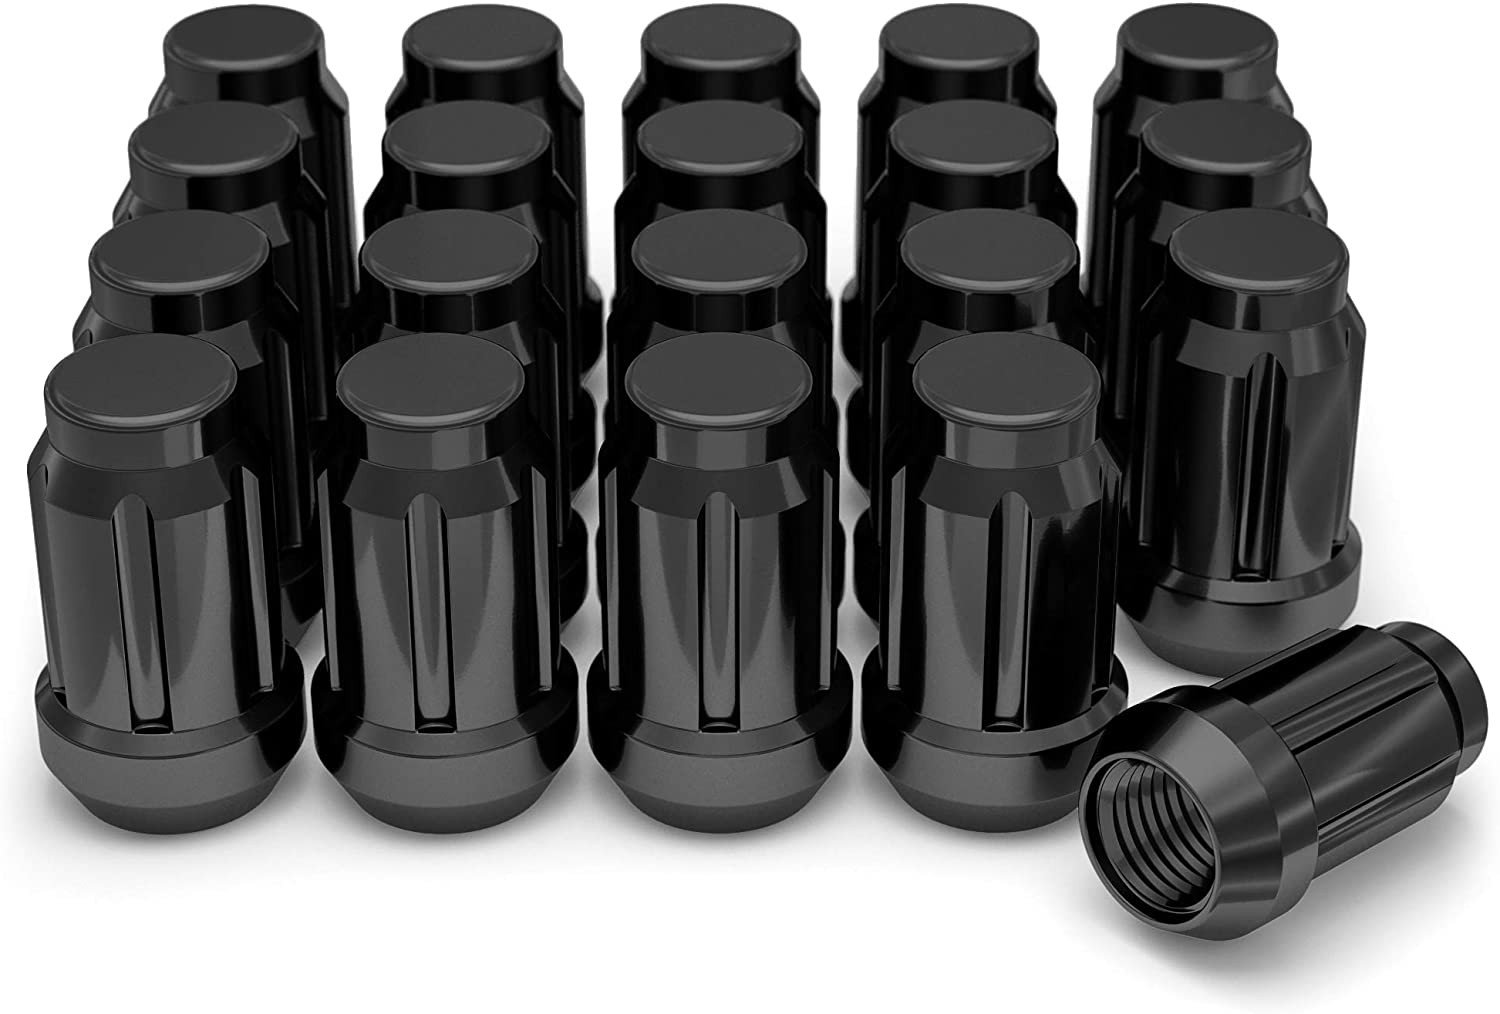
M12 x 1.5 · Thread match only; seat style is not verified
View on Amazon →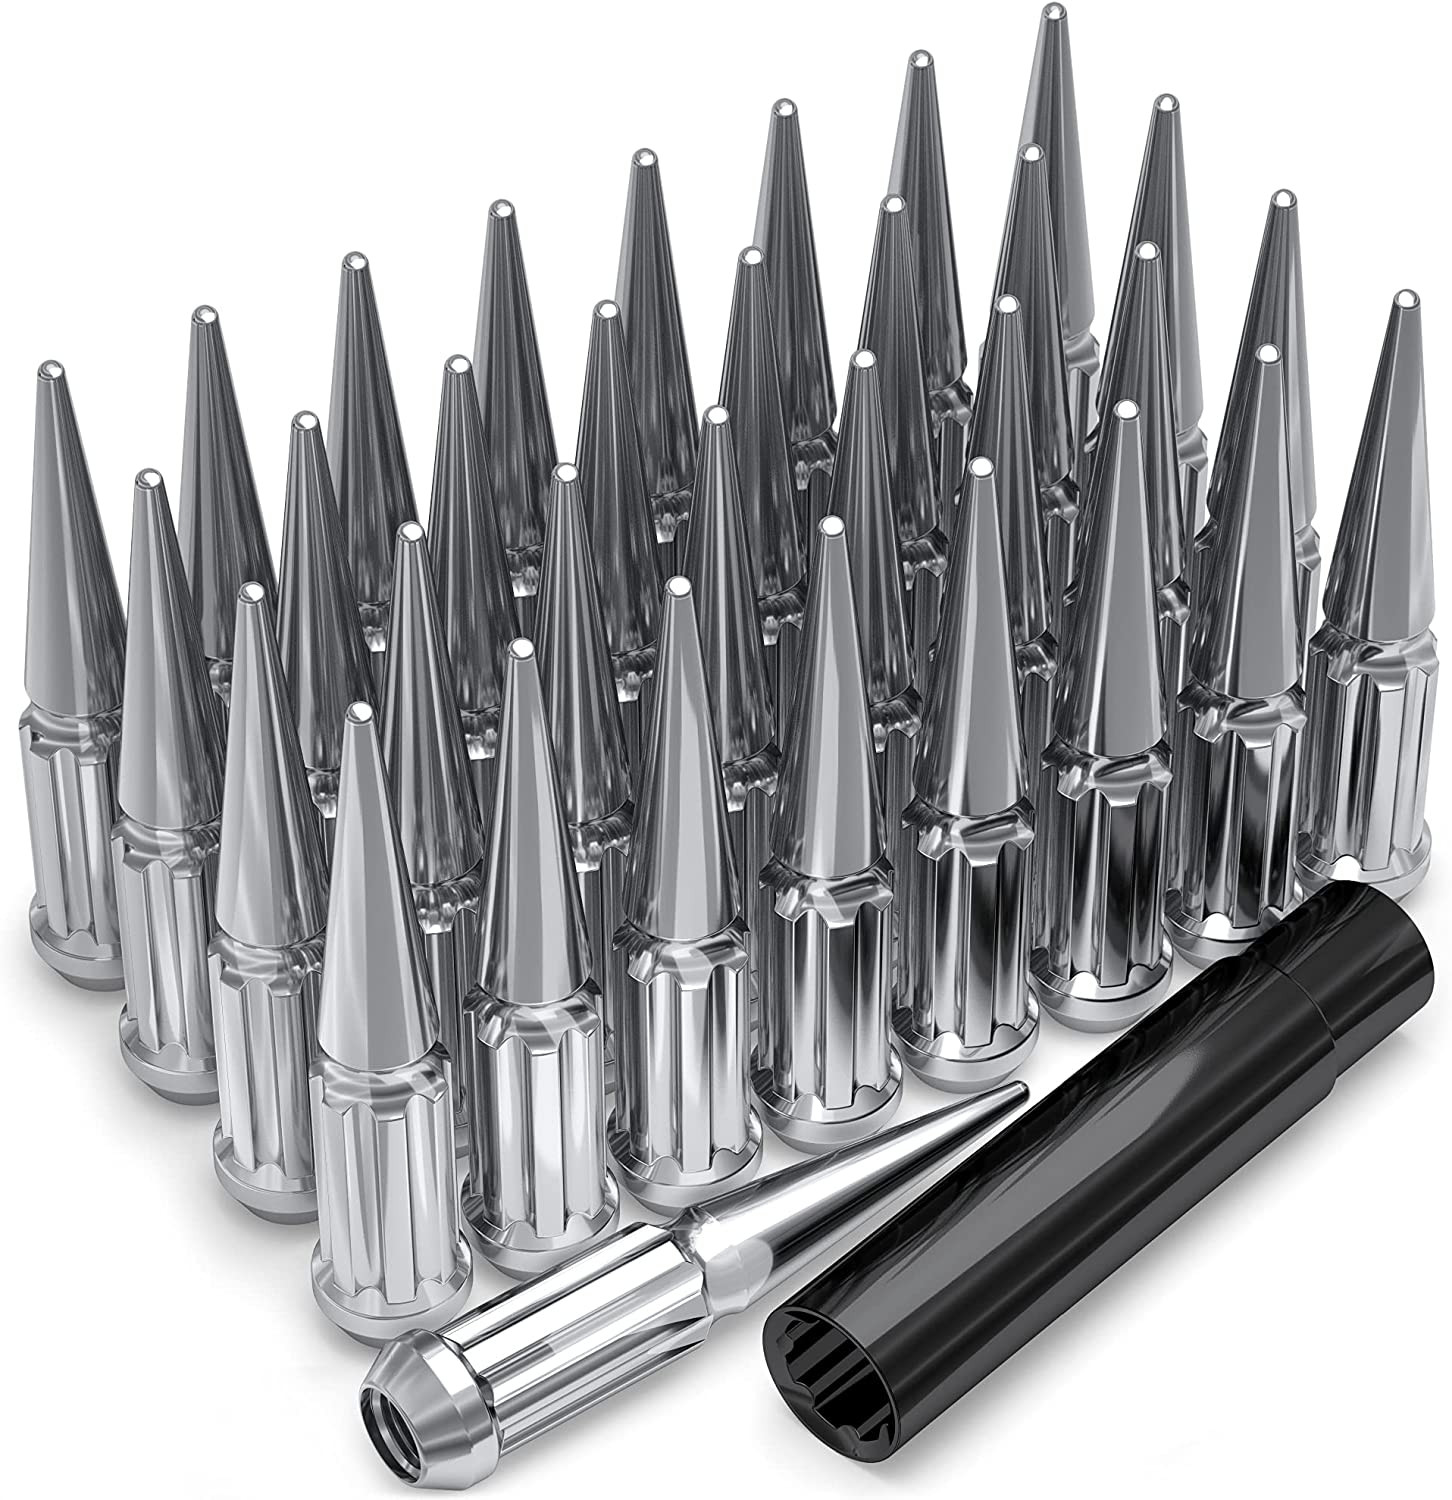
M12 x 1.5 · Thread match only; seat style is not verified
View on Amazon →As an Amazon Associate we earn from qualifying purchases. Product availability and pricing may change.
Use this 1999 Honda Odyssey wheel interchange guide to compare wheel dimensions, tire sizing, and installation requirements before purchasing replacement or donor wheels. The specifications below are the known values supplied for this page. Honda equipment can vary by trim, package, market, and wheel setup, so confirm the vehicle label, owner’s manual, service information, and the markings on the existing wheels before ordering.
| Specification | Known value | Verification note |
|---|---|---|
| Bolt pattern | 5x114.3 | Five studs on a 114.3 mm pitch circle diameter |
| Center bore | 64.1 mm | Check that the wheel hub opening is compatible or use correctly sized hub-centric rings where appropriate |
| Thread size | M12 x 1.5 | Confirm lug nut seat type and thread engagement before installation |
| Rim diameter | 17 inches | Verify against the wheel marking and vehicle documentation |
| Rim width | 7.0 inches | Confirm the stamped width on the wheel |
| Wheel offset | ET50 | Offset affects clearance to suspension parts and the fender |
| Backspacing | 5.47 inches | Compare with the actual wheel and account for wheel width and offset |
| Tire section width | 215 mm | Part of the supplied tire-size data |
| Tire aspect ratio | 65% | Part of the supplied tire-size data |
| Tire rim diameter | R16 | The supplied tire data indicates a 16-inch tire rim diameter |
The supplied wheel diameter is 17 inches while the supplied tire rim diameter is R16. These values do not describe the same mounted wheel and tire combination. Do not use a 16-inch tire on a 17-inch wheel, or vice versa. Confirm the complete tire marking on the sidewall and the wheel diameter stamped on the back of the wheel before purchase. If any specification differs by trim or source, use the calculator and verify the final choice against Honda OEM information.
Use the wheel interchange calculator on this page to compare “Wheels from (donor vehicle)” with “Installed on (your vehicle).” Enter the donor wheel information and the known or confirmed specifications for your 1999 Honda Odyssey.
Plus sizing changes the wheel diameter while maintaining a similar overall tire diameter by using a lower-aspect-ratio tire. This may improve steering response, but it can also reduce sidewall cushioning and increase the risk of wheel or tire damage from potholes. A larger wheel may also create brake, suspension, fender, and spare-tire clearance issues.
Because the supplied data includes both a 17-inch rim diameter and an R16 tire rim diameter, do not assume either is the correct complete setup for every 1999 Honda Odyssey. Enter your actual wheel and tire markings into the calculator, then compare the resulting overall diameter and clearances. Confirm any proposed upgrade with Honda documentation and a qualified tire or wheel professional.
Do not select a tire solely because its section width or aspect ratio looks similar. Overall diameter, load capacity, rim-width range, wheel offset, and clearance all matter. Avoid changes that could cause rubbing, alter speedometer accuracy substantially, reduce load capacity, or interfere with vehicle safety systems.
Useful equipment includes a calibrated torque wrench, socket set, breaker bar, jack and properly rated jack stands, wheel chocks, a tire pressure gauge, a tread-depth gauge, and a straightedge or measuring tool for clearance checks.
Use only lifting equipment rated for the vehicle and support the vehicle with jack stands on solid, level ground. Never work under a vehicle supported only by a jack.
What is the bolt pattern for the 1999 Honda Odyssey?
The known bolt pattern provided for this page is 5x114.3. Confirm the pattern before buying used or aftermarket wheels.
What is the center bore?
The known center bore is 64.1 mm. The wheel's center opening must not be smaller than the vehicle hub. If the opening is larger, correct hub-centric rings may be needed when appropriate.
What lug thread size is listed?
The supplied thread size is M12 x 1.5. The correct lug nut seat style and required thread engagement must also be confirmed for the specific wheel.
Can I install the supplied R16 tire data on a 17-inch wheel?
No. A tire marked for a 16-inch rim must be mounted on a 16-inch wheel. The supplied 17-inch rim and R16 tire values should be verified because they do not form one compatible wheel and tire assembly.
Does a matching 5x114.3 pattern guarantee that a donor wheel fits?
No. Center bore, offset, width, brake clearance, lug-seat design, tire size, load rating, and fender clearance must also be checked.
How do I compare a custom wheel?
Enter the donor vehicle or wheel in the calculator, then use “Custom wheel size” to enter rim diameter, width, and offset. Use “Custom tire size” for section width and aspect ratio. Review the dimensional changes and physically verify clearance before driving.
Where can I confirm the final specifications?
Check the wheel markings, tire sidewall, vehicle door-jamb label, owner's manual, Honda service information, and a reputable wheel or tire professional. If these sources conflict, do not install the wheel until the discrepancy is resolved.
Wheel interchange depends on more than bolt pattern. Where data is available, this site compares recorded OEM values:
A normal wheel spacer does not change bolt pattern. Hub rings cannot enlarge a wheel bore that is smaller than the hub. Brake clearance and tire package fitment still require vehicle-specific checks when not confirmed in the dataset.
