1998 Honda Prelude Wheel Fitment Guide
Known OEM Fitment For 1998 Honda Prelude
The following specifications are the known OEM fitment values available for the 1998 Honda Prelude. Fitment can vary by trim, market, wheel design, brake package, and replacement parts, so confirm the markings on your vehicle and compare measurements before ordering.
| Specification |
Known value |
| Bolt pattern, studs x PCD |
5x114.3 |
| Center bore |
64.1 mm |
| Thread size |
M12 x 1.5 |
| Rim diameter |
16 inches |
| Rim width |
6.5 inches |
| Wheel offset |
ET55 mm |
| Backspacing |
5.42 inches |
| Tire size information |
205 mm section width, 50 percent aspect ratio, 16-inch rim diameter |
Use the known values as a starting point, not as a substitute for checking the vehicle. Confirm the bolt pattern, center bore, offset, brake clearance, and tire clearance before installation. The on-page calculator can help compare wheel and tire dimensions, but it does not physically test clearance.
How To Use The Wheel Interchange Calculator
Start by selecting the donor vehicle under Wheels from and the 1998 Honda Prelude under Installed on. The comparison is most useful when the donor wheel specifications are known and entered correctly.
Review the donor wheel diameter, width, offset, bolt pattern, and center bore against the known Prelude values. A wheel can share the same bolt pattern and still fail to fit because of center-bore, brake, suspension, fender, or inner clearance issues.
For a custom setup, use Custom wheel size to adjust rim diameter, rim width, and offset. Use Custom tire size to enter the tire section width and aspect ratio. When you change rim diameter, the calculator updates the tire diameter in the comparison, helping you evaluate overall size changes.
Use the calculator to identify dimensional differences, then confirm the final combination with the wheel manufacturer, tire manufacturer, and an in-person test fit when possible. Keep the original wheel and tire specifications available as a reference.
Fitment Checklist Before You Buy
Confirm that the wheel uses the 5x114.3 bolt pattern and is designed for M12 x 1.5 wheel hardware. Check whether the wheel center bore is exactly 64.1 mm or larger with an appropriate hub-centric solution. A smaller center bore will not fit over the hub.
Compare the proposed diameter, width, and offset with the known 16 x 6.5 wheel and ET55 reference. Offset changes can move the wheel inward toward suspension components or outward toward the fender. Wheel width changes also affect both inner and outer clearance.
Verify brake caliper clearance, spoke clearance, suspension clearance, fender clearance, and tire sidewall clearance. Do not rely only on bolt-pattern compatibility or a listing that says a wheel is universal.
Check the tire load rating, speed rating, approved rim-width range, and overall diameter. Confirm that the tire does not rub during steering lock, suspension compression, or when the vehicle is loaded. If clearance is uncertain, have a qualified tire or wheel technician inspect the setup.
Before purchase, verify the exact trim and market specification using the vehicle identification number, the owner’s manual, the original wheel markings, and Honda or wheel manufacturer documentation. The provided data may not cover every factory variation.
Plus Sizing And Common Upgrades
Plus sizing generally means fitting a larger-diameter wheel with a lower-aspect-ratio tire while maintaining a similar overall tire diameter. This can change steering response and appearance, but it may also reduce ride comfort and increase the risk of wheel or tire damage from potholes.
No specific upgraded wheel or tire size is confirmed here beyond the known OEM reference. Use the calculator to model a proposed diameter, width, offset, section width, and aspect ratio rather than assuming that a popular upgrade will fit.
When comparing tire sizes, pay attention to overall diameter, tread width, sidewall height, load rating, speed rating, and the tire maker’s approved wheel-width range. A wider tire may increase contact with suspension parts or the fender even when its calculated diameter appears acceptable.
After changing wheel or tire dimensions, check the speedometer, steering feel, ride height, alignment, and clearance. A professional alignment and a controlled clearance inspection are recommended after any substantial change.
Installation Tips
Inspect each wheel for cracks, bends, corrosion, damaged mounting seats, and unclear or missing specifications. Clean the hub and wheel mounting surfaces before installation. Do not use spacers, adapters, or extended hardware unless their compatibility, load rating, and installation requirements are verified.
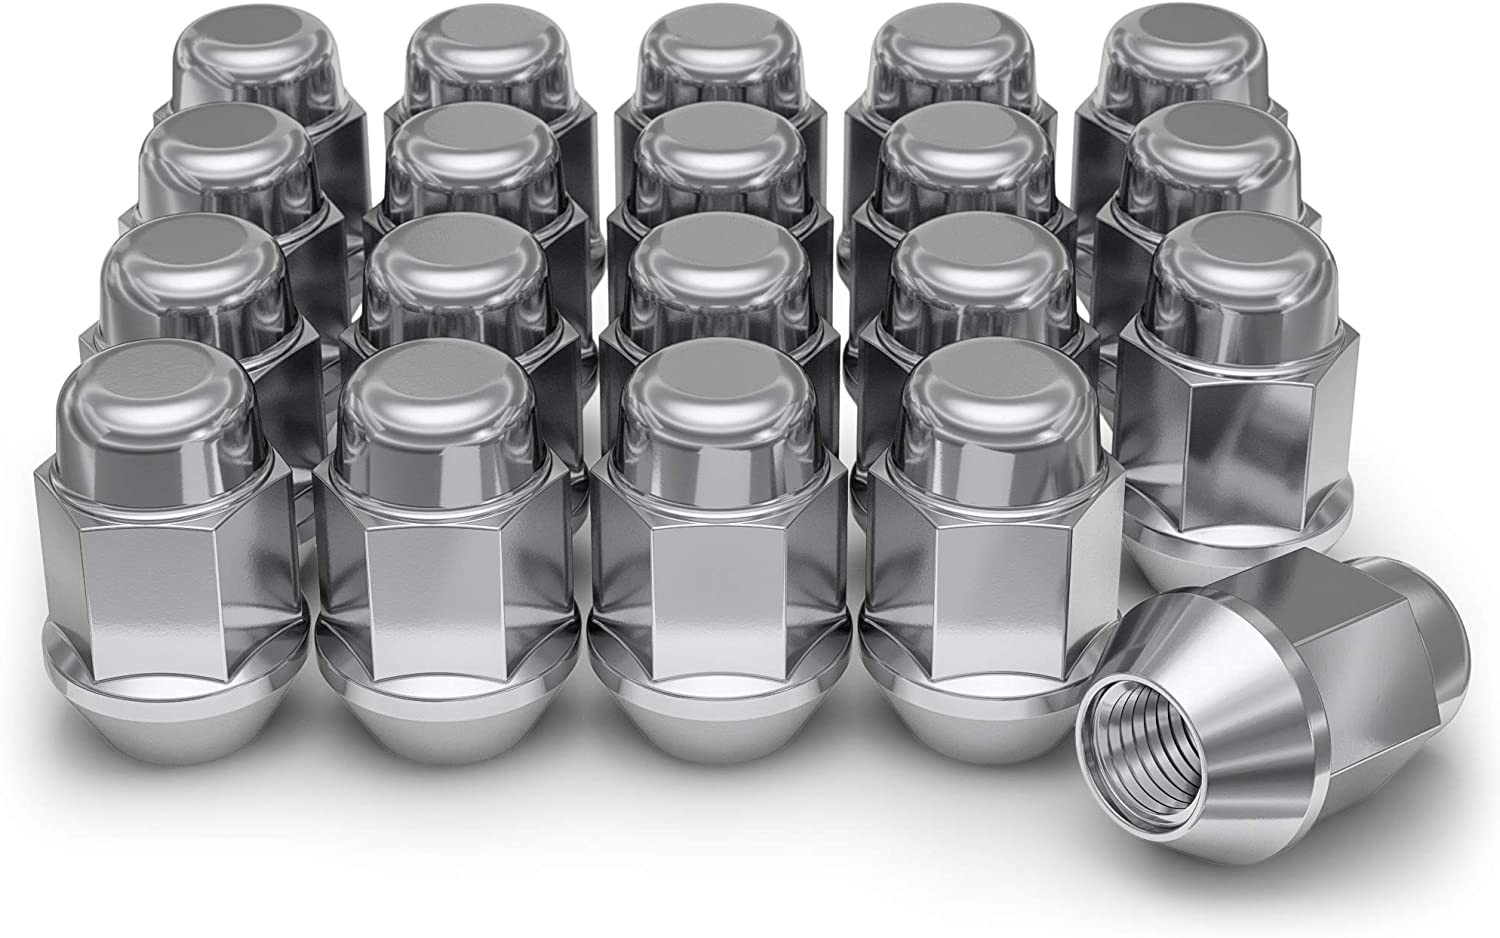
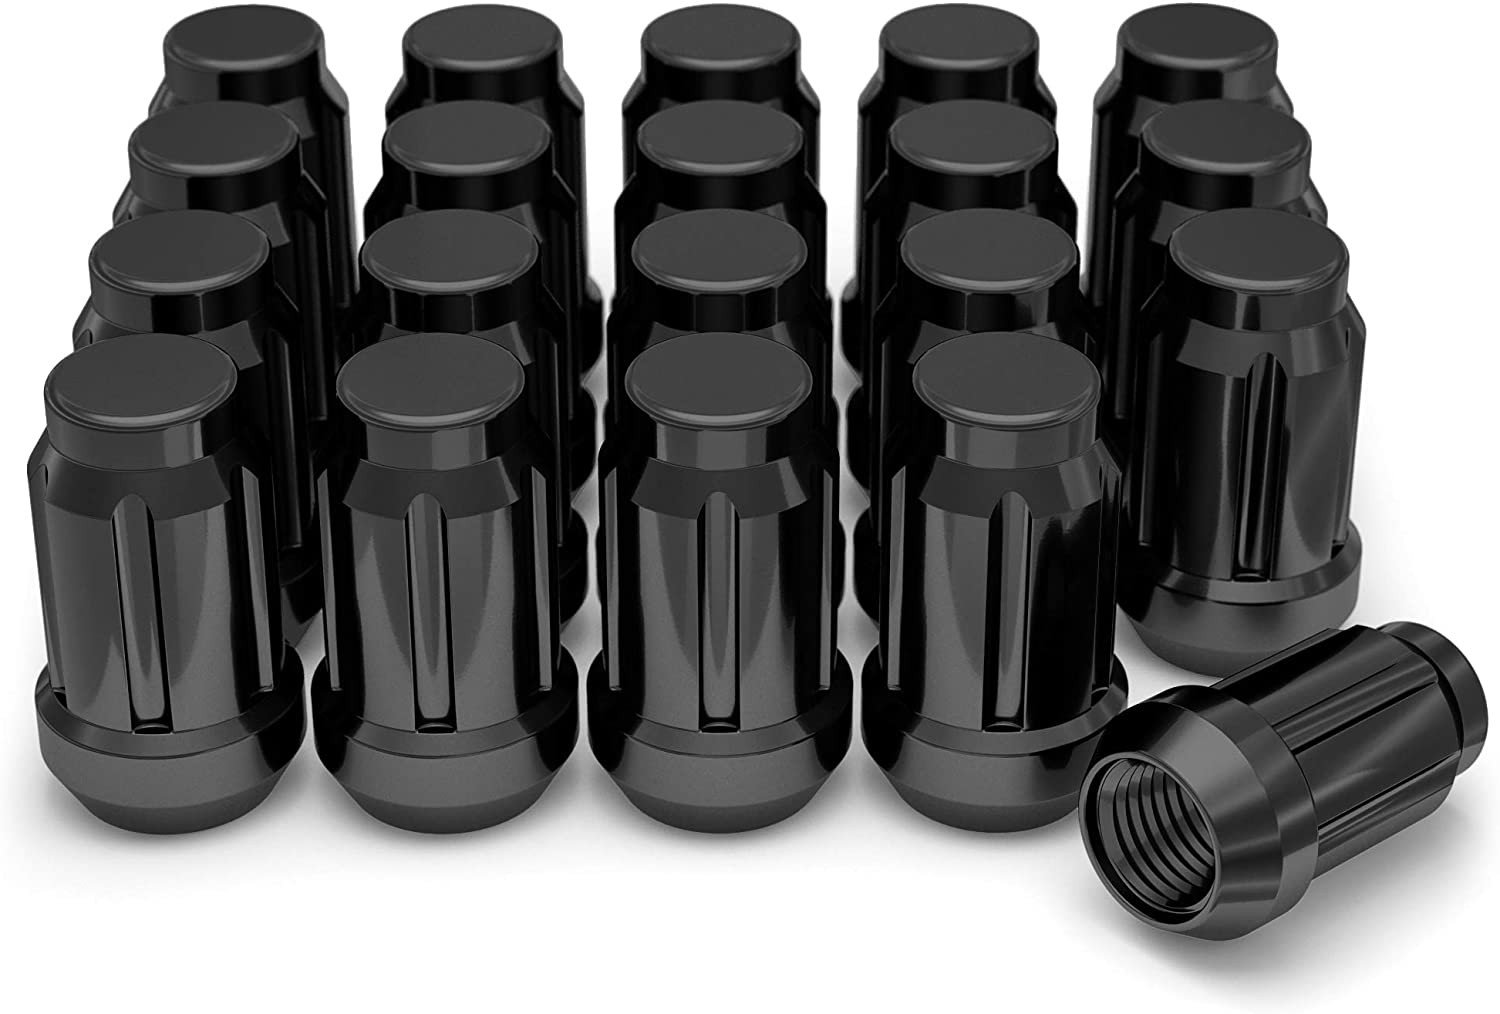
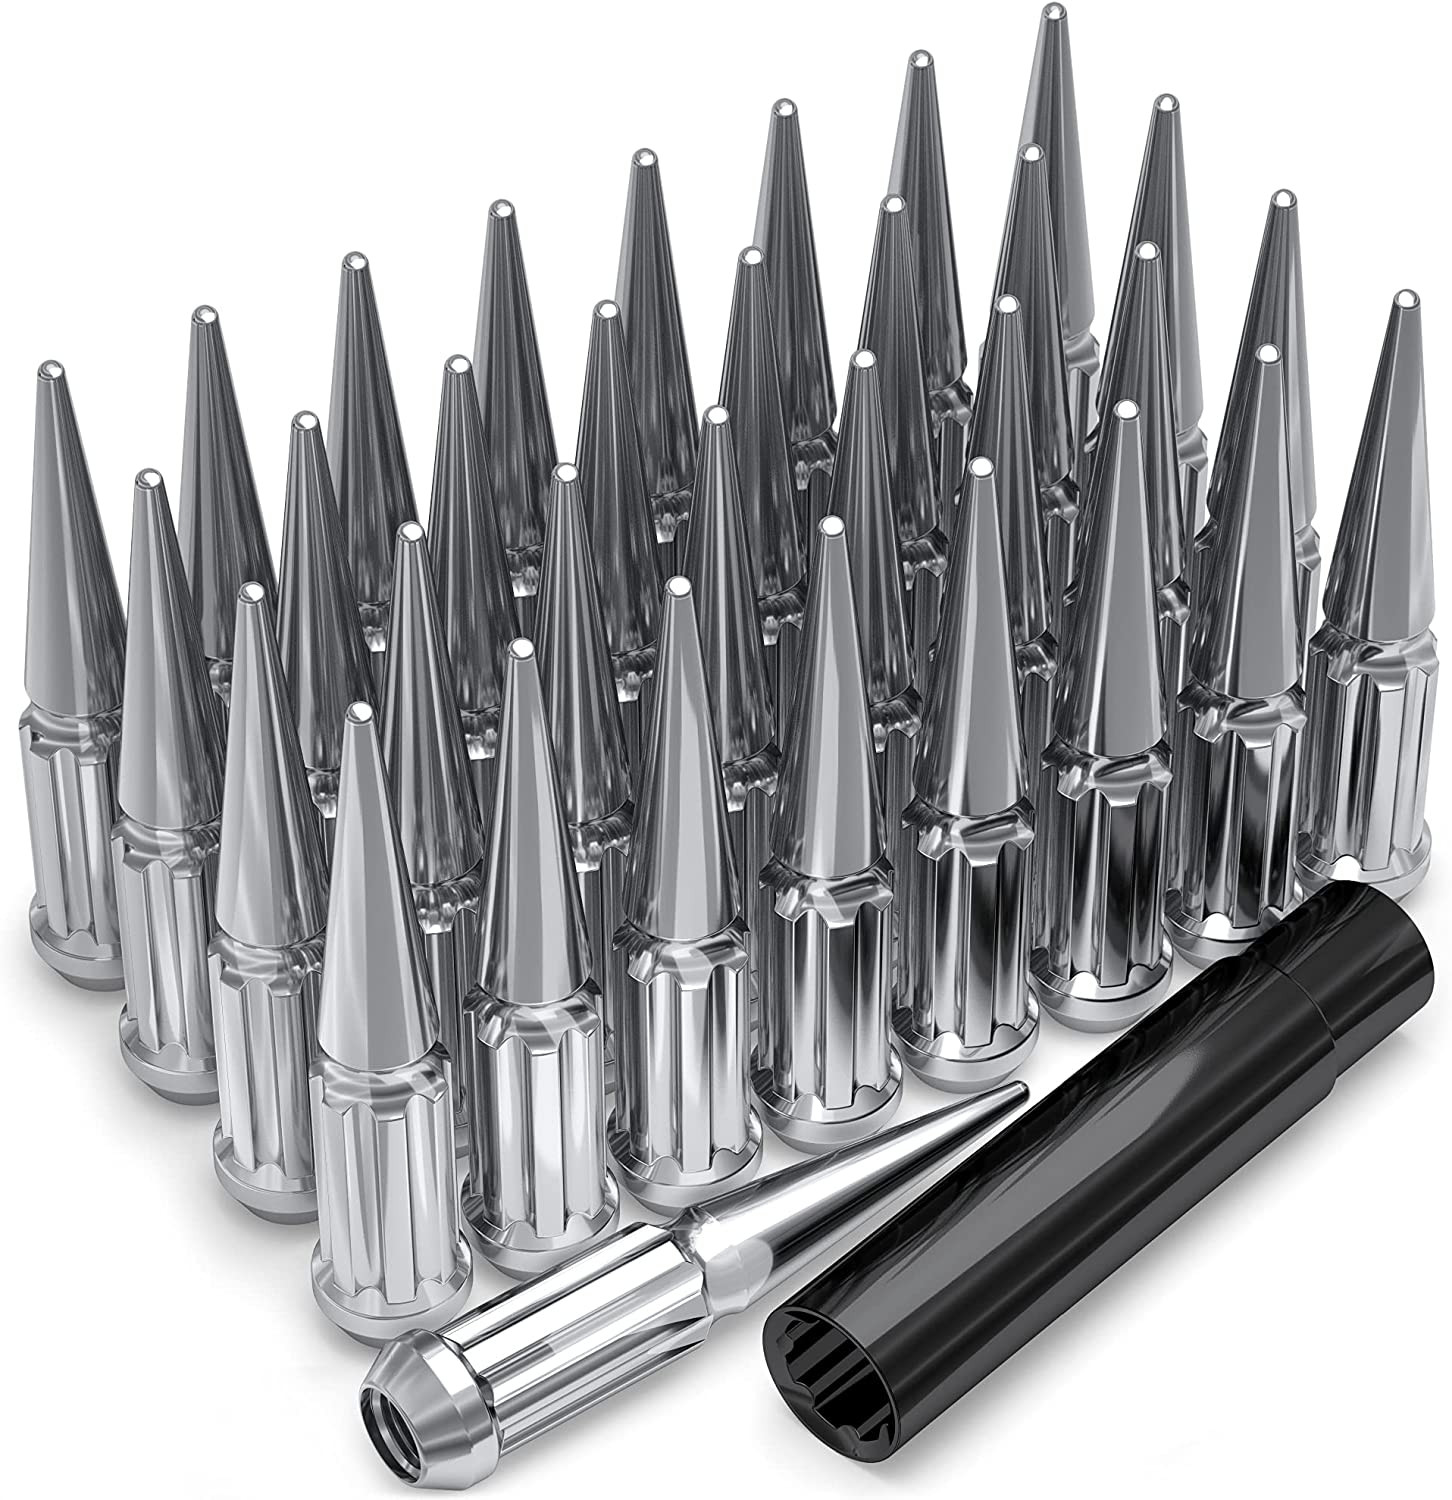
Use the correct lug nuts for the wheel’s seat type and thread requirements. M12 x 1.5 describes the thread size, but it does not by itself identify the correct lug-nut seat or length for every aftermarket wheel.
Install wheels with the vehicle supported safely on suitable stands or a lift. Tighten the lug nuts in a star pattern, then torque them to the vehicle or wheel manufacturer’s specified value. Do not guess the torque specification.
After installation, rotate each wheel by hand where safe and inspect for contact. Lower the vehicle, recheck lug torque according to the manufacturer’s instructions, and inspect again after a short drive. Stop immediately if you feel vibration, rubbing, pulling, or unusual noise.
Tools And Helpful Supplies
Useful equipment includes a properly rated floor jack, jack stands, a torque wrench, a socket set, a tire-pressure gauge, and a tread or clearance measuring tool. Choose lifting equipment based on the vehicle manufacturer’s approved lift points and the equipment’s rated capacity.
A torque wrench can help apply the specified wheel-hardware torque accurately. A set of wheel chocks can help prevent vehicle movement during service, but chocks do not replace jack stands or other approved support equipment.
For center-bore evaluation, use a digital caliper to measure the wheel bore and hub dimensions. Measure carefully and confirm the result against manufacturer specifications. Keep a tire-pressure gauge available for setting and checking pressure after installation.
FAQs
What is the bolt pattern for the 1998 Honda Prelude?
The known bolt pattern is 5x114.3, meaning five studs on a 114.3 mm pitch circle diameter. Confirm the vehicle and wheel specifications before ordering.
What is the center bore?
The known center bore is 64.1 mm. A wheel with a smaller bore will not fit over the hub. A larger bore may require correctly sized hub-centric rings, depending on the wheel and application.
What wheel size is listed as the OEM reference?
The known reference is a 16-inch diameter wheel, 6.5 inches wide, with ET55 offset and 5.42-inch backspacing. These values should be verified for the specific trim and market.
What tire information is known?
The provided reference lists a 205 mm tire section width, a 50 percent aspect ratio, and a 16-inch rim diameter. A complete tire designation and any alternate factory sizes are not confirmed here, so check the tire placard, owner’s manual, or OEM documentation.
Can any 5x114.3 wheel fit this Prelude?
No. The bolt pattern is only one part of fitment. You must also check center bore, offset, wheel width, brake and spoke clearance, lug-nut seat, load rating, and tire clearance.
How do I compare aftermarket wheels?
Enter the donor vehicle under Wheels from and the 1998 Honda Prelude under Installed on in the calculator. For a custom setup, adjust wheel diameter, width, and offset, then enter the proposed tire section width and aspect ratio. Use the results as a dimensional guide and confirm clearance physically.
Do I need hub-centric rings?
Not necessarily. The answer depends on the aftermarket wheel’s center bore and the hub interface. A smaller bore cannot be corrected with a ring. If the bore is larger, use only rings that match the measured dimensions and are approved for the application.
What should I do if the wheel rubs?
Do not continue driving until the cause is identified. Check inner suspension clearance, outer fender clearance, steering-lock clearance, tire size, offset, and wheel width. Consult a qualified technician before using spacers, changing tire sizes, or modifying suspension or body components.