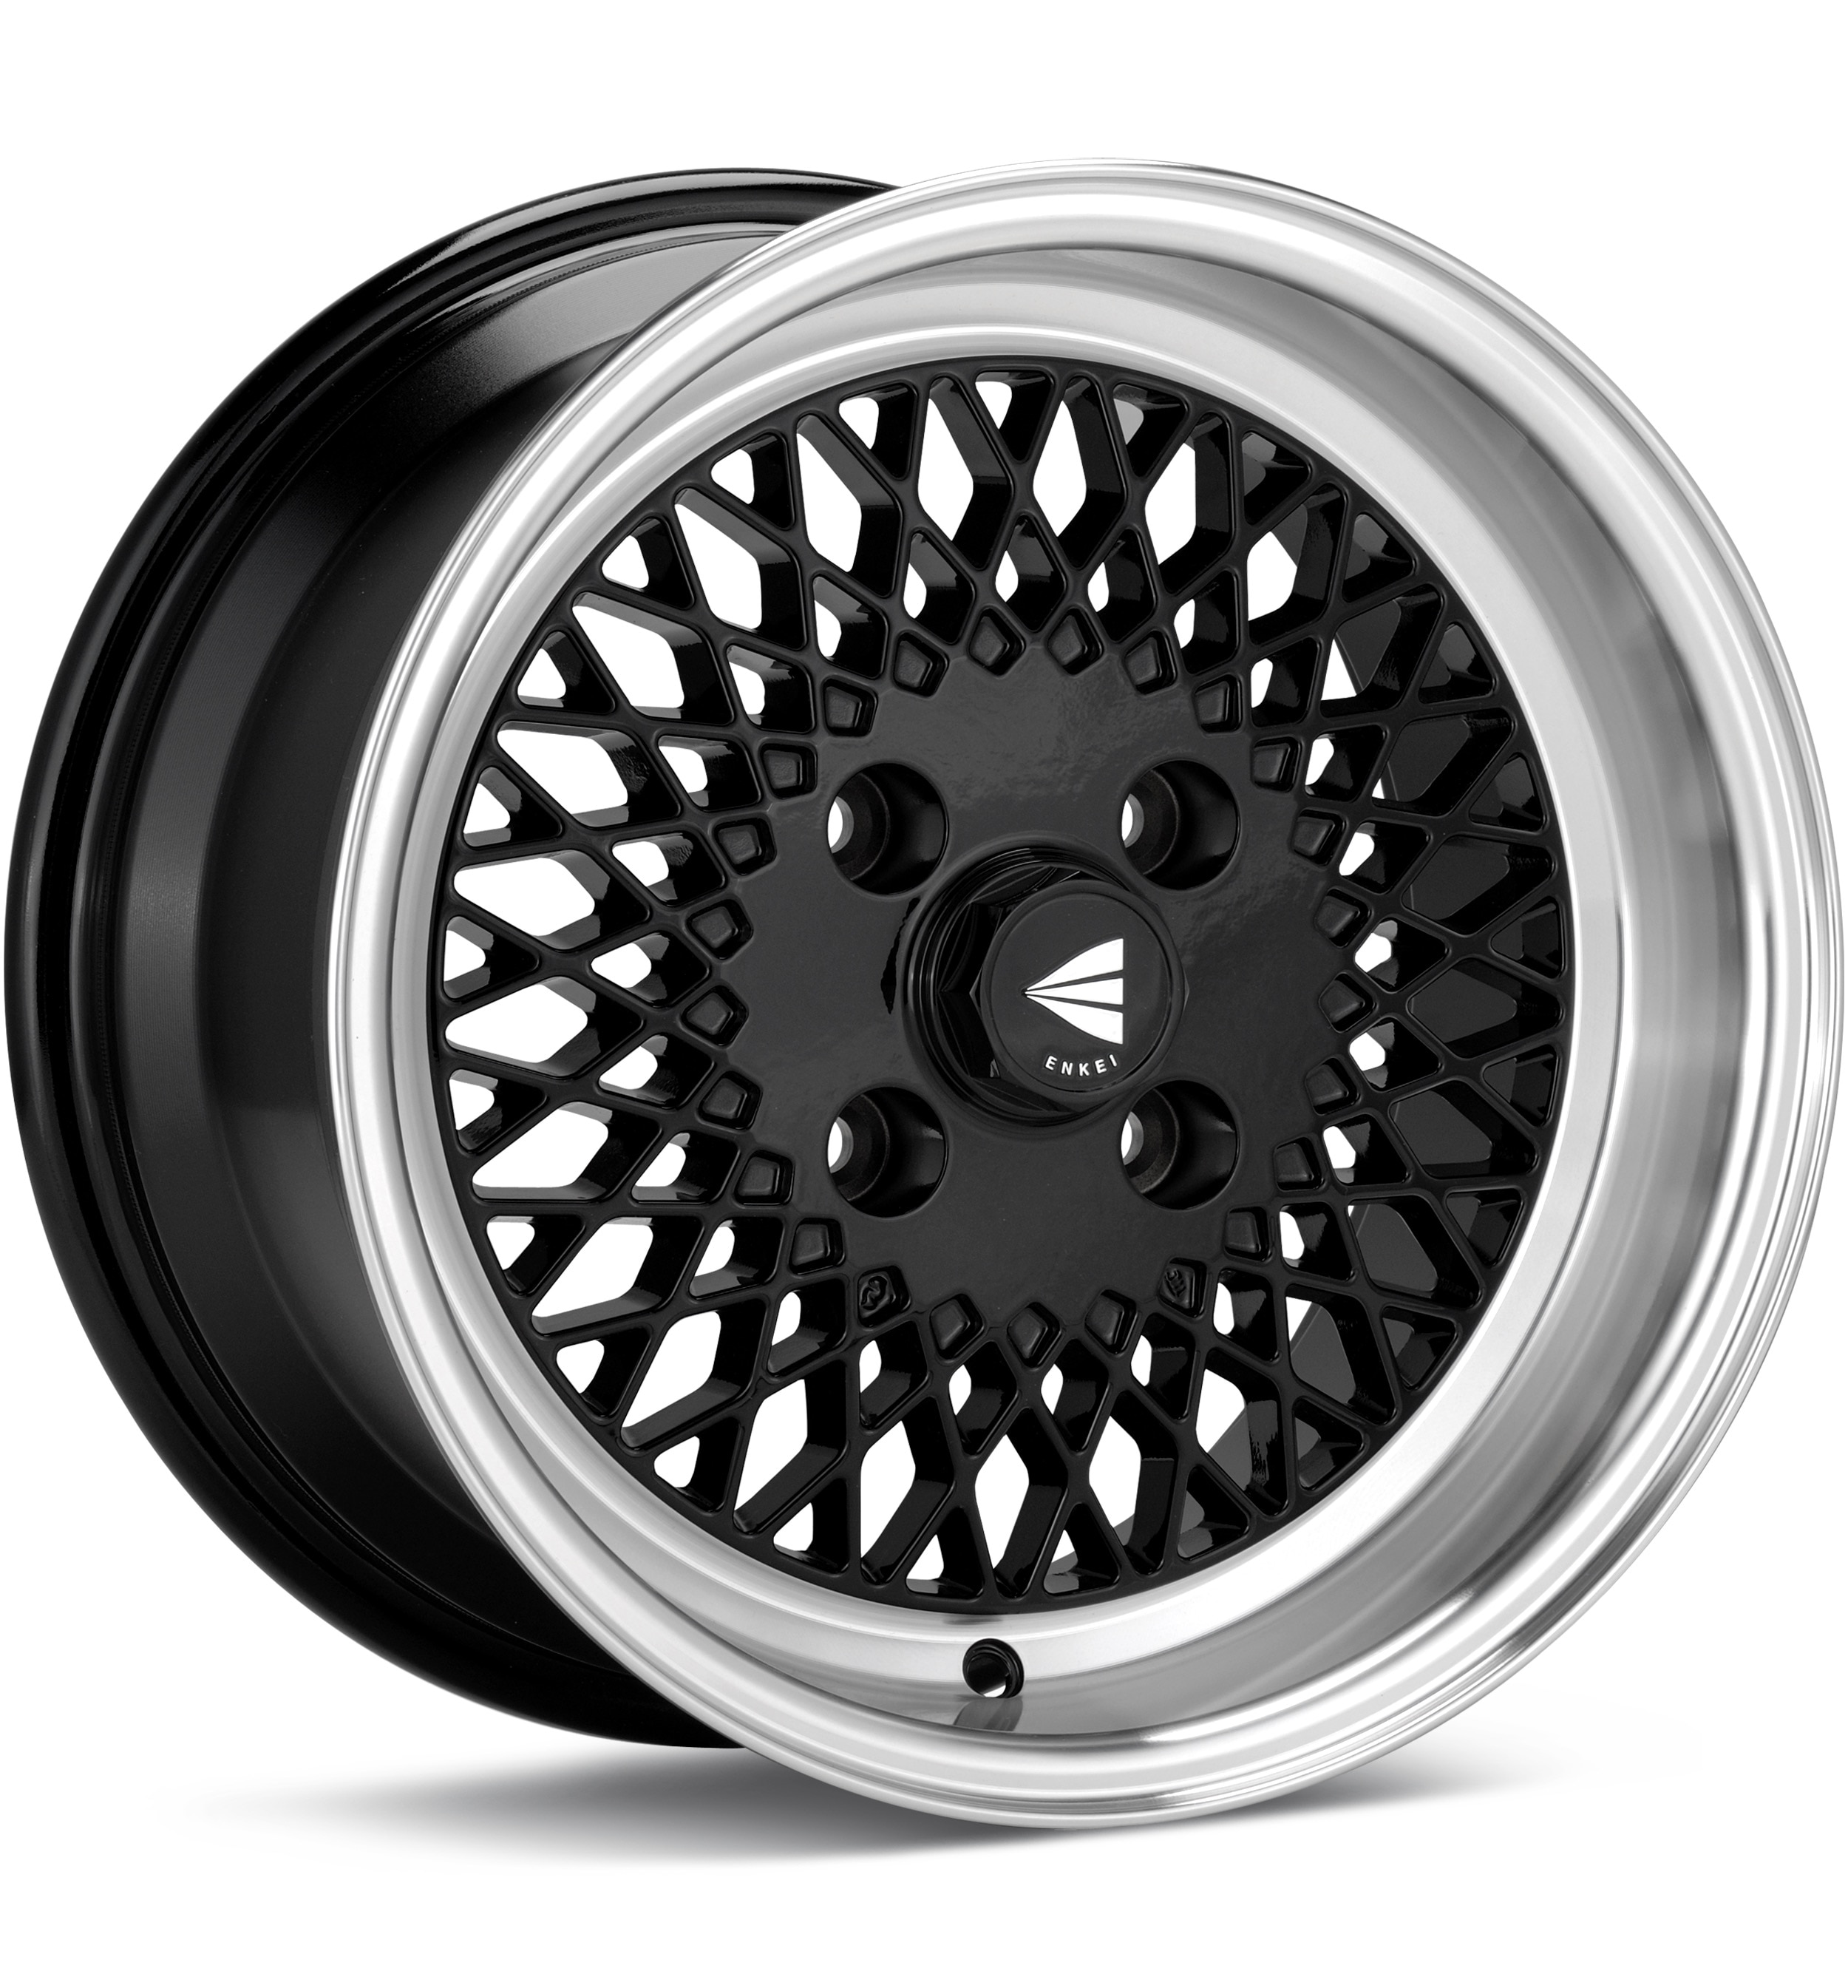
OEM wheel and tire fitment specs for the 1991 Acura NSX, including bolt pattern (PCD), center bore diameter, thread size, rim diameter, rim width, wheel offset, and backspacing.
Recorded OEM specifications for the 1991 Acura NSX, donor years with overlapping ranges, and a calculator to compare a selected wheel. Range overlap is not a guaranteed fit.
Multiple OEM configurations exist for this vehicle. Fitment can vary by trim, brakes, and factory wheel package – confirm your exact setup before buying.
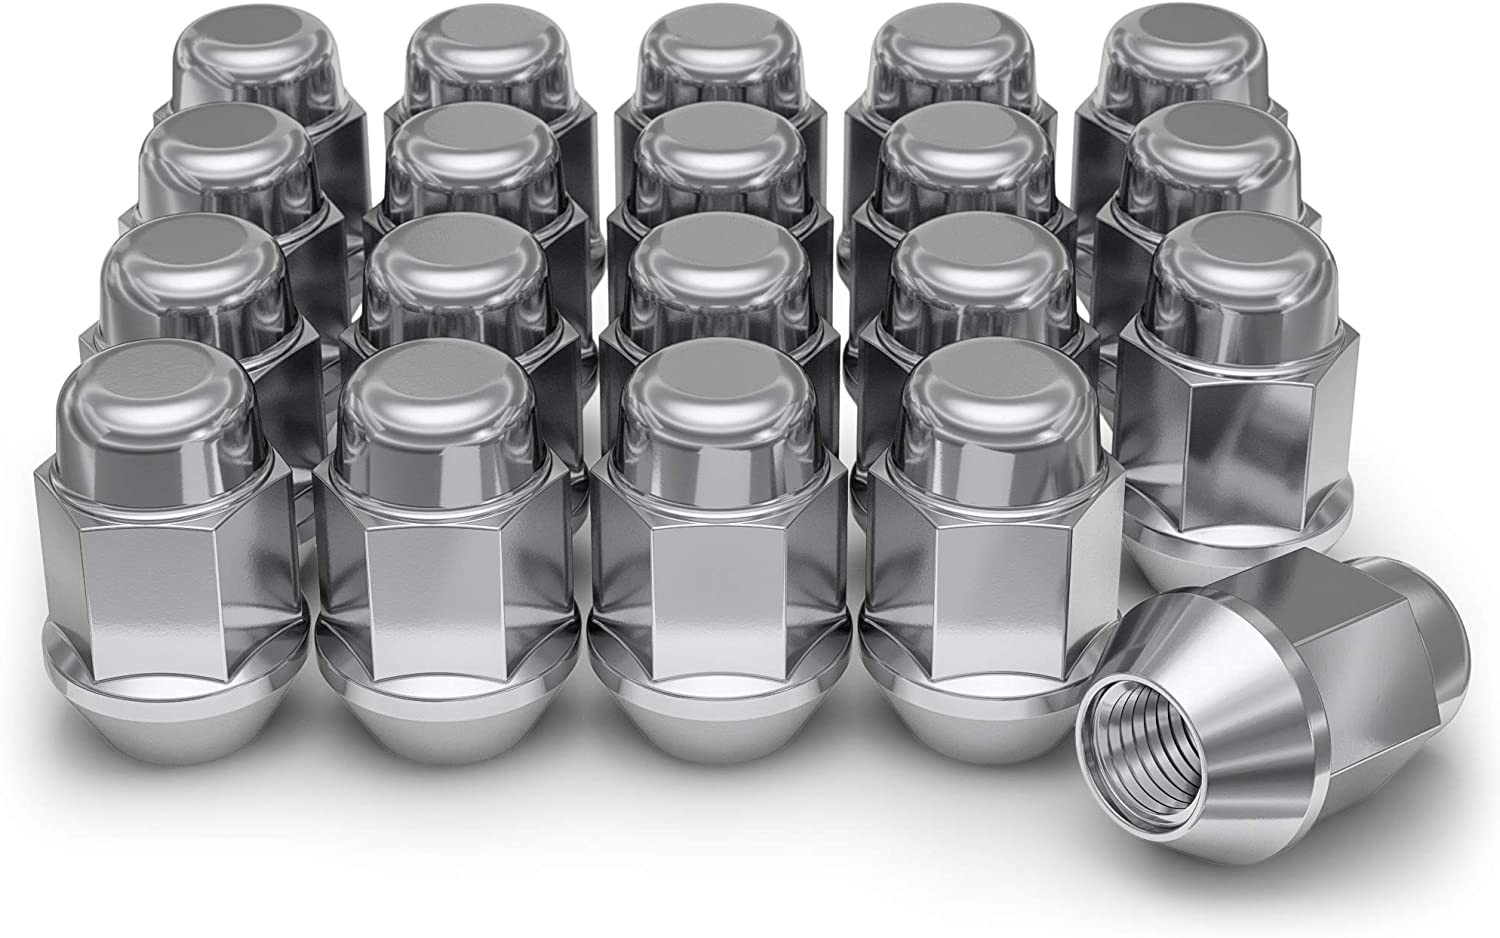
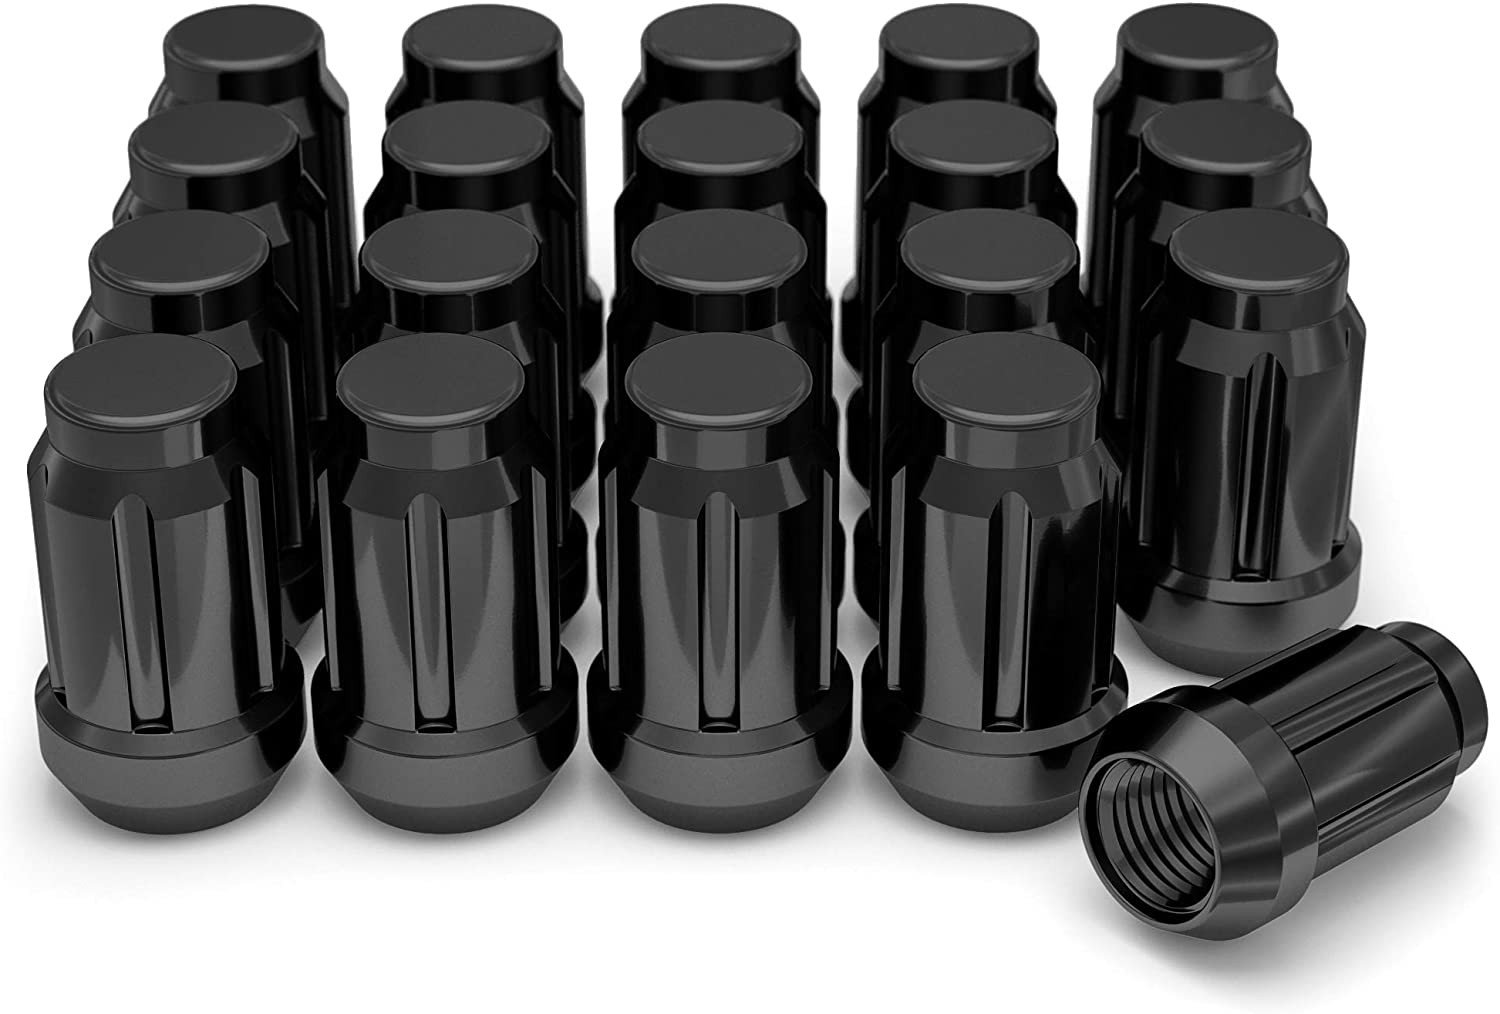
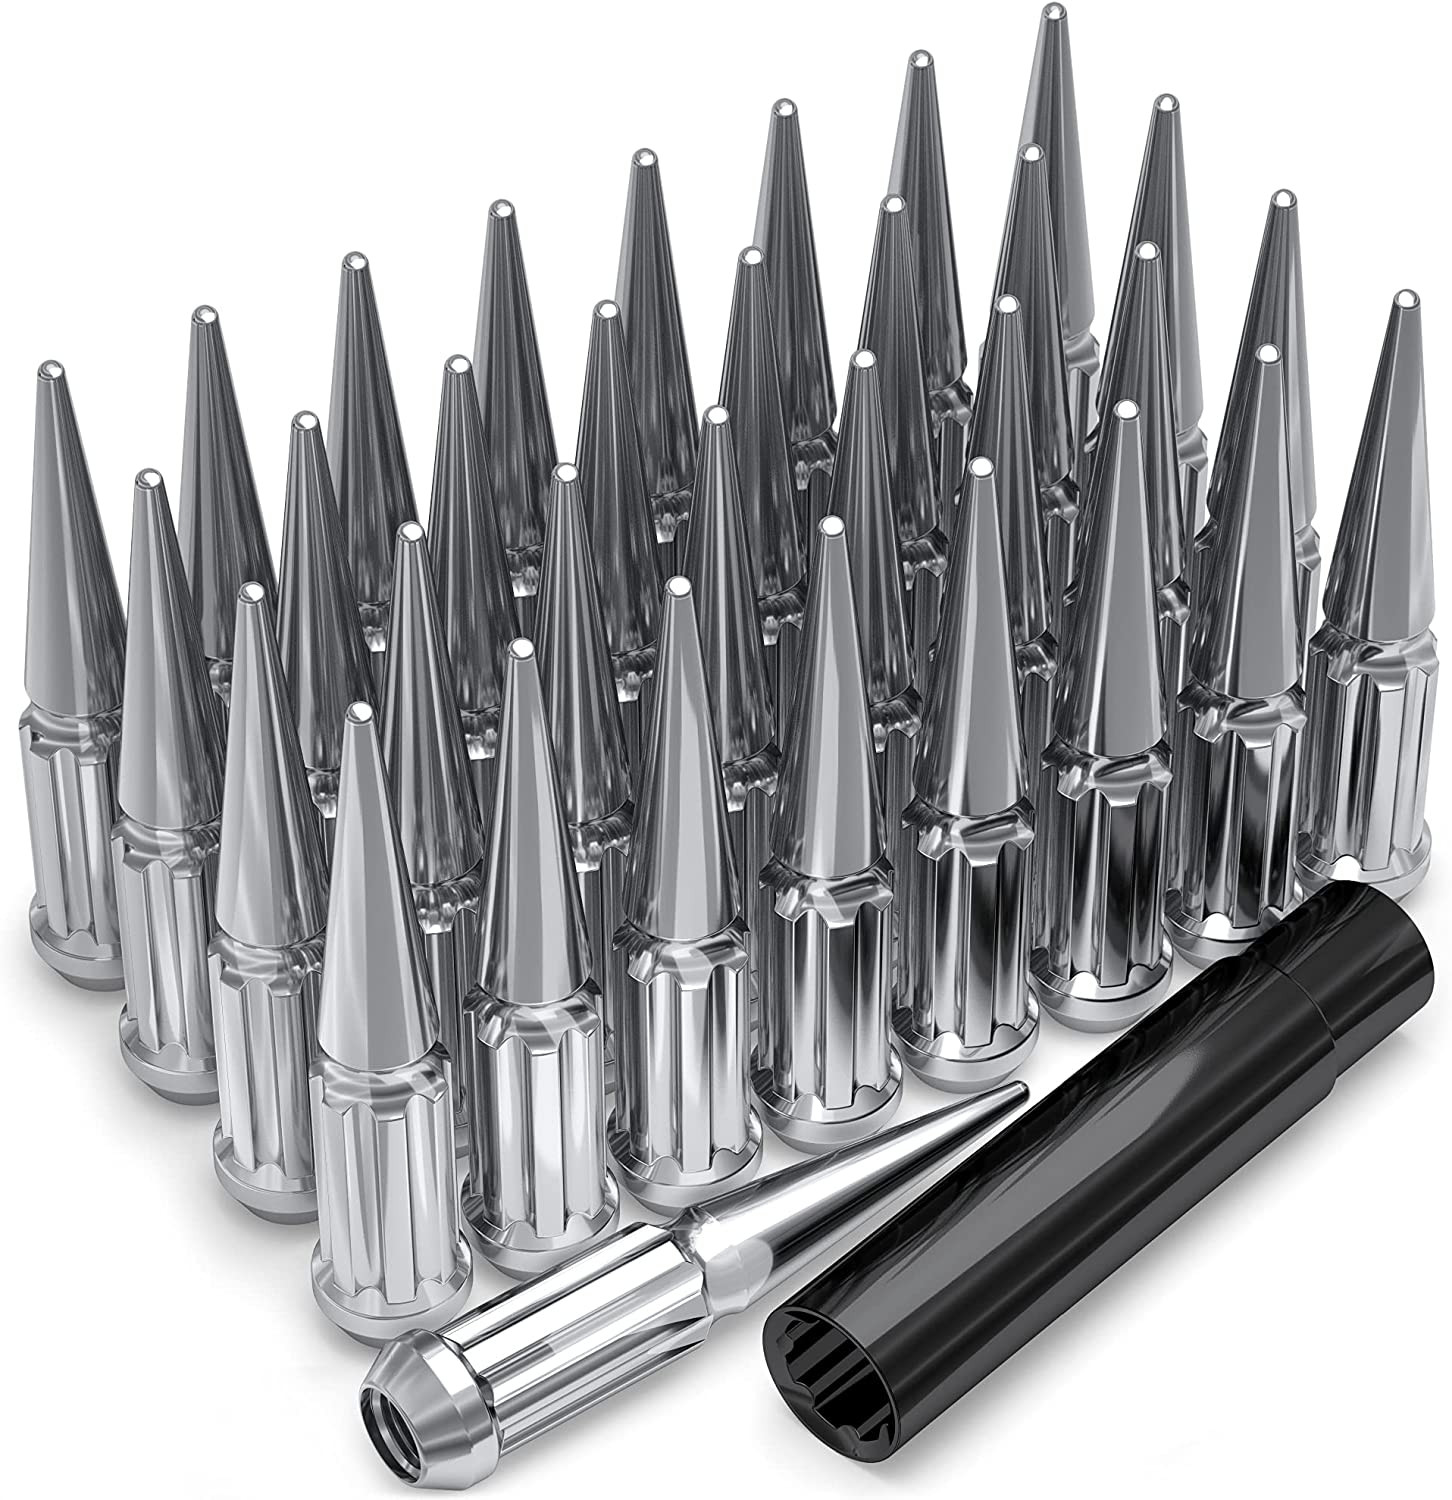
Thread-only product links are shopping examples, not verified fits. Seat style is not confirmed here. As an Amazon Associate we earn from qualifying purchases.
Explore wheels at Tire Rack
Selected size: 15 × 6.5″ · ET +55
Showing matching bolt patterns and offsets up to 20 mm lower. Confirm center bore, load rating, and clearance at Tire Rack.
We may earn a commission when you buy through these links. Prices and availability may change.
Donor vehicles with overlapping OEM specs
These are vehicle-year records whose recorded OEM ranges overlap this 1991 Acura NSX. Overlap is not a guarantee that a specific wheel will install. Selected-wheel comparison is in the calculator below.
Evaluated 11 donor years. Listed 11 eligible overlaps (not all evaluated years are compatible). Showing all listed.
Wheel geometryOEM width/offset ranges overlap (not a specific wheel)
Approximate position vs the mid OEM package: outer change -3.18 mm, inner change -3.18 mm. This uses aggregated width/offset ranges, not a specific wheel.
Wheel geometryOEM width/offset ranges overlap (not a specific wheel)
Center-bore records disagree (donor year-level hub 64.1 mm vs trim range 70.1–70.1 mm). Unqualified overlap is not claimed until the conflict is resolved. Approximate position vs the mid OEM package: outer change 3.18 mm, inner change 3.18 mm. This uses aggregated width/offset ranges, not a specific wheel.
Check wheel configurationCheck lug hardware: donor year M14x1.5 vs 1991 Acura NSX M12x1.5
Bolt pattern5x114.3 · Same recorded PCD
Center bore70.1 mm · same recorded hub figure
Wheel geometryNeeds configuration check
Recorded vehicle-side thread for the 1991 Acura NSX is M12x1.5. This donor year is recorded as M14x1.5. That is the vehicle stud/nut thread, not an intrinsic thread stamped on the wheel. Hardware must match this vehicle’s studs and the selected wheel’s seat and engagement. Existing hardware may be reusable if it already matches. Seat style is not in this dataset, so products are not a verified fit.
Donor width/offset sits outside the known OEM envelope for this vehicle. Recorded vehicle-side thread differs (M14x1.5 on the donor year vs M12x1.5 on the target vehicle). Hardware must match the target vehicle’s studs and the selected wheel’s seat. Existing hardware may be reusable if it already matches. Seat style is not confirmed in this dataset.
Acura NSX Years With Compatible Wheels
Only years with evidence-based interchange relationships are listed. Adjacent years are not assumed compatible.
Compare a donor vehicle or custom wheel against this 1991 Acura NSX. Use Compare in calculator on a donor row above to fill the donor side of this same calculator.
Compare
Compare wheel compatibility between two vehicles
Wheels from (donor vehicle)
Selected Car:
Custom wheel size (optional)
Tip: change values here to simulate custom wheels and immediately see the impact in the comparison below.
Custom tire size (optional)
Installed on (your vehicle)
Selected Car:
1991 Acura NSX
Compare Rims
Specification
Wheels from
Installed on
Result (Click it)
Bolt Pattern
The total number of bolt holes and the diameter of the circle they form.
-
5x114.3
Center Bore
The hole in the center of the wheel that fits over the vehicle’s hub.
-
70.1 mm
Thread Size
The size and spacing of the threads on the bolts or nuts that hold the wheel in place.
-
M12 x 1.5
Rim Diameter
The wheel diameter in inches that determines which tire sizes will fit.
-
15"
Rim Width
The distance between the inner edges of the wheel is measured in inches.
-
6.5"
Wheel Offset
How far the wheel sits inward or outward relative to the hub mounting surface.
-
55 mm
Backspacing
Shows how much space the wheel takes up toward the inside of the vehicle.
-
-
Wheel Fasteners
The type of hardware used to secure the wheel to the vehicle.
-
-
Compare Tires
Specification
Wheels from
Installed on
Result (Click it)
Section Width
The width of the tire from sidewall to sidewall, measured in millimeters.
-
-
Aspect Ratio
The height of the tire’s sidewall expressed as a percentage of its width.
-
-
Diameter
The wheel diameter for which the tire is designed to fit.
-
-
Tire Pressure
The recommended air pressure for safe and efficient driving.
-
-
Overall Diameter
The total height of the tire and wheel combined affects clearance and speedometer accuracy.
-
-
Wheel Fitment Parts for the 1991 Acura NSX
Example products matched to recorded thread, hub, or spacer dimensions. They are not verified fits. Confirm seat style, thickness, and clearance before ordering.
As an Amazon Associate we earn from qualifying purchases. Product availability and pricing may change.
1991 Acura NSX Wheel Fitment Guide
1. Goal
You need wheels and tires that fit a 1991 Acura NSX safely, without rubbing or vibration. The challenge is that some OEM specs for this year are not confirmed here. I will show you how to work from the known data, fill the gaps using the calculator on wheelinterchange.com, and validate your setup on the car.
Known OEM fitment
Values listed are what we have for at least one axle on the 1991 NSX. Other axle values may differ. Do not assume both ends match. Confirm each axle.
Spec
Value
Bolt pattern
Unknown
Center bore
Unknown
Thread size
Unknown
Rim diameter
15 in
Rim width
6.5 in
Wheel offset
55 mm
Backspacing
5.42 in
Tire size
205/50R15
Assumption: the above figures represent a stock reference to compare against in the calculator. Where values are unknown, confirm with the door-jamb placard, the factory service manual, or OEM parts data before buying parts.
2. Prerequisites
Access to the on-page wheel and tire calculator on wheelinterchange.com.
Vehicle documents: owner’s manual or service manual for torque and hardware details.
Time to test fit and re-torque after a short drive.
3. Step by step
Step 1. Confirm the unknowns
Bolt pattern: Verify the 5-lug PCD using an OEM source or a bolt pattern gauge. Do not rely on visual guesses.
Center bore: Measure the hub’s spigot with a caliper or confirm the OEM bore. If wheels have a larger bore, plan for hub-centric rings that match hub to wheel bore.
Thread size and seat type: Confirm stud thread size and the lug nut seat profile used by Acura for this model year. Match lug nuts to both the studs and the wheel seat. Use the factory torque spec from Acura documentation.
Step 2. Establish your baseline in the calculator
Set “Installed on (your vehicle)” to 1991 Acura NSX.
Enter the known stock values listed above. Where the calculator has fields for unknowns, leave them blank or keep defaults until confirmed.
If you suspect the car is staggered front to rear, run the calculator twice, once per axle. Use your current wheel and tire labels as a starting point if present on the car.
Step 3. Compare candidate wheels
Use “Wheels from (donor vehicle)” if you are cross-shopping OEM wheels from another model. Otherwise use “Custom wheel size.”
Adjust width and offset. Watch the calculator’s inner clearance and outer “poke.” Keep inner clearance positive to avoid contact with strut, spring, or liner.
As a working guideline, keep changes moderate. Large width increases often require offset changes and may introduce rubbing.
Step 4. Match tires to the new wheels
Use “Custom tire size” on the calculator. Aim to keep overall tire diameter within about 3 percent of the stock reference to maintain speedometer accuracy and ABS behavior.
For the 205/50R15 reference, the calculator will show resulting diameters as you change sizes. Choose the closest match that also respects wheel width recommendations.
Step 5. Hardware and hub fit
Hub bore: If the wheel bore is larger than the hub, plan hub-centric rings that match the confirmed hub size to the wheel bore. This reduces vibration.
Lugs: Use the correct thread size and seat type. Hand start lugs and torque in a star pattern using a torque wrench.
4. Validation
Dry fit one corner without the tire if you are checking brake caliper clearance on a tight-spoke design. Verify at least a few millimeters of clearance between caliper and wheel barrel or spokes.
With tires mounted, install all four wheels, lower the car, and torque to the Acura spec from the manual.
Turn steering lock to lock while slowly compressing the suspension by hand at the front. Look for liner or fender contact.
Drive slowly over bumps and at full steering lock in a parking lot. Listen for rubs. Re-check clearances afterward.
Re-torque after 50 to 100 miles. Re-check for any witness marks inside the wheel wells.
5. Troubleshooting
Vibration at highway speed:
Confirm hub-centric fit. Install rings if the wheel bore is larger than the hub.
Check wheel balance and inspect for bent rims.
Verify lug torque and that lugs match the wheel seat type.
Rubbing on turns or bumps:
Use the calculator to reduce outer poke by selecting a higher offset or narrower width.
Consider a tire with a slightly narrower section width while keeping overall diameter close to stock.
Inner interference with strut or liner:
Choose a lower offset or narrower wheel in the calculator to regain inner clearance.
Verify tire bulge at your chosen width. Some tires run wider than labeled.
Insufficient thread engagement:
Confirm you have at least several full turns of engagement per stud size. If using spacers, ensure longer studs and that spacers are hub-centric and high quality.
Brake caliper contact:
Check spoke profile and barrel diameter. Some designs need more caliper clearance. The calculator helps with diameter and offset changes, but a physical test is recommended for tight brakes.
6. Wrap up
You can safely select wheels for a 1991 Acura NSX by anchoring to the known stock numbers, confirming the missing bolt pattern, center bore, and thread size, then using the on-page calculator to manage width, offset, and tire diameter trade-offs. Validate on the car with careful clearance checks and proper torque. If any spec is still uncertain, pause and verify using the door-jamb placard and OEM sources before buying parts. This approach keeps the process controlled and the result predictable.
A normal wheel spacer does not change bolt pattern. Hub rings cannot enlarge a wheel bore that is smaller than the hub. Brake clearance and tire package fitment still require vehicle-specific checks when not confirmed in the dataset.