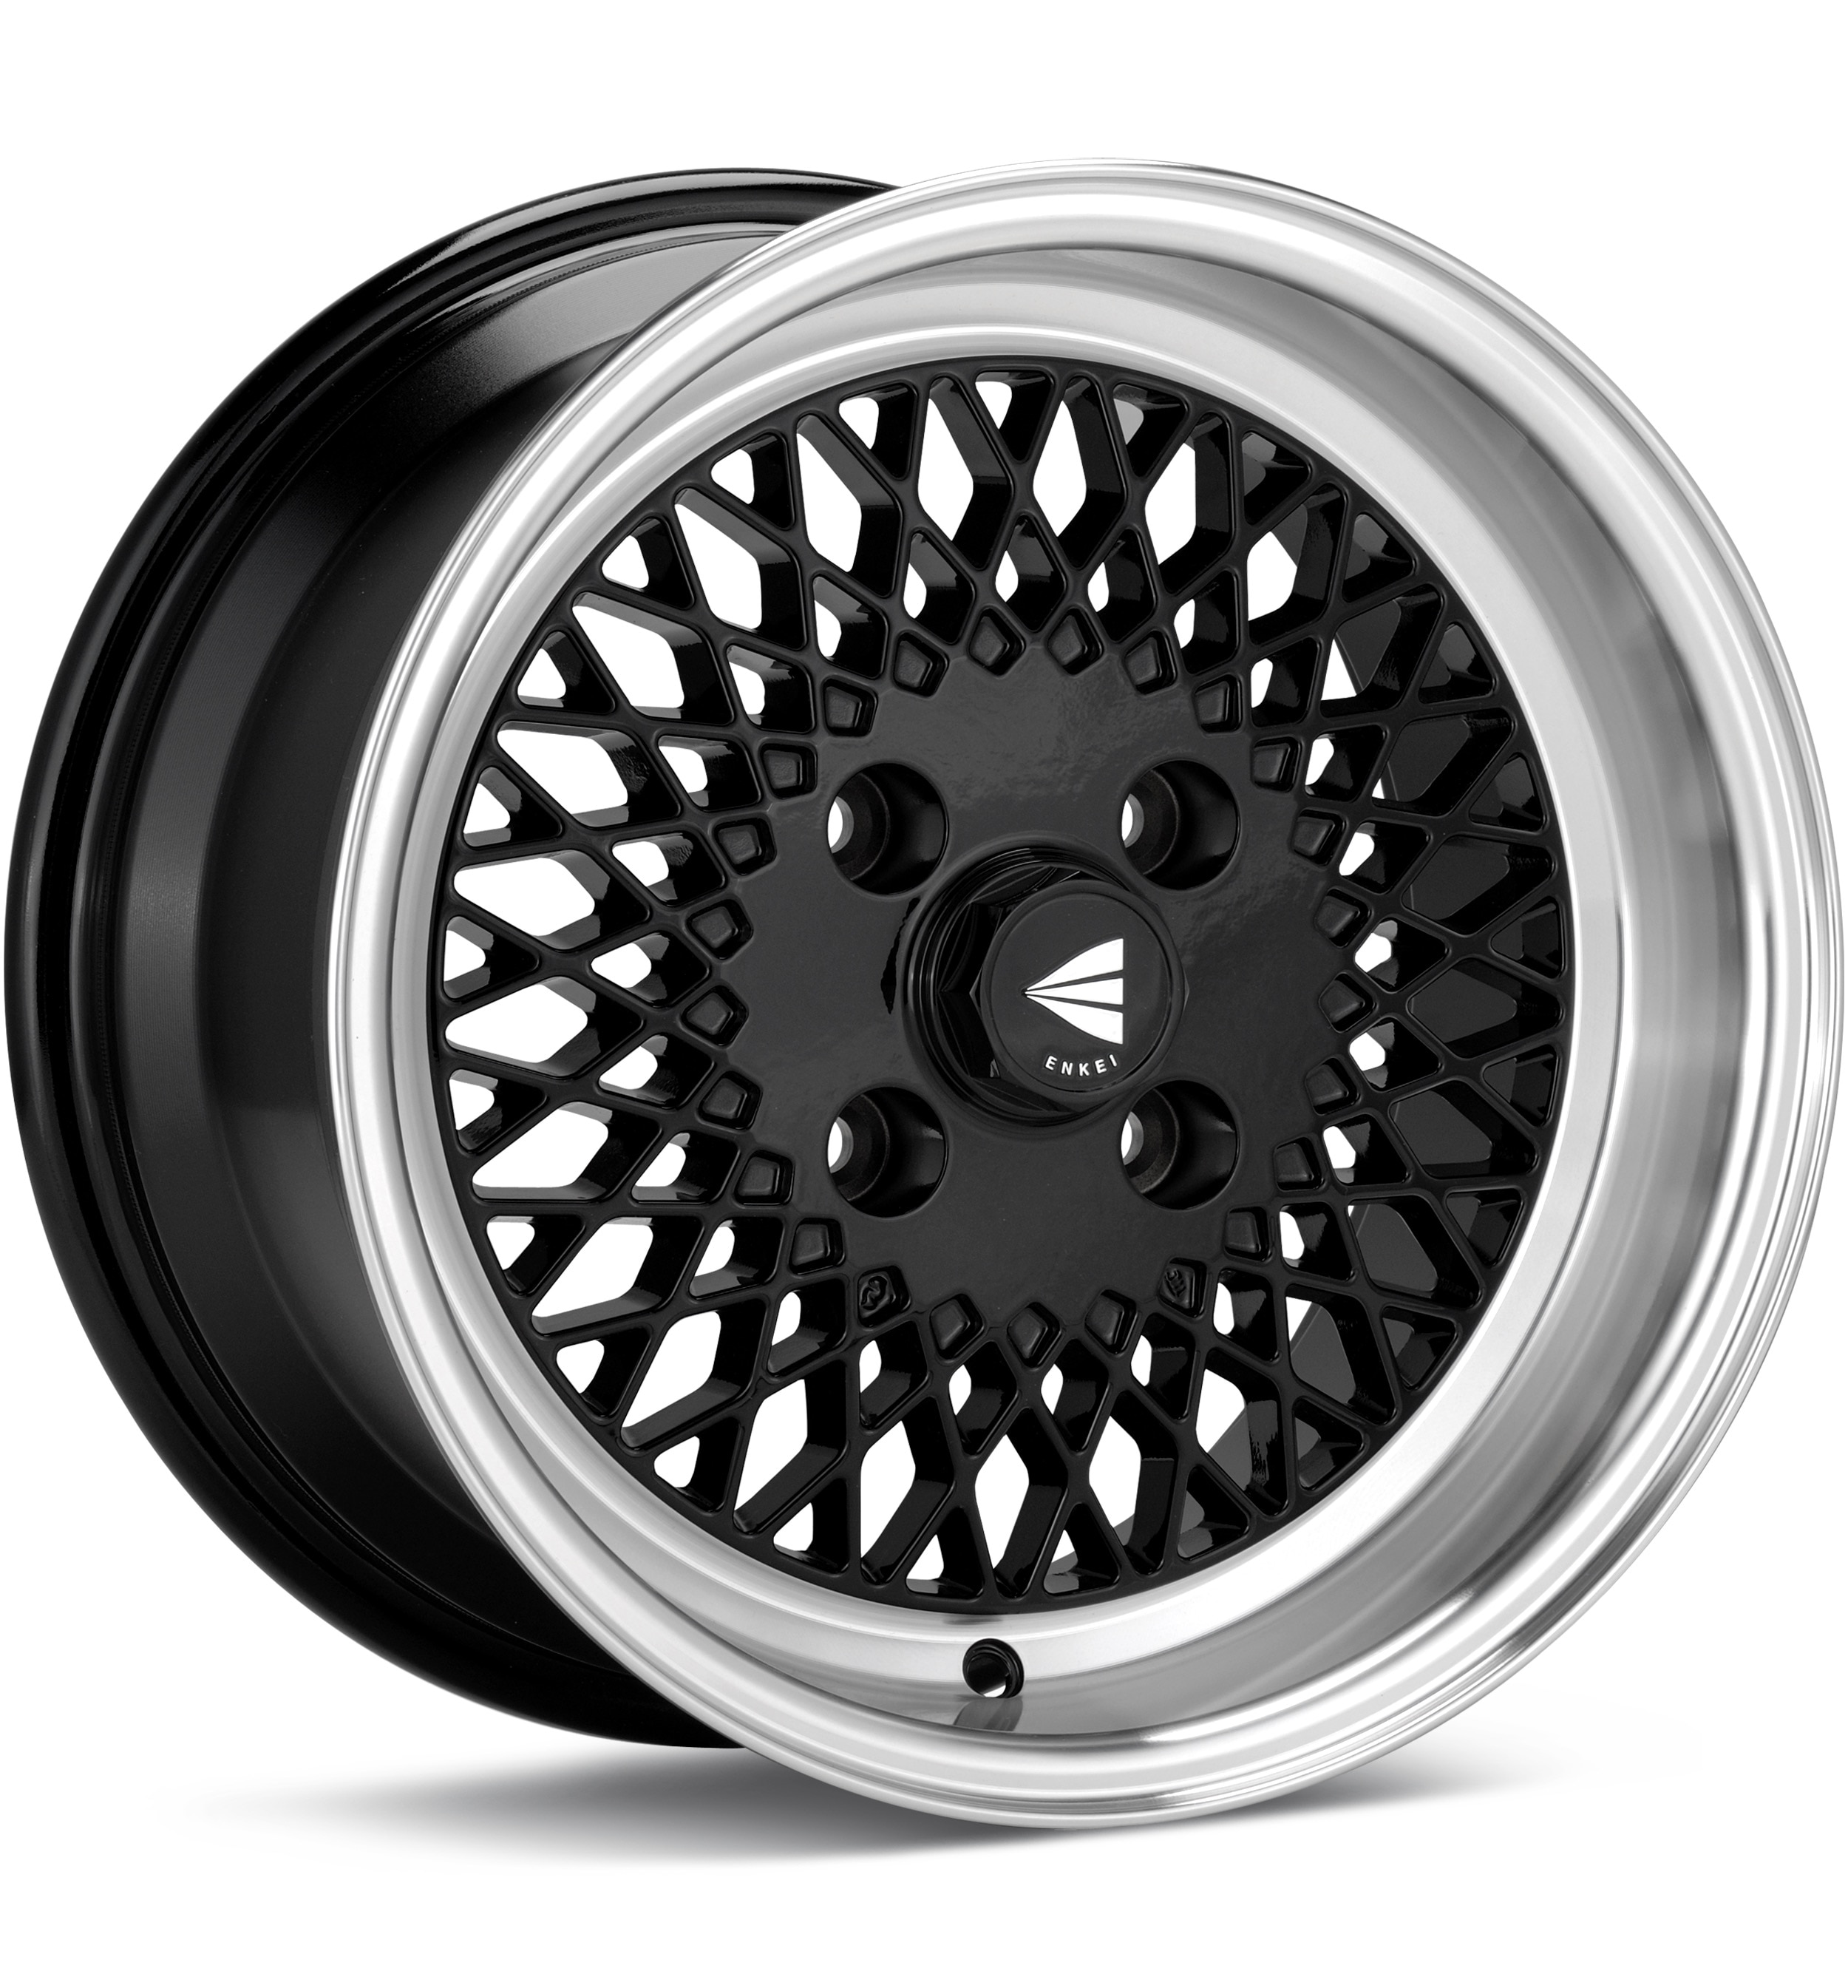
Enkei Performance
Enkei92
Black w/Mach Lip
15 × 7″ · ET +38
$165.17
View at Tire Rack ↗Recorded OEM specifications for the 1994 Acura NSX, donor years with overlapping ranges, and a calculator to compare a selected wheel. Range overlap is not a guaranteed fit.
Save these wheel specs to your Ownery garage
Baseline mounting dimensions used for interchange decisions.
Multiple OEM configurations exist for this vehicle. Fitment can vary by trim, brakes, and factory wheel package – confirm your exact setup before buying.
Thread-only product links are shopping examples, not verified fits. Seat style is not confirmed here. As an Amazon Associate we earn from qualifying purchases.
Selected size: 15 × 6.5″ · ET +55
Showing matching bolt patterns and offsets up to 20 mm lower. Confirm center bore, load rating, and clearance at Tire Rack.
Enkei Performance
Black w/Mach Lip
15 × 7″ · ET +38
$165.17
View at Tire Rack ↗We may earn a commission when you buy through these links. Prices and availability may change.
These are vehicle-year records whose recorded OEM ranges overlap this 1994 Acura NSX. Overlap is not a guarantee that a specific wheel will install. Selected-wheel comparison is in the calculator below.
Evaluated 11 donor years. Listed 11 eligible overlaps (not all evaluated years are compatible). Showing all listed.
Years grouped because recorded compatibility evidence is equivalent. Each year keeps its own page.
Approximate position vs the mid OEM package: outer change -3.18 mm, inner change -3.18 mm. This uses aggregated width/offset ranges, not a specific wheel.
Years grouped because recorded compatibility evidence is equivalent. Each year keeps its own page.
Center-bore records disagree (donor year-level hub 64.1 mm vs trim range 70.1–70.1 mm). Unqualified overlap is not claimed until the conflict is resolved. Approximate position vs the mid OEM package: outer change 3.18 mm, inner change 3.18 mm. This uses aggregated width/offset ranges, not a specific wheel.
Recorded vehicle-side thread for the 1994 Acura NSX is M12x1.5. This donor year is recorded as M14x1.5. That is the vehicle stud/nut thread, not an intrinsic thread stamped on the wheel. Hardware must match this vehicle’s studs and the selected wheel’s seat and engagement. Existing hardware may be reusable if it already matches. Seat style is not in this dataset, so products are not a verified fit.
Donor width/offset sits outside the known OEM envelope for this vehicle. Recorded vehicle-side thread differs (M14x1.5 on the donor year vs M12x1.5 on the target vehicle). Hardware must match the target vehicle’s studs and the selected wheel’s seat. Existing hardware may be reusable if it already matches. Seat style is not confirmed in this dataset.
Only years with evidence-based interchange relationships are listed. Adjacent years are not assumed compatible.
Compare a donor vehicle or custom wheel against this 1994 Acura NSX. Use Compare in calculator on a donor row above to fill the donor side of this same calculator.
Compare wheel compatibility between two vehicles
1994 Acura NSX





Example products matched to recorded thread, hub, or spacer dimensions. They are not verified fits. Confirm seat style, thickness, and clearance before ordering.
M12 x 1.5
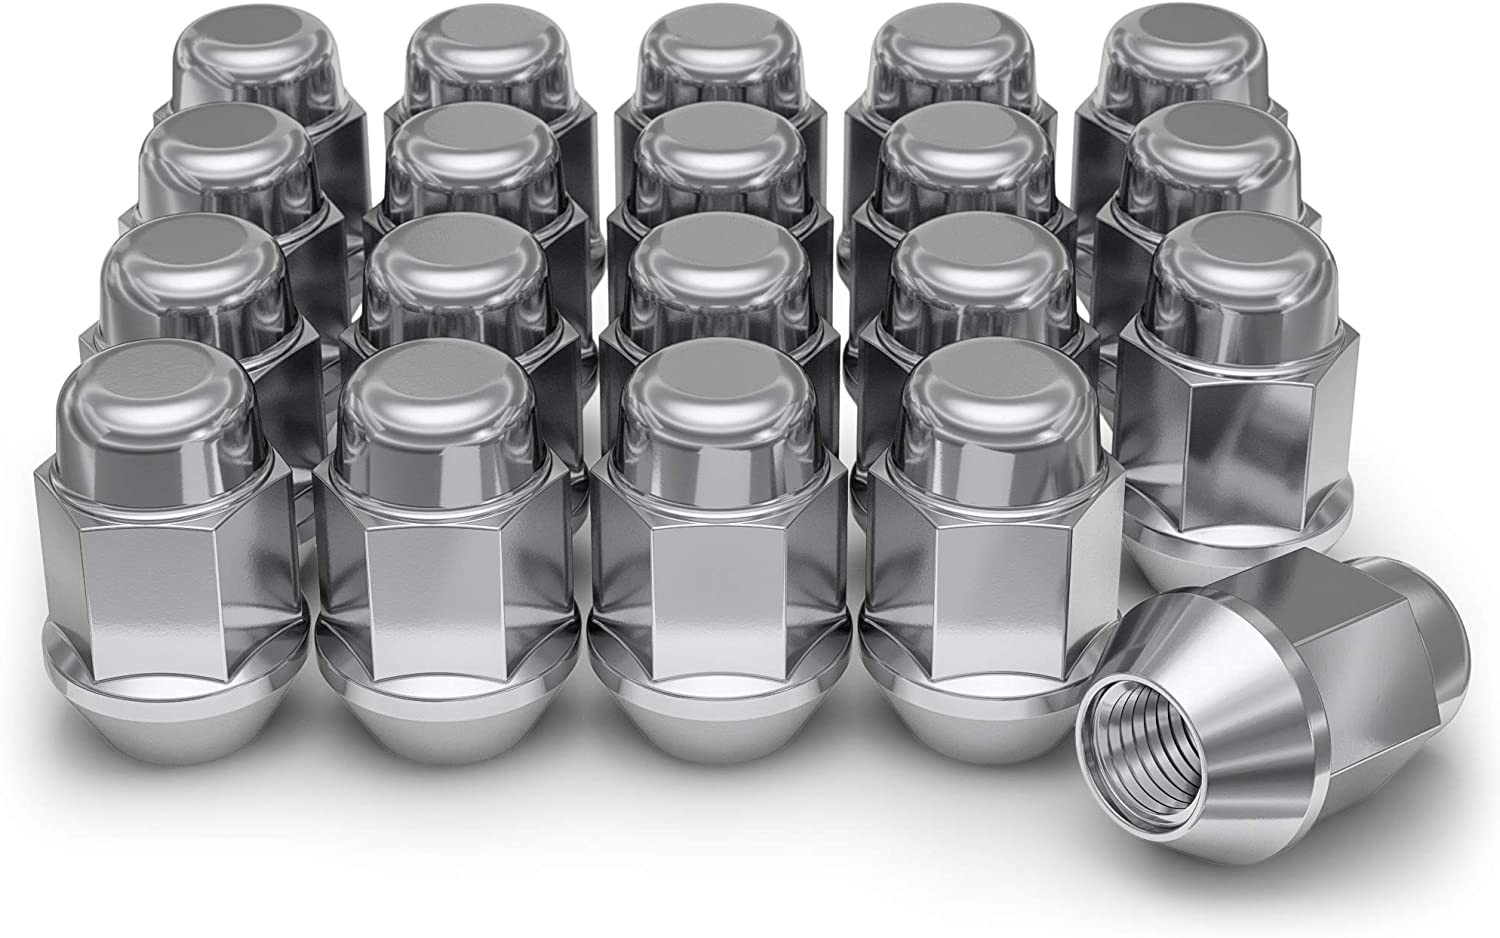
M12 x 1.5 · Thread match only; seat style is not verified
View on Amazon →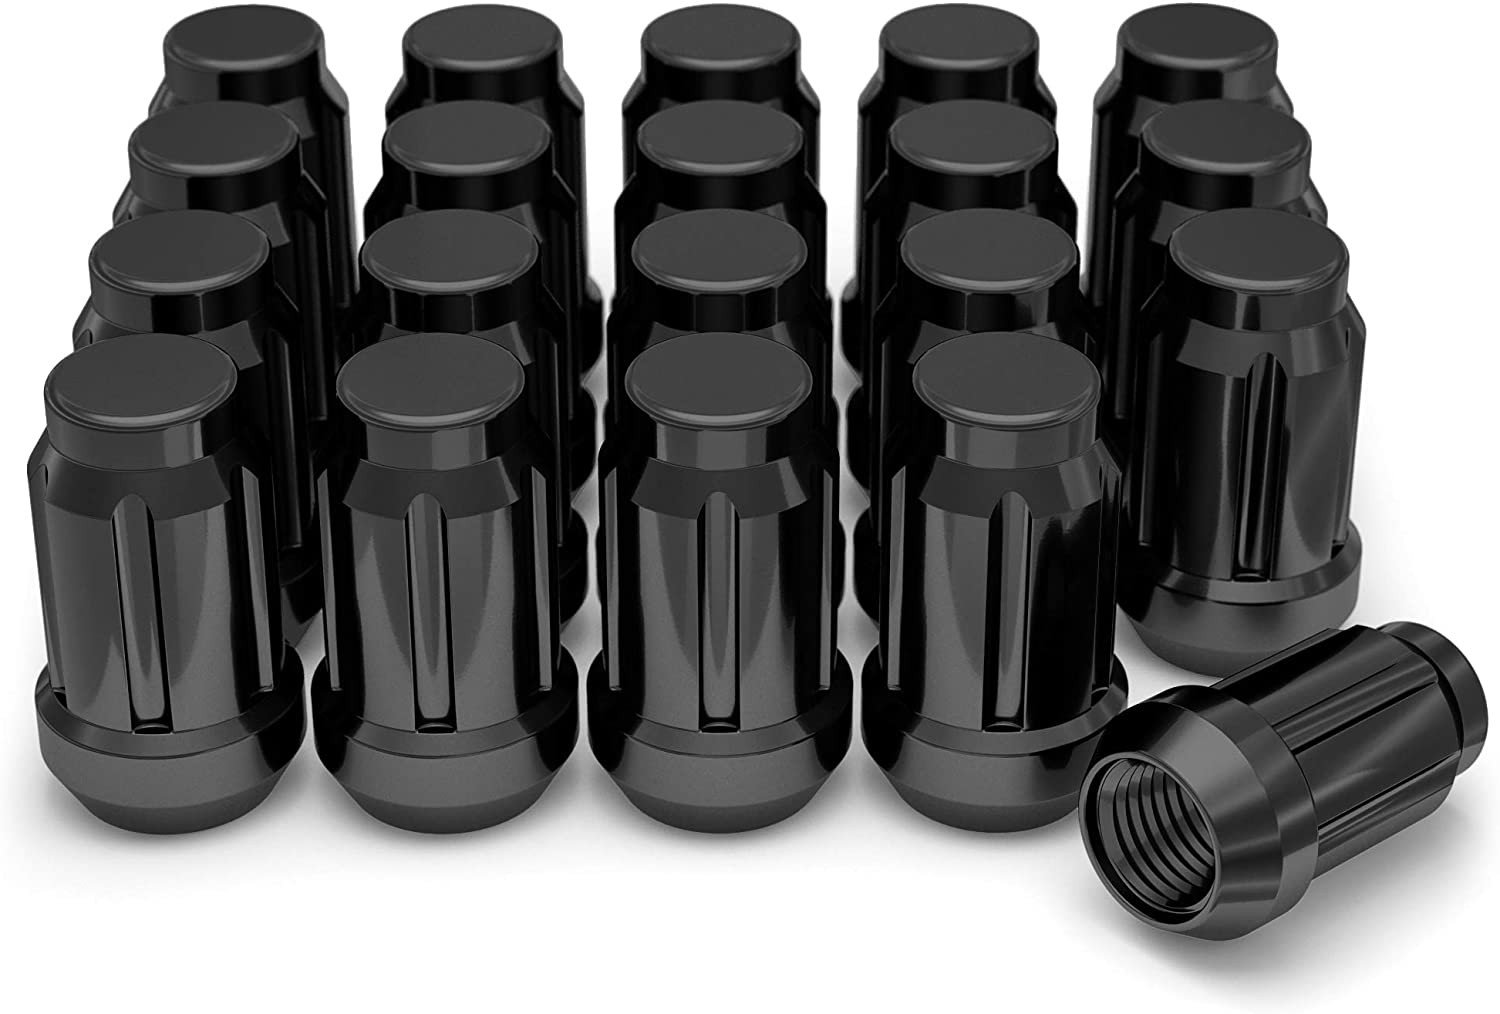
M12 x 1.5 · Thread match only; seat style is not verified
View on Amazon →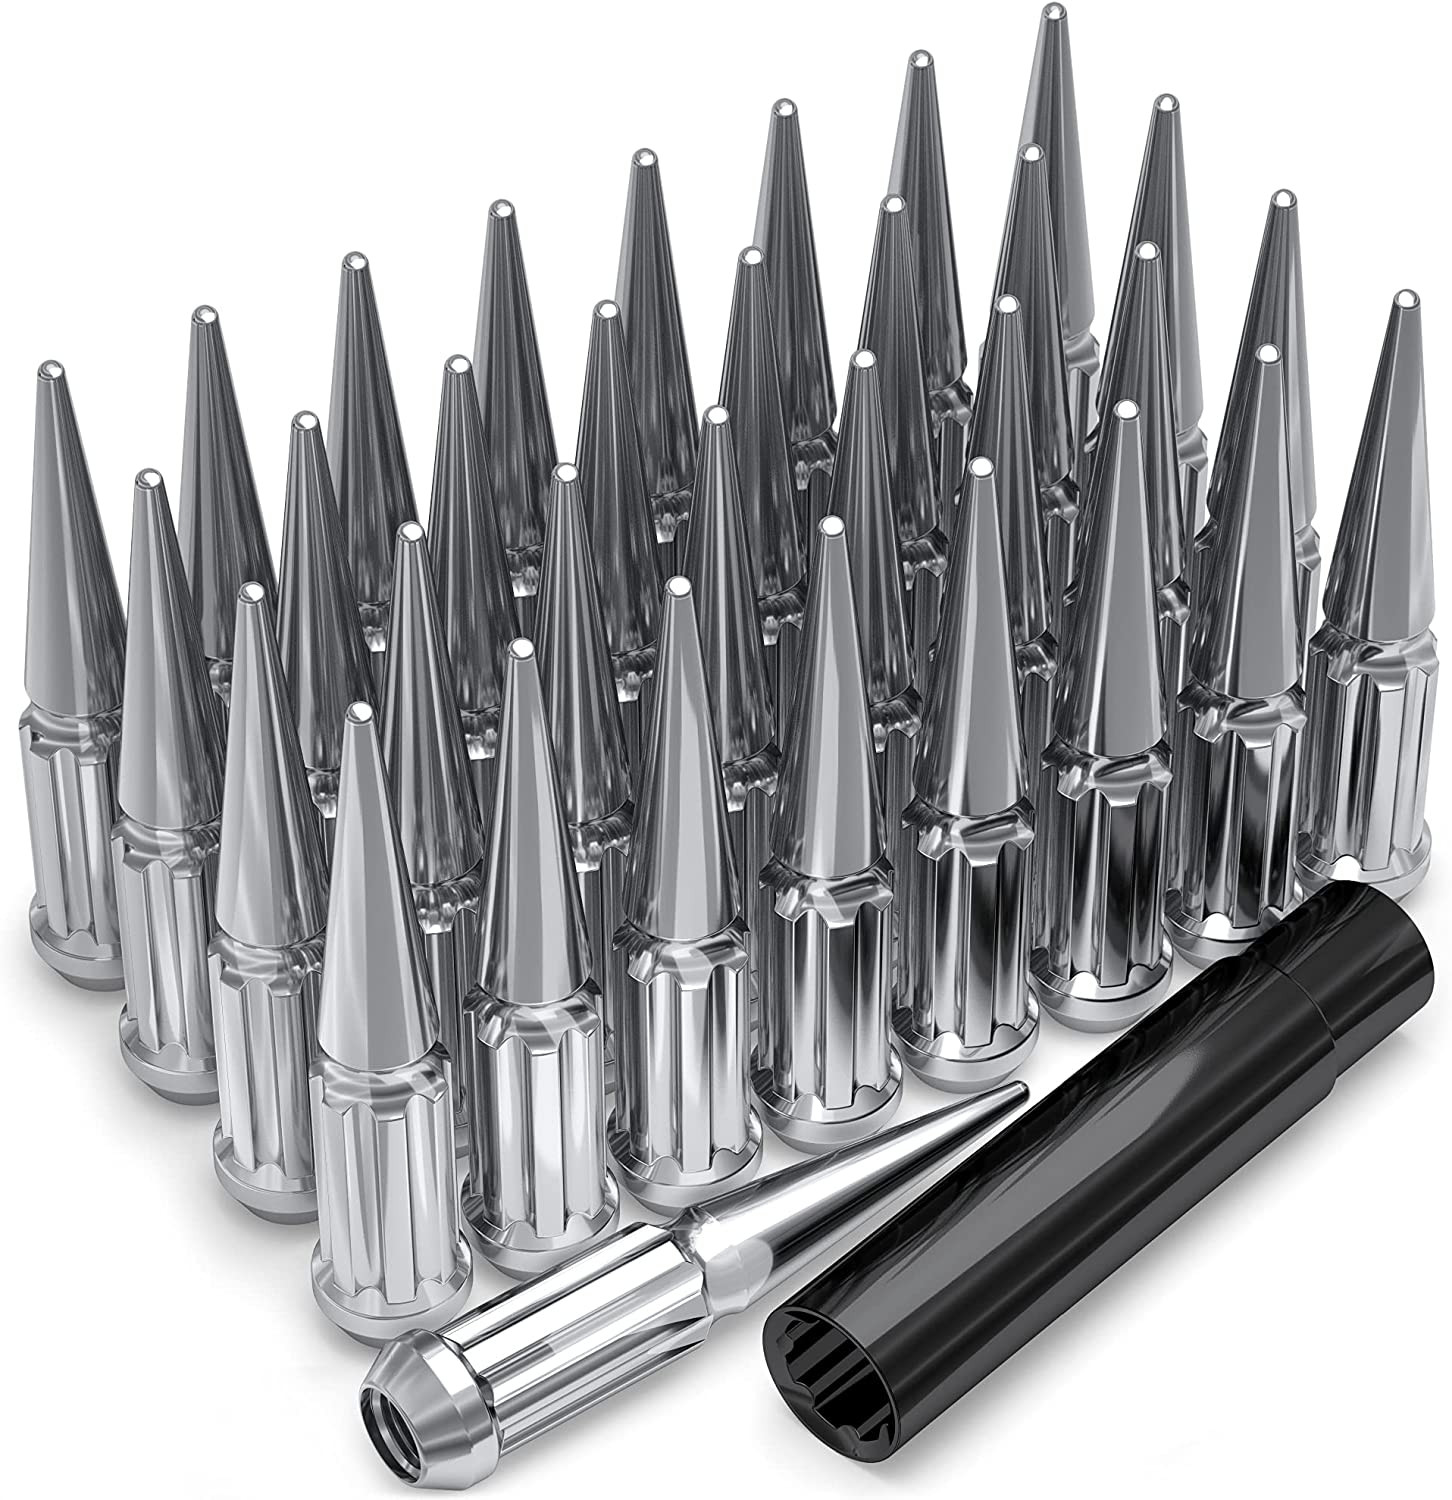
M12 x 1.5 · Thread match only; seat style is not verified
View on Amazon →As an Amazon Associate we earn from qualifying purchases. Product availability and pricing may change.
You need safe, streetable replacement wheels and tires for a 1994 Acura NSX without causing rubbing, braking interference, or hub stress. The immediate problem is that several critical fitment items are unknown. I will show how to confirm them, use the on-page calculator, and validate a candidate wheel/tire set so you can install with confidence.
Recommendation: if you need a torque wrench or centering rings, consider these search tools: torque wrench and hub centric rings.
We know rim diameter, width, offset, backspacing and OEM tire size. The constraints left are bolt pattern, center bore, and lug thread. Without them you cannot safely mount wheels.
Do not guess. Use one of these methods to confirm the bolt pattern precisely.
Measure the hub bore with a caliper or use OEM specs. For lug thread size, use a thread pitch gauge or have a tire shop confirm the stud/thread specification. These are critical for hub centering and lug security.
Open the calculator on this page. Use these steps inside the tool.
Focus on two clearance zones: brake/caliper clearance and fender/inner-lip clearance. Lower offset moves the wheel outward increasing track and potential fender rub. Higher offset moves the wheel inward risking brake or suspension interference. Use the calculator to quantify how many millimeters a candidate wheel will move relative to OEM.
Before final installation, do a dry fit on the hub. Check for bead seating, hub centering, and that lugs engage freely. Confirm clearance with full steering lock and suspension compression. If the center bore is larger than the hub, use appropriately sized centering rings.
Torque lug nuts to the OEM-specified torque using a calibrated torque wrench. I recommend re-torquing after 50 to 100 miles, but confirm OEM guidance for your vehicle.
Validate fitment using these checks before you consider the job complete.
| Check | How to validate |
|---|---|
| Bolt pattern match | Wheel seats flush and lugs thread fully without cross-threading. |
| Centering | Wheel sits concentric on hub; use centering rings when hub bore is smaller than wheel bore. |
| Brake and suspension clearance | No contact with caliper, rotor, control arms at full lock and compressed suspension. |
| Fender clearance | No rubbing at static ride height and during suspension travel; test with weight in car if possible. |
| Tire diameter and speedo | Calculator diameter output within acceptable range or note correction needed for speedometer. |
| Lug torque and re-torque | Torque to OEM spec and re-check after 50–100 miles per manufacturer guidance. |
Cause: mismatched center bore or debris on hub. Solution: clean the hub face, use matching centering rings, and re-check runout with a dial indicator.
Cause: offset change or wider tire than tire/guard allows. Options: reduce tire width, increase offset toward OEM, roll or modify the fender lip, or fit a spacer with caution. Evaluate the trade-off between track width and suspension geometry.
Cause: wheel inner face hitting caliper or control arm. Solution: select a wheel with more positive offset or different spoke/backspacing. Do not use shims that create unsafe loads on studs.
Cause: unbalanced wheel/tire, loose lug nuts, or hub runout. Solution: re-balance tires, torque lugs correctly to OEM spec, and inspect hub for damage.
Cause: aftermarket wheels incompatible with sensors. Solution: confirm TPMS sensor fitment or swap sensors to the new wheels.
Summary: you have a clear path. Confirm the bolt pattern, center bore, and lug thread before ordering wheels. Use the on-page calculator to model changes and quantify trade-offs. Physically test fit, validate clearances, and follow OEM torque guidance. Doing these steps reduces risk and delivers a safe, reliable result.
If you need help measuring any unknown value or want me to review specific candidate wheel sizes, provide the bolt pattern, center bore, thread size, and the candidate wheel dimensions. I will walk through the calculator outputs with you and recommend next steps.
Wheel interchange depends on more than bolt pattern. Where data is available, this site compares recorded OEM values:
A normal wheel spacer does not change bolt pattern. Hub rings cannot enlarge a wheel bore that is smaller than the hub. Brake clearance and tire package fitment still require vehicle-specific checks when not confirmed in the dataset.
