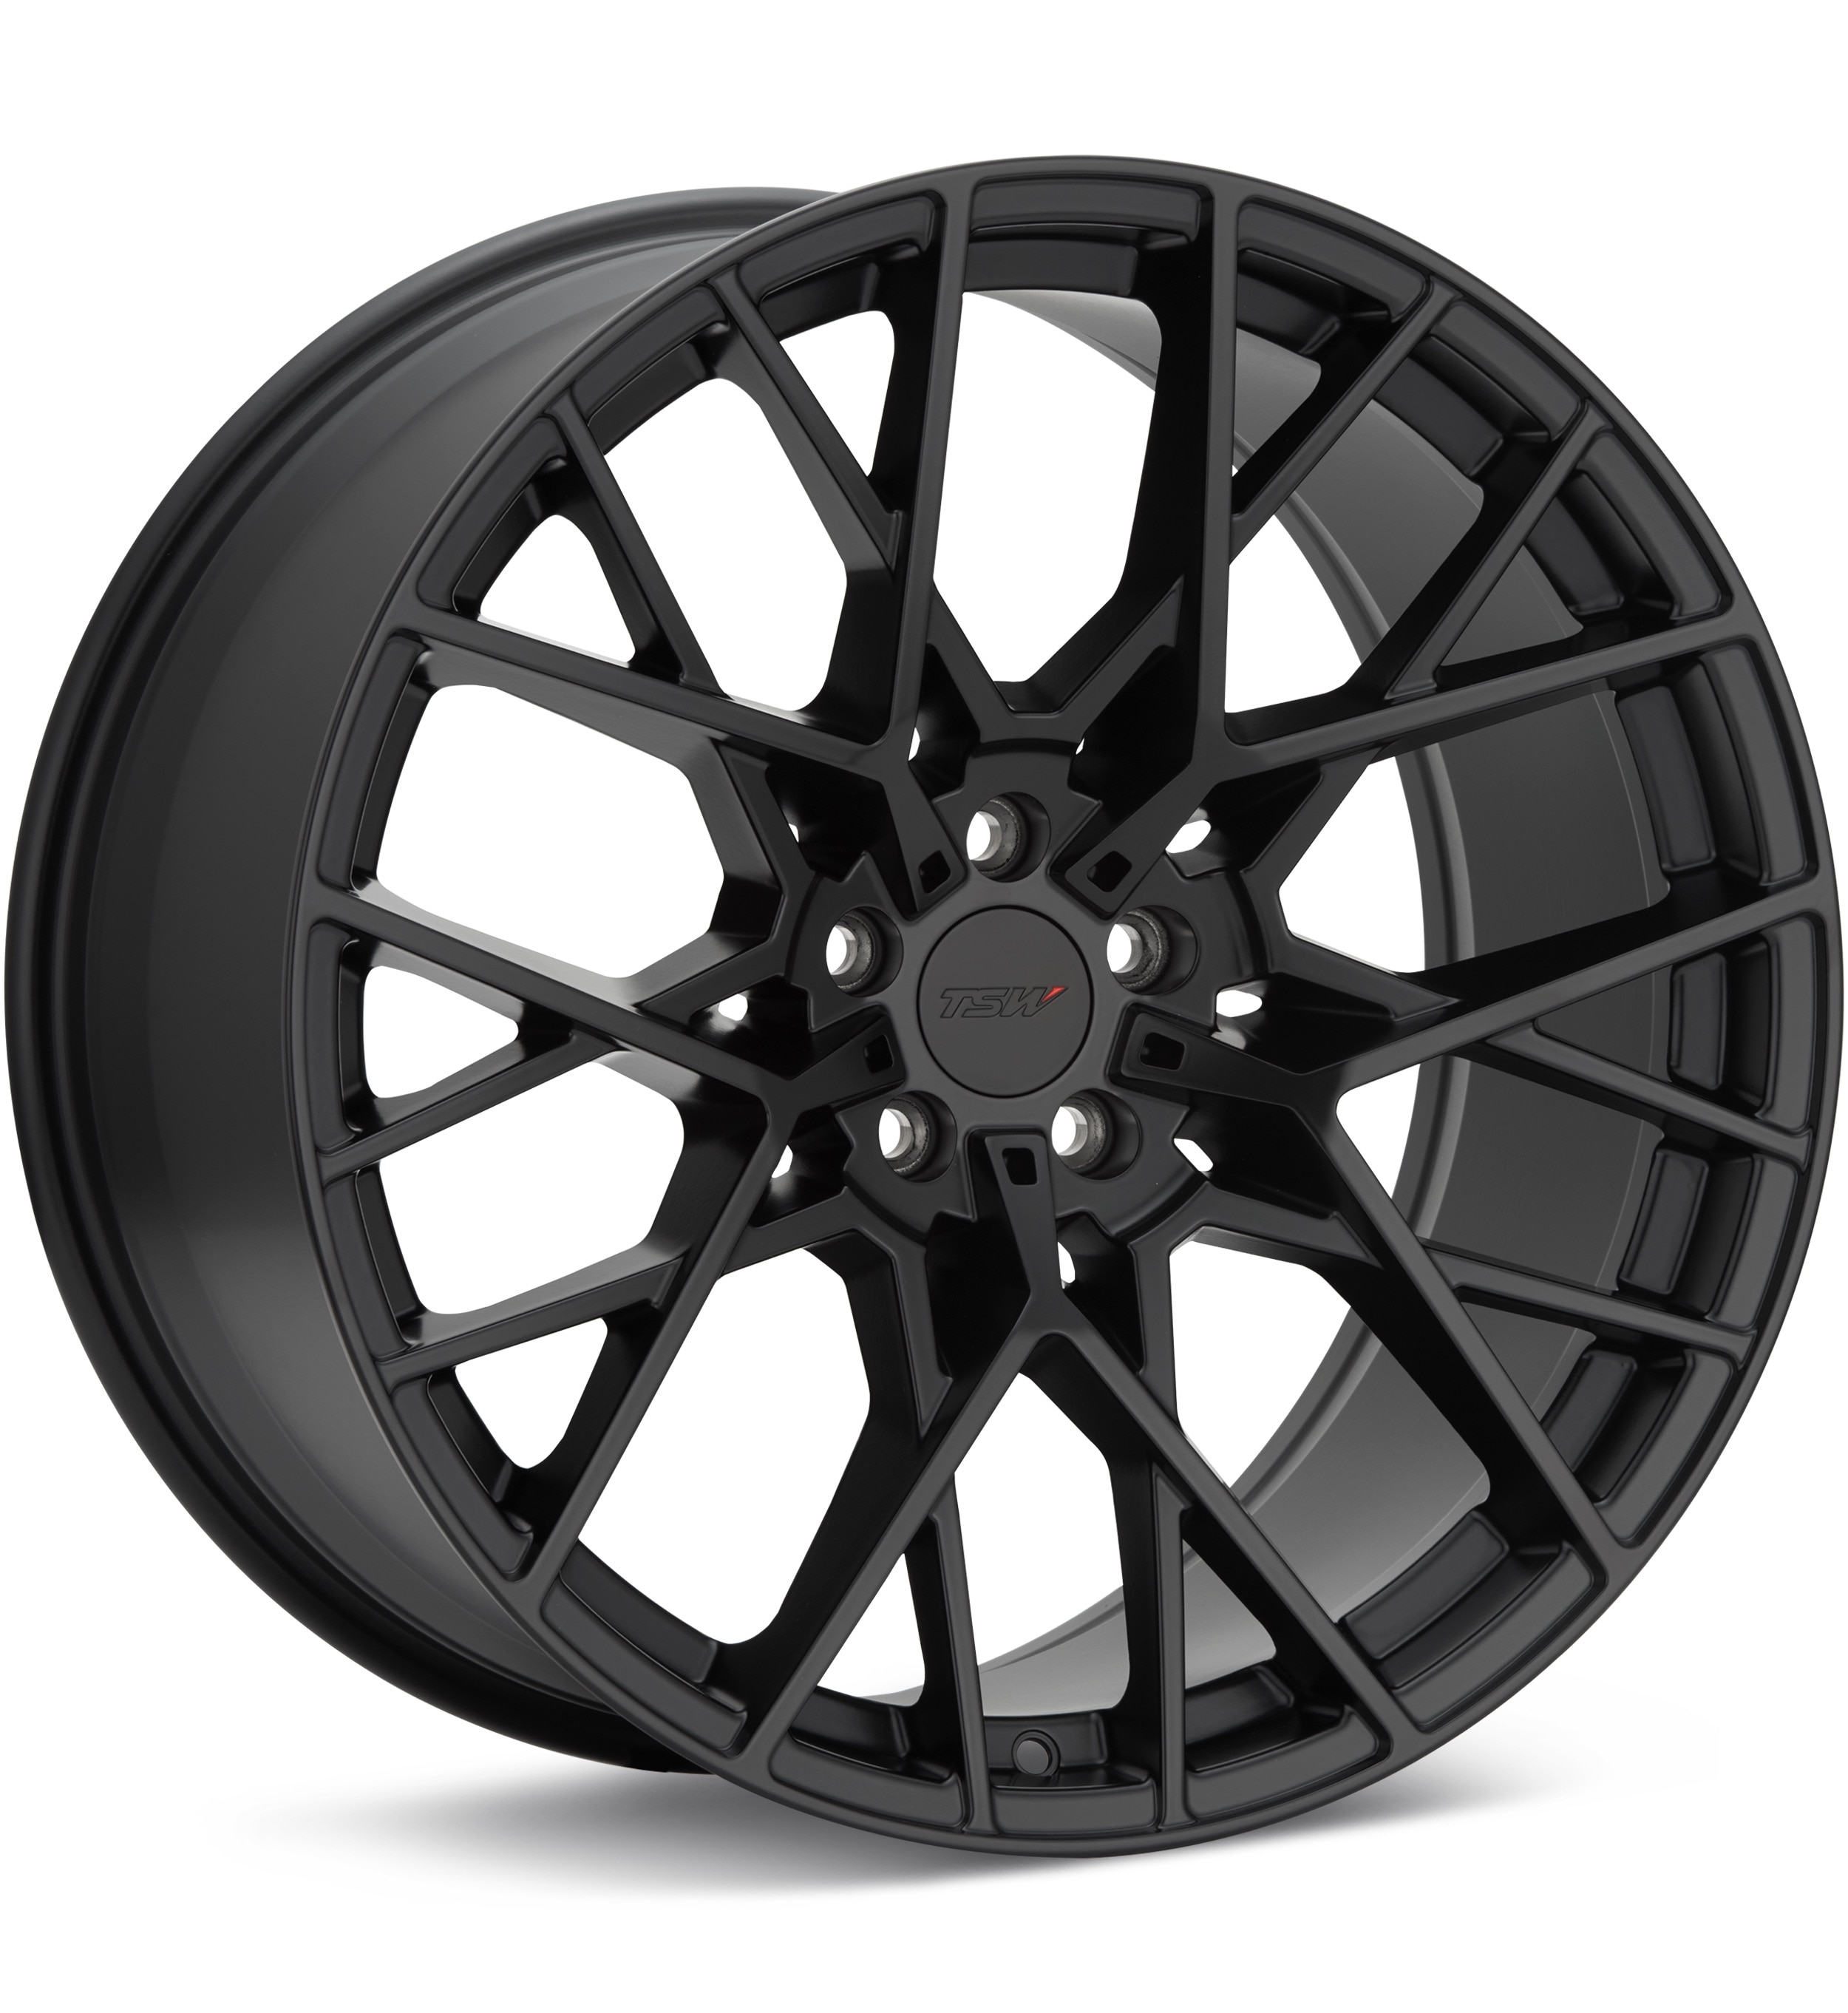
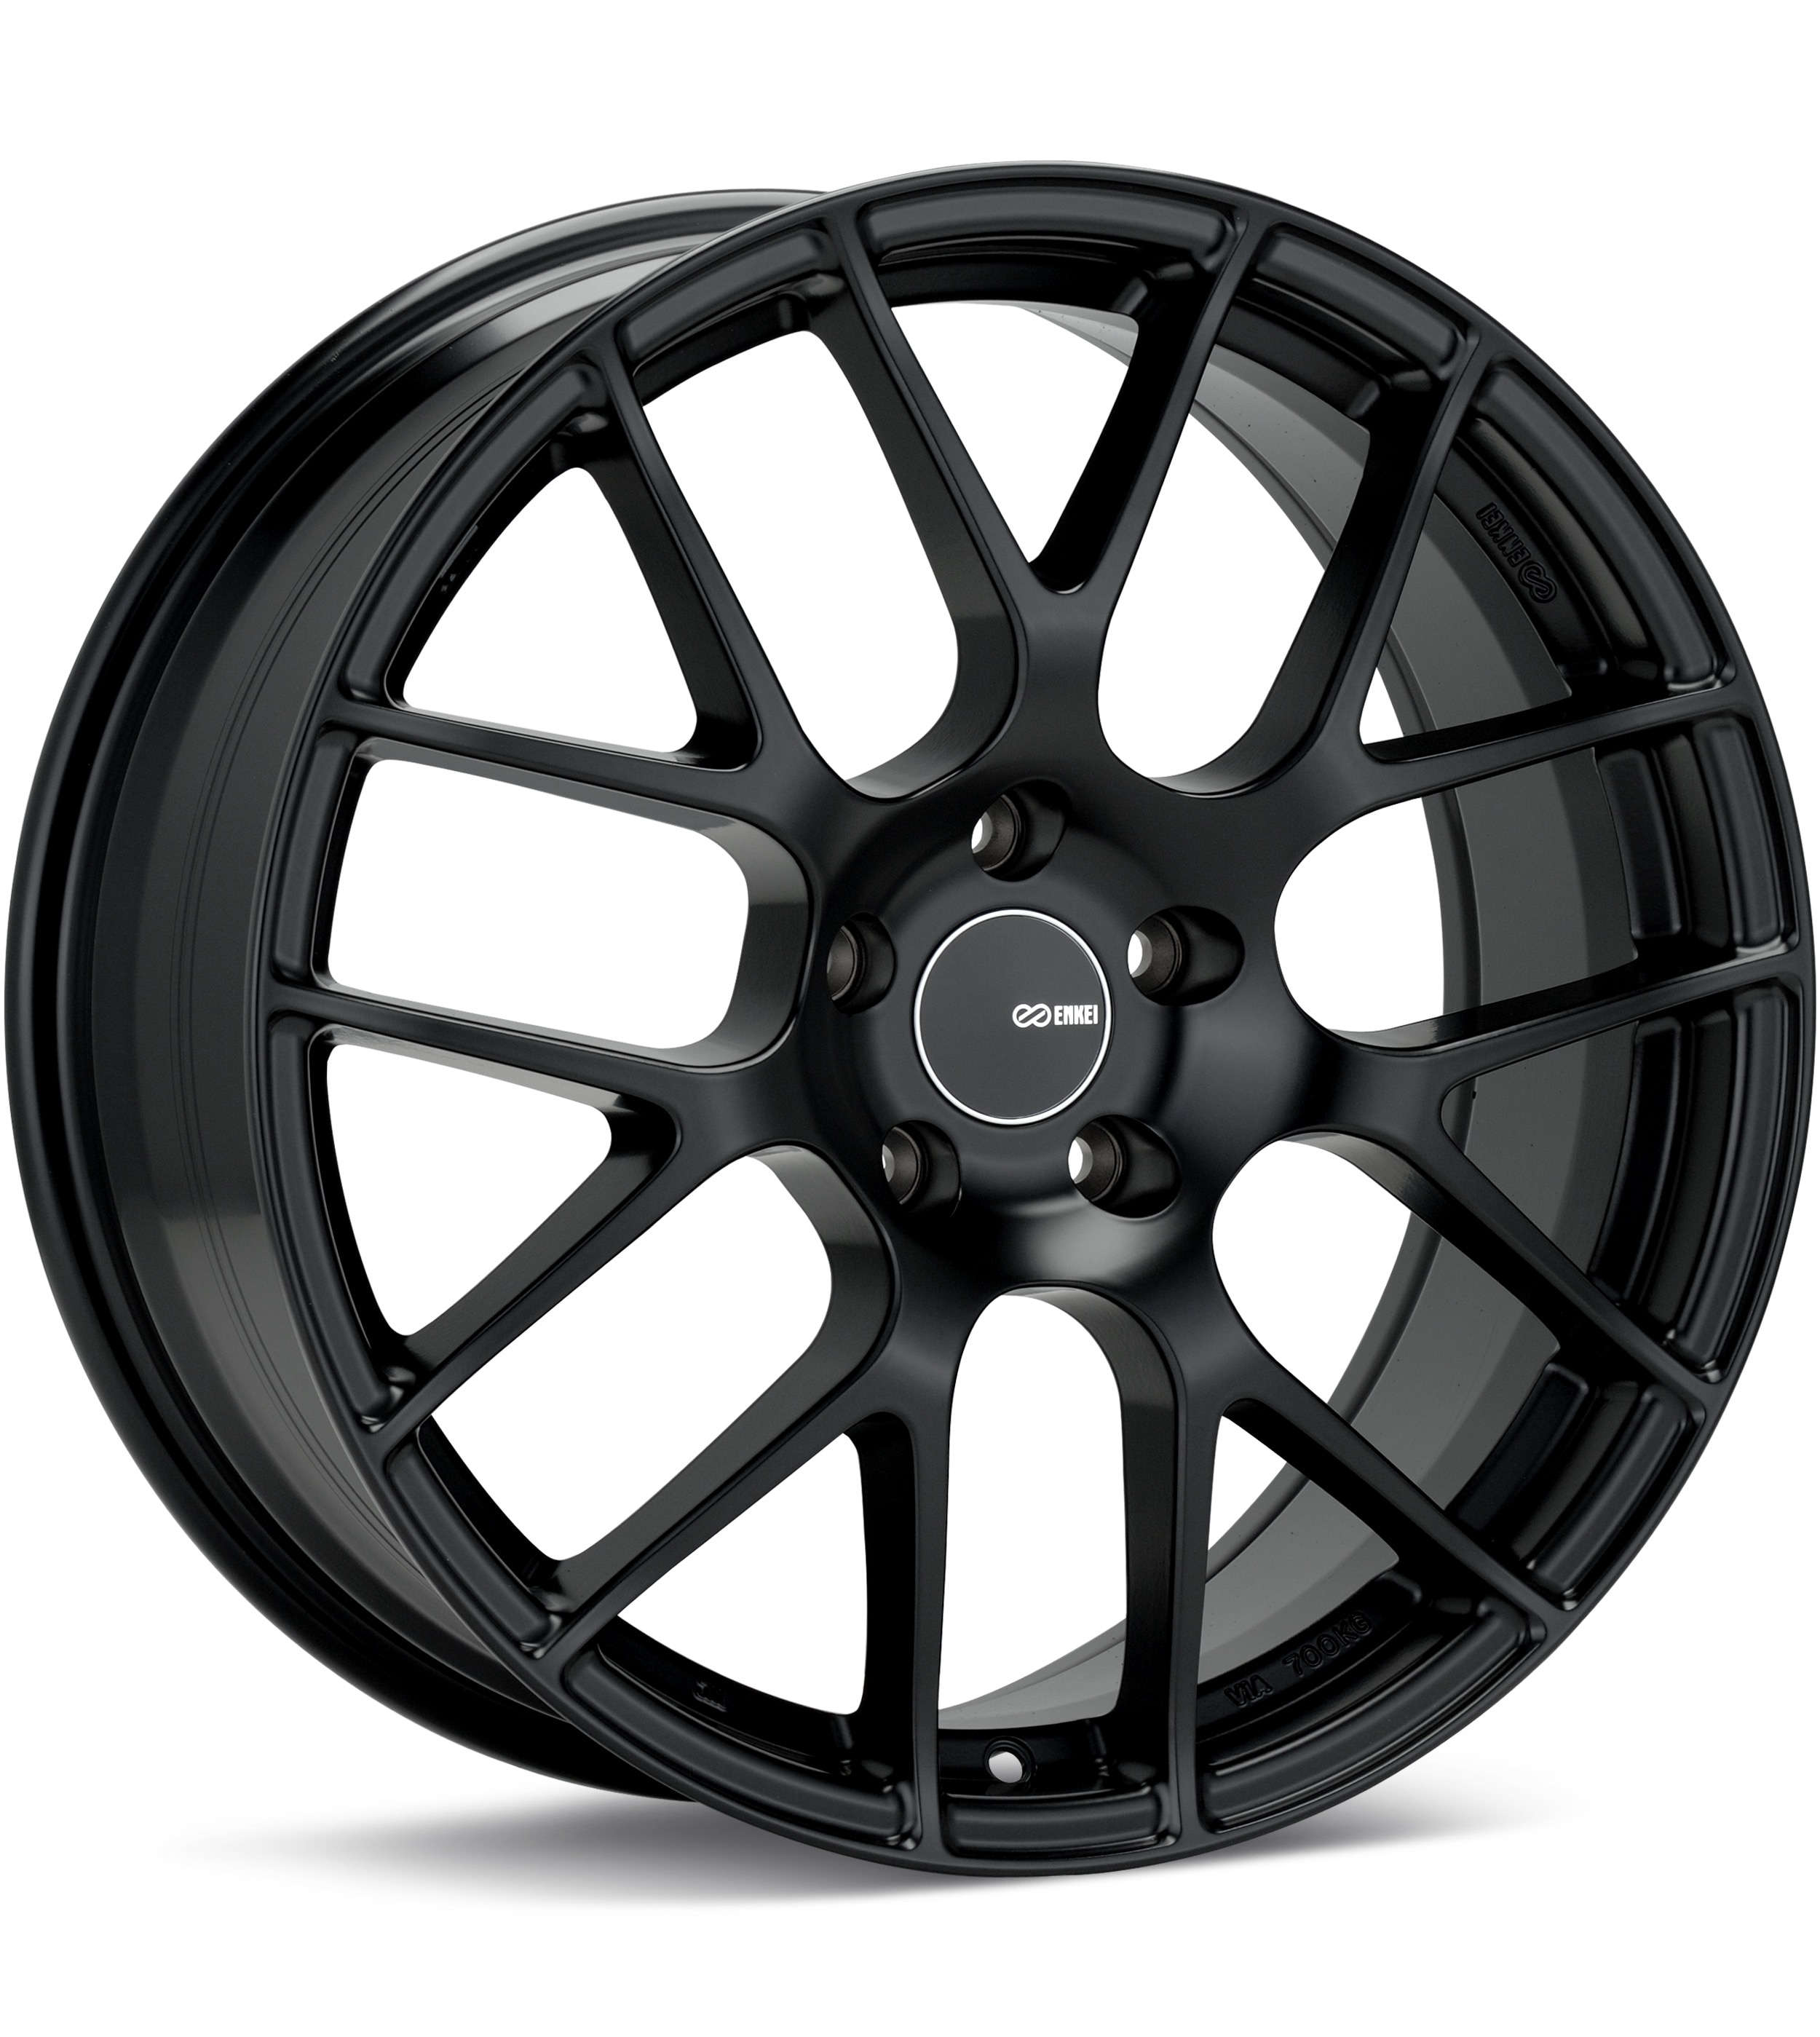
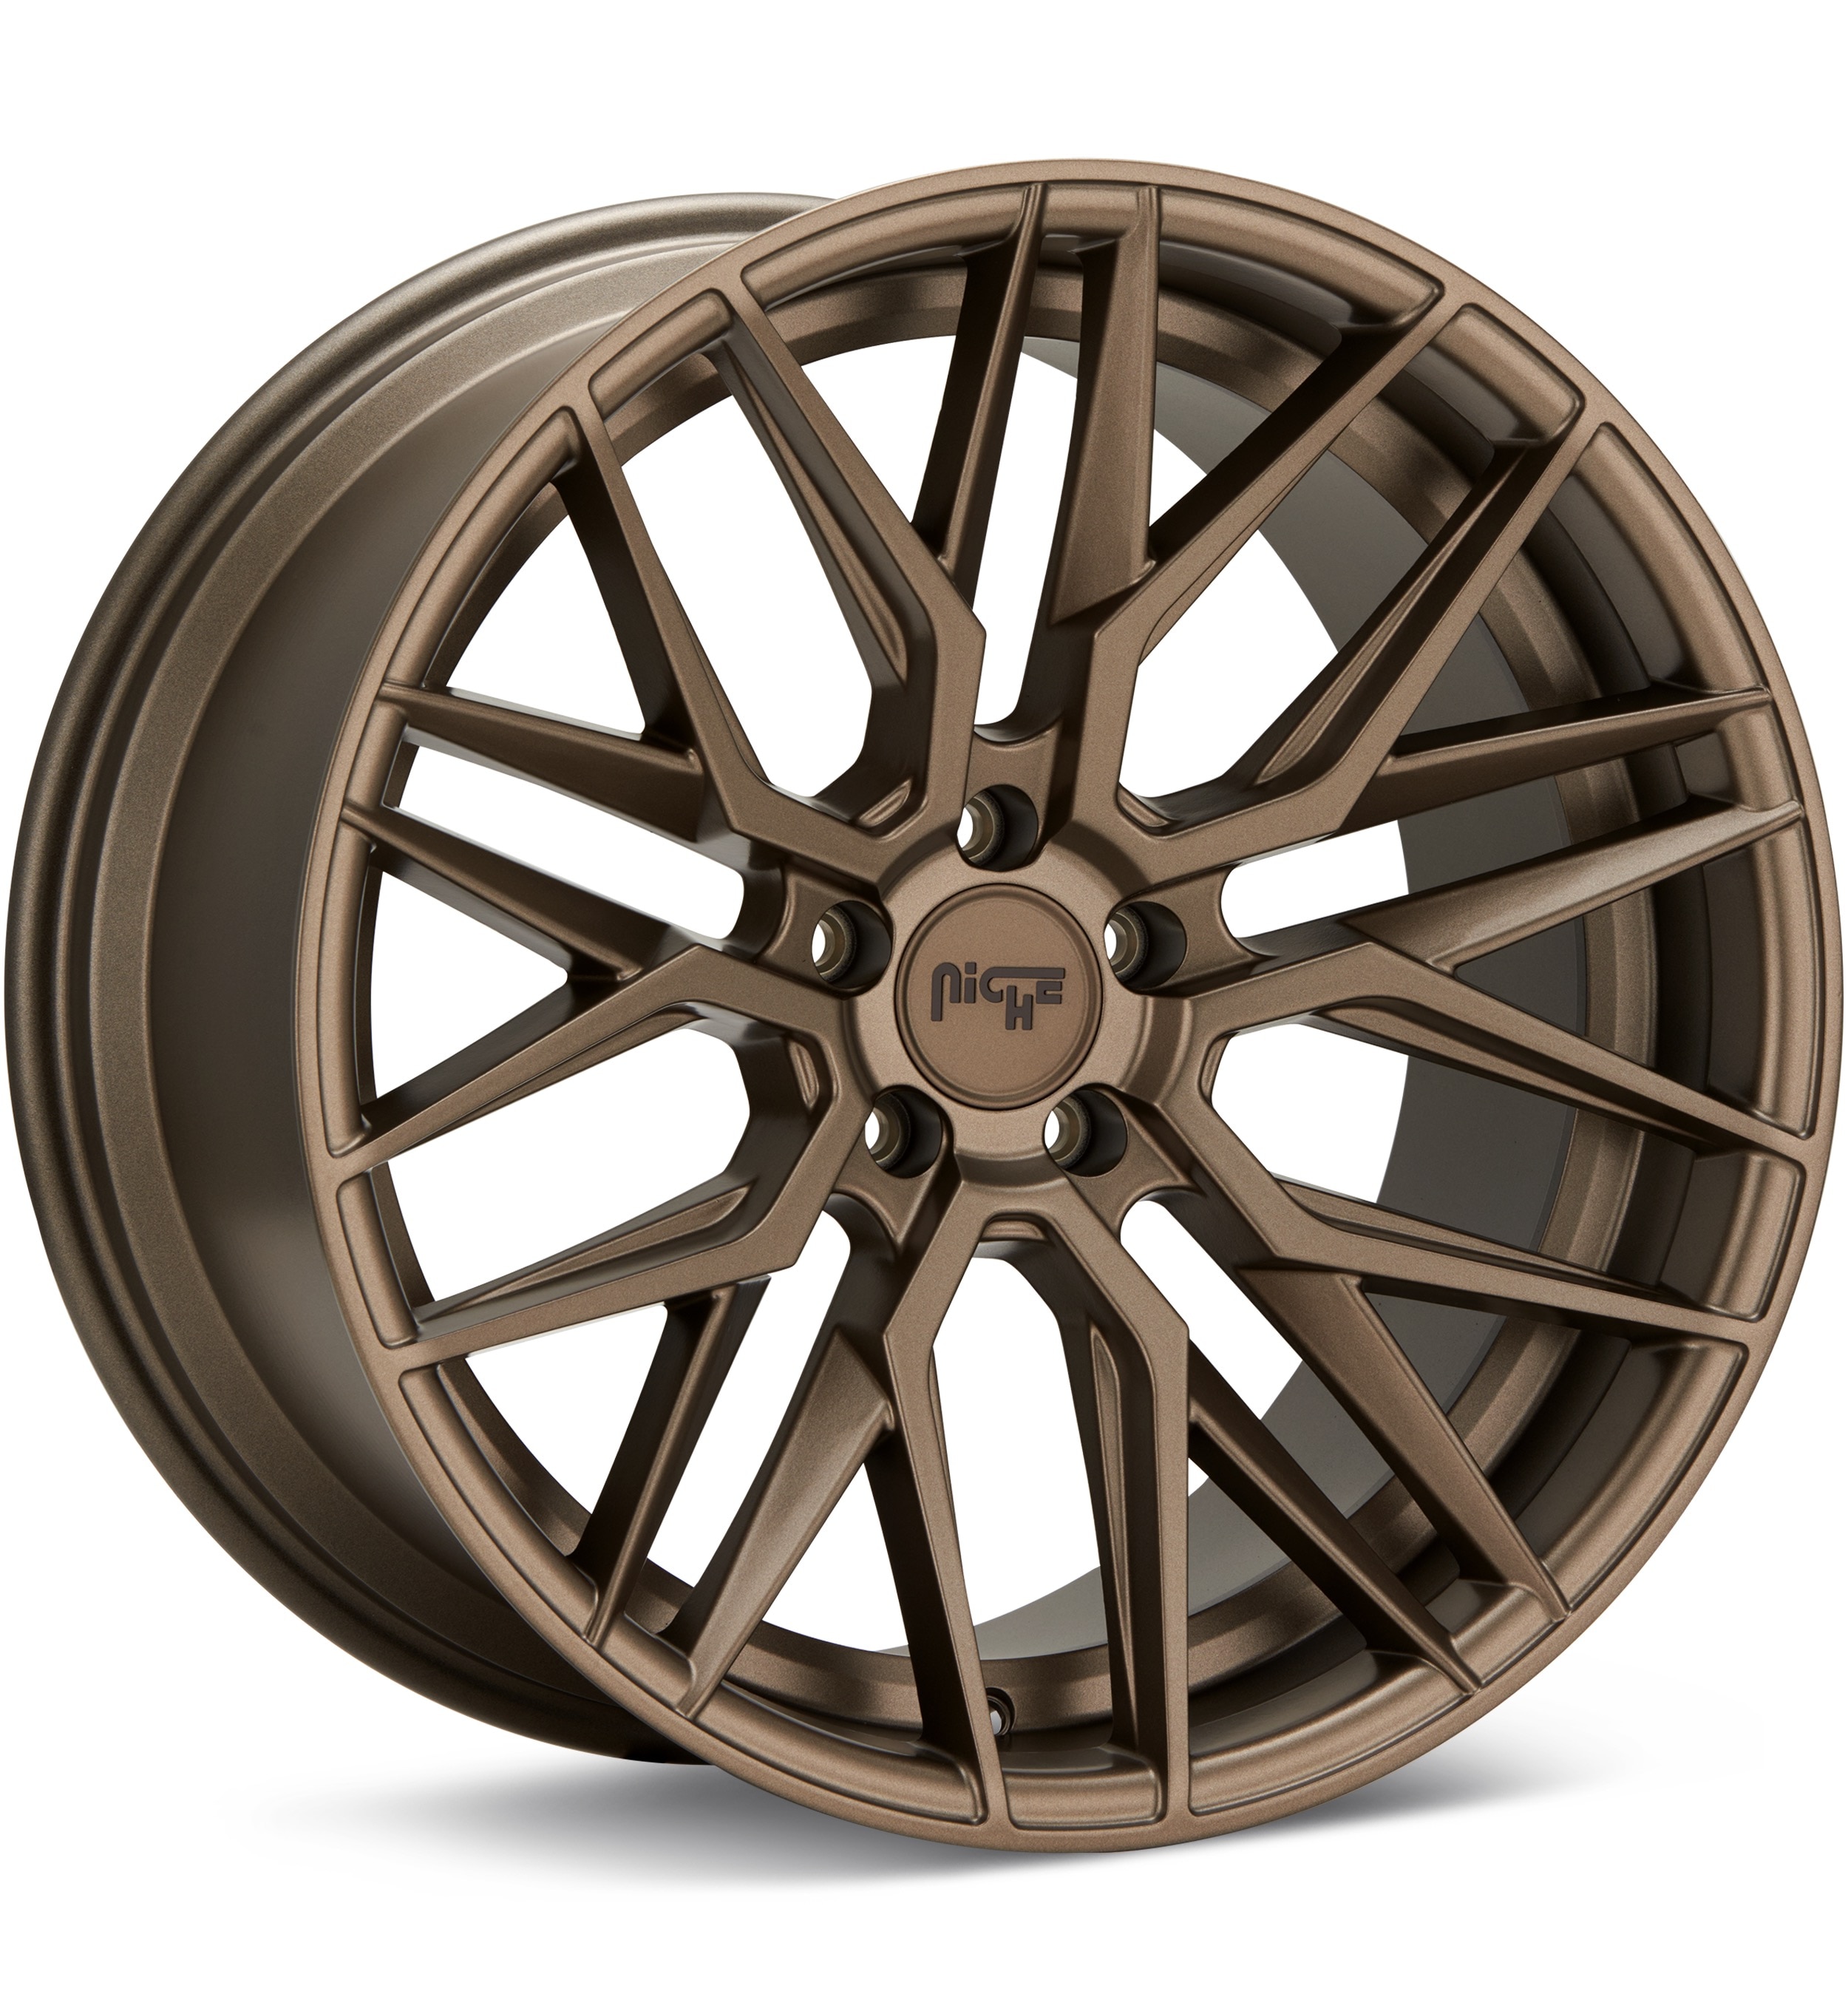
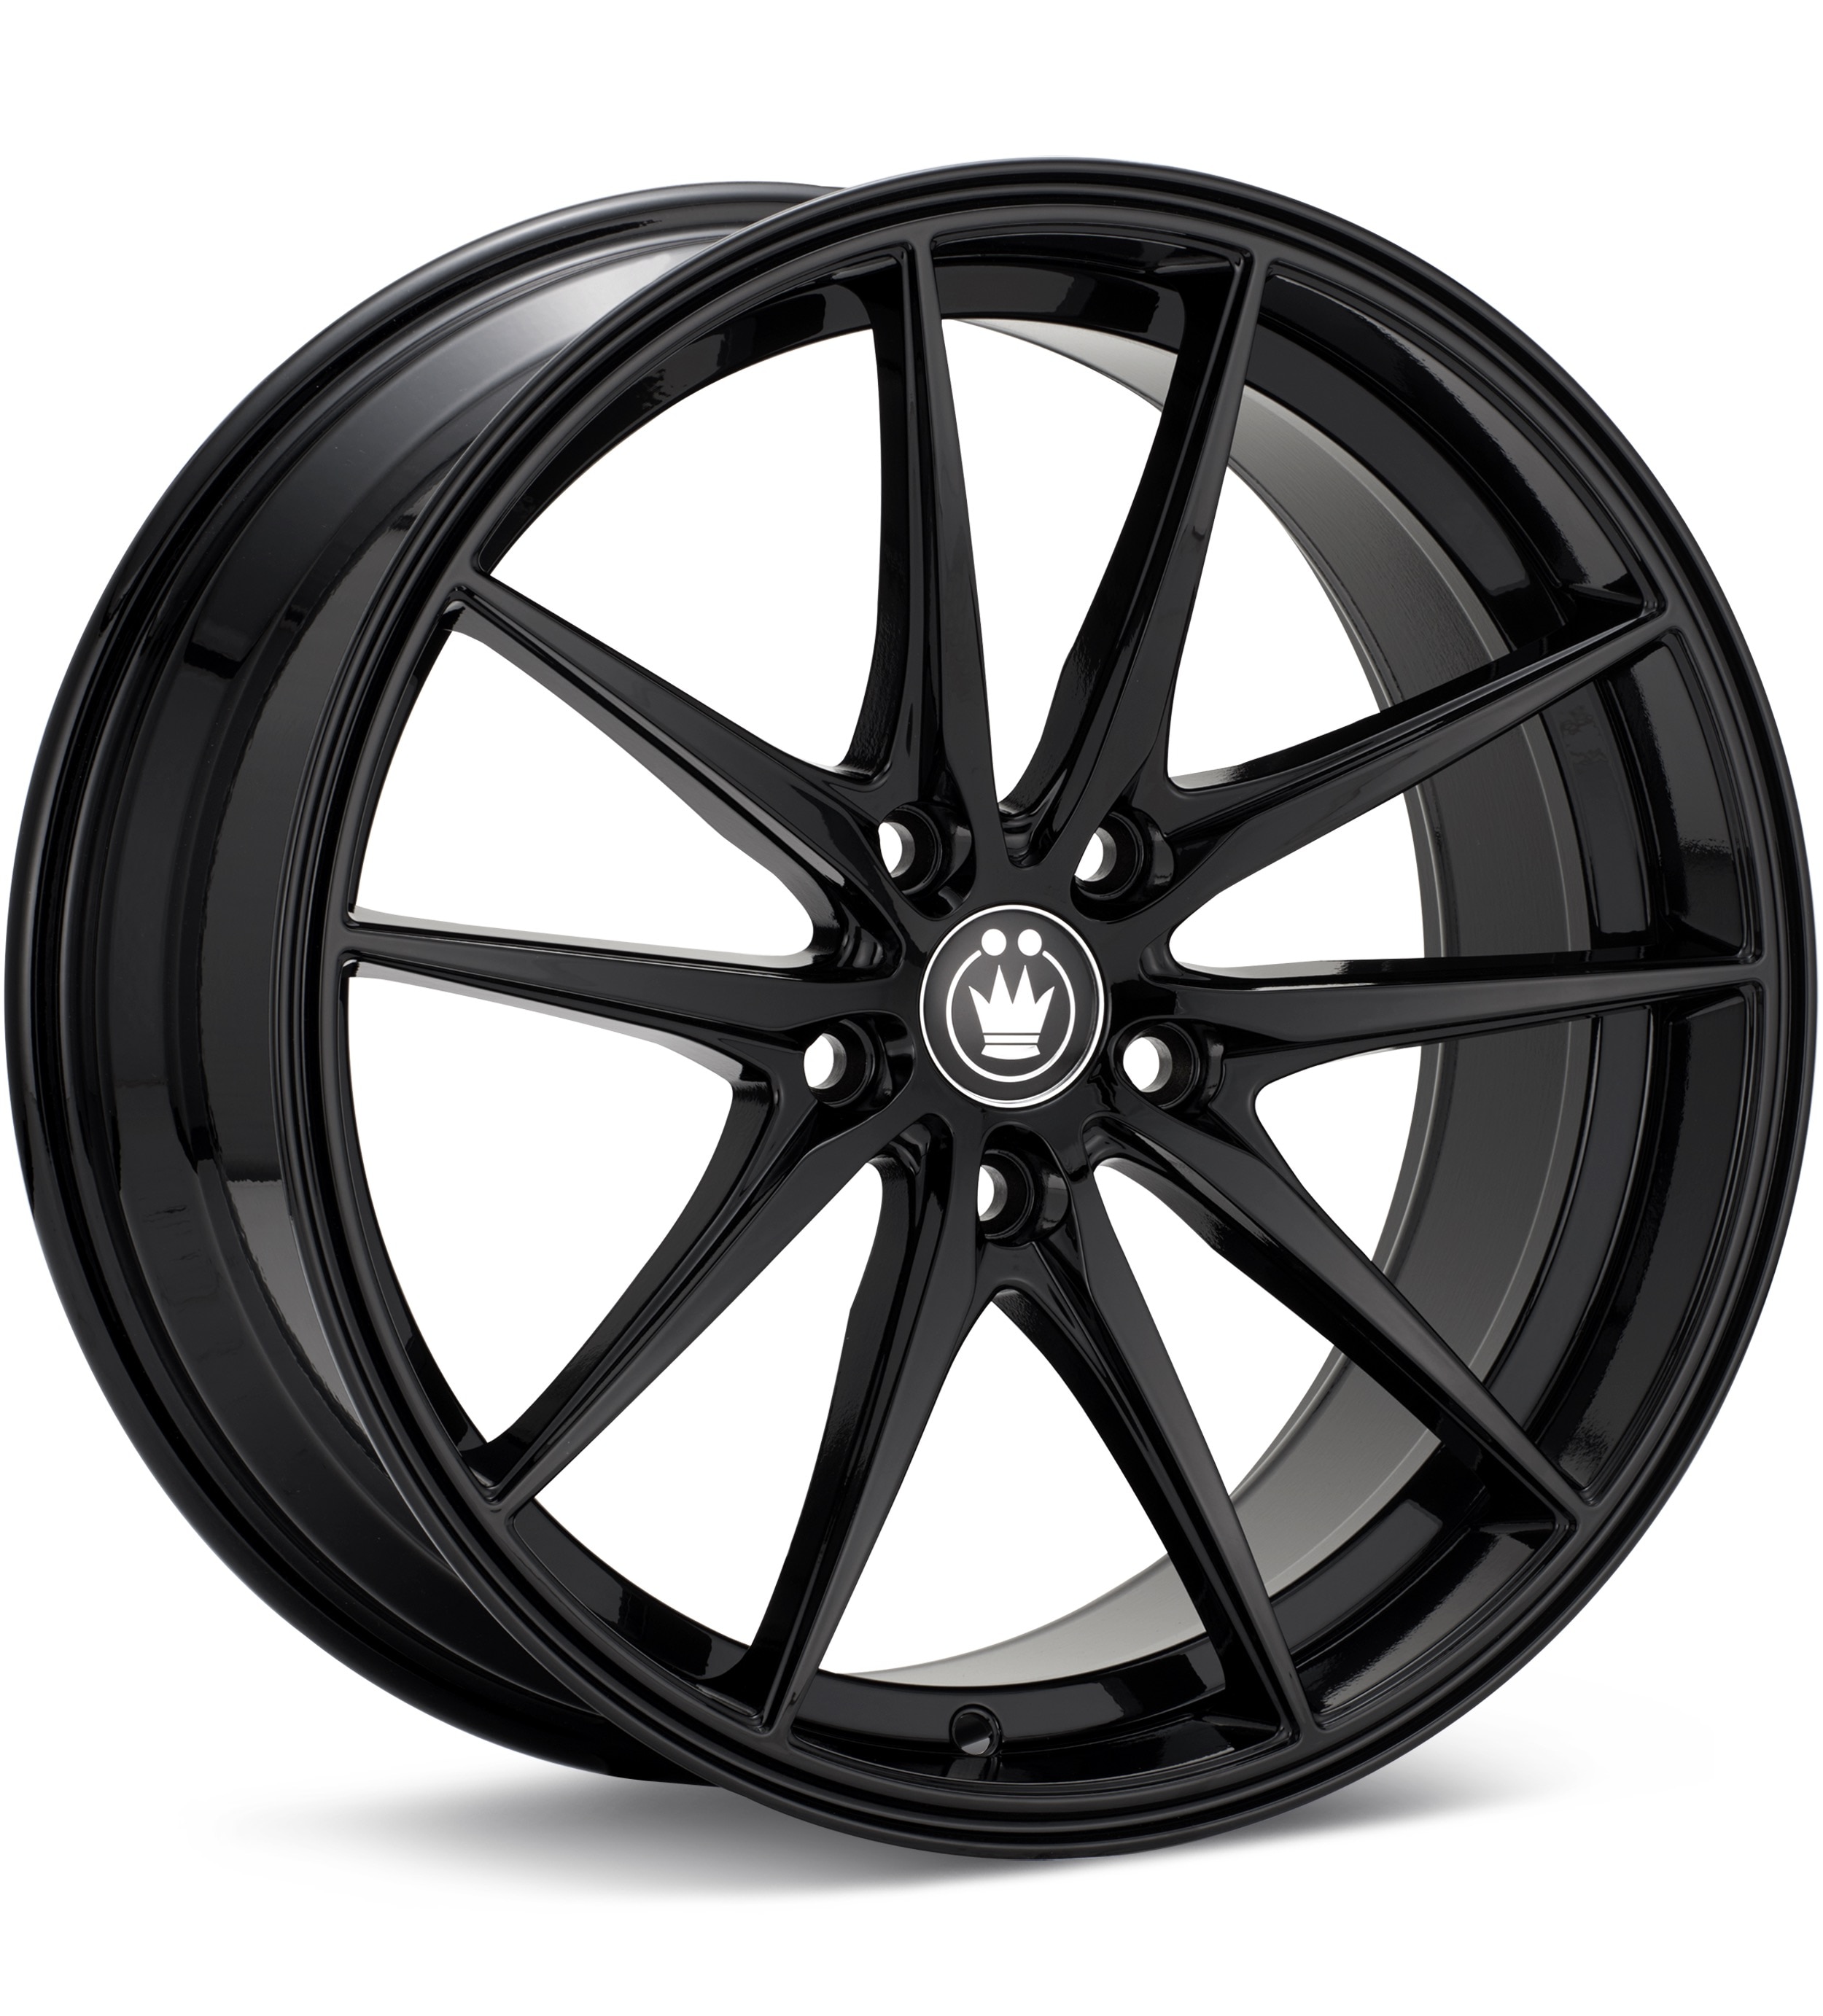
OEM wheel and tire fitment specs for the 2016 Audi S6, including bolt pattern (PCD), center bore diameter, thread size, rim diameter, rim width, wheel offset, and backspacing.
Recorded OEM specifications for the 2016 Audi S6, donor years with overlapping ranges, and a calculator to compare a selected wheel. Range overlap is not a guaranteed fit.
Multiple OEM configurations exist for this vehicle. Fitment can vary by trim, brakes, and factory wheel package – confirm your exact setup before buying.
Center-bore records disagree: year-level hub 66.6 mm vs trim range 66.5–66.5 mm. Interchange below does not treat this as an unqualified match.
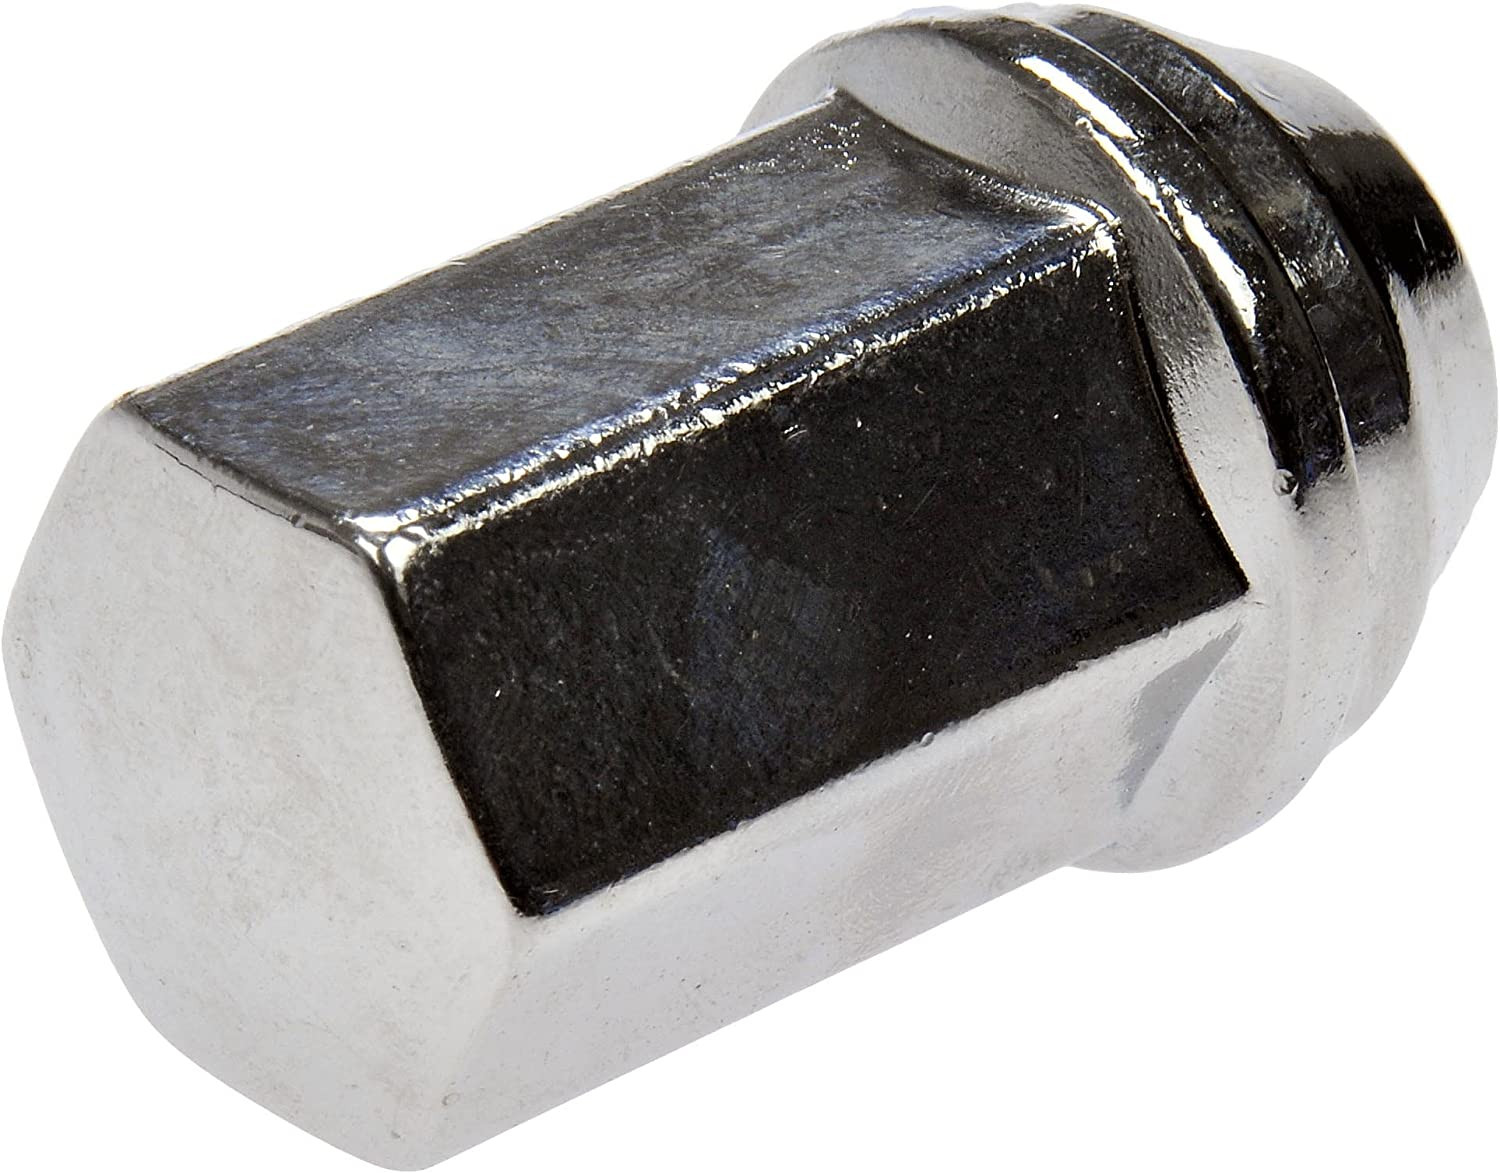
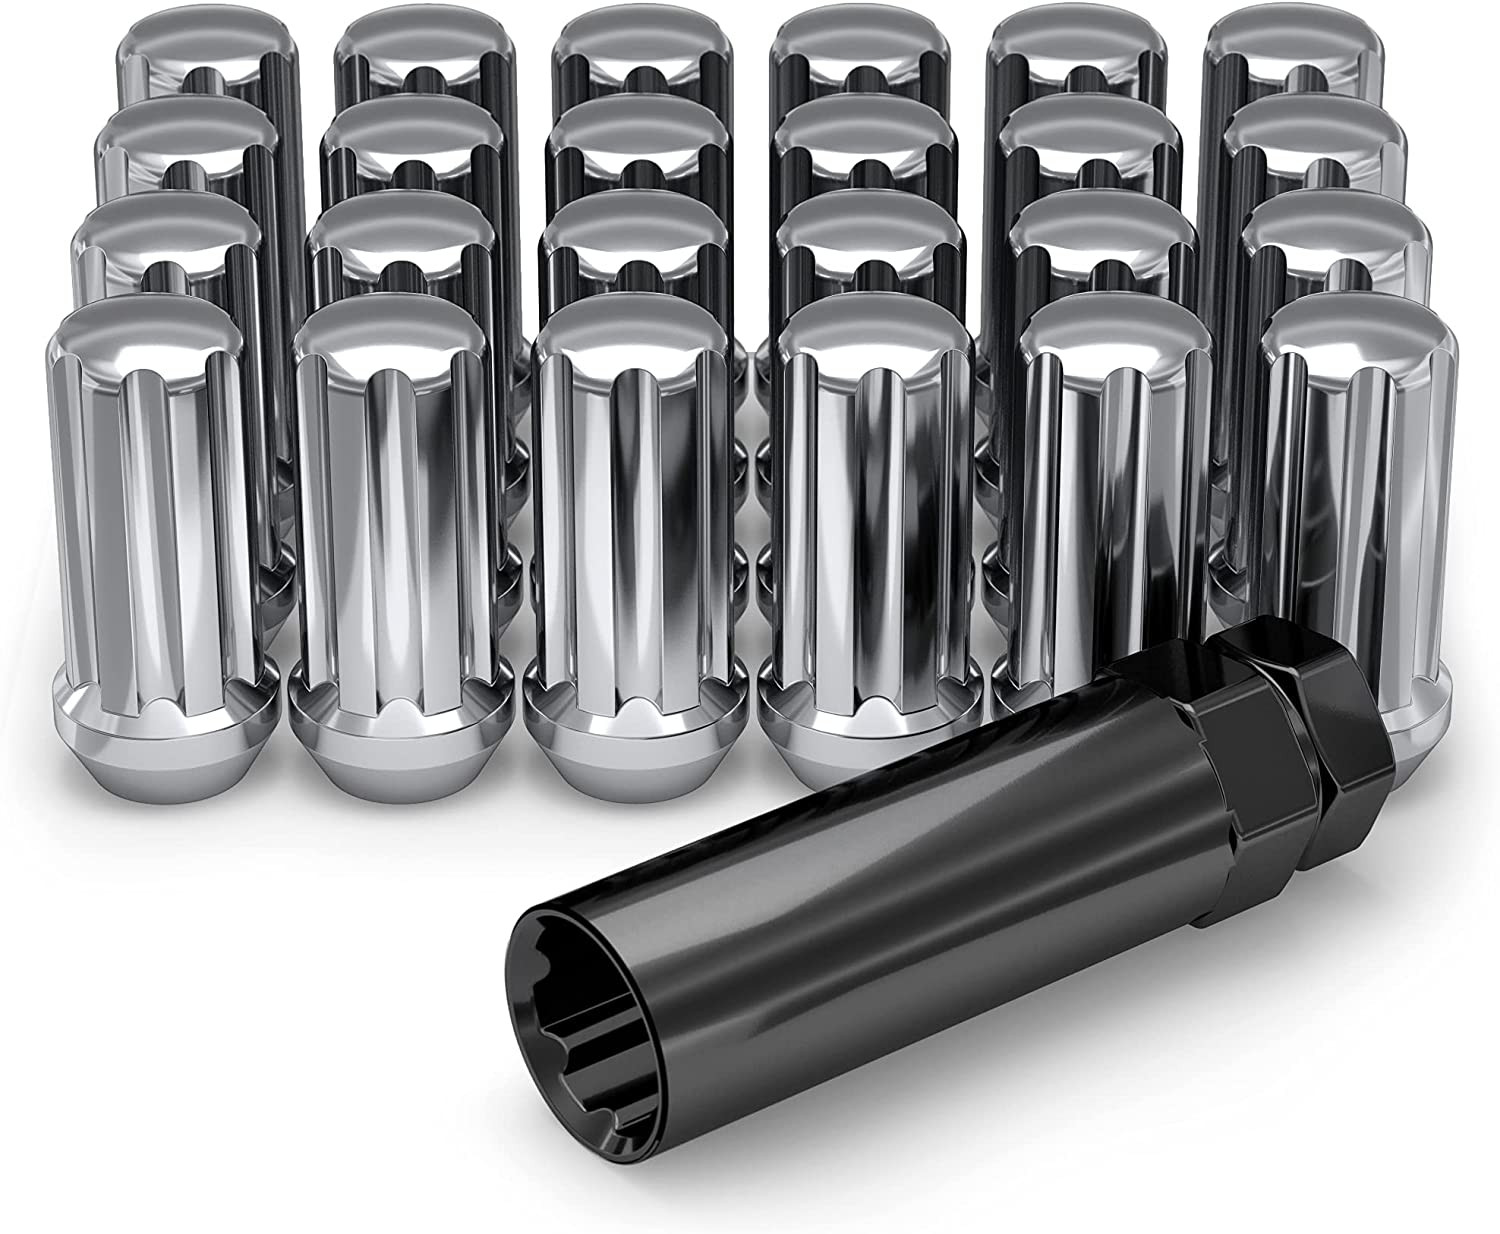
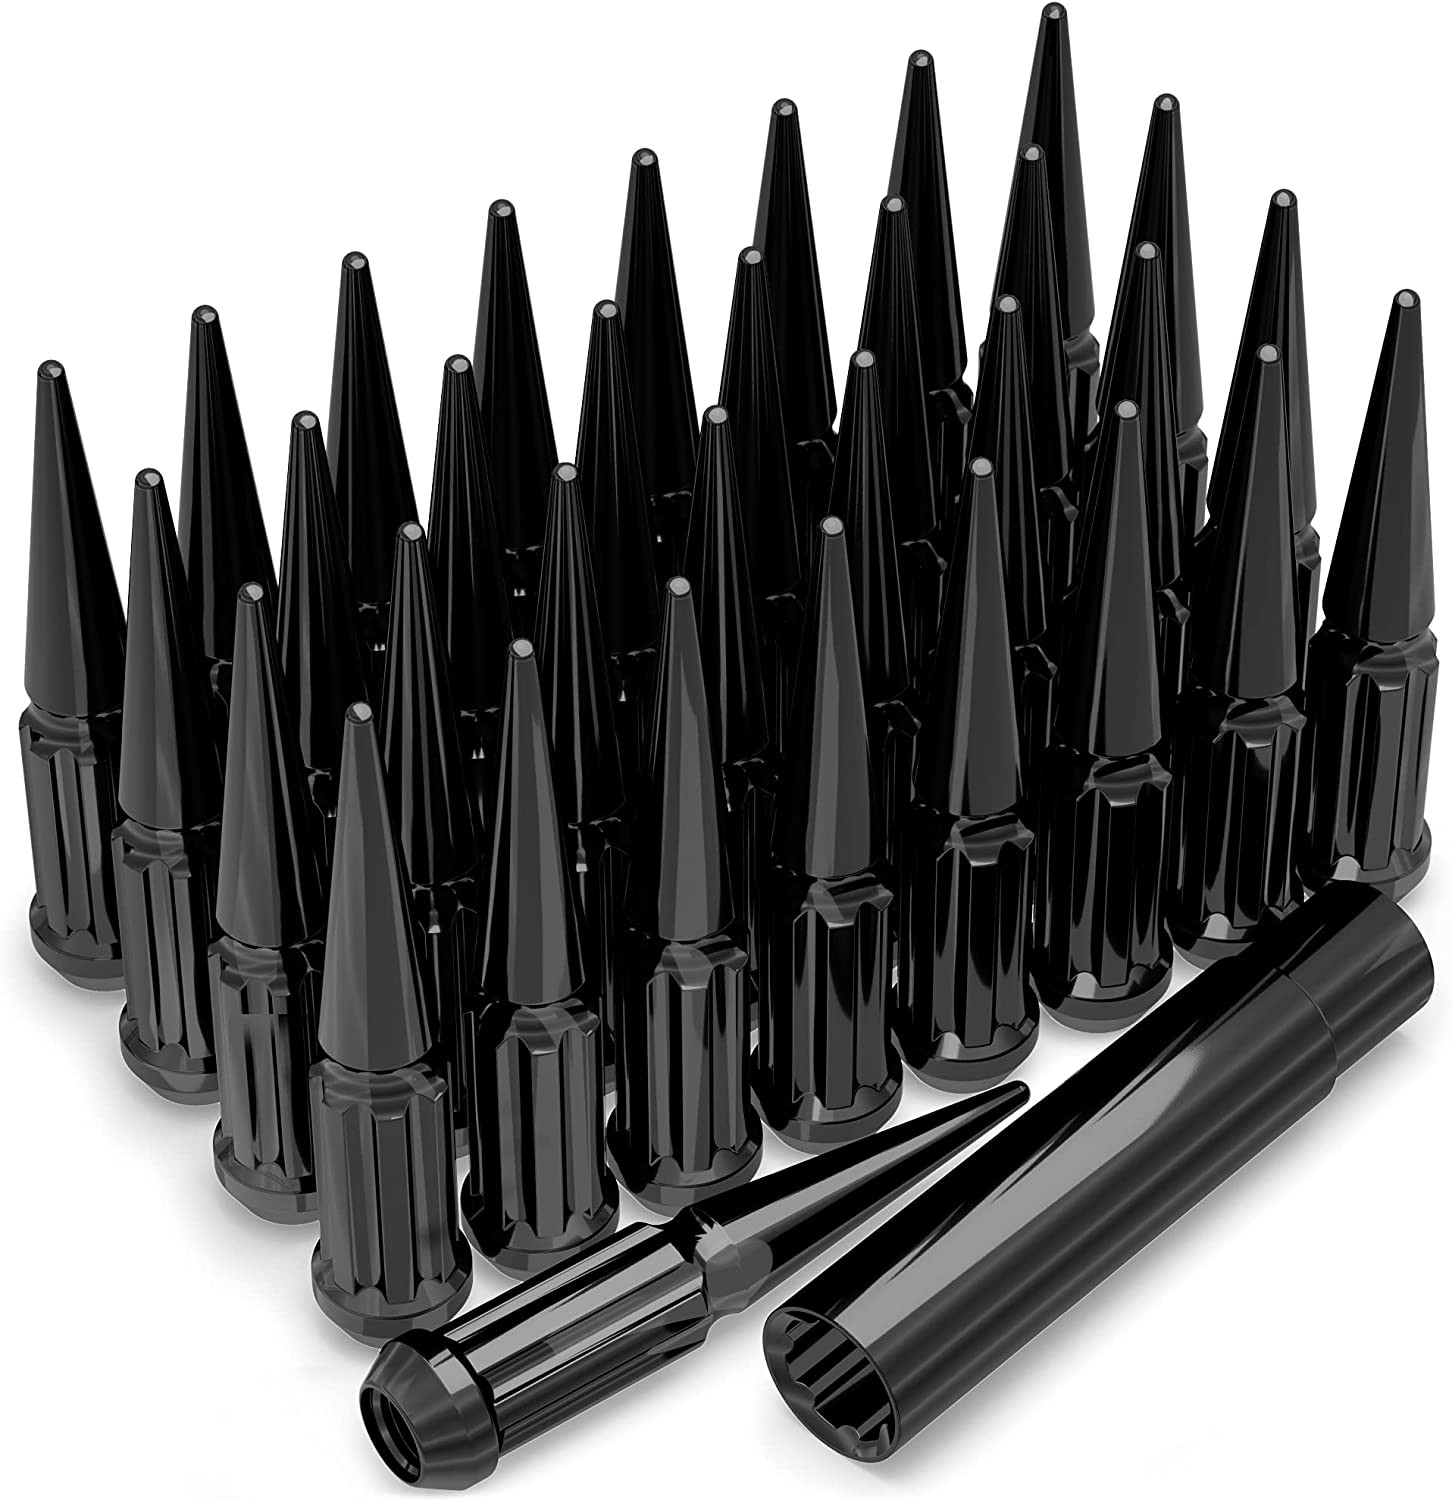
Thread-only product links are shopping examples, not verified fits. Seat style is not confirmed here. As an Amazon Associate we earn from qualifying purchases.
Explore wheels at Tire Rack
Selected size: 19 × 8.5″ · ET +45
Showing matching bolt patterns and offsets up to 20 mm lower. Confirm center bore, load rating, and clearance at Tire Rack.
We may earn a commission when you buy through these links. Prices and availability may change.
Donor vehicles with overlapping OEM specs
These are vehicle-year records whose recorded OEM ranges overlap this 2016 Audi S6. Overlap is not a guarantee that a specific wheel will install. Selected-wheel comparison is in the calculator below.
Evaluated 187 donor years. Listed 24 eligible overlaps (not all evaluated years are compatible). Showing all listed.
Wheel geometryOEM width/offset ranges overlap (not a specific wheel)
Center-bore records disagree (target year-level hub 66.6 mm vs trim range 66.5–66.5 mm; donor year-level hub 66.6 mm vs trim range 66.5–66.5 mm). Unqualified overlap is not claimed until the conflict is resolved. Approximate position vs the mid OEM package: outer change 7.18 mm, inner change -0.83 mm. This uses aggregated width/offset ranges, not a specific wheel.
Wheel geometryOEM width/offset ranges overlap (not a specific wheel)
Dataset suggestionHub-centric rings ≈ 66.6 → 66.5 mm – not a verified installation requirement.
Hub-centric rings of about 66.6 → 66.5 mm mm may be relevant if the wheel bore is larger than the hub; they cannot enlarge a smaller bore. Approximate position vs the mid OEM package: outer change -0.17 mm, inner change -6.18 mm. This uses aggregated width/offset ranges, not a specific wheel.
Wheel geometryOEM width/offset ranges overlap (not a specific wheel)
Center-bore records disagree (target year-level hub 66.6 mm vs trim range 66.5–66.5 mm). Unqualified overlap is not claimed until the conflict is resolved. Approximate position vs the mid OEM package: outer change -3.18 mm, inner change -3.18 mm. This uses aggregated width/offset ranges, not a specific wheel.
Audi S6 Years With Compatible Wheels
Only years with evidence-based interchange relationships are listed. Adjacent years are not assumed compatible.
Compare a donor vehicle or custom wheel against this 2016 Audi S6. Use Compare in calculator on a donor row above to fill the donor side of this same calculator.
Compare
Compare wheel compatibility between two vehicles
Wheels from (donor vehicle)
Selected Car:
Custom wheel size (optional)
Tip: change values here to simulate custom wheels and immediately see the impact in the comparison below.
Custom tire size (optional)
Installed on (your vehicle)
Selected Car:
2016 Audi S6
Compare Rims
Specification
Wheels from
Installed on
Result (Click it)
Bolt Pattern
The total number of bolt holes and the diameter of the circle they form.
-
5x112
Center Bore
The hole in the center of the wheel that fits over the vehicle’s hub.
-
66.5 mm
Thread Size
The size and spacing of the threads on the bolts or nuts that hold the wheel in place.
-
M14 x 1.5
Rim Diameter
The wheel diameter in inches that determines which tire sizes will fit.
-
19"
Rim Width
The distance between the inner edges of the wheel is measured in inches.
-
8.5"
Wheel Offset
How far the wheel sits inward or outward relative to the hub mounting surface.
-
45 mm
Backspacing
Shows how much space the wheel takes up toward the inside of the vehicle.
-
-
Wheel Fasteners
The type of hardware used to secure the wheel to the vehicle.
-
-
Compare Tires
Specification
Wheels from
Installed on
Result (Click it)
Section Width
The width of the tire from sidewall to sidewall, measured in millimeters.
-
-
Aspect Ratio
The height of the tire’s sidewall expressed as a percentage of its width.
-
-
Diameter
The wheel diameter for which the tire is designed to fit.
-
-
Tire Pressure
The recommended air pressure for safe and efficient driving.
-
-
Overall Diameter
The total height of the tire and wheel combined affects clearance and speedometer accuracy.
-
-
Wheel Fitment Parts for the 2016 Audi S6
Example products matched to recorded thread, hub, or spacer dimensions. They are not verified fits. Confirm seat style, thickness, and clearance before ordering.
As an Amazon Associate we earn from qualifying purchases. Product availability and pricing may change.
2016 Audi S6 Wheel Fitment Guide
1) Goal
You want wheels that fit your 2016 Audi S6 without rubbing, vibration, or sensor issues. The practical path is to start from the verified OEM baseline, compare options in the on-page calculator, and validate clearances before buying. This page walks you through that process step by step.
Known OEM baseline for 2016 Audi S6
Bolt pattern
5x112
Center bore
66.6 mm
Thread size
M14 x 1.5
Rim diameter
19 in
Rim width
8.5 in
Offset (ET)
45 mm
Backspacing
6.02 in
Tire size
255/40R19
Approximate OEM tire overall diameter is about 27.0 in, calculated from the size above. If your trim or market differs, that is an assumption to verify with the calculator and your owner resources. Do not rely on a single source when you see variation.
2) Prerequisites
Your current tire size and wheel markings - look for width, diameter, and ET on the wheel.
Access to the on-page fitment calculator on wheelinterchange.com.
OEM documentation for fastener torque and TPMS procedures. Specifications can vary by region.
3) Step by step
We will use the OEM fitment above as the baseline, then explore options with the calculator, and finally plan a physical validation before purchase.
Step 1 - Confirm your baseline: Check your current wheel and tire sizes match the table. If your car has a different factory package, note those sizes. Differences are your first constraint.
Step 2 - Open the calculator: Set Installed on - your vehicle to 2016 Audi S6. This locks the hub specs used for comparison.
Step 3 - Choose the donor wheel: In Wheels from - donor vehicle, select the source car if known. If not, use Custom wheel size to enter width, diameter, and offset. You can also set Custom tire size. Changing rim diameter updates tire diameter in the comparison.
Step 4 - Compare size and offset effects: Review how the new width and ET would move the wheel in or out relative to OEM. Larger positive ET pulls inward. Lower ET pushes outward. This is the main trade-off affecting fender clearance and inner suspension clearance.
Step 5 - Keep tire diameter near OEM: To maintain speedometer behavior and ride height, keep overall tire diameter close to the OEM calculation above. Use the calculator to adjust section width and aspect ratio if you change rim diameter.
Step 6 - Check hub and fasteners:
Center bore must be 66.6 mm to mount hub-centric. If the donor bore is larger, plan hub-centric rings sized to 66.6 mm outer. If smaller, machining would be required - not recommended for most DIY cases.
Thread size is M14x1.5. Confirm your fastener seat type matches the wheel seat profile. Do not mix ball seat with cone seat fasteners. If unknown, consult the wheel manufacturer or inspect the seat geometry.
Step 7 - Brake clearance assumption: The S6 uses large brakes. Diameter alone does not guarantee spoke and caliper clearance. Plan a test fit or template check before mounting tires on new wheels.
Step 8 - Plan installation: Clean hub faces, remove rust, and mount wheels hub-centric. Use your torque wrench to tighten in a star pattern to the OEM torque specification from your manual. Re-torque after a short drive cycle.
4) Validation
Calculator validation:
Verify the Installed on vehicle is 2016 Audi S6 in the tool.
Enter the OEM baseline and your proposed sizes. Keep the comparison within your clearance constraints. Adjust offset and width until the inboard and outboard positions look reasonable.
If you change rim diameter, confirm the new tire size keeps overall diameter near the OEM calculation using the tool’s automatic update.
Physical validation:
Outer clearance: With your current setup, place a straightedge on the fender lip and measure to the tire sidewall. This distance is your available outward room.
Inner clearance: Measure from inner sidewall to the closest suspension point. This distance is your available inward room.
Test fit a bare wheel on the hub to confirm center bore fit and caliper-spoke clearance. Rotate by hand and listen for contact.
Road test at low speed over bumps, then gradually to highway speed. Check for rubbing and vibration. Re-torque fasteners after 50-100 miles.
5) Troubleshooting
Vibration at highway speed:
Cause: Wheel not hub-centric on 66.6 mm hub, or improper balancing.
Action: Install correct hub-centric rings if the wheel bore is larger. Rebalance with a road-force method if needed.
Rubbing on
Methodology and sources
Wheel interchange depends on more than bolt pattern. Where data is available, this site compares recorded OEM values:
Bolt pattern / PCD
Center bore direction (donor wheel bore must not be smaller than the hub)
Wheel diameter, width, and offset against known OEM ranges
A normal wheel spacer does not change bolt pattern. Hub rings cannot enlarge a wheel bore that is smaller than the hub. Brake clearance and tire package fitment still require vehicle-specific checks when not confirmed in the dataset.