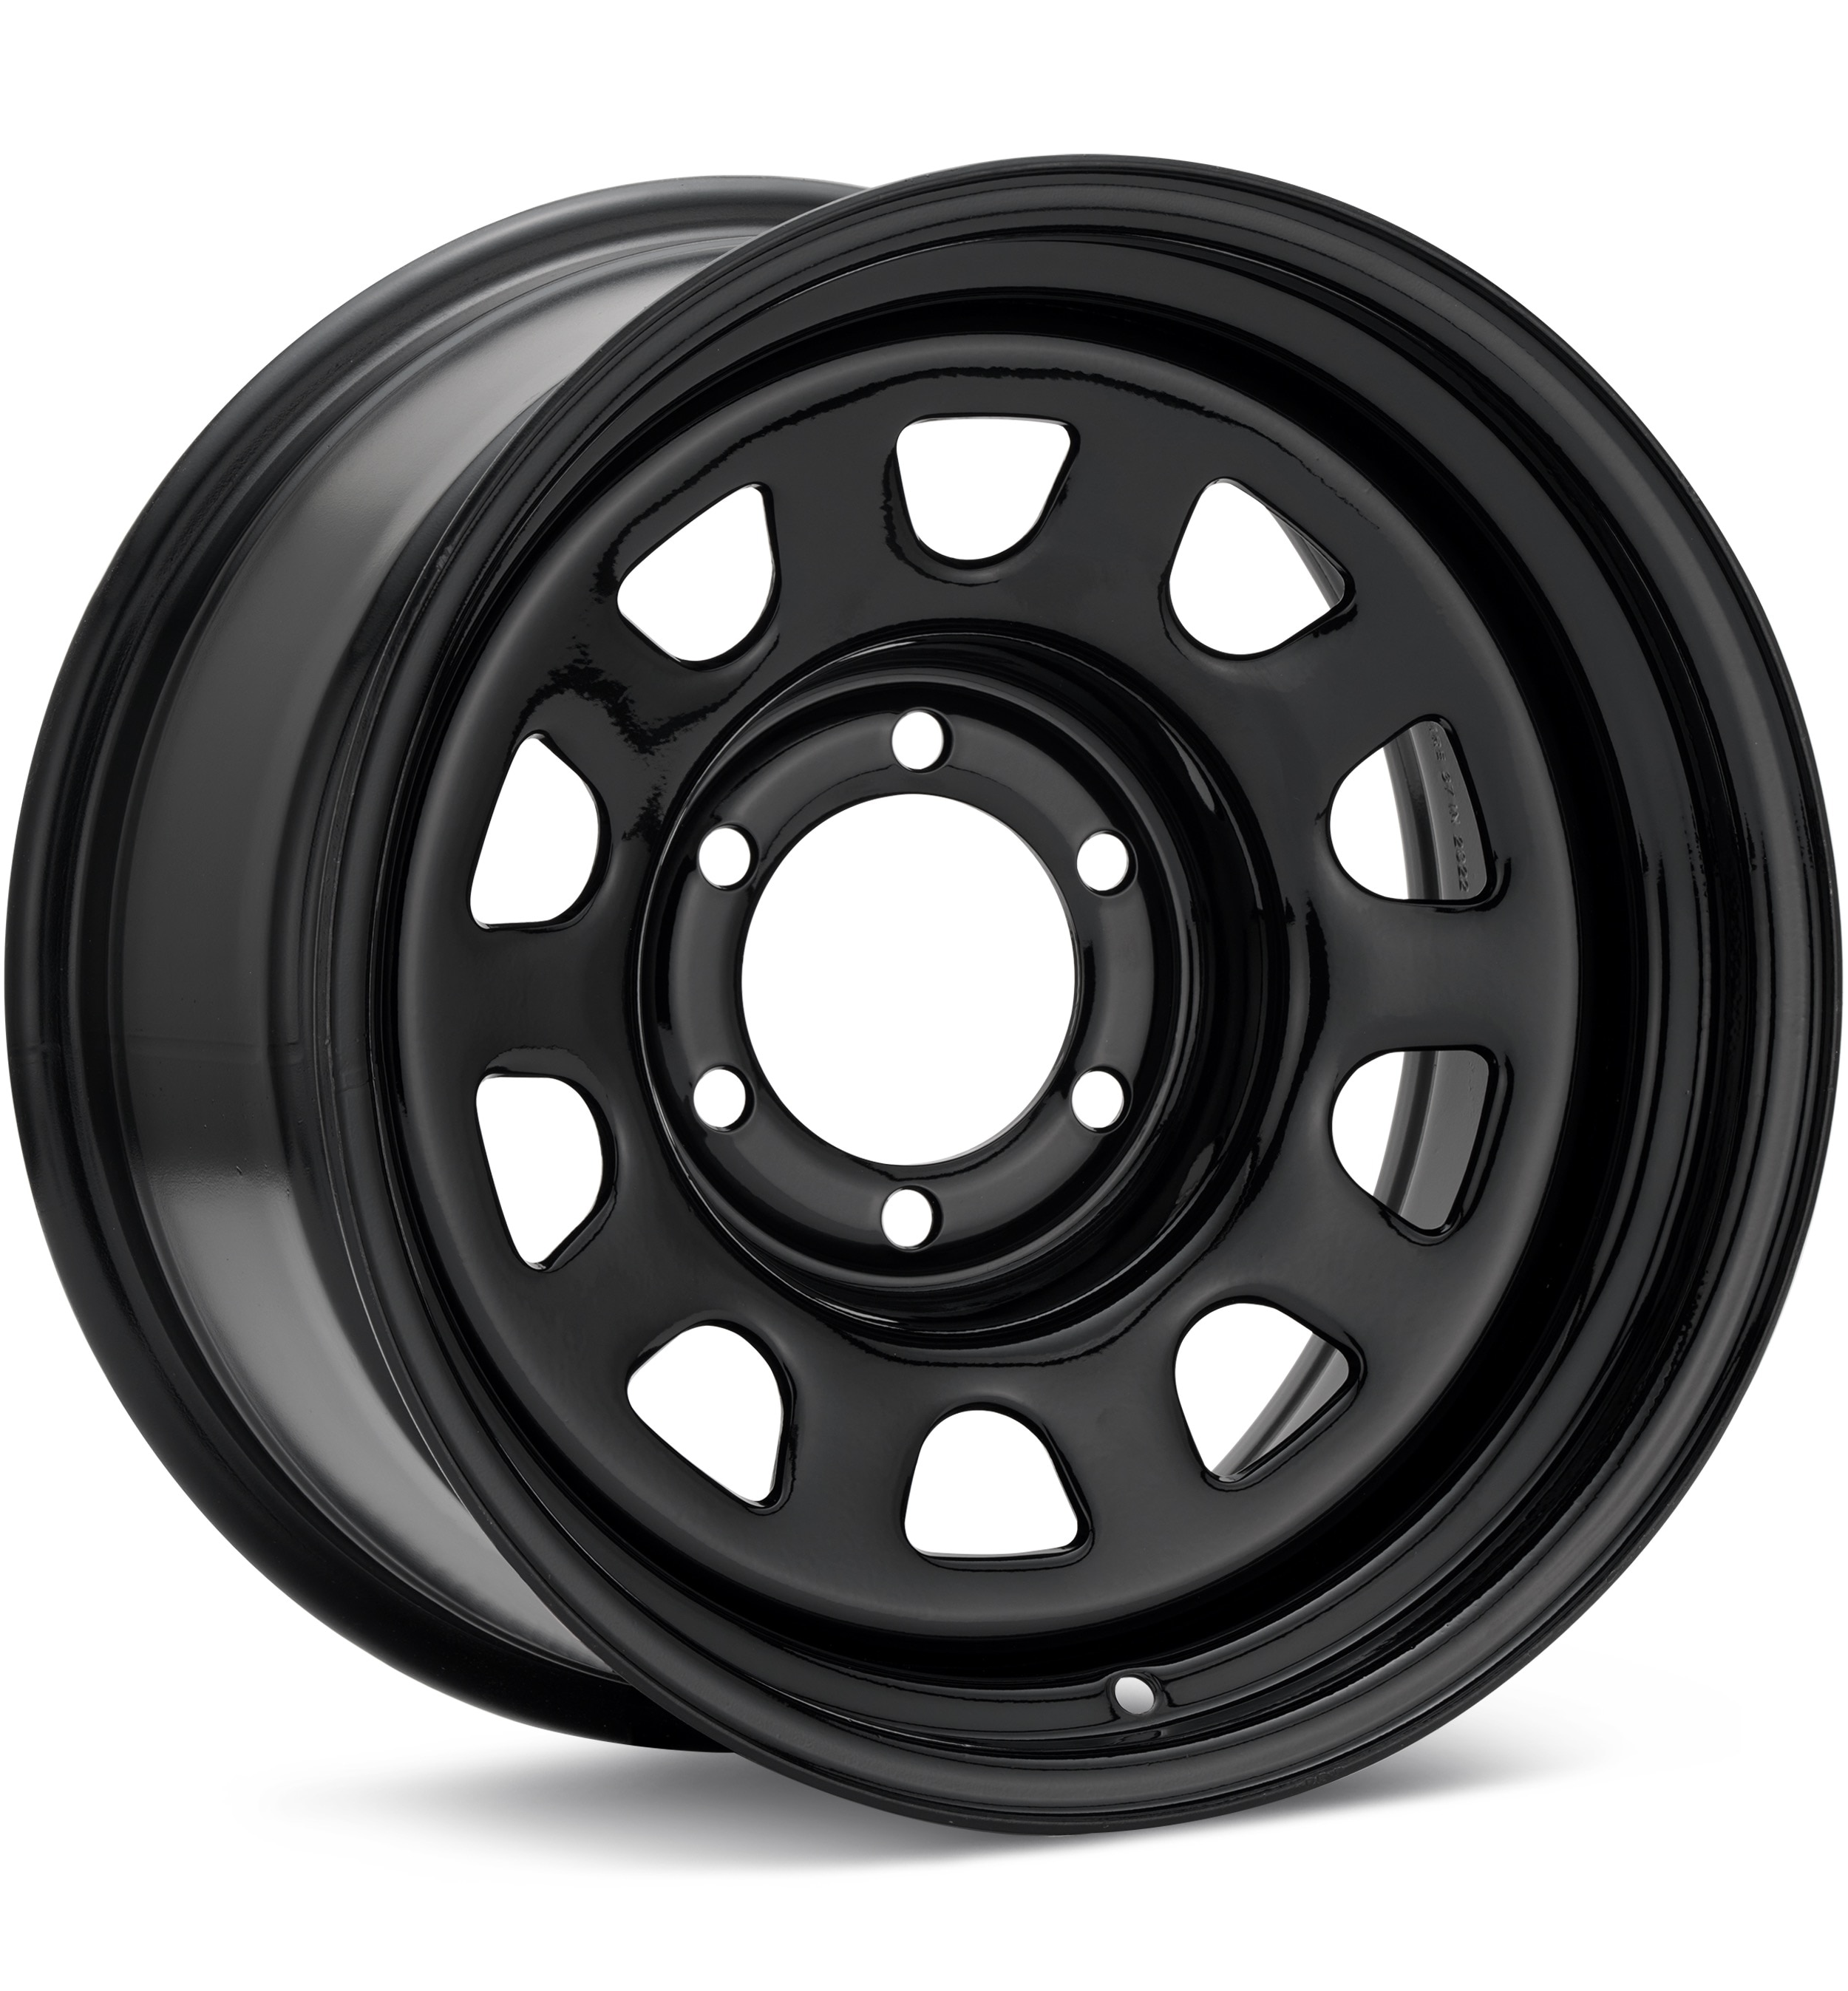
Vision Wheel
D Window
Gloss Black
15 × 7″ · ET -6
$96.00
View at Tire Rack ↗Recorded OEM specifications for the 1999 Ford Explorer, donor years with overlapping ranges, and a calculator to compare a selected wheel. Range overlap is not a guaranteed fit.
Save these wheel specs to your Ownery garage
Baseline mounting dimensions used for interchange decisions.
Multiple OEM configurations exist for this vehicle. Fitment can vary by trim, brakes, and factory wheel package – confirm your exact setup before buying.
Center-bore records disagree: year-level hub 70.6 mm vs trim range 70.5–70.5 mm. Interchange below does not treat this as an unqualified match.
Thread-only product links are shopping examples, not verified fits. Seat style is not confirmed here. As an Amazon Associate we earn from qualifying purchases.
Selected size: 15 × 7″ · ET +12
Showing matching bolt patterns and offsets up to 20 mm lower. Confirm center bore, load rating, and clearance at Tire Rack.
Vision Wheel
Gloss Black
15 × 7″ · ET -6
$96.00
View at Tire Rack ↗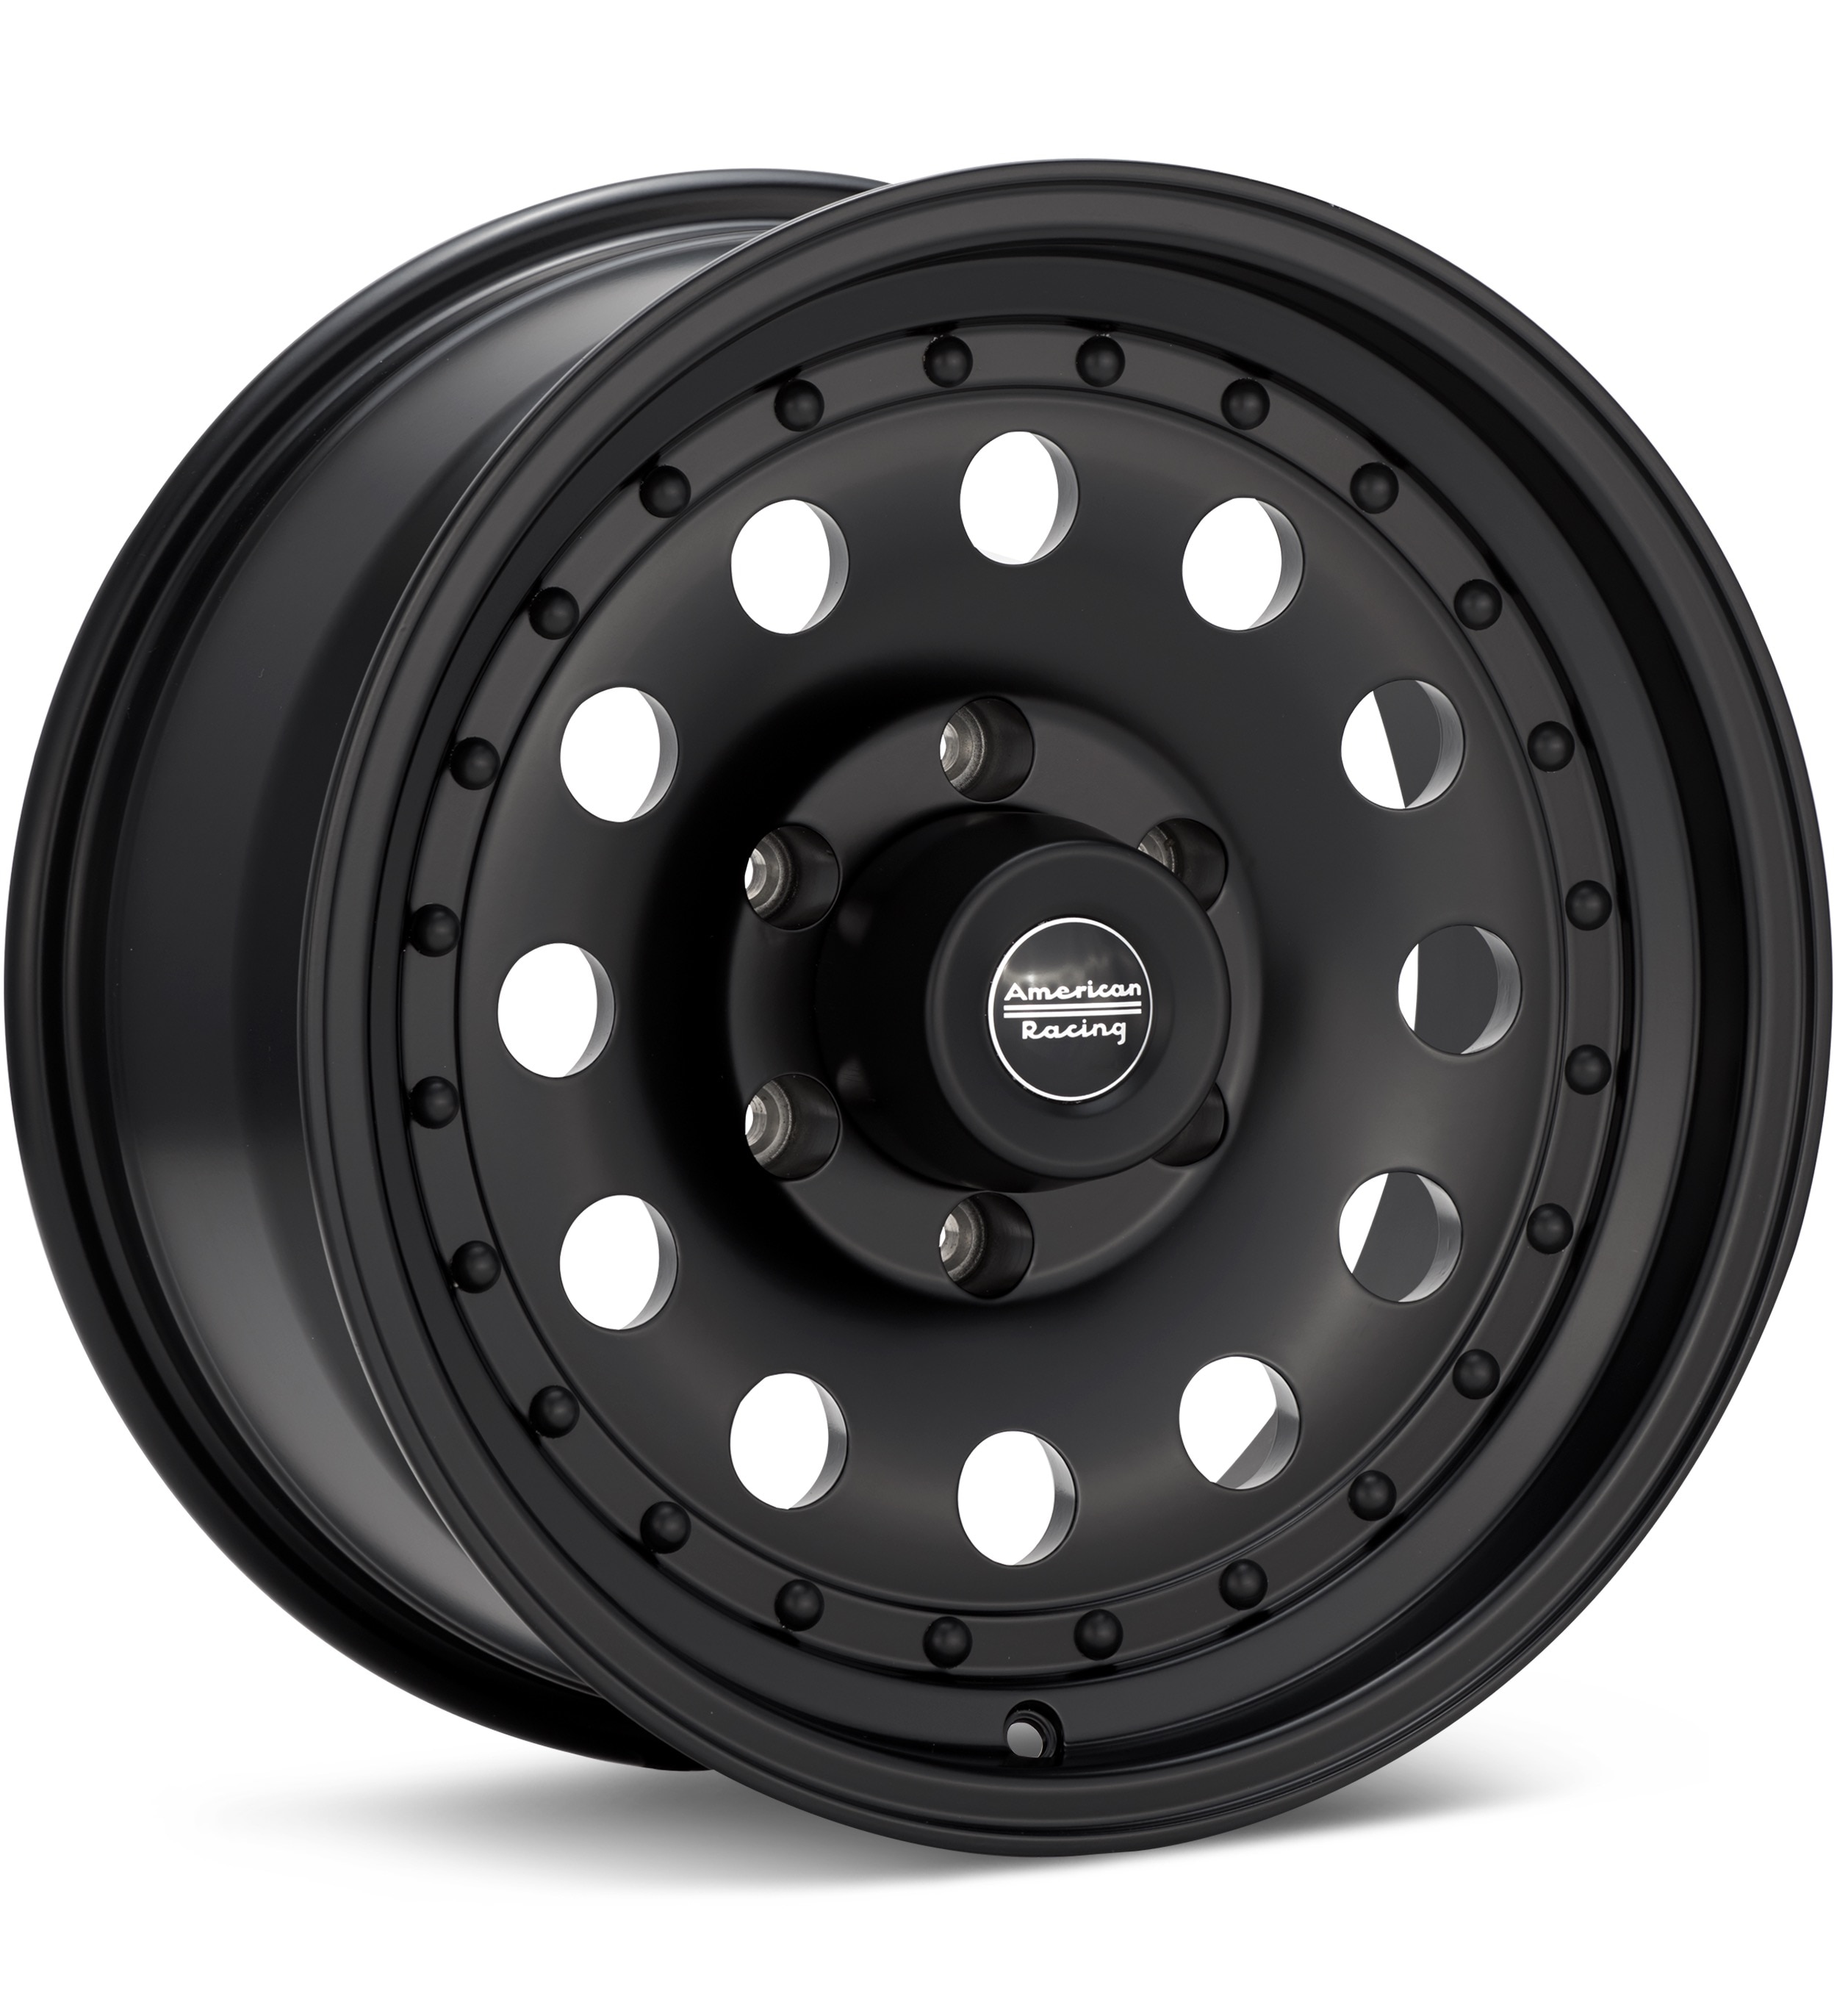
American Racing
Black
15 × 7″ · ET -6
$193.00
View at Tire Rack ↗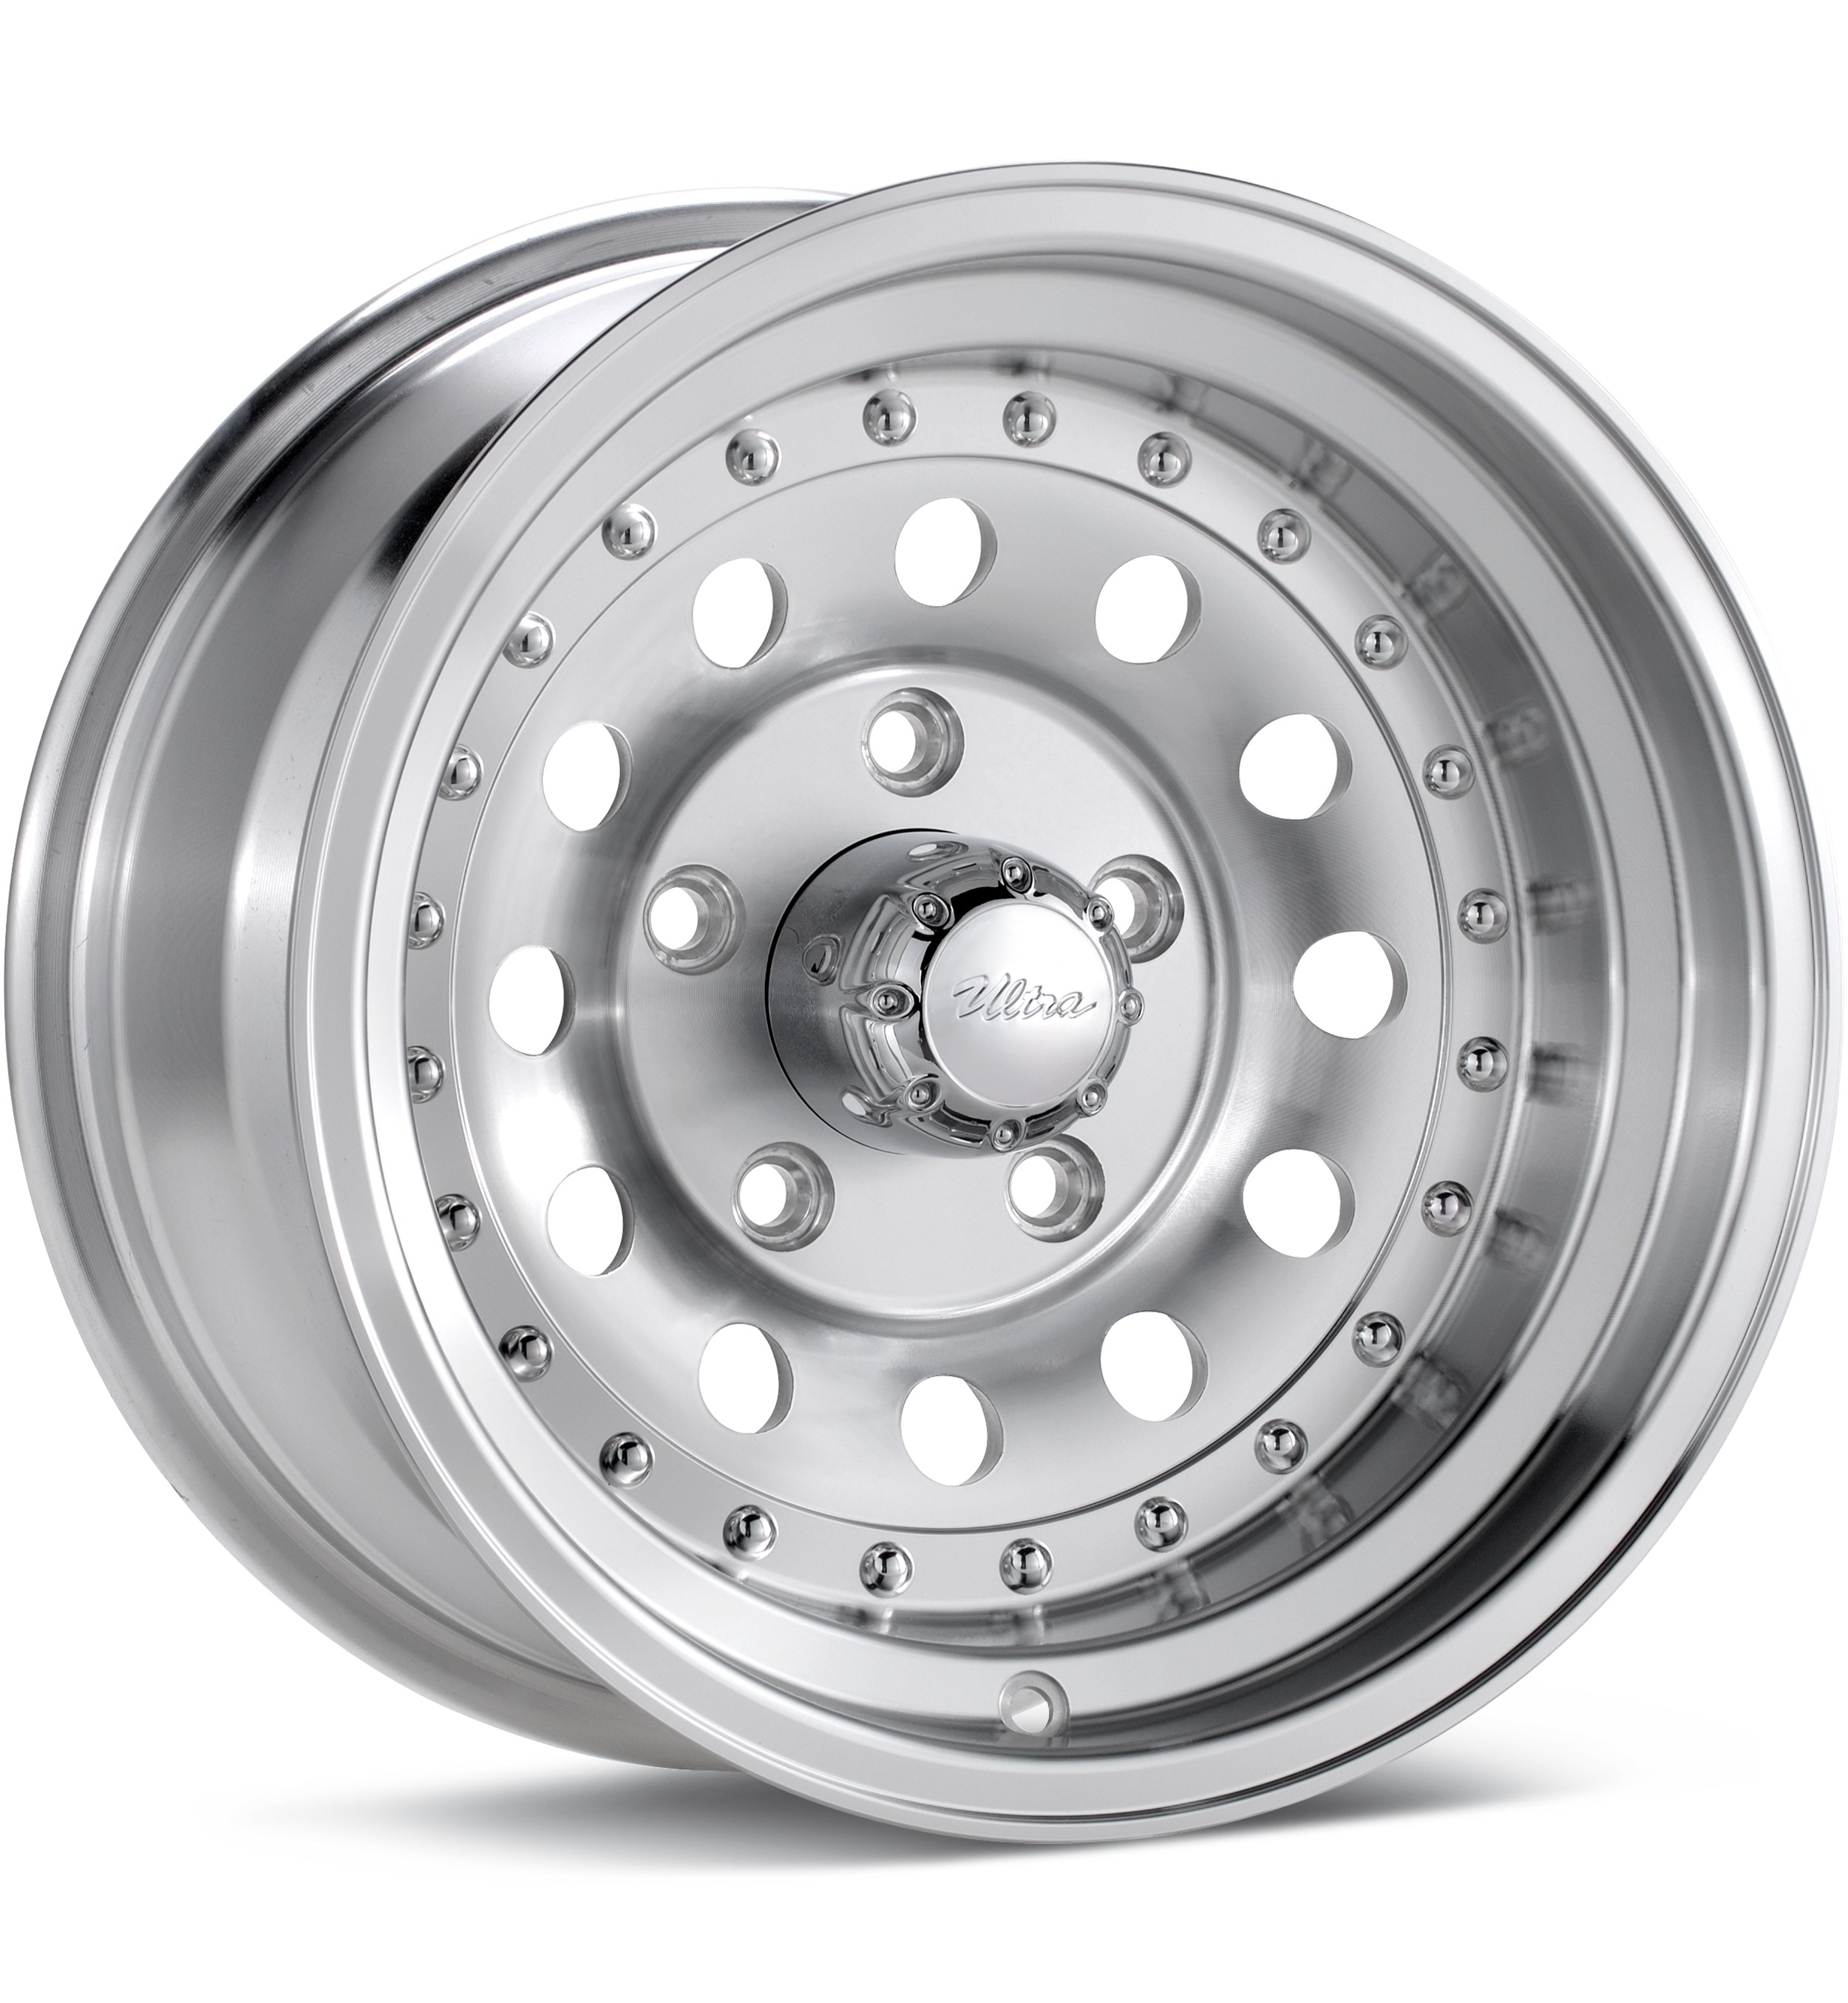
Ultra
Silver Machined w/Clearcoat
15 × 7″ · ET -7
$158.27
View at Tire Rack ↗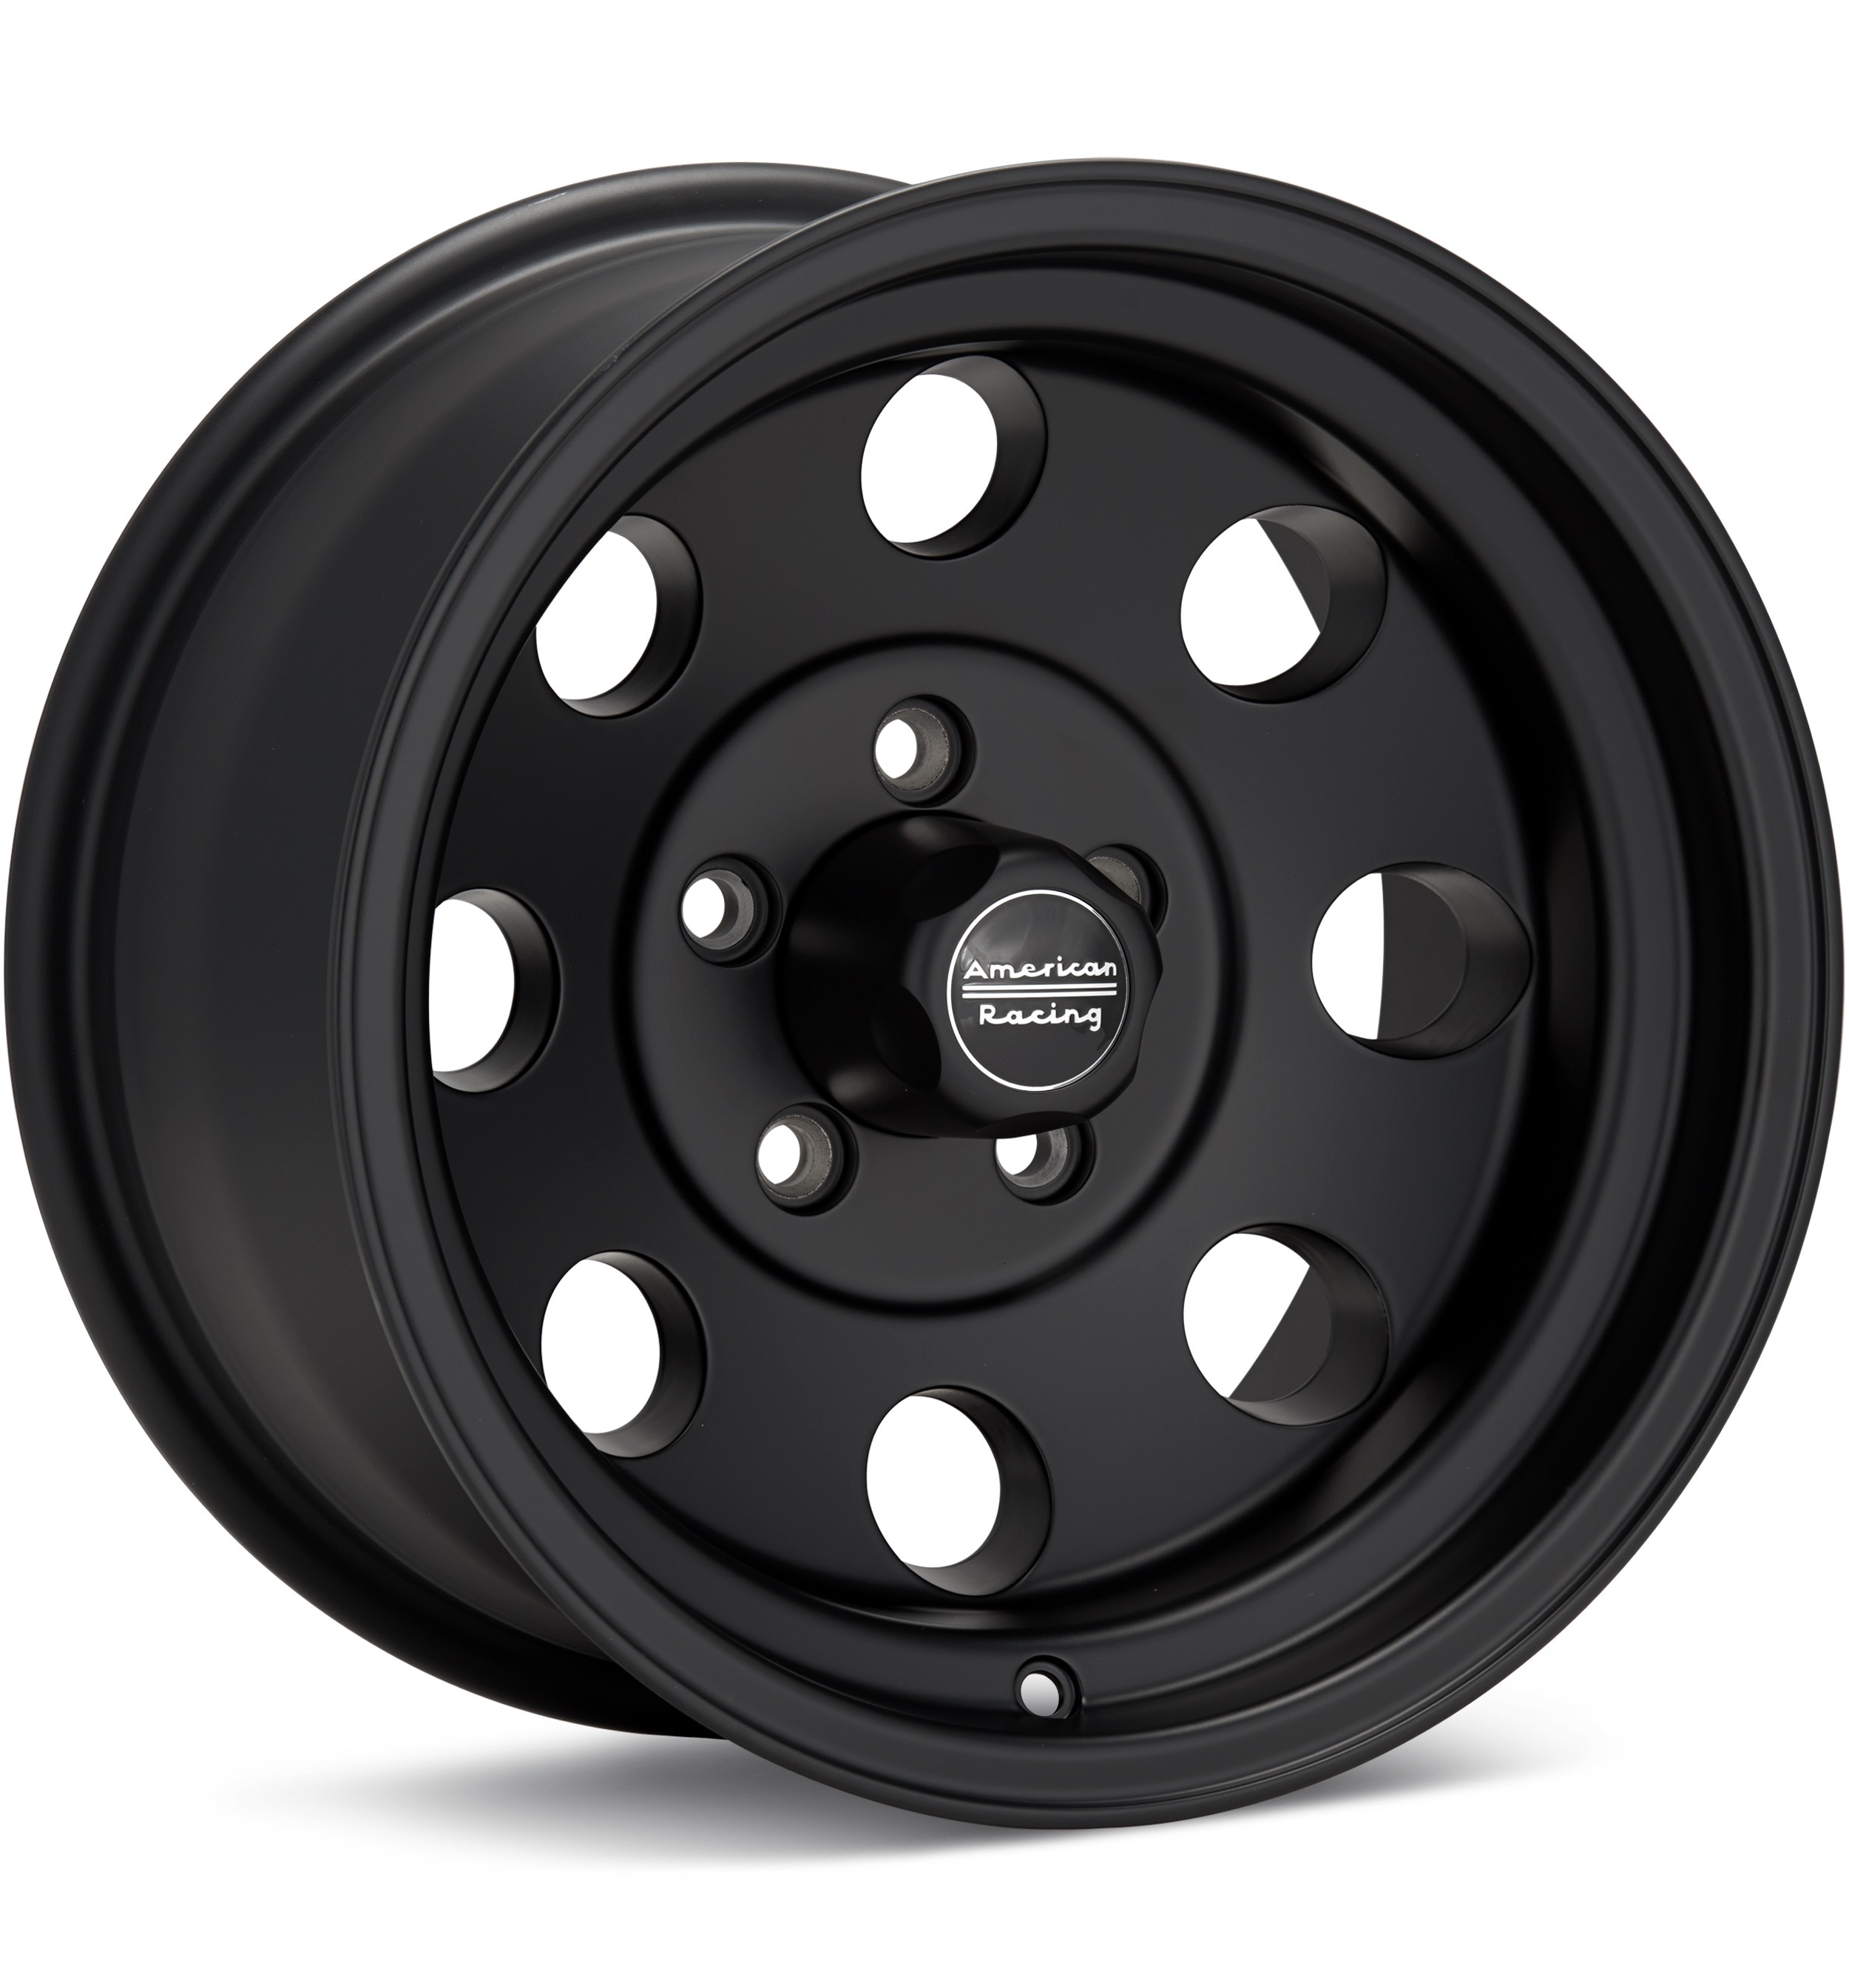
American Racing
Black
15 × 7″ · ET -6
$187.00
View at Tire Rack ↗We may earn a commission when you buy through these links. Prices and availability may change.
These are vehicle-year records whose recorded OEM ranges overlap this 1999 Ford Explorer. Overlap is not a guarantee that a specific wheel will install. Selected-wheel comparison is in the calculator below.
Evaluated 57 donor years. Listed 24 eligible overlaps (not all evaluated years are compatible). Showing all listed.
Years grouped because recorded compatibility evidence is equivalent. Each year keeps its own page.
Dataset suggestionWheel spacer ≈ 33.53 mm – not a verified installation requirement.
A spacer of about 33.53 mm is a dataset suggestion only; clearance is not verified. Estimated outer position is about 33.53 mm farther inward than the mid OEM package.
Recorded vehicle-side thread for the 1999 Ford Explorer is 1/2"-20UNF. This donor year is recorded as M14x1.5. That is the vehicle stud/nut thread, not an intrinsic thread stamped on the wheel. Hardware must match this vehicle’s studs and the selected wheel’s seat and engagement. Existing hardware may be reusable if it already matches. Seat style is not in this dataset, so products are not a verified fit.
Dataset suggestionWheel spacer ≈ 18.83 mm – not a verified installation requirement.
A spacer of about 18.83 mm is a dataset suggestion only; clearance is not verified. Estimated outer position is about 18.83 mm farther inward than the mid OEM package. Recorded vehicle-side thread differs (M14x1.5 on the donor year vs 1/2"-20UNF on the target vehicle). Hardware must match the target vehicle’s studs and the selected wheel’s seat. Existing hardware may be reusable if it already matches. Seat style is not confirmed in this dataset.
Recorded vehicle-side thread for the 1999 Ford Explorer is 1/2"-20UNF. This donor year is recorded as M14x1.5. That is the vehicle stud/nut thread, not an intrinsic thread stamped on the wheel. Hardware must match this vehicle’s studs and the selected wheel’s seat and engagement. Existing hardware may be reusable if it already matches. Seat style is not in this dataset, so products are not a verified fit.
Dataset suggestionWheel spacer ≈ 23.83 mm – not a verified installation requirement.
A spacer of about 23.83 mm is a dataset suggestion only; clearance is not verified. Estimated outer position is about 23.83 mm farther inward than the mid OEM package. Recorded vehicle-side thread differs (M14x1.5 on the donor year vs 1/2"-20UNF on the target vehicle). Hardware must match the target vehicle’s studs and the selected wheel’s seat. Existing hardware may be reusable if it already matches. Seat style is not confirmed in this dataset.
Recorded vehicle-side thread for the 1999 Ford Explorer is 1/2"-20UNF. This donor year is recorded as M14x1.5. That is the vehicle stud/nut thread, not an intrinsic thread stamped on the wheel. Hardware must match this vehicle’s studs and the selected wheel’s seat and engagement. Existing hardware may be reusable if it already matches. Seat style is not in this dataset, so products are not a verified fit.
Dataset suggestionWheel spacer ≈ 20.18 mm – not a verified installation requirement.
A spacer of about 20.18 mm is a dataset suggestion only; clearance is not verified. Estimated outer position is about 20.18 mm farther inward than the mid OEM package. Recorded vehicle-side thread differs (M14x1.5 on the donor year vs 1/2"-20UNF on the target vehicle). Hardware must match the target vehicle’s studs and the selected wheel’s seat. Existing hardware may be reusable if it already matches. Seat style is not confirmed in this dataset.
Years grouped because recorded compatibility evidence is equivalent. Each year keeps its own page.
Center-bore records disagree (target year-level hub 70.6 mm vs trim range 70.5–70.5 mm; donor year-level hub 70.6 mm vs trim range 70.5–70.5 mm). Unqualified overlap is not claimed until the conflict is resolved. Approximate position vs the mid OEM package: outer change -2.18 mm, inner change -4.18 mm. This uses aggregated width/offset ranges, not a specific wheel.
Lug thread is not fully recorded for this comparison. Hardware must match the 1999 Ford Explorer studs and the selected wheel’s seat. Unknown hardware is not a match.
Bolt pattern data is incomplete for a full interchange decision.
Years grouped because recorded compatibility evidence is equivalent. Each year keeps its own page.
Dataset suggestionWheel spacer ≈ 36.18 mm – not a verified installation requirement.
A spacer of about 36.18 mm is a dataset suggestion only; clearance is not verified. Estimated outer position is about 36.18 mm farther inward than the mid OEM package.
Years grouped because recorded compatibility evidence is equivalent. Each year keeps its own page.
Dataset suggestionWheel spacer ≈ 20.83 mm – not a verified installation requirement.
A spacer of about 20.83 mm is a dataset suggestion only; clearance is not verified. Estimated outer position is about 20.83 mm farther inward than the mid OEM package.
Only years with evidence-based interchange relationships are listed. Adjacent years are not assumed compatible.
Compare a donor vehicle or custom wheel against this 1999 Ford Explorer. Use Compare in calculator on a donor row above to fill the donor side of this same calculator.
Compare wheel compatibility between two vehicles
1999 Ford Explorer





Example products matched to recorded thread, hub, or spacer dimensions. They are not verified fits. Confirm seat style, thickness, and clearance before ordering.
1/2" - 20 UNF
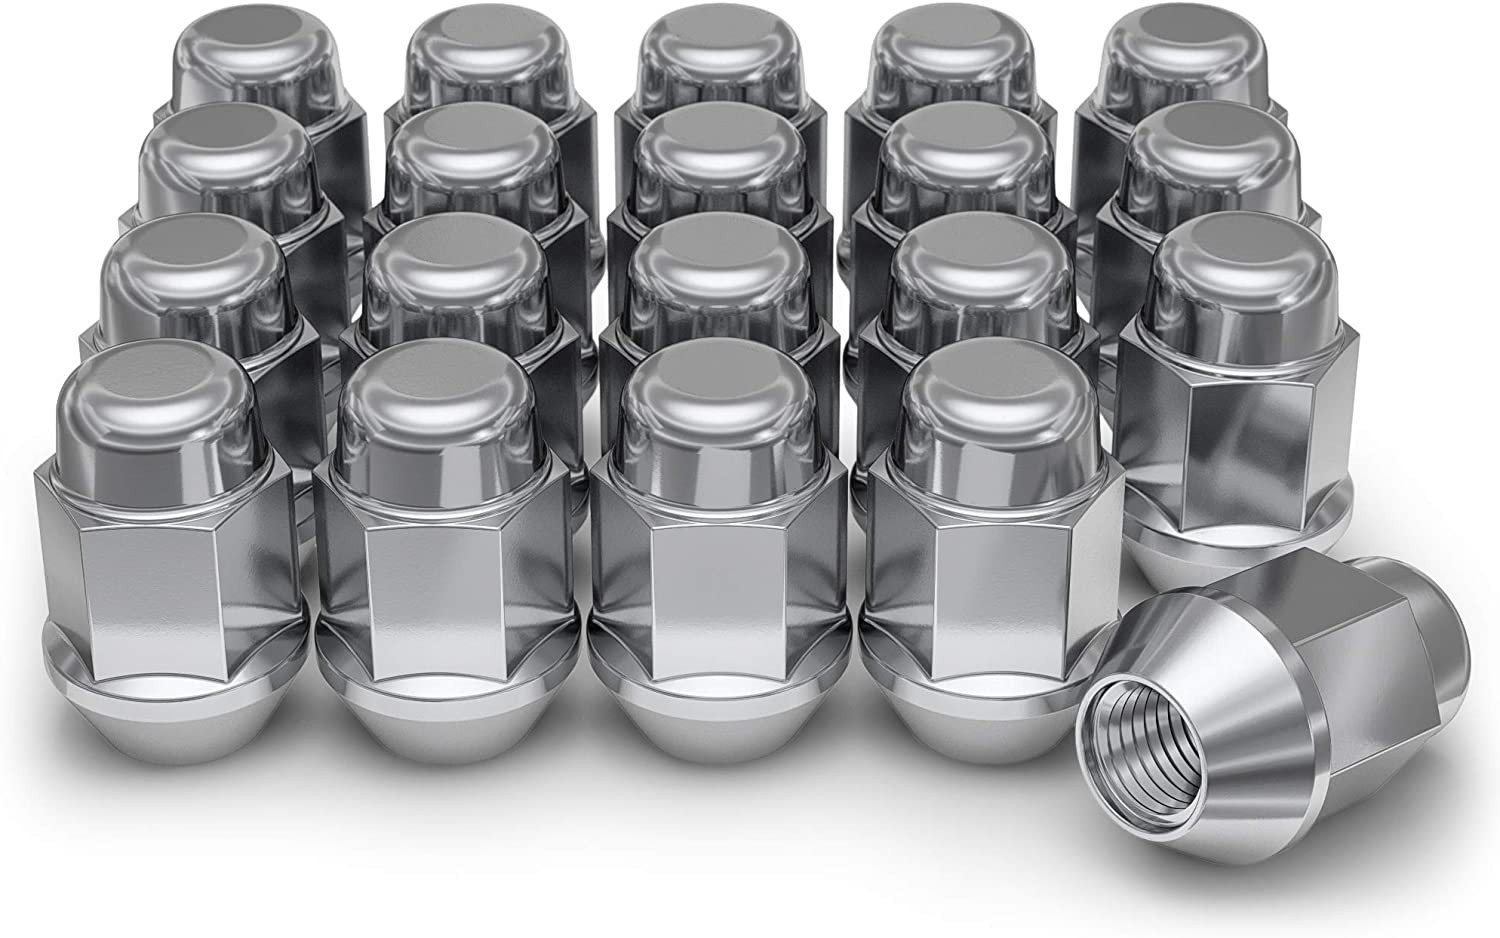
1/2" - 20 UNF · Thread match only; seat style is not verified
View on Amazon →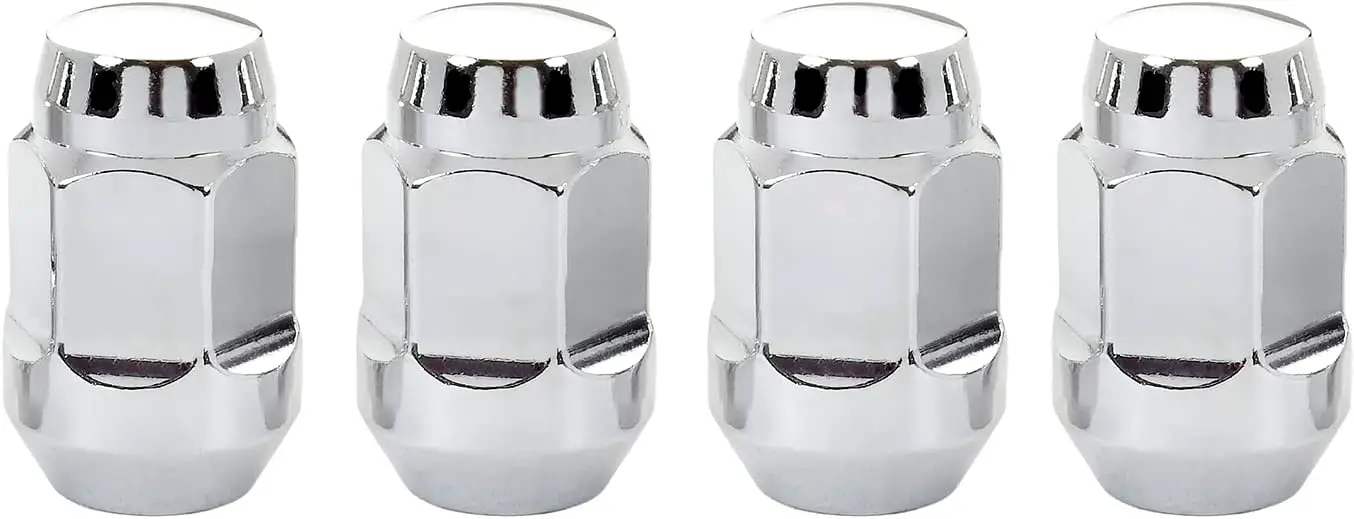
1/2" - 20 UNF · Thread match only; seat style is not verified
View on Amazon →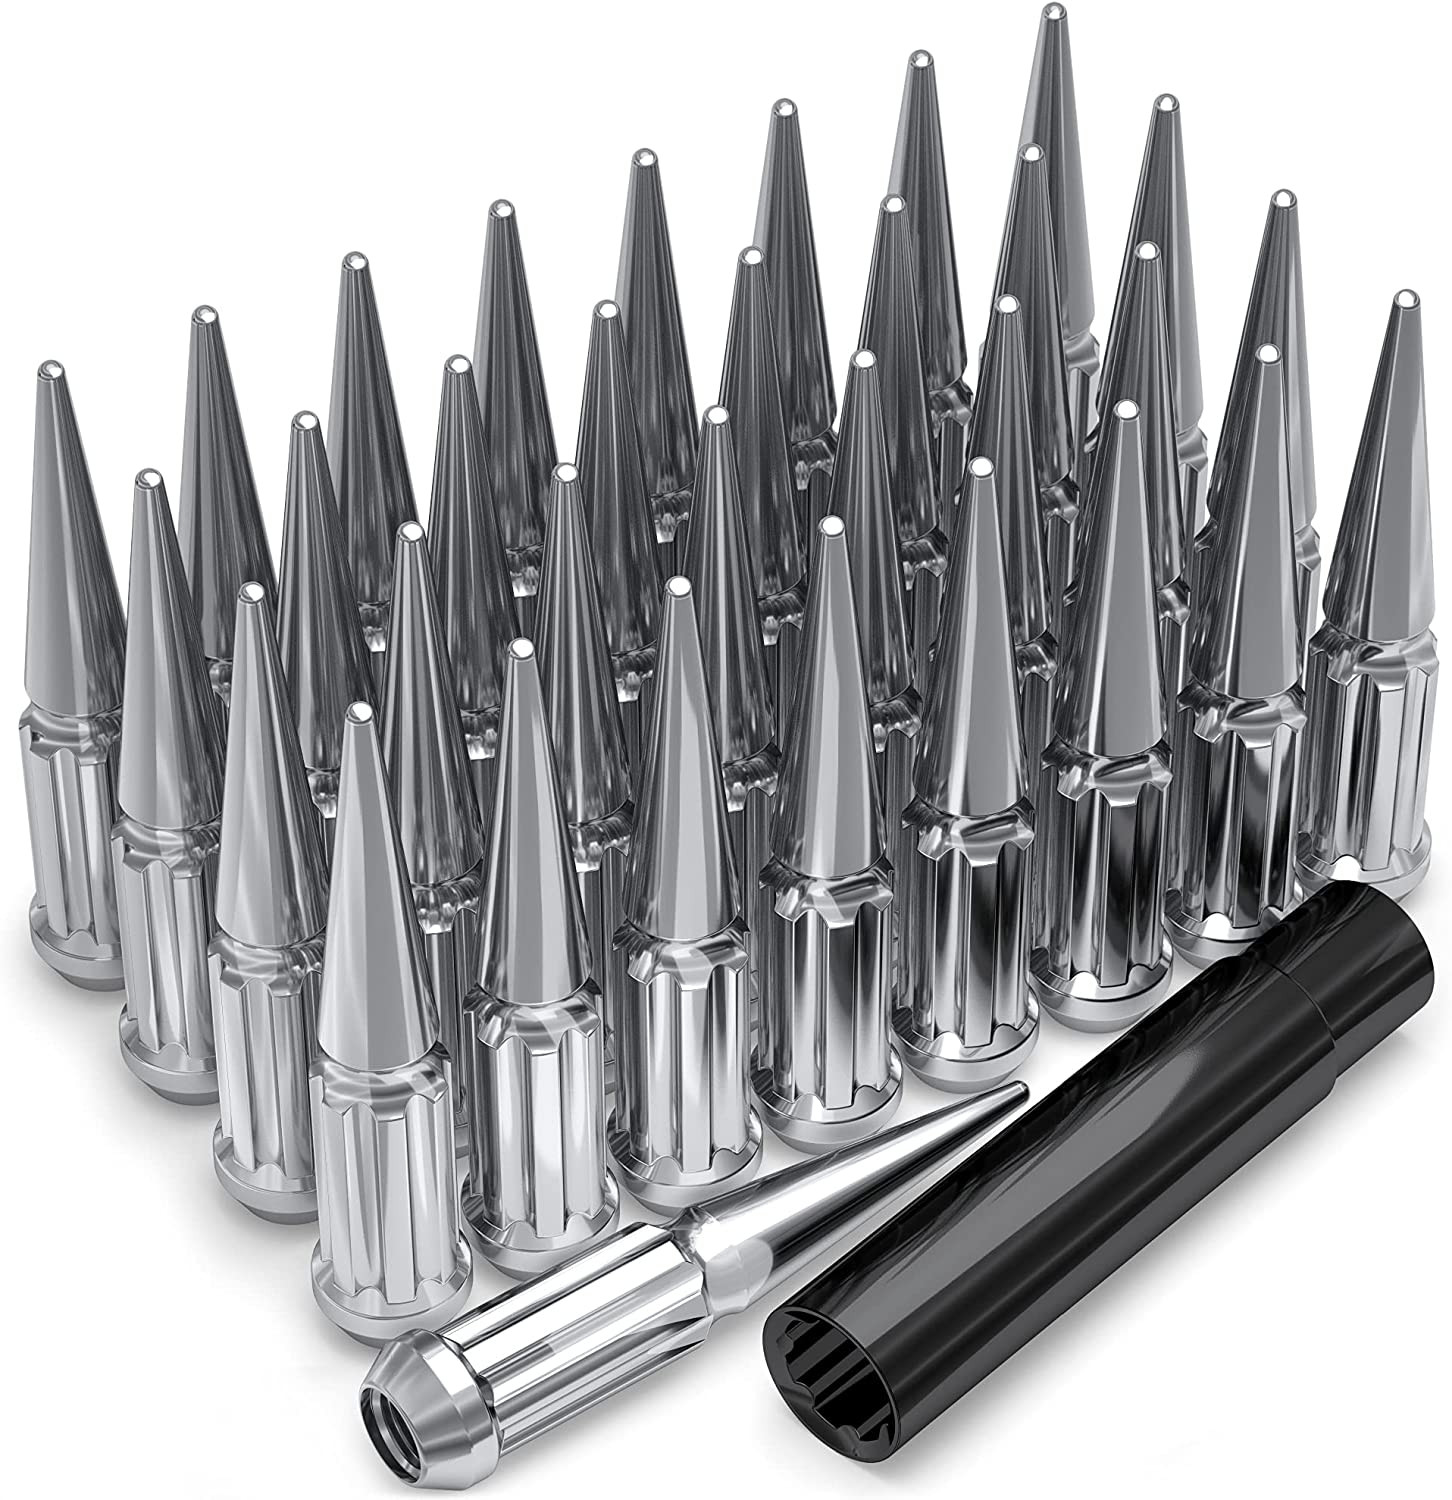
1/2" - 20 UNF · Thread match only; seat style is not verified
View on Amazon →5x114.3 · 70.5 mm hub
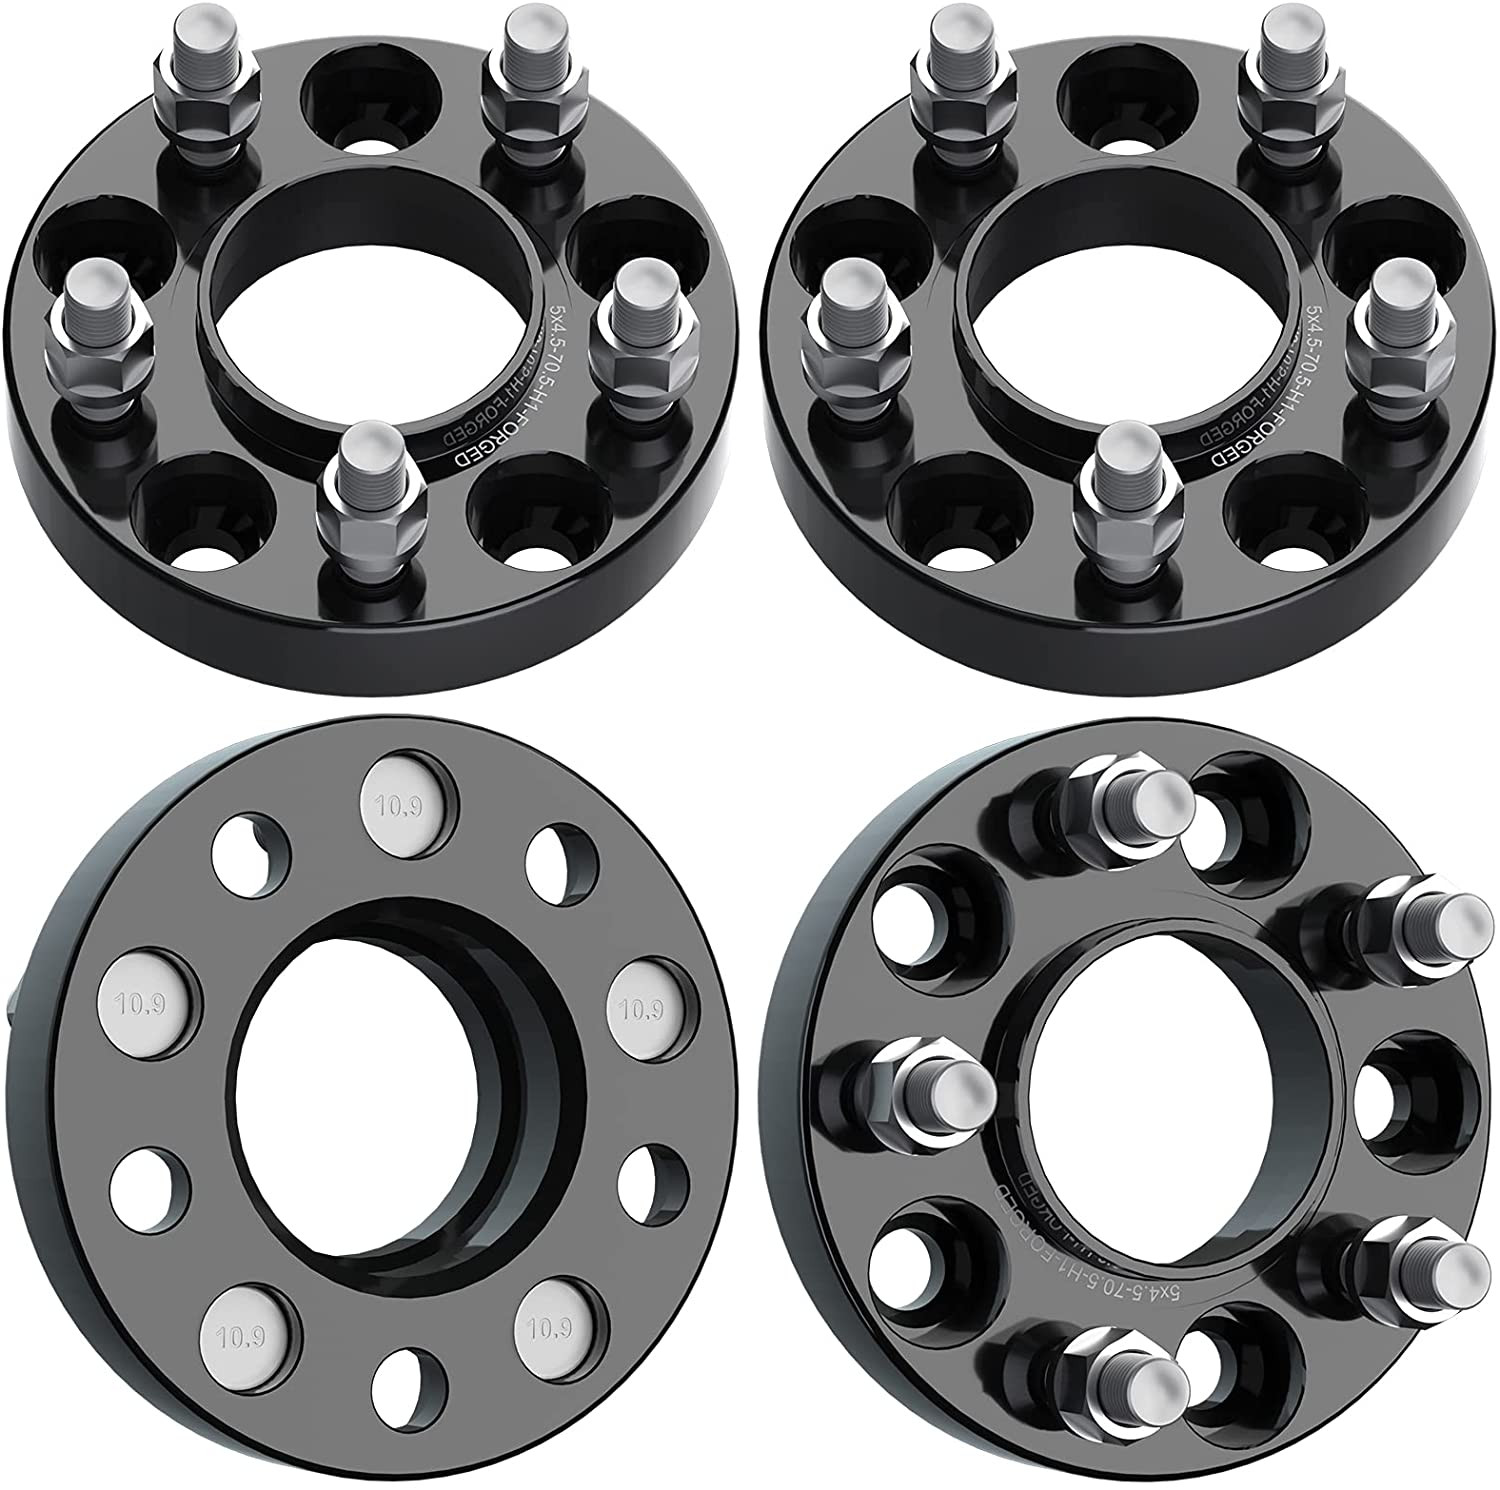
5x114.3 · 70.5 mm hub · 1 inch / 25 mm
View on Amazon →As an Amazon Associate we earn from qualifying purchases. Product availability and pricing may change.
The following specifications are the currently available OEM fitment data for the 1999 Ford Explorer. Some values may vary by trim, drivetrain, production date, or installed equipment. Confirm the original wheel and tire information on the vehicle, in the owner’s manual, and through a Ford parts or service source before ordering.
| Specification | Known value |
|---|---|
| Bolt pattern | 5x114.3 |
| Center bore | 70.5 mm |
| Thread size | M12 x 1.5 |
| Rim diameter | 16 inches |
| Rim width | 7.0 inches |
| Wheel offset | ET 10 mm |
| Backspacing | 3.89 inches |
| Tire section width | 225 mm |
| Tire aspect ratio | 70% |
| Tire rim diameter listed in the source data | R15 |
There is a diameter inconsistency in the supplied data: the listed rim diameter is 16 inches, while the listed tire size ends in R15, which indicates a 15-inch tire rim diameter. A 15-inch tire cannot be mounted on a 16-inch wheel. Treat this as a verification item rather than assuming either value is correct. Check the tire sidewall, the wheel stamping, the driver-door tire label, and the OEM service information for the exact vehicle.
Use the calculator to compare a donor vehicle’s wheels with the wheels installed on your 1999 Ford Explorer. Enter the donor vehicle in the “Wheels from” section and select your Ford Explorer in the “Installed on” section.
Review the bolt pattern, center bore, wheel diameter, wheel width, and offset together. A matching bolt pattern alone does not prove that a wheel is safe or physically compatible. The calculator can also show how the donor wheel changes inner clearance and outer position when those measurements are available.
For custom combinations, enter the proposed rim diameter, rim width, and offset under “Custom wheel size.” Enter the tire section width and aspect ratio under “Custom tire size.” Changing the rim diameter updates the tire diameter in the comparison, so use the calculator to compare the proposed overall tire diameter with the verified original specification.
Use calculator results as a screening tool. Before installation, confirm brake clearance, hub fit, lug-seat design, load rating, tire clearance, and the final tire pressure requirements using the wheel and tire manufacturers’ information.
Confirm the exact trim and drivetrain of the vehicle. The available data may be partial, and fitment can vary within a model year.
Plus sizing changes the wheel diameter while attempting to maintain a similar overall tire diameter by using a lower aspect-ratio tire. It is not automatically safe or compatible. The correct replacement tire must fit the chosen rim width, carry the required load, clear the vehicle, and maintain an appropriate overall diameter.
Use the calculator to compare custom wheel and tire dimensions instead of assuming that a larger wheel will fit. A wider wheel or a different offset can move the tire closer to suspension parts or farther toward the fender. A larger overall diameter can affect clearance and vehicle systems, while a smaller diameter can change ground clearance and indicated speed.
No specific upgrade size is confirmed here because the supplied OEM data is incomplete and includes a 15-inch versus 16-inch diameter conflict. Confirm any upgrade with the tire manufacturer, wheel manufacturer, and OEM service information for the exact Explorer configuration.
Before mounting a wheel, clean the hub face and wheel mounting surface. Remove rust, dirt, and debris without grinding away hub material. Make sure the wheel sits fully flat against the hub and that no center-bore interference prevents proper seating.
Install only lug nuts with the correct thread size, seat type, and usable engagement for the selected wheel. The supplied thread specification is M12 x 1.5, but the correct lug-seat style still must be confirmed from the wheel manufacturer.
Hand-start every lug nut to avoid cross-threading. Tighten in a star pattern, then torque the lugs to the vehicle or wheel manufacturer’s specified value using a calibrated torque wrench. Do not substitute an unverified torque value.
After installation, check for clearance with the steering turned fully left and right and inspect the suspension at a safe ride height. Recheck lug torque after the manufacturer’s recommended break-in distance and inspect for looseness, vibration, or rubbing. Stop driving if a wheel contacts the vehicle or the vehicle develops severe vibration.
A calibrated torque wrench, correctly sized socket, jack stands, wheel chocks, and a reliable tire-pressure gauge are useful for a safe wheel installation. Use the vehicle’s approved lifting points and never work beneath a vehicle supported only by a jack.
Helpful examples include a torque wrench for automotive work and a digital tire pressure gauge. Confirm tool specifications and use the wheel, tire, and vehicle manufacturer instructions as the controlling information.
What is the bolt pattern for the 1999 Ford Explorer?
The supplied OEM fitment data lists a 5x114.3 bolt pattern. Confirm it on the vehicle or through an OEM source before ordering wheels.
What center bore is listed for this Explorer?
The supplied center bore is 70.5 mm. The wheel must not have a center bore smaller than the vehicle hub, and a larger bore may require properly sized hub-centric rings where approved.
What lug thread size is listed?
The supplied thread size is M12 x 1.5. Lug nut thread size is only one part of fitment. The lug-seat shape, thread engagement, and wheel manufacturer’s requirements must also match.
Can I use a tire marked R15 on a 16-inch wheel?
No. The R15 marking identifies a tire designed for a 15-inch rim, while a 16-inch wheel requires a tire marked R16. The supplied data contains both values, so verify the actual wheel and tire specifications before purchase.
Is a 7-inch-wide wheel with ET10 confirmed for every 1999 Ford Explorer?
The supplied data lists a 7.0-inch width and ET10 offset, but it may not represent every trim or configuration. Confirm the vehicle’s original wheel markings and OEM documentation, then check the calculator for the proposed replacement.
Does a matching bolt pattern guarantee that a donor wheel will fit?
No. Center bore, offset, wheel width, brake clearance, lug-seat design, load rating, and tire clearance must also be correct. Use the calculator for comparison and perform a physical clearance check before driving.
Will changing the wheel diameter change the tire comparison?
Yes. In the calculator, changing the custom rim diameter updates the tire diameter in the comparison. Enter the full proposed tire size and verify the final combination with the tire manufacturer and OEM sources.
Where should I confirm the final fitment?
Check the vehicle’s door-jamb tire label, owner’s manual, wheel markings, tire sidewalls, Ford service or parts information, and the wheel and tire manufacturers’ specifications. Resolve any conflict between sources before purchase or installation.
Wheel interchange depends on more than bolt pattern. Where data is available, this site compares recorded OEM values:
A normal wheel spacer does not change bolt pattern. Hub rings cannot enlarge a wheel bore that is smaller than the hub. Brake clearance and tire package fitment still require vehicle-specific checks when not confirmed in the dataset.
