2001 Honda Accord Wheel Fitment
Known OEM Fitment For 2001 Honda Accord
The following specifications are the available fitment data for the 2001 Honda Accord. Equipment can vary by trim, market, and replacement-wheel configuration, so confirm the specifications on the vehicle and in an OEM source before purchasing wheels or tires.
| Specification |
Known value |
| Bolt pattern |
4x114.3 |
| Center bore |
64.1 mm |
| Thread size |
M12 x 1.5 |
| Rim diameter |
16 inches |
| Rim width |
6.5 inches |
| Wheel offset |
ET55 |
| Backspacing |
5.42 inches |
| Tire section width |
195 mm |
| Tire aspect ratio |
65% |
| Tire rim diameter |
15 inches |
The supplied data lists a 16-inch rim diameter and a 15-inch tire rim diameter. These values do not describe the same tire-and-wheel combination, because a tire marked with an “R15” designation fits a 15-inch wheel. Treat this as a fitment detail that requires confirmation rather than assuming one value is correct. Check the tire sidewall, the door-jamb label, the owner’s manual, and the exact trim-level specifications.
The bolt pattern, center bore, thread size, offset, and backspacing must all be checked together. A wheel with the correct bolt pattern can still be unsafe or unsuitable if its center bore, offset, brake clearance, width, or load rating is wrong.
How To Use The Wheel Interchange Calculator
Use the calculator to compare “Wheels from (donor vehicle)” with “Installed on (your vehicle).” Enter the donor wheel and tire information as accurately as possible, then compare it with the known or confirmed specifications for your 2001 Honda Accord.
Use the custom wheel size fields to test rim diameter, rim width, and offset. Use the custom tire size fields to test tire section width and aspect ratio. When you change the rim diameter, the calculator updates the tire diameter in the comparison, helping you evaluate whether a proposed wheel-and-tire combination changes overall diameter.
Calculator results are a screening tool, not a substitute for a physical clearance check. Confirm inner clearance to the strut and suspension, outer clearance to the fender, brake clearance, steering clearance, and tire load and speed ratings before installation.
Fitment Checklist Before You Buy
Confirm that the replacement wheel uses the 4x114.3 bolt pattern and that the wheel’s center bore is compatible with the 64.1 mm hub. A larger center bore may require correctly sized hub-centric rings, while a smaller bore will not fit over the hub. Do not use rings to correct an incorrect bolt pattern.
Check that the wheel’s offset and width provide adequate clearance on both sides. The known reference values are 6.5 inches wide, ET55, and 5.42 inches of backspacing, but the correct values for a replacement setup may vary by wheel design and trim. Spoke shape can affect brake clearance even when the basic dimensions appear similar.
Verify the tire size stamped on the tire and compare it with the vehicle’s placard and owner’s manual. Because the supplied information includes both 16-inch rim data and a 15-inch tire-rim designation, do not order tires until the correct wheel diameter is confirmed.
Check the wheel load rating, tire load index, speed rating, valve-stem requirements, lug-seat type, and lug-nut engagement. Confirm that the wheel manufacturer approves the selected tire width and that the tire does not contact suspension or bodywork through the full steering and suspension range.
Plus Sizing And Common Upgrades
Plus sizing means using a larger wheel diameter with a lower-profile tire while keeping the overall tire diameter reasonably close to the confirmed original specification. The goal is to preserve speedometer behavior, gearing, fender clearance, and suspension travel while changing wheel appearance or handling response.
Do not choose a plus-size setup from diameter alone. Compare section width, aspect ratio, wheel width, offset, backspacing, load rating, and actual measured clearances. A wider tire or a lower offset can increase the risk of fender contact, while a higher offset can reduce clearance to suspension components.
Use the calculator to compare a proposed custom wheel and tire size with the confirmed setup. Since the available data has a 15-inch and 16-inch diameter conflict, use the vehicle’s actual installed tire and wheel information as the starting point. Confirm any final upgrade with the wheel and tire manufacturer’s application guidance.
Installation Tips
Inspect the hub and wheel mounting faces before installation. Remove rust, dirt, paint buildup, and debris that could prevent the wheel from seating flat. Never use wheel spacers, adapters, or oversized center-bore rings unless they are specifically engineered for the application and installed according to their manufacturer’s instructions.
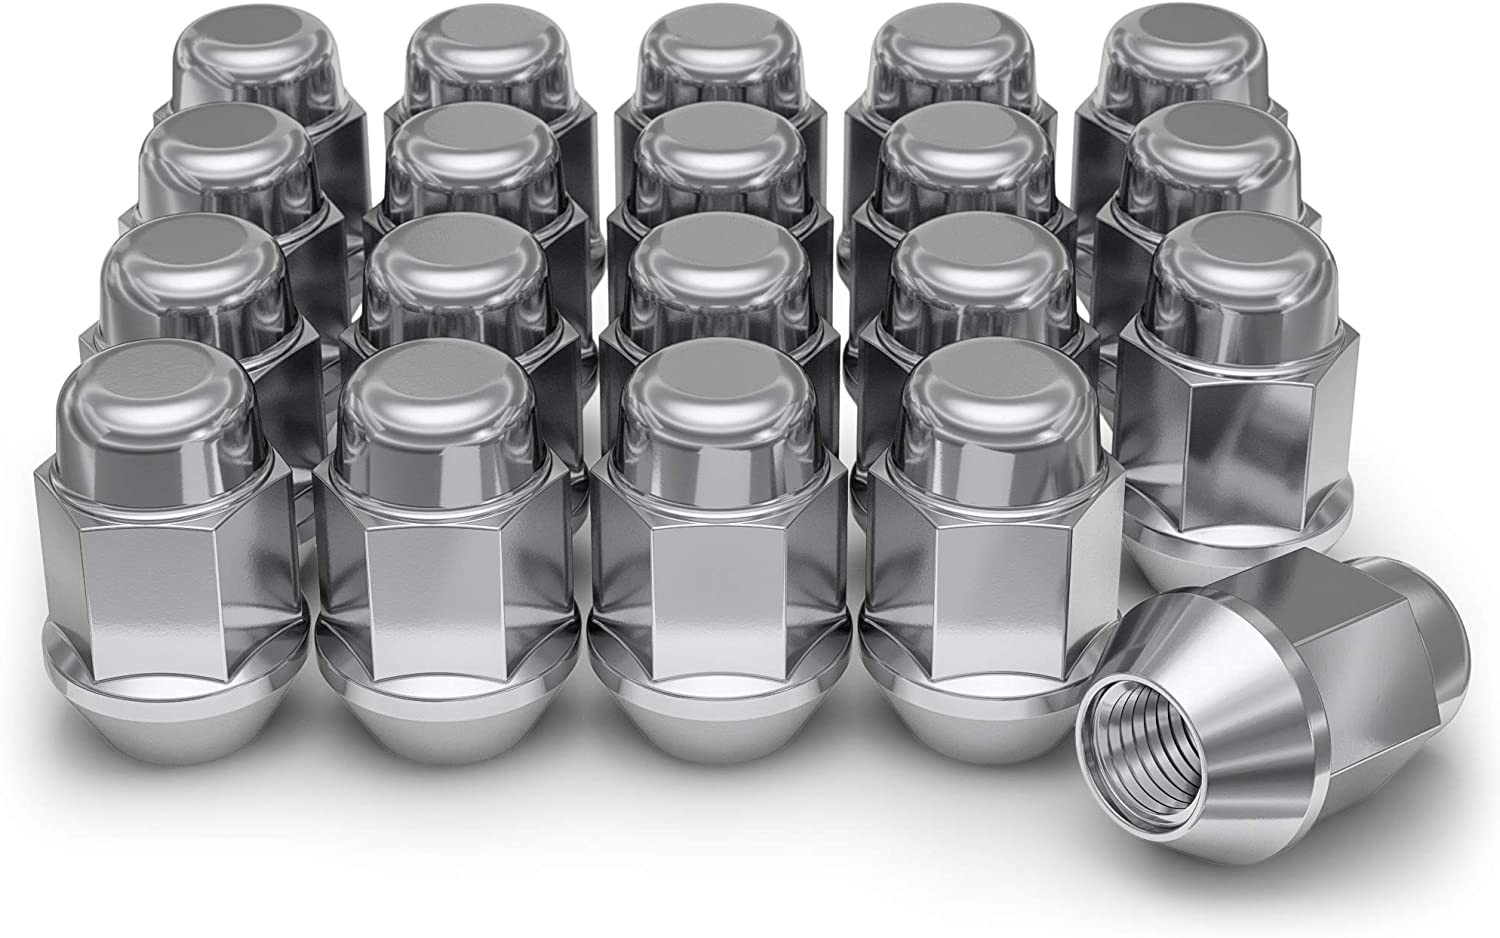
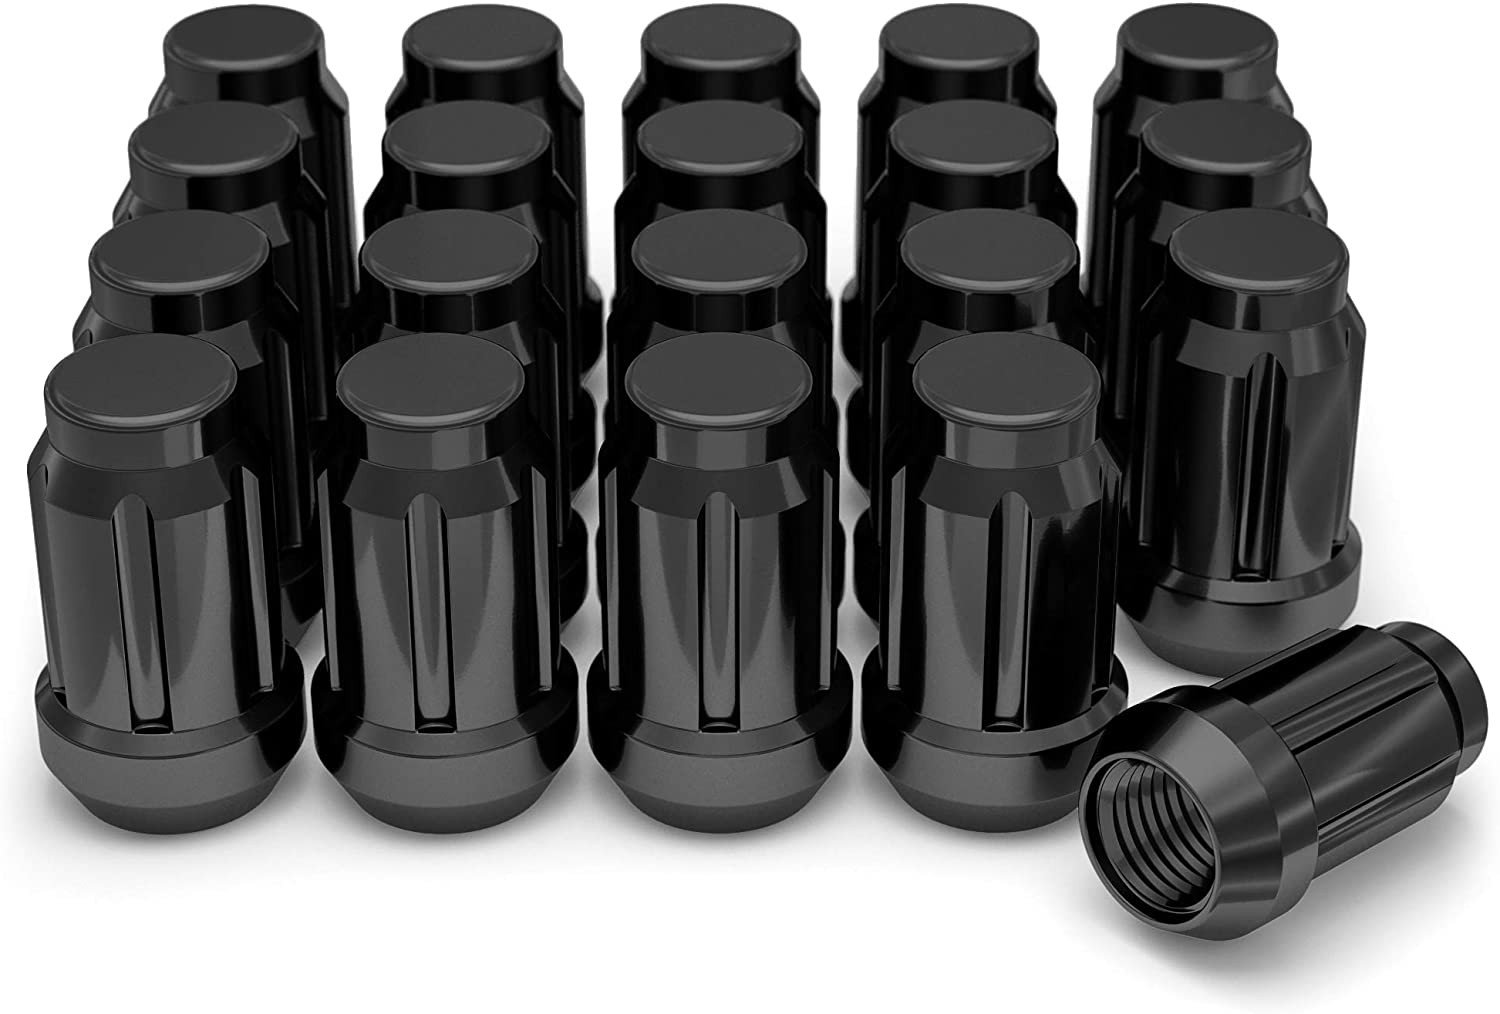
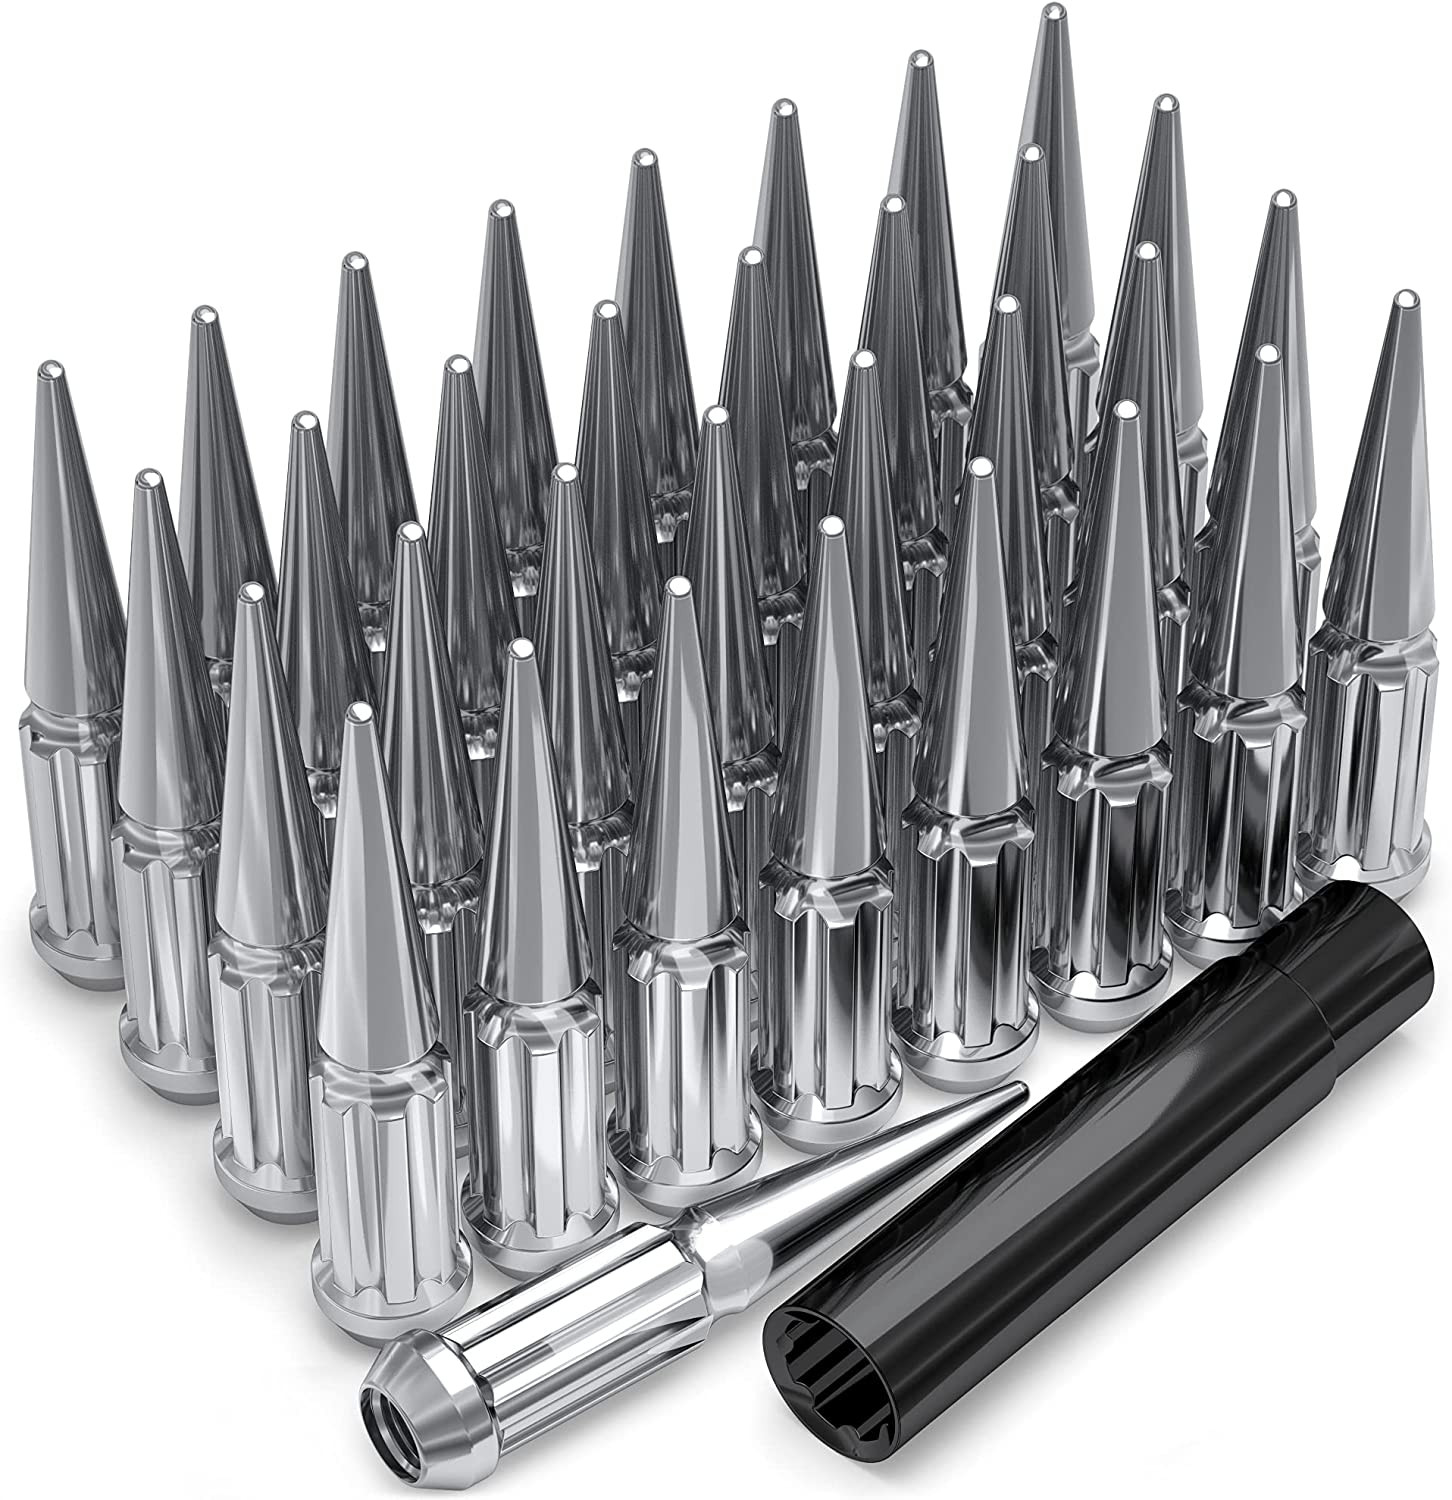
Use the correct lug nuts for the replacement wheel’s seat design. Thread size alone does not confirm lug-nut compatibility. Start all lug nuts by hand, tighten them in a crisscross pattern, and use a calibrated torque wrench set to the vehicle or wheel manufacturer’s specification.
After installation, rotate the steering from lock to lock and check for contact. If possible, check clearance with the suspension loaded and inspect for contact during compression. Recheck tire pressure, verify that no warning indicators are present, and have the lug torque checked after the first short drive and again according to the wheel manufacturer’s instructions.
Stop driving if there is rubbing, vibration, loose hardware, steering pull, or any sign that a tire is contacting the vehicle. Resolve the cause before further use.
Tools And Helpful Supplies
Useful equipment includes a torque wrench, suitable socket, jack, jack stands, wheel chocks, a tire-pressure gauge, a tread-depth gauge, and a flashlight. Use jack stands on solid, level ground and follow the lifting points and safety instructions in the owner’s manual.
A wheel fitment gauge or clearance-measuring tool can help compare offset and brake or suspension clearance, but measurements should be taken carefully and confirmed against the actual wheel design.
For tool and supply searches, see automotive torque wrenches and wheel fitment gauges. Product suitability, accuracy, and specifications should be checked before purchase.
FAQs
What is the bolt pattern for the 2001 Honda Accord?
The available OEM fitment data lists a 4x114.3 bolt pattern. Confirm the vehicle and wheel application before ordering, since a matching pattern alone does not prove complete fitment.
What is the center bore?
The listed center bore is 64.1 mm. A replacement wheel with a larger bore may need properly sized hub-centric rings. A wheel with a smaller bore will not fit over the hub.
What wheel offset is listed?
The available value is ET55. Offset must be considered with wheel width, spoke design, tire width, and brake and suspension clearance. Do not assume every ET55 wheel will fit identically.
Why are both 15-inch and 16-inch diameters shown?
The supplied data lists a 16-inch rim diameter but also lists a tire rim diameter of 15 inches. Those values are inconsistent for one tire-and-wheel assembly. Check the installed tire sidewall, door-jamb placard, owner’s manual, and exact trim information before selecting a replacement.
Can I use the calculator to compare donor wheels?
Yes. Enter the donor vehicle’s wheel and tire dimensions under “Wheels from (donor vehicle)” and compare them with the confirmed Accord information under “Installed on (your vehicle).” You can also test custom rim diameter, width, offset, tire width, and aspect ratio.
Does changing wheel diameter change tire diameter?
The calculator updates the tire diameter comparison when rim diameter is changed. The tire must still be selected with a compatible rim diameter, and the final setup must be checked for overall diameter, clearance, load rating, and manufacturer approval.
Is the M12 x 1.5 thread size enough to choose lug nuts?
No. The listed thread size is M12 x 1.5, but the lug-nut seat type, nut shape, engagement length, and wheel manufacturer requirements must also match. Use only hardware approved for the specific wheel.
What should I do if the tire rubs after installation?
Stop driving until the cause is identified. Check wheel offset, width, tire size, steering position, suspension condition, and mounting. Do not remove safety-related vehicle components or rely on spacers without qualified technical guidance and manufacturer approval.