2010 Honda Fit Wheel Interchange And Fitment Guide
Known OEM Fitment For 2010 Honda Fit
The following specifications are the known fitment values supplied for the 2010 Honda Fit. They may represent only one configuration, market, or source record, so confirm the original equipment details on the vehicle before ordering wheels or tires.
| Specification |
Known value |
| Bolt pattern |
4x100 |
| Center bore |
56.1 mm |
| Thread size |
M12 x 1.5 |
| Rim diameter |
16 inches |
| Rim width |
6.0 inches |
| Wheel offset |
ET50, or 50 mm |
| Backspacing |
4.97 inches |
| Tire section width |
175 mm |
| Tire aspect ratio |
65 percent |
| Tire rim diameter |
15 inches |
There is an apparent diameter mismatch in the supplied data: the wheel entry lists a 16-inch rim, while the tire entry lists a 15-inch rim diameter. A 15-inch tire cannot be mounted on a 16-inch wheel, so do not treat these values as one complete wheel-and-tire package without verification. Check the tire sidewall, the driver-door placard, the owner's manual, and Honda parts information for the exact configuration on your vehicle.
The bolt pattern, center bore, thread size, offset, and brake clearance all matter. A wheel with the correct 4x100 pattern can still be unsafe or incompatible if its center bore, offset, width, load rating, brake clearance, or fastener seat is wrong.
How To Use The Wheel Interchange Calculator
Use the calculator to compare a donor wheel and tire combination with the setup installed on your 2010 Honda Fit. Enter the donor vehicle's wheel diameter, width, offset, and tire measurements in the “Wheels from” fields. Enter the Fit's current or intended measurements in the “Installed on” fields.
The calculator also allows custom wheel sizing. Use the custom wheel size controls to change rim diameter, rim width, and offset. Use the custom tire size controls to change tire section width and aspect ratio. When rim diameter changes, the calculator updates the tire diameter used in the comparison, helping you review overall diameter changes rather than comparing wheel diameter alone.
Use the displayed difference as a screening tool, not as proof that a wheel is safe to install. Confirm the 4x100 bolt pattern, 56.1 mm center bore requirement, correct M12 x 1.5 hardware, brake clearance, fender clearance, suspension clearance, tire load rating, and vehicle-specific restrictions before purchase.
Fitment Checklist Before You Buy
Start with the vehicle and wheel measurements, not the donor vehicle name. Compatible-vehicle lists can be incomplete, and trim, market, brake equipment, and model-year differences can change fitment.
- Verify the wheel has a 4x100 bolt pattern.
- Confirm that the center bore is 56.1 mm or larger, with an appropriate hub-centric solution when needed. A bore smaller than the vehicle hub will not fit.
- Confirm the wheel offset and width against the calculator and inspect for inner suspension and outer fender clearance.
- Check brake caliper and rotor clearance with the actual wheel design. Spoke shape can affect clearance even when diameter and offset appear correct.
- Match the wheel's load rating to the vehicle and intended use.
- Use tires approved for the wheel width and selected rim diameter, with adequate load and speed ratings.
- Confirm the tire size on the sidewall and door placard. The supplied 15-inch tire diameter entry conflicts with the supplied 16-inch rim entry.
- Verify the lug nut seat type and thread engagement. M12 x 1.5 describes the thread size, but it does not by itself identify the correct lug nut seat.
- Check that the wheel is not bent, cracked, heavily corroded, or repaired in a way that affects safety.
Plus Sizing And Common Upgrades
Plus sizing generally uses a larger wheel diameter with a lower-profile tire to maintain a similar overall tire diameter. It can change steering response, ride comfort, noise, wheel damage risk, clearance, and speedometer behavior. It may also increase tire and wheel cost.
No specific upgrade size is confirmed here beyond the supplied measurements. Use the calculator to compare any proposed custom wheel and tire combination, then verify the result on the vehicle. A calculator comparison cannot confirm brake clearance, tire load capacity, rubbing under suspension compression, or compliance with local requirements.
Do not select a tire solely because its calculated diameter is close to the original. Confirm that the tire is approved for the wheel width, fits within the wheel wells through the full steering range, and has the correct load rating. The 2010 Honda Fit's exact original tire and wheel combination should be confirmed from the vehicle and OEM documentation before planning a plus-size conversion.
Installation Tips
Have the tires mounted and balanced by a qualified technician. Before final tightening, clean the hub and wheel mounting surfaces and make sure the wheel sits fully flat against the hub.
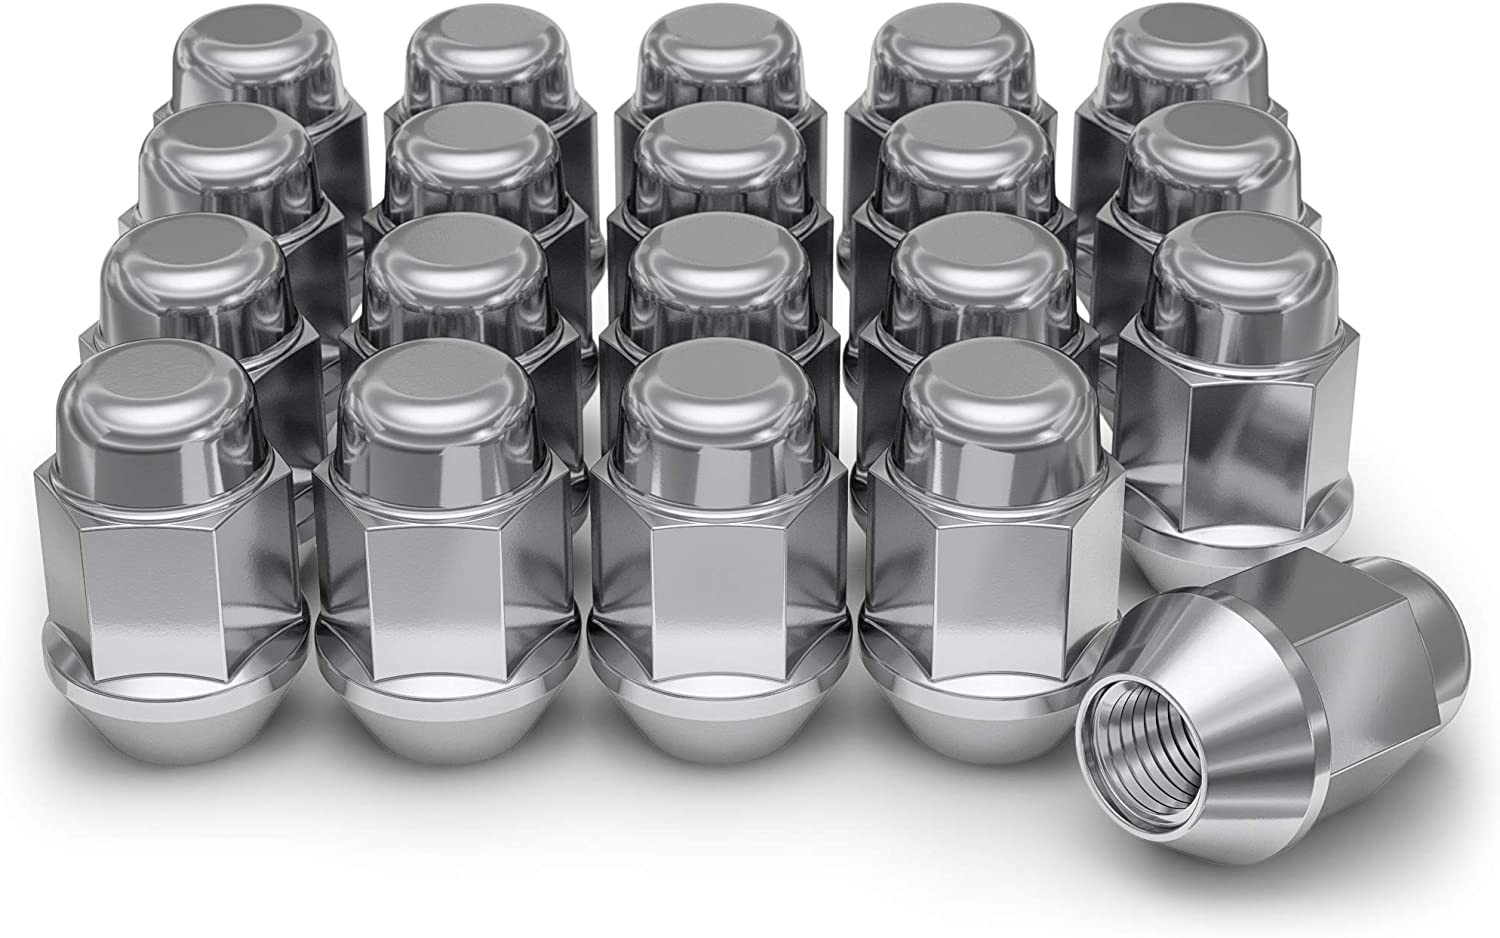
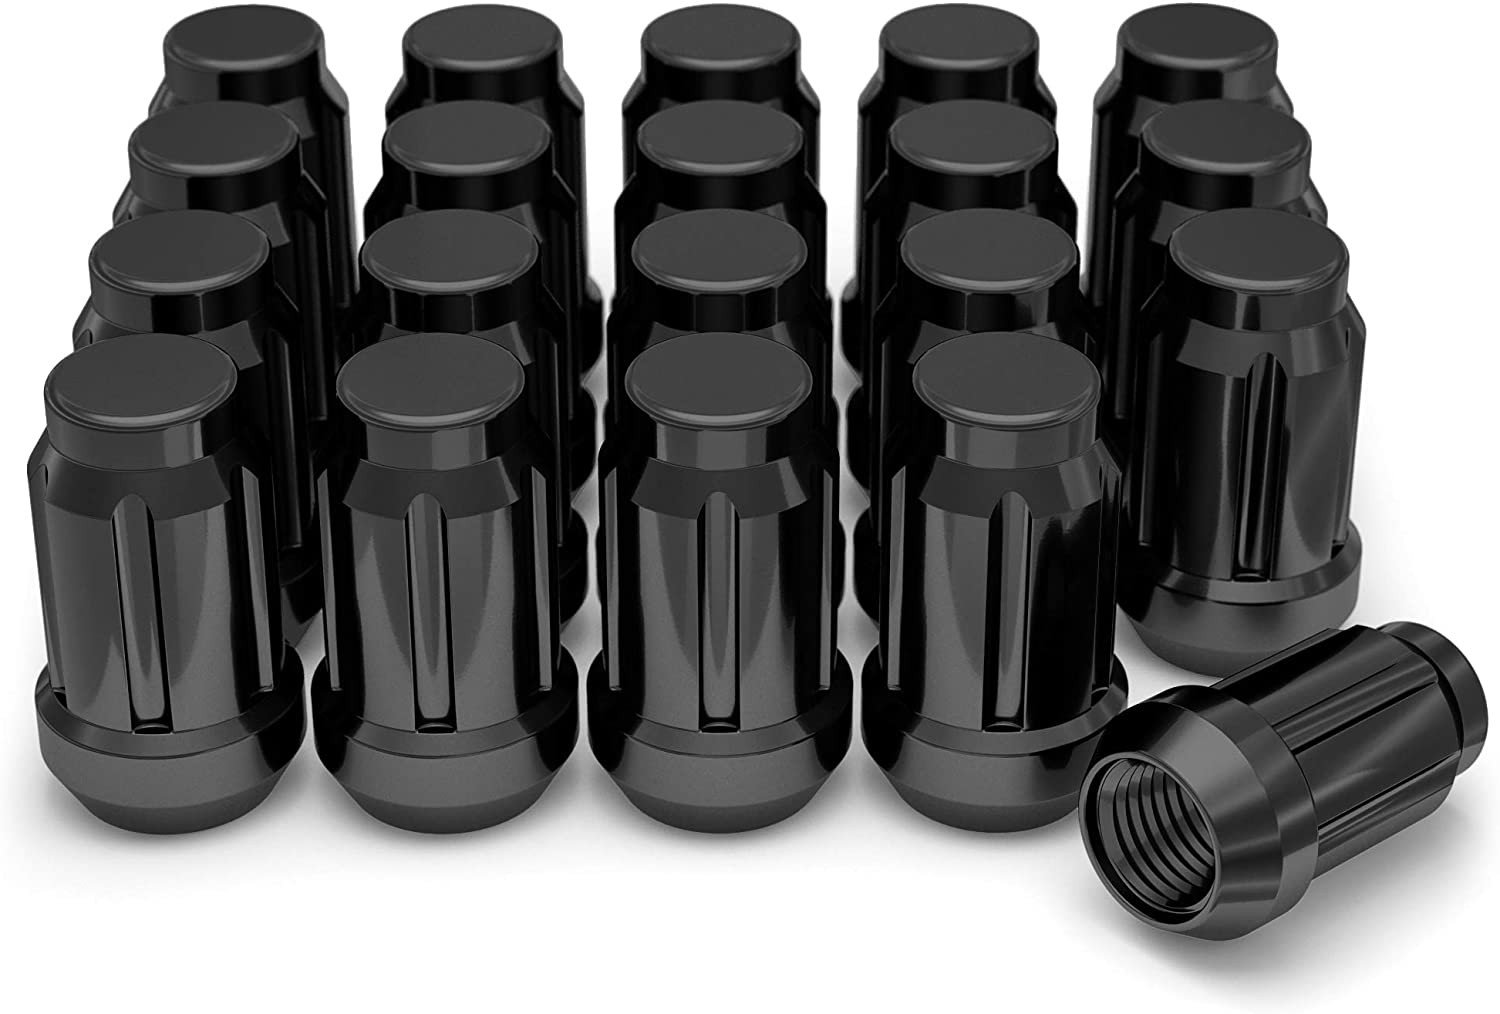
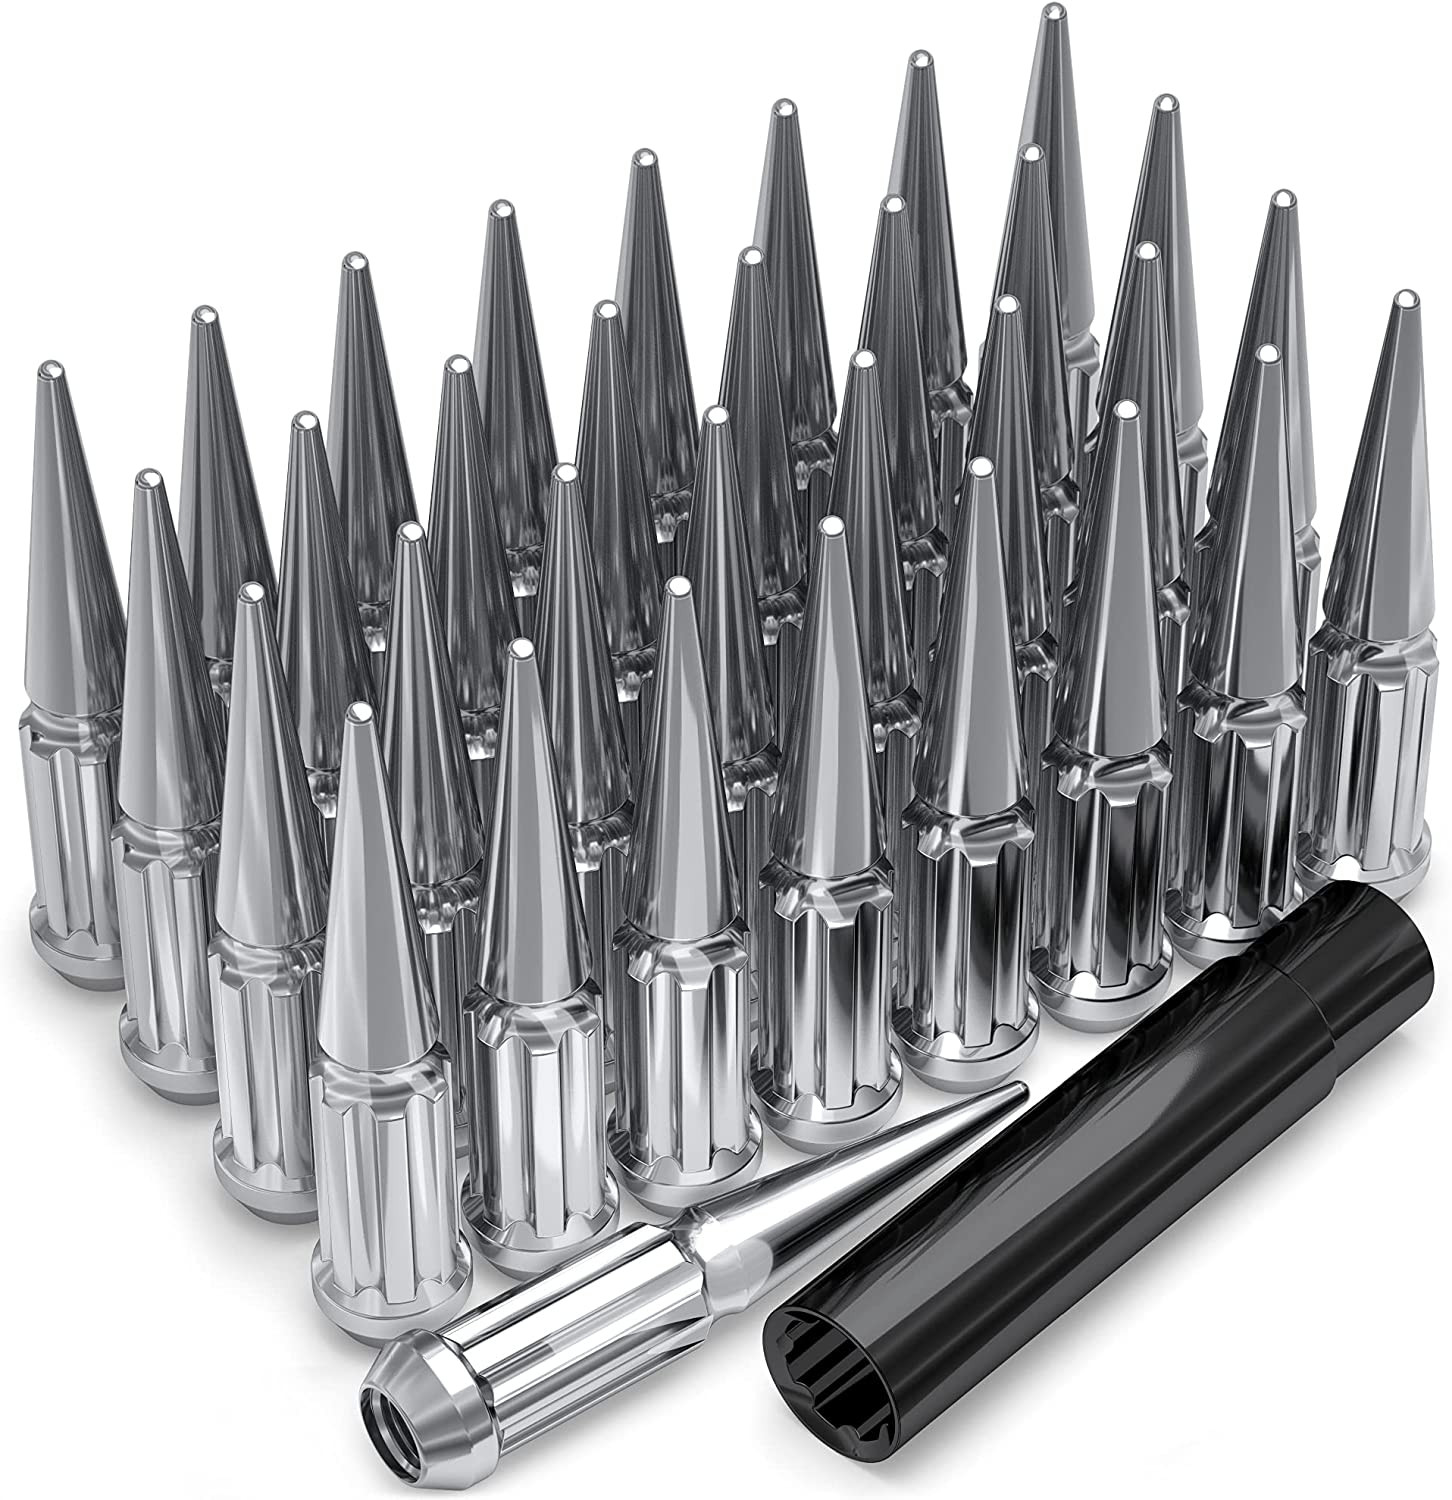
Install only the correct lug nuts for the wheel's seat design and the vehicle's M12 x 1.5 threads. Do not force incompatible lug nuts onto the studs. Tighten the fasteners in a crisscross sequence with a calibrated torque wrench set to the vehicle or wheel manufacturer's specified torque. Do not use an impact wrench for final torque.
After installation, rotate each wheel by hand when safely supported and check for interference. Lower the vehicle, recheck that the wheels are seated, and inspect for contact during steering lock-to-lock. After a short drive, stop and check for rubbing, vibration, loose hardware, or unusual noise. Recheck lug torque after the interval specified by the vehicle or wheel manufacturer.
If a wheel requires spacers to clear a component, use only a properly engineered, hub-centric system with sufficient stud or thread engagement. Spacers can change wheel loading and clearance and should not be used to correct an unknown fitment problem.
Tools And Helpful Supplies
Useful items for a careful wheel installation include a calibrated torque wrench, a vehicle-specific jack and approved jack stands, a wheel chock, a tire pressure gauge, and a suitable socket set. A thread pitch or lug nut identification tool can help confirm hardware, but the vehicle and wheel manufacturers remain the final authority.
See automotive torque wrenches on Amazon and wheel chocks on Amazon for commonly used installation supplies. Select tools with ratings appropriate for automotive work and follow their instructions.
FAQs
What is the bolt pattern for the 2010 Honda Fit?
The supplied OEM fitment data lists a 4x100 bolt pattern. Confirm the measurement against the vehicle or an OEM source before purchasing replacement wheels.
What center bore is listed for the 2010 Honda Fit?
The supplied value is 56.1 mm. A wheel bore smaller than the vehicle hub will not fit. A larger bore may require the correct hub-centric rings, depending on the wheel and application.
What lug thread size is listed?
The supplied thread size is M12 x 1.5. This does not confirm the correct lug nut seat, overall lug nut shape, or required torque, so verify all hardware details before installation.
Can the listed 16-inch wheel use the listed 175/65R15 tire?
No. The supplied tire rim diameter is 15 inches, while the supplied wheel diameter is 16 inches. Those entries cannot be used together as one mounted assembly. Check the tire sidewall and OEM documentation to determine which specification applies to your vehicle.
Does a 4x100 wheel automatically fit the 2010 Honda Fit?
No. The bolt pattern is only one requirement. You must also verify center bore, offset, width, brake clearance, load rating, lug nut seat, tire compatibility, and clearance to suspension and body components.
How can I compare wheels from another vehicle?
Enter the donor wheel diameter, width, offset, and tire information in the calculator's “Wheels from” fields. Enter the Fit's current or intended setup in the “Installed on” fields. Review the dimensional comparison, then physically verify clearance and confirm specifications from OEM or wheel-manufacturer sources.
What should I do if the calculator shows a close match?
Treat a close result as a starting point only. Inspect the actual wheel for brake and suspension clearance, confirm the tire's approved rim width and load rating, verify lug hardware, and check for rubbing through the full steering and suspension range.
Where can I confirm the original wheel and tire specification?
Check the driver's door-jamb tire placard, the owner's manual, the tire sidewalls currently installed, Honda service or parts documentation, and the wheel manufacturer's specifications. If those sources disagree, resolve the discrepancy before ordering parts.