OEM wheel and tire fitment specs for the 2013 Dodge Charger, including bolt pattern (PCD), center bore diameter, thread size, rim diameter, rim width, wheel offset, and backspacing.
Recorded OEM specifications for the 2013 Dodge Charger, donor years with overlapping ranges, and a calculator to compare a selected wheel. Range overlap is not a guaranteed fit.
Multiple OEM configurations exist for this vehicle. Fitment can vary by trim, brakes, and factory wheel package – confirm your exact setup before buying.
Center-bore records disagree: year-level hub 71.5 mm vs trim range 71.6–71.6 mm. Interchange below does not treat this as an unqualified match.
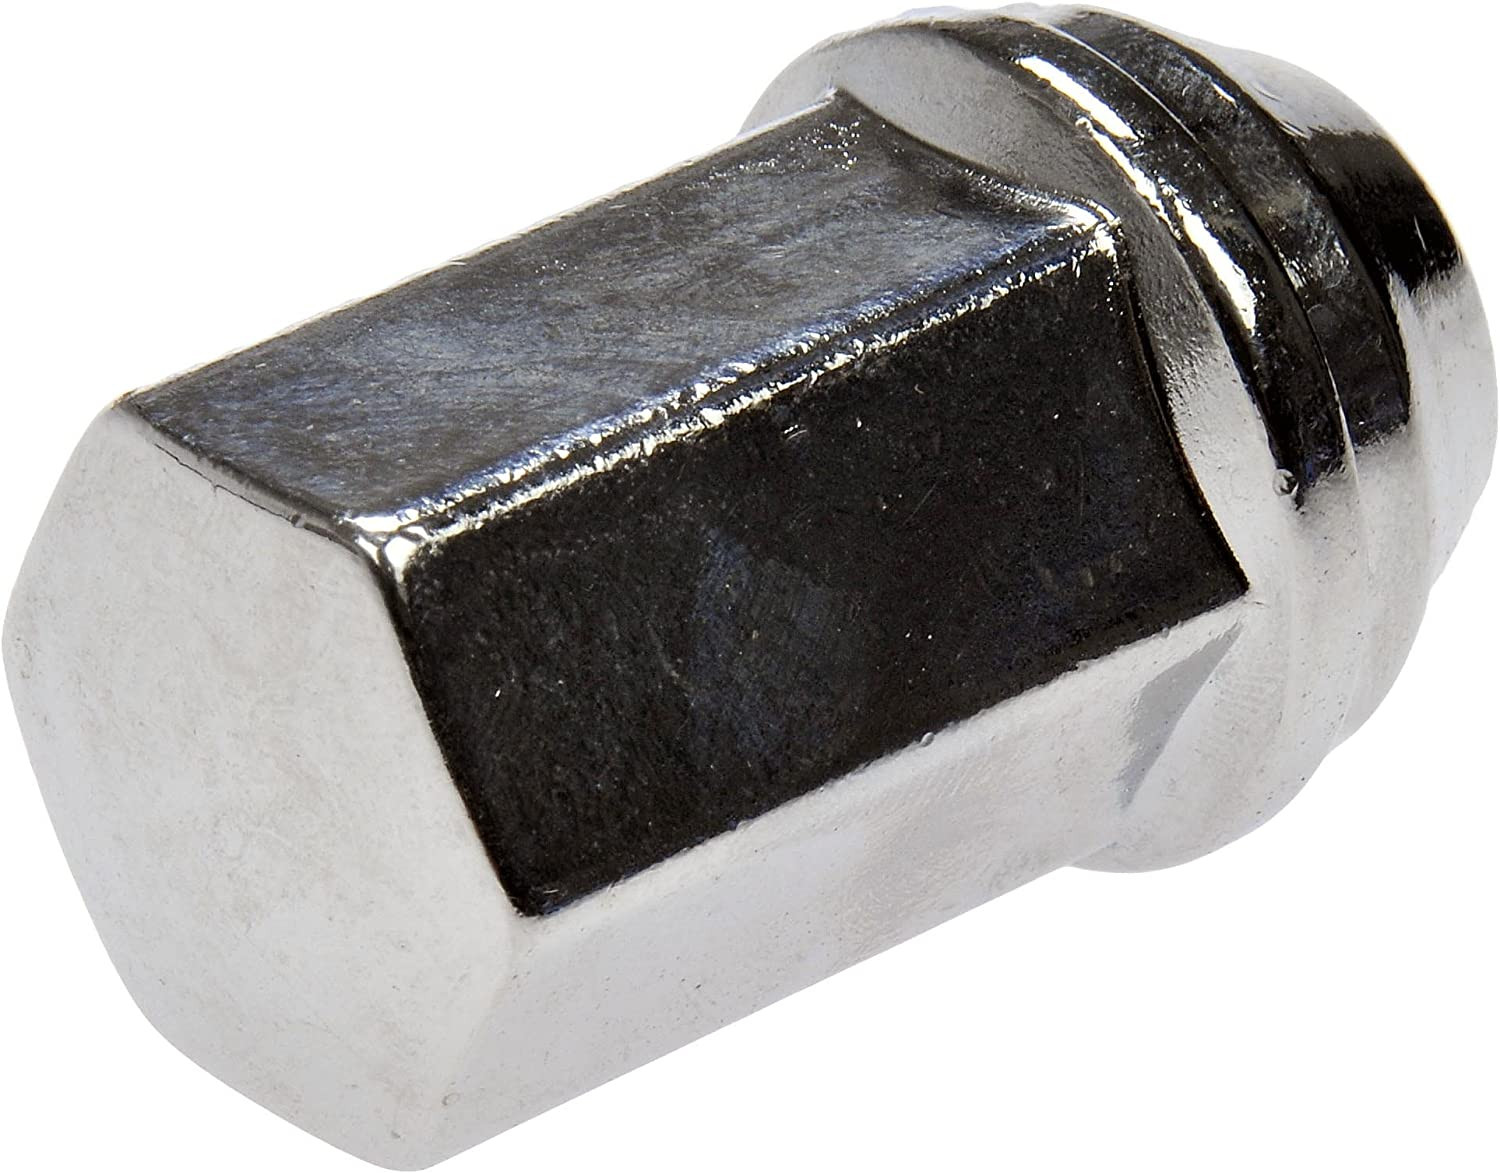
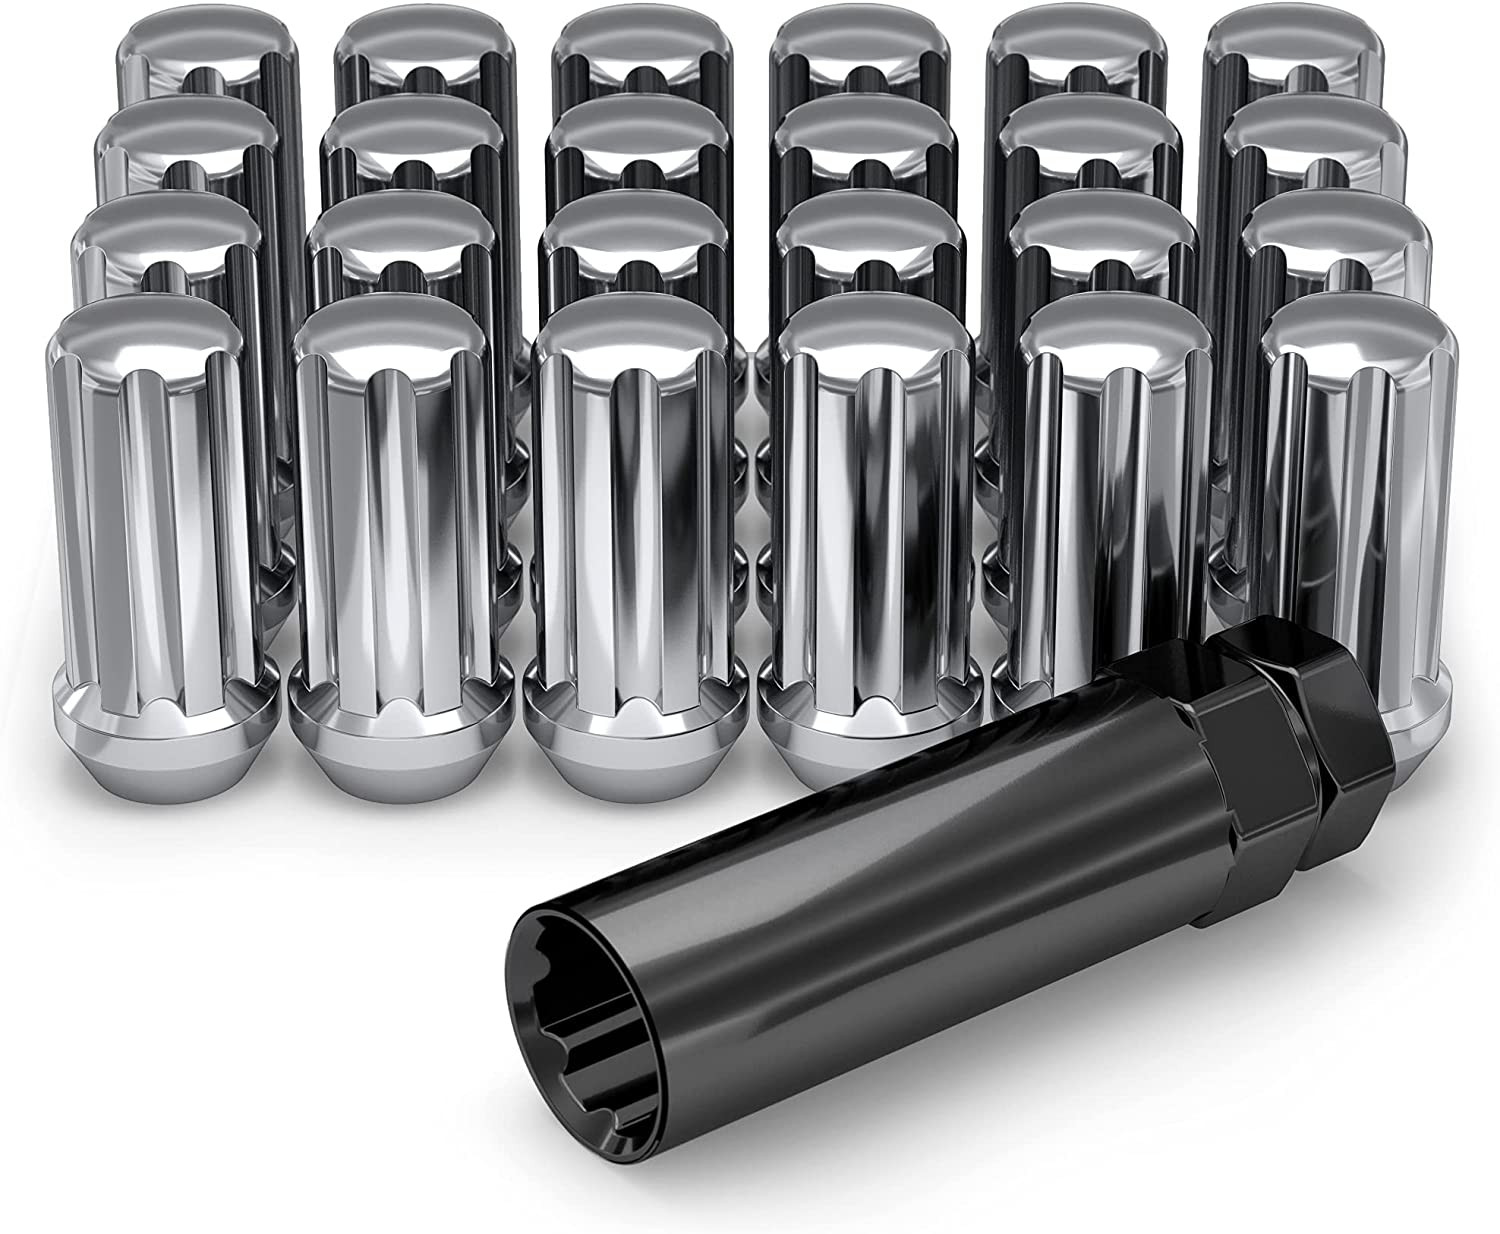
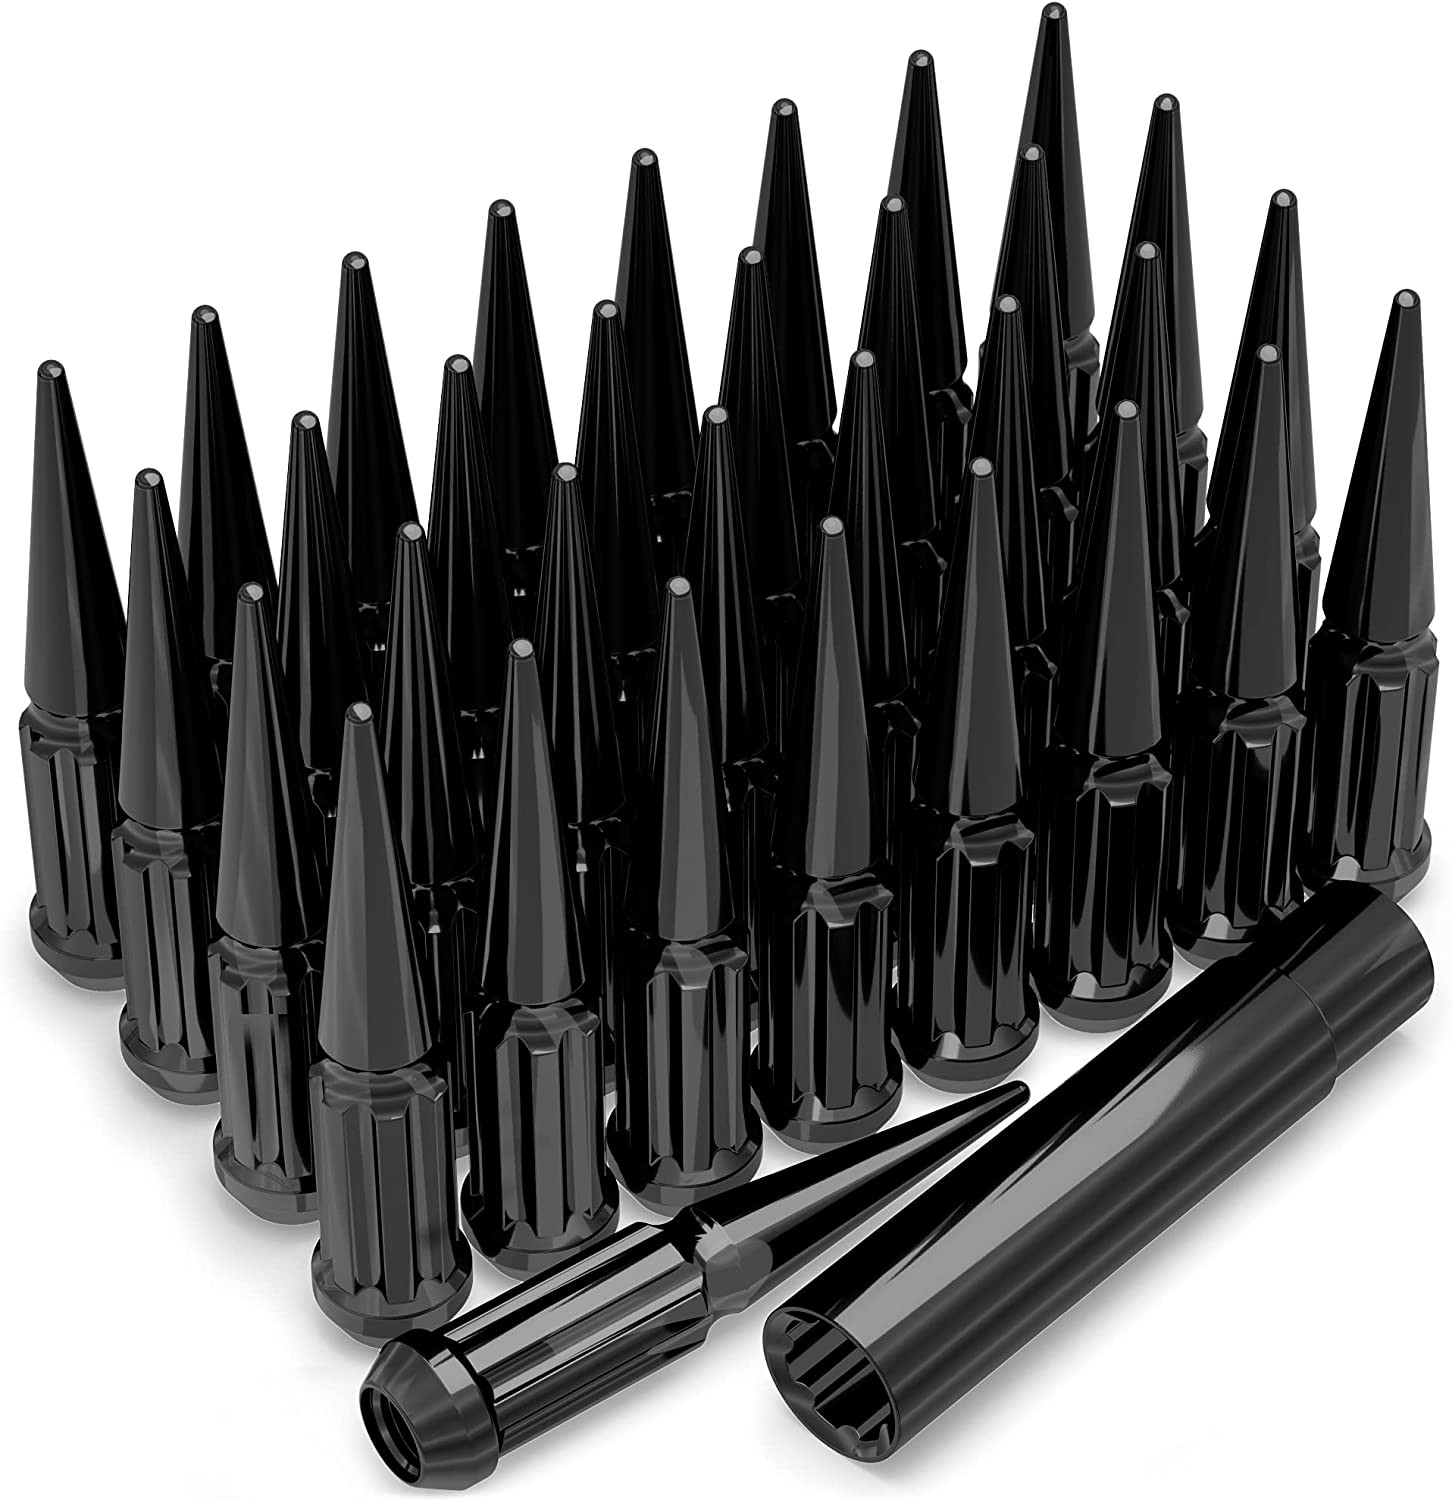
Thread-only product links are shopping examples, not verified fits. Seat style is not confirmed here. As an Amazon Associate we earn from qualifying purchases.
Donor vehicles with overlapping OEM specs
These are vehicle-year records whose recorded OEM ranges overlap this 2013 Dodge Charger. Overlap is not a guarantee that a specific wheel will install. Selected-wheel comparison is in the calculator below.
Evaluated 34 donor years. Listed 24 eligible overlaps (not all evaluated years are compatible). Showing all listed.
Wheel geometryOEM width/offset ranges overlap (not a specific wheel)
Center-bore records disagree (target year-level hub 71.5 mm vs trim range 71.6–71.6 mm; donor year-level hub 71.5 mm vs trim range 71.6–71.6 mm). Unqualified overlap is not claimed until the conflict is resolved. Approximate position vs the mid OEM package: outer change 6.15 mm, inner change -18.85 mm. This uses aggregated width/offset ranges, not a specific wheel.
Wheel geometryOEM width/offset ranges overlap (not a specific wheel)
Center-bore records disagree (target year-level hub 71.5 mm vs trim range 71.6–71.6 mm; donor year-level hub 71.5 mm vs trim range 71.6–71.6 mm). Unqualified overlap is not claimed until the conflict is resolved. Approximate position vs the mid OEM package: outer change 24.2 mm, inner change 1.2 mm. This uses aggregated width/offset ranges, not a specific wheel.
Dodge Charger Years With Compatible Wheels
Only years with evidence-based interchange relationships are listed. Adjacent years are not assumed compatible.
Compare a donor vehicle or custom wheel against this 2013 Dodge Charger. Use Compare in calculator on a donor row above to fill the donor side of this same calculator.
Compare
Compare wheel compatibility between two vehicles
Wheels from (donor vehicle)
Selected Car:
Custom wheel size (optional)
Tip: change values here to simulate custom wheels and immediately see the impact in the comparison below.
Custom tire size (optional)
Installed on (your vehicle)
Selected Car:
2013 Dodge Charger
Compare Rims
Specification
Wheels from
Installed on
Result (Click it)
Bolt Pattern
The total number of bolt holes and the diameter of the circle they form.
-
5x115
Center Bore
The hole in the center of the wheel that fits over the vehicle’s hub.
-
71.6 mm
Thread Size
The size and spacing of the threads on the bolts or nuts that hold the wheel in place.
-
M14 x 1.5
Rim Diameter
The wheel diameter in inches that determines which tire sizes will fit.
-
17"
Rim Width
The distance between the inner edges of the wheel is measured in inches.
-
7.0"
Wheel Offset
How far the wheel sits inward or outward relative to the hub mounting surface.
-
22 mm
Backspacing
Shows how much space the wheel takes up toward the inside of the vehicle.
-
-
Wheel Fasteners
The type of hardware used to secure the wheel to the vehicle.
-
-
Compare Tires
Specification
Wheels from
Installed on
Result (Click it)
Section Width
The width of the tire from sidewall to sidewall, measured in millimeters.
-
-
Aspect Ratio
The height of the tire’s sidewall expressed as a percentage of its width.
-
-
Diameter
The wheel diameter for which the tire is designed to fit.
-
-
Tire Pressure
The recommended air pressure for safe and efficient driving.
-
-
Overall Diameter
The total height of the tire and wheel combined affects clearance and speedometer accuracy.
-
-
Wheel Fitment Parts for the 2013 Dodge Charger
Example products matched to recorded thread, hub, or spacer dimensions. They are not verified fits. Confirm seat style, thickness, and clearance before ordering.
As an Amazon Associate we earn from qualifying purchases. Product availability and pricing may change.
2013 Dodge Charger Wheel Fitment And Interchange Guide | wheelinterchange.com
Known OEM Fitment For 2013 Dodge Charger
The values below are provided for at least one factory configuration of the 2013 Dodge Charger. Trims and option packages can differ. If a value on your vehicle does not match, use your door-jamb tire sticker, owner’s manual, and the on-page calculator to confirm your exact baseline before choosing wheels or tires.
Bolt pattern (studs x PCD)
5x115
Center bore (mm)
71.6
Thread size
M14 x 1.5
Rim diameter (in)
18
Rim width (in)
7.5
Wheel offset (ET, mm)
24
Backspacing (in)
4.69
Tire section width (mm)
215
Tire aspect ratio (%)
65
Tire rim diameter (R)
17
Note: The wheel and tire entries above may reflect different OEM packages. That is normal when multiple factory setups exist. Backspacing can also vary depending on how a wheel’s width is measured by the manufacturer. Always verify your specific vehicle’s OEM setup by VIN and door-jamb label, then use the calculator to compare any changes.
How To Use The Wheel Interchange Calculator
Set “Installed on (your vehicle)” to 2013 Dodge Charger.
Establish your baseline:
Read the current tire size off your sidewall (example format: 215/65R17) and confirm your wheel size in the owner’s manual or door-jamb label.
If your car has 18-inch wheels, use those values. If it has 17-inch tires as listed above, use that as your starting point.
Choose a donor vehicle or enter a “Custom wheel size” (diameter, width, offset) and “Custom tire size” (section width, aspect ratio).
Review the comparison:
Overall tire diameter change and estimated speedometer error.
Inner clearance to strut/coilover and outer “poke” toward the fender.
Track width change and scrub radius impact from offset changes.
Check hub/bolt details:
Bolt pattern must be 5x115.
Center bore on the Charger is 71.6 mm. Wheels with larger bores can be made hub-centric with rings; smaller bores will not fit.
Thread size is M14x1.5. Ensure fasteners match both thread and seat type required by the wheel.
Iterate until inner clearance is safe, outer poke is acceptable, and the tire’s overall diameter change is small (commonly within about 2 to 3% of your baseline) to preserve ABS/ESC function and speedometer accuracy.
Print or save your final specs and cross-check against OEM service information for your exact trim.
Fitment Checklist Before You Buy
Bolt pattern: exact 5x115 match only.
Center bore: 71.6 mm. Larger bores require hub-centric rings; smaller will not seat.
Threads/fasteners: M14x1.5. Use the correct seat style for your wheels; do not mix conical, ball, or mag seats.
Offset/clearance: Start from your OEM baseline (one documented setup is 18x7.5 ET 24). Use the calculator to ensure:
Adequate inner clearance to struts, spring perches, and liners at full lock and full bump.
Outer poke remains within the fender line with suspension loaded.
Backspacing: verify with the calculator and, if needed, measure directly with a straightedge and tape.
Brake fitment: confirm caliper and barrel clearance. If you have larger rotors/calipers (performance packages), test fit or use a template.
Load rating: wheel and tire load ratings must meet or exceed OEM requirements for your trim and GVWR.
Tires: choose sizes within the approved rim width range; maintain adequate load index and speed rating.
TPMS: verify sensor compatibility for your VIN. Plan for reprogramming/relearn after installation.
Thread engagement: ensure at least one full stud diameter of thread engagement on M14 hardware. Do not use worn or damaged fasteners.
Plus Sizing And Common Upgrades
Use your actual OEM setup as the baseline. When plus-sizing the wheel:
Keep overall tire diameter close to stock (commonly within about 2 to 3%) to protect ABS/ESC function and speedometer accuracy.
If you increase wheel width, adjust offset so inner clearance and outer poke remain safe. As a general concept, half of any added width goes inward and half outward unless offset is changed.
Select a tire size that fits the wheel width within the manufacturer’s approved range to maintain proper bead seating and handling.
Staggered setups reduce rotation options and require front/rear rolling diameters to remain closely matched. Verify with the calculator.
Performance brakes may reduce wheel options; verify spoke and barrel clearance before buying.
Installation Tips
Support the car on quality jack stands placed at approved lift points. Chock wheels.
Clean hub faces and studs with a nylon or brass brush; remove rust and debris. A very light film of anti-seize on the hub centering lip can help prevent future sticking. Do not lubricate lug seats.
If using hub-centric rings, seat them fully on the wheel before mounting.
Hand-start all lugs to avoid cross-threading. Snug in a star pattern, then torque in stages to the OEM specification from your owner’s manual/service information. Re-torque after 50–100 miles.
TPMS: replace seals/cores as needed, follow the relearn procedure for your vehicle, and do not over-torque aluminum valve stems.
After installation, cycle the steering lock-to-lock and check clearance at full bump. Road-test for vibration; if present, re-check hub-centric seating and balance.
No. Use the exact 5x115 pattern. Mixing patterns risks improper seating and stud stress. The calculator will not correct a bolt-pattern mismatch.
What center bore do I need?
71.6 mm. Larger-bore wheels can be made hub-centric with rings; smaller bores will not fit the hub.
My door sticker shows 17-inch tires, but I see 18-inch wheel data here. What should I follow?
Follow your vehicle’s actual OEM baseline from the door-jamb label/owner’s manual. The values above may represent a different factory package. Enter your true baseline into the calculator before comparing upgrades.
What offset should I use on aftermarket wheels?
Start from your OEM offset (one listed configuration is ET 24 mm on a 18x7.5 wheel) and use the calculator to verify inner clearance and outer poke. Test fit when possible, especially with big brakes or wider tires.
Do I need new lug nuts?
The thread must be M14x1.5, but the seat type depends on the wheel. Many aftermarket wheels require a different seat than OEM. Match the wheel’s seat design.
Can I run spacers or adapters?
If necessary, use quality hub-centric components that maintain a 71.6 mm hub and correct 5x115 pattern. Ensure proper thread engagement and re-check torque. Avoid stacking spacers.
What’s the correct lug torque?
Use the torque specified in your owner’s manual or OEM service information for your exact trim and fastener type. Re-torque after the first 50–100 miles.
Why doesn’t backspacing in the table match my calculation?
Backspacing depends on whether “measured width” or “overall width” is used and can vary by brand. Confirm with a direct measurement and use the calculator to visualize clearance.
Methodology and sources
Wheel interchange depends on more than bolt pattern. Where data is available, this site compares recorded OEM values:
Bolt pattern / PCD
Center bore direction (donor wheel bore must not be smaller than the hub)
Wheel diameter, width, and offset against known OEM ranges
A normal wheel spacer does not change bolt pattern. Hub rings cannot enlarge a wheel bore that is smaller than the hub. Brake clearance and tire package fitment still require vehicle-specific checks when not confirmed in the dataset.